How to Edit Aviation Photos in Lightroom: A Fast 5-Step Workflow That Actually Works

How to Edit Aviation Photos in Lightroom: A Fast 5-Step Workflow That Actually Works

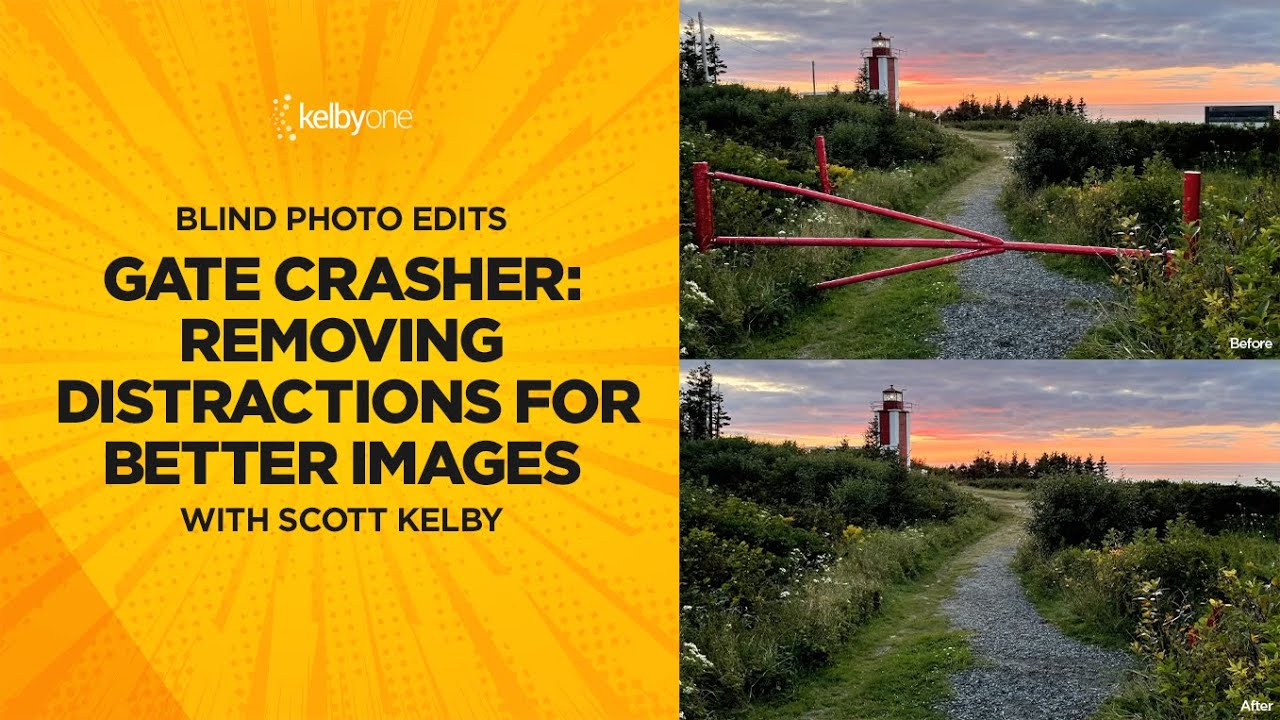
Most of my clients shoot products or campaigns under controlled light. Aviation photographers get none of that luxury. They’re chasing fast-moving metal across unpredictable skies, handing off RAW files that are flat, noisy, and frequently lacking the contrast that makes a military jet look like it’s actually moving. When those files land in Lightroom, the edit has to work harder than usual — and it has to work fast. In this KelbyOne tutorial, photographer and educator Scott Kelby runs a blind edit on a reader-submitted A-10 Warthog photo, and the workflow he uses maps cleanly onto almost any aviation or airshow shot.

Why Your Sharpest Aperture Isn't f/22 (And What to Do Instead)

Why Your Sharpest Aperture Isn't f/22 (And What to Do Instead)

Every landscape job I take on starts the same way: the client wants everything sharp, front to back, horizon to horizon. For years I watched photographers in my studio reach straight for f/22 the moment they needed deep depth of field, like it was some kind of guaranteed solution. The results came back soft, and nobody could figure out why. The glass was good, the tripod was solid, the technique was clean.

Mastering the Brush Tool in Photoshop: Dodge, Burn, and Custom Cloud Brushes

Mastering the Brush Tool in Photoshop: Dodge, Burn, and Custom Cloud Brushes

Most tools in Photoshop get their moment in the spotlight. The Pen tool has its cult following. The healing brush gets tutorials dedicated entirely to skin retouching. But the brush tool? People tend to gloss over it because it seems obvious. You paint. That’s it. What I’ve found after fifteen years of working in commercial post-production is that the brush tool is quietly responsible for some of the most important work happening in any comp, and most people are using it at maybe 30 percent of its capability.

The Lightroom Preset Trick That Saves You From Rebuilding the Same Look Over and Over

The Lightroom Preset Trick That Saves You From Rebuilding the Same Look Over and Over

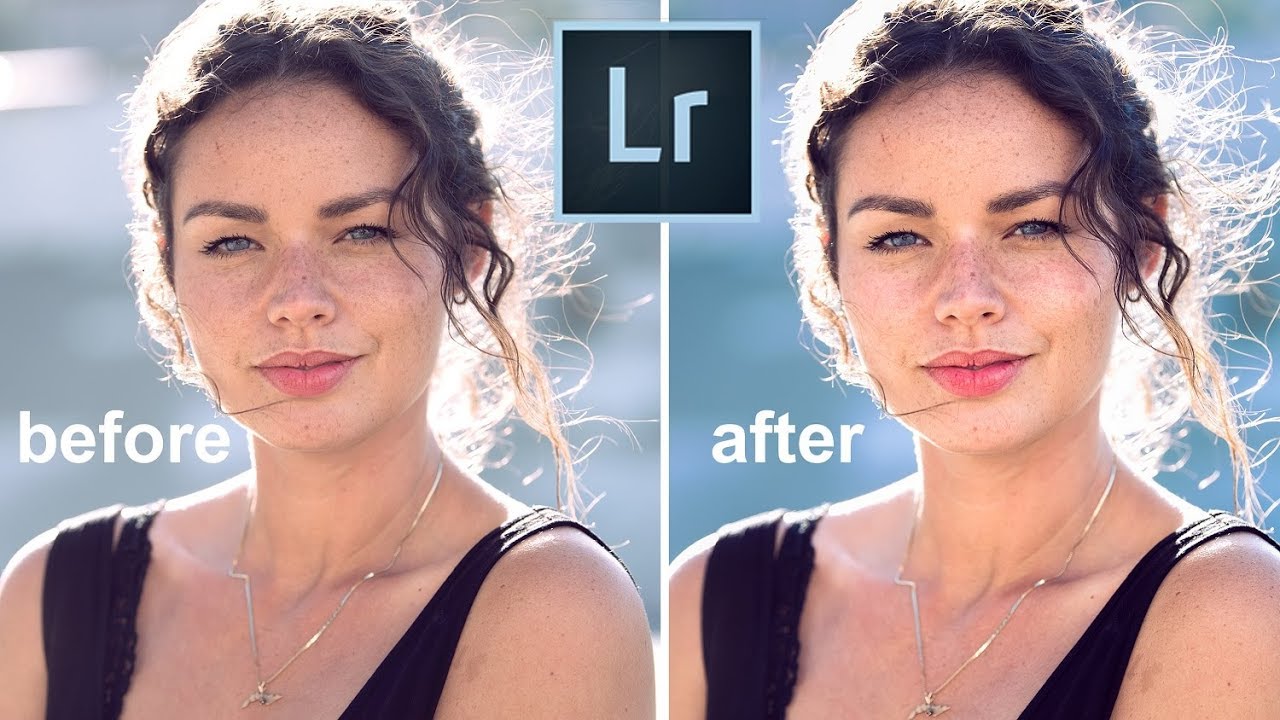
There’s a specific kind of frustration that comes from building a look you love inside Lightroom, knowing you’re going to want it again, and then realizing you can’t save it the way you’d expect. I’ve been doing post-production work for fifteen years, and I still run into this. You develop a multi-step technique, something that takes four or five minutes to apply manually, and your brain immediately starts calculating how many times you’ll have to repeat that process across a shoot.

Freeze It or Blur It: A Field Guide to Action Photography Techniques

Freeze It or Blur It: A Field Guide to Action Photography Techniques

Most of my work happens in a controlled studio environment. Product shots, ad composites, e-commerce catalogs where the subject sits perfectly still under lights I’ve positioned myself. Action photography is basically the opposite of everything I do daily, which is exactly why I find it so useful to study. Understanding how to handle fast-moving subjects makes you a sharper photographer across the board, and the decision-making process behind shutter speed selection translates directly into better exposure instincts no matter what you’re shooting.

How to Record a Photoshop Action and Batch Process an Entire Folder of Images

How to Record a Photoshop Action and Batch Process an Entire Folder of Images

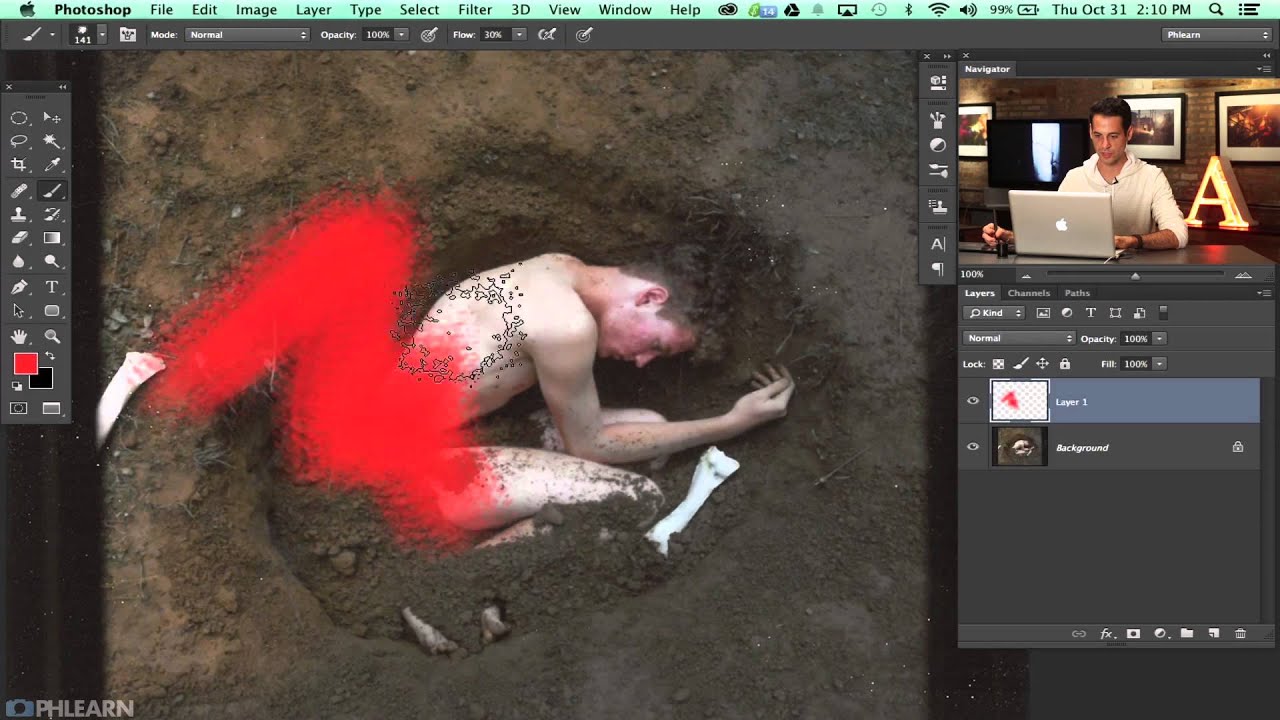
I built my first Photoshop Action at 26 and I have not manually repeated a multi-step edit since. That sounds like an exaggeration but I track this stuff obsessively, and the number currently sits at over 2,400 hours saved across my career. So when someone asks me why Actions are worth learning, I don’t give them a philosophical answer. I give them a number. The specific workflow I want to walk you through today comes from a tutorial by Aaron Nace over at PHLEARN.

Dodge & Burn Like a Painter: Building a Pressure-Sensitive Brush in Photoshop

Dodge & Burn Like a Painter: Building a Pressure-Sensitive Brush in Photoshop

Fifteen years of studio work taught me that dodging and burning separates the retouchers from the photo editors. Anyone can pull a Curves adjustment. Shaping light on a face, a product surface, or a landscape so it reads as three-dimensional and intentional – that takes control. Real, granular, stroke-by-stroke control. For most of my career I was doing it with a mouse, convincing myself that lowering brush flow to 5% was “good enough.

How to Get Lightroom Presets Working on Your Phone (Yes, Really)

How to Get Lightroom Presets Working on Your Phone (Yes, Really)

I’ll be straight with you: I resisted mobile editing for a long time. Fifteen years of working in commercial studios will do that to you. My workflow lives on a calibrated monitor, a fast desktop, and a filing system that would make most archivists nervous. But clients don’t care about any of that when they’re texting you at 8 p.m. asking why their Instagram post isn’t up yet. The phone has become a legitimate part of the job, and that means the editing tools need to follow.

Build Once, Retouch Forever: Creating an AI-Powered Adaptive Portrait Preset in Lightroom

Build Once, Retouch Forever: Creating an AI-Powered Adaptive Portrait Preset in Lightroom

If there is one thing fifteen years in commercial photography has taught me, it is that the tasks you repeat most often are the ones worth eliminating first. Portrait retouching is my clearest example. Every shoot comes with the same list: smooth the skin a touch, pop the eyes slightly, add a little life to the lips, deepen the hair. The adjustments are almost always the same. The execution, until recently, was manual every single time.

Stop Painting with Generic Brushes: How to Build Free, High-Quality Custom Brushes in Photoshop

Stop Painting with Generic Brushes: How to Build Free, High-Quality Custom Brushes in Photoshop

Every so often I’ll be retouching a composite for a client and I hit the same wall: the default Photoshop brush set just doesn’t have what I need. The standard round brushes are fine for blocking in masks, but the moment a project calls for realistic texture, organic edges, or painterly detail, they fall flat fast. I’ve bought brush packs over the years, and some of them are excellent, but there’s a constant nagging feeling that a pre-made pack is always someone else’s creative fingerprint, not mine.

Building a Fall Color Preset in Lightroom: A Layer-by-Layer Breakdown

Building a Fall Color Preset in Lightroom: A Layer-by-Layer Breakdown

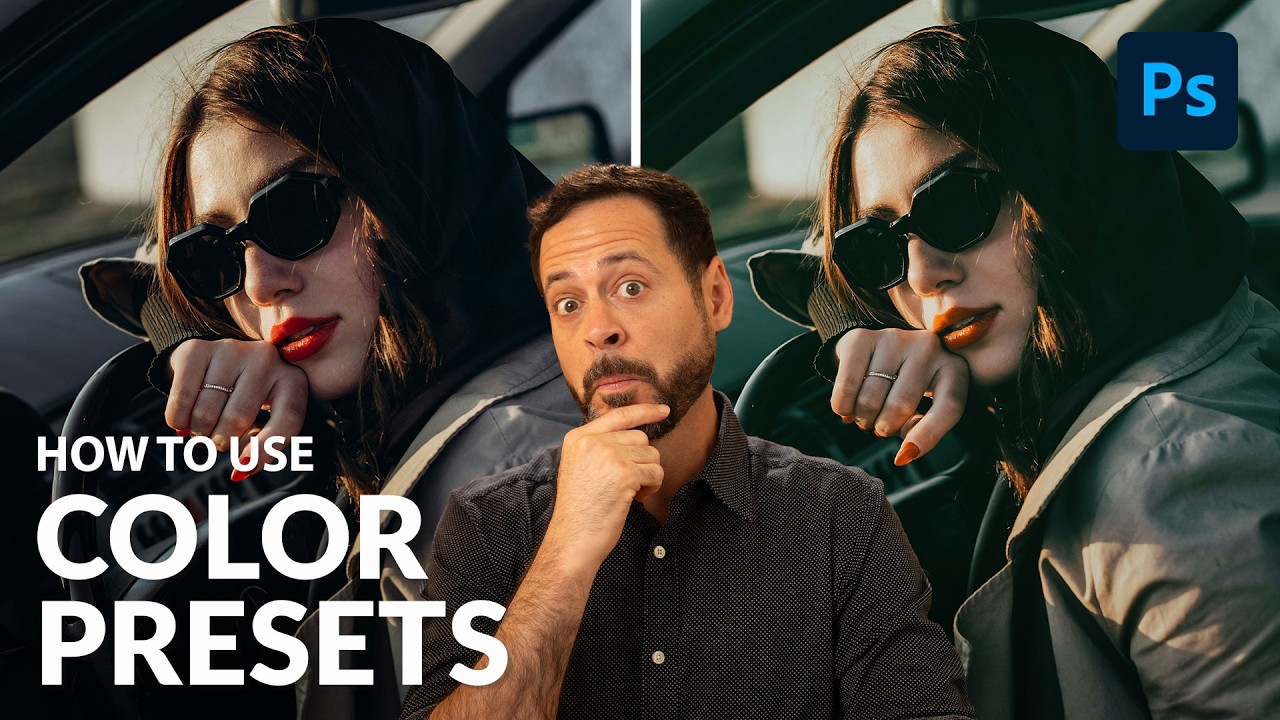
Every autumn I get a flood of requests from agency clients who shot outdoor campaigns in September and October and are now staring at RAW files that look like any other month. The foliage was stunning on location. On screen it reads beige. The problem isn’t exposure or white balance. It’s that fall color lives in a very specific tonal and hue relationship, and your all-purpose travel preset was never built to honor it.

6 Premiere Pro Plugins That Actually Change How Fast You Edit

6 Premiere Pro Plugins That Actually Change How Fast You Edit

I track time the way some people track calories. Right now my spreadsheet shows 2,400-plus hours saved through automated workflows across Photoshop alone. So when I watch a tutorial from someone who’s clearly put in the same obsessive thinking about shaving minutes off repetitive tasks, I pay close attention. Watch the full tutorial on YouTube – it’s from Mango Street, and the creator brings 12 years of Premiere Pro experience to a tight rundown of six plugins that genuinely move the needle.