Stop Babysitting Your Focus Point: A Landscape Photographer's Case for Wider AF Zones

Stop Babysitting Your Focus Point: A Landscape Photographer's Case for Wider AF Zones

There’s a particular kind of friction I recognize immediately when I watch photographers work in the field. It’s the same friction I see in post-production when someone is manually repeating a task that a well-built action could handle in a keystroke. The tool becomes the subject. The actual work gets pushed aside. In a recent tutorial, Watch the full tutorial on YouTube, Mark Denney describes coming back from a week of leading workshops in the Faroe Islands and noticing that photographers were spending more mental energy managing a tiny focus point than they were thinking about their compositions.

Fake Film Looks Are Everywhere. Here's How to Build a Real One in Photoshop.

Fake Film Looks Are Everywhere. Here's How to Build a Real One in Photoshop.

Client work has a way of exposing your shortcuts. A few months back, an ad agency sent me a batch of lifestyle shots that needed a cohesive vintage treatment, and every AI-driven “film look” filter I tested came back looking like someone had described film photography to a machine that had never seen a photograph. Overly warm, crushed in the wrong places, grain that tiled like bathroom tile. I scrapped all of it and went back to building the effect by hand.

Music, Copyright, and the Lightroom Workflow Detail Most Photographers Overlook

Music, Copyright, and the Lightroom Workflow Detail Most Photographers Overlook

There’s a part of the post-production process most photographers treat as an afterthought: the slideshow. You’ve culled, edited, color-graded, exported, and then you drop in whatever song felt right, burn a video, and send it to the client. I did exactly that for the first few years of my career, and I was lucky nobody called me on it. When I finally sat down with Jared Platt’s Ultimate Lightroom Workflow workshop on CreativeLive, I expected to walk away with faster culling techniques and better export settings.

Fix, Mask, and Blur: A Camera Raw Workflow for Sports Photos That Actually Holds Up

Fix, Mask, and Blur: A Camera Raw Workflow for Sports Photos That Actually Holds Up

Sports photography hands you a specific kind of editing problem. The photographer wasn’t on a tripod. They weren’t waiting for perfect light. They were chasing a quarter-second window where everything happened at once, and they got it. The shot is good. The raw file is another story: slightly crooked, unevenly exposed across subjects, background fighting for attention it doesn’t deserve. I see this constantly in the post-production work that comes across my desk from ad agencies and editorial clients.

Lightroom Preset Organization Tips That Actually Stick (5 Techniques From a Pro Workflow)

Lightroom Preset Organization Tips That Actually Stick (5 Techniques From a Pro Workflow)

If you’ve worked in Lightroom long enough, you know the feeling: your preset panel looks like someone knocked over a filing cabinet, you can’t find the one you want, and you’re wasting time on organizational problems instead of actually editing. I’ve spent 15 years running post-production workflows for ad agencies and e-commerce clients, and I can tell you that a messy preset library is the kind of slow leak that quietly costs you hours every month.

What Lightroom's Built-In Presets Can Actually Teach You About Retouching

What Lightroom's Built-In Presets Can Actually Teach You About Retouching

There’s a phase every retoucher goes through where they know what they want an image to look like but can’t quite connect that vision to specific slider values. I spent an embarrassing amount of time in that gap early in my career, guessing at Clarity adjustments and hoping for the best. What eventually pulled me out of it wasn’t a course or a book — it was slowing down and actually reading what existing presets were doing under the hood.

Perfectly Clear's Beautify Presets Are Doing the Portrait Work I Used to Spend Hours On

Perfectly Clear's Beautify Presets Are Doing the Portrait Work I Used to Spend Hours On

Portrait retouching is where studio time goes to die. I know this from experience. Early in my commercial work, I’d clock a solid hour on a single headshot: adjusting brush for teeth, healing tool for under-eye circles, manual skin smoothing pass, back and forth until the art director finally signed off. Multiply that by a hundred frames from a branding shoot and you understand why I’ve spent a significant portion of my career building systems to avoid repeating myself.

Clone Stamp vs Spot Healing vs Generative Fill: Which Photoshop Tool Should You Actually Use?

Clone Stamp vs Spot Healing vs Generative Fill: Which Photoshop Tool Should You Actually Use?

A question I keep getting from clients and newer retouchers goes something like this: “Why would I ever use the Clone Stamp tool when Generative Fill exists?” It’s a fair question on the surface. But after fifteen years of studio work, I’ve learned that choosing the wrong tool for a removal job doesn’t just affect quality. These days, it can affect how your image gets labeled across every platform you publish to.

How to Install Custom Brushes in Photoshop (And Actually Use Them Well)

How to Install Custom Brushes in Photoshop (And Actually Use Them Well)

Every time I onboard a new retoucher at my consultancy, the same conversation happens within the first week. They’ve downloaded a beautiful custom brush pack, they open Photoshop, and then they stare at it like it’s a locked door with no handle. Brush installation is one of those things that feels like it should be obvious but genuinely isn’t the first time. And if you get it wrong, you end up with a brush that loads but doesn’t appear where you expect, or duplicates stacking up invisibly in your panel while you wonder why nothing looks right.

Clean Portraits in Minutes: Using Photoshop's Generative Fill to Kill Background Distractions

Clean Portraits in Minutes: Using Photoshop's Generative Fill to Kill Background Distractions

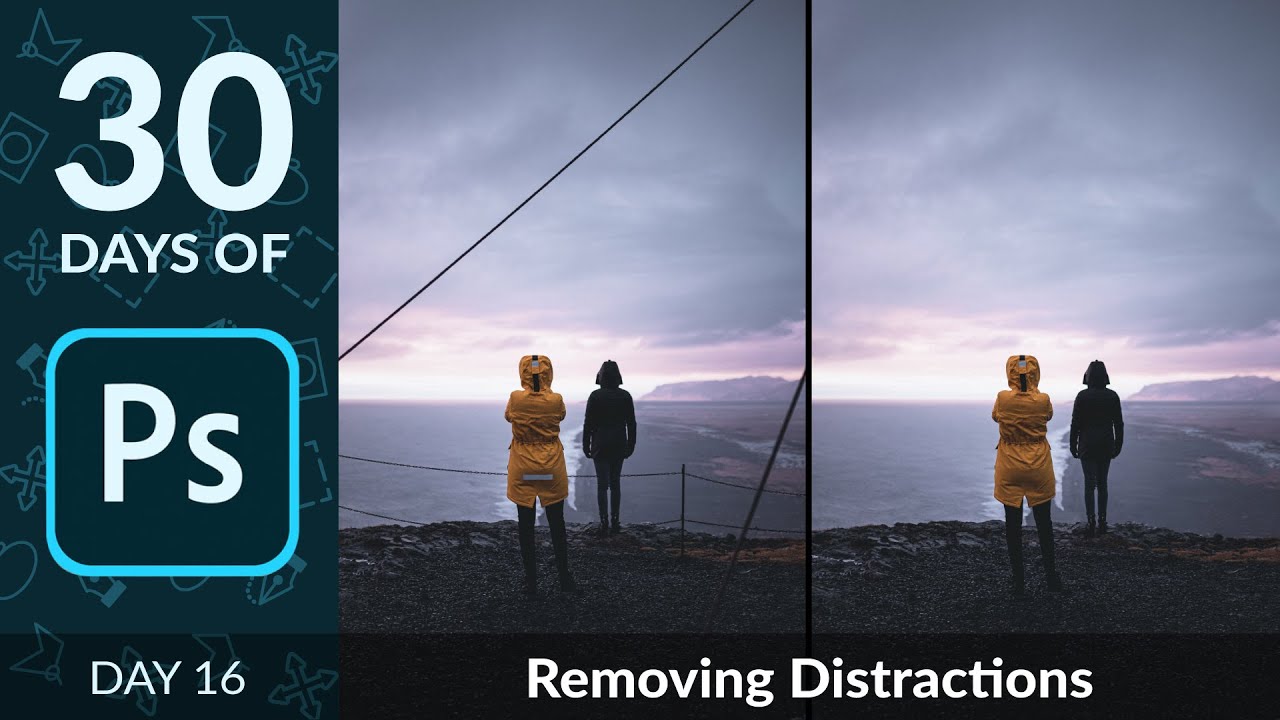
Every portrait photographer knows the feeling. You nail the light, the expression is perfect, the client is thrilled with the shoot — and then you open the RAW files and spot the lawn chair in the lower left corner. Or the exit sign bleeding in behind your subject’s shoulder. Or the boats and dock railing cutting across an otherwise clean waterfront background. These aren’t disasters, but they eat time. In my years running post-production for ad agencies and e-commerce brands, I’ve watched small distractions like these turn a one-hour retouch into a three-hour one.

How to Record Photoshop Actions from Scratch (And Finally Stop Forgetting Your Own Techniques)

How to Record Photoshop Actions from Scratch (And Finally Stop Forgetting Your Own Techniques)

There’s a specific kind of frustration that hits when you’ve developed a technique you genuinely love, used it a dozen times, and then six weeks later you’re staring at a blank canvas trying to reconstruct it from memory. That used to happen to me constantly in my early studio years. I’d nail a color treatment on a campaign, close the file, and by the next job, half the steps were gone.

How to Create a Glitter Sparkle Effect in Photoshop Using Blend Modes and Custom Brushes

How to Create a Glitter Sparkle Effect in Photoshop Using Blend Modes and Custom Brushes

My clients come in two flavors: the ones who know exactly what they want, and the ones who send me a Pinterest board full of Instagram-aesthetic images and say “make it look like that.” The glitter sparkle effect falls firmly into the second category. I’ve been seeing it on product shots and portrait campaigns for a couple of years now, and every time a client sends me a reference I’ve had to reverse-engineer it on the fly.