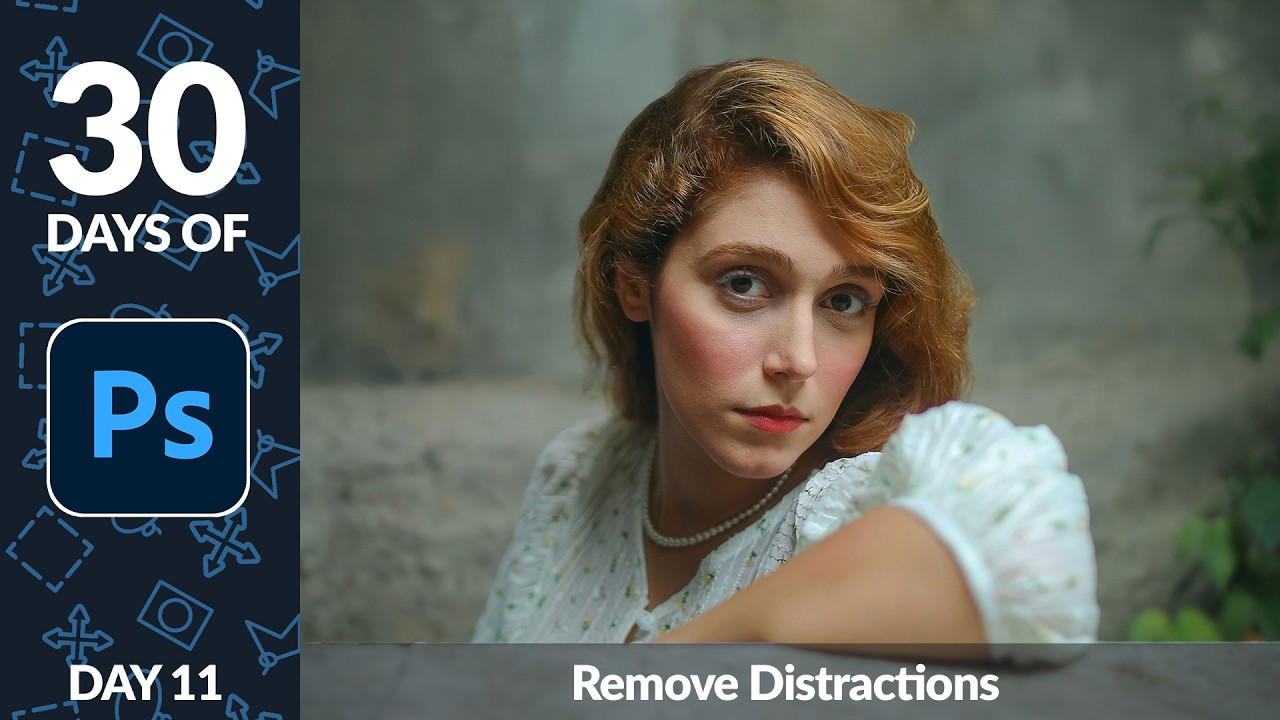
Every week I’m handing off images to ad agency clients who need clean, distraction-free backgrounds. Power lines behind a product shot. Pipes crossing a portrait. A random bystander who wandered into a lifestyle image at exactly the wrong moment. For years, my go-to fix was the Clone Stamp tool paired with a carefully tuned Healing Brush action I built to speed up the repetitive parts. It worked. It also took time I often didn’t have.
So when I sat down with this Aaron Nace tutorial from the PHLEARN “30 Days of Photoshop” series, I was curious but skeptical. I’ve seen plenty of “one click” promises from Adobe that turned out to mean “one click plus forty minutes of cleanup.” What I found was different enough that I wanted to write it up properly.
Watch the full tutorial on YouTube
The tutorial covers three distinct approaches to distraction removal, ranging from fully automatic AI detection to manual painting to traditional non-AI tools. Each one has a real use case. Here’s how they work.
Step 1: Duplicate Your Background Layer First
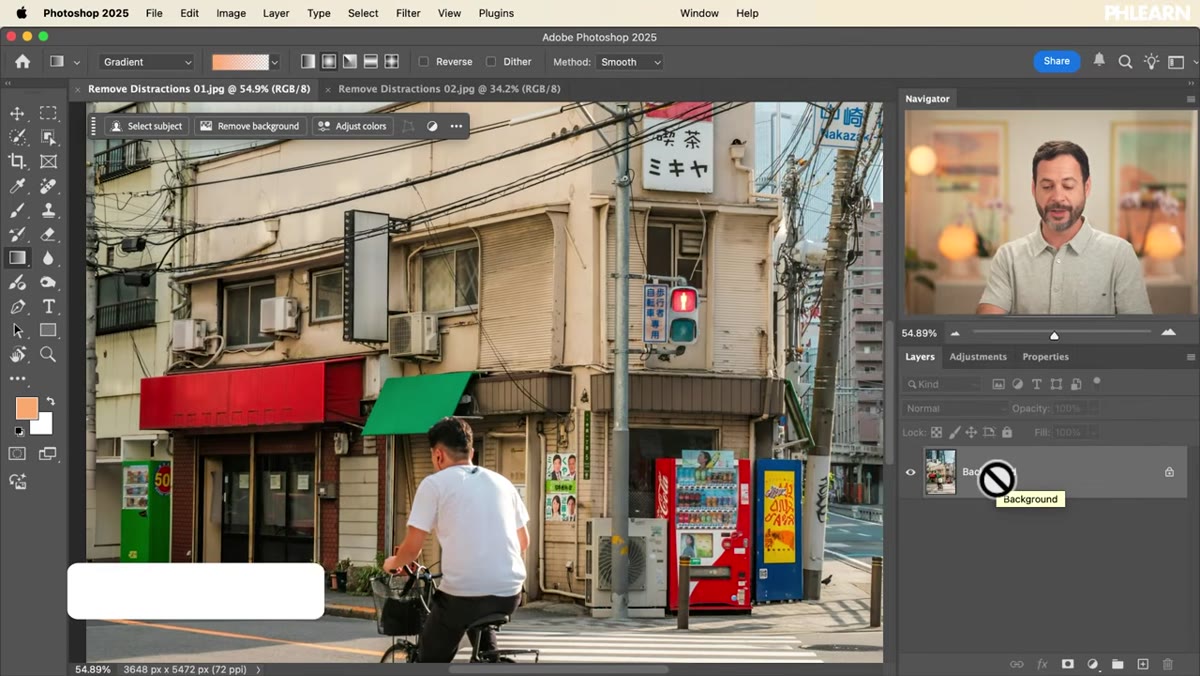 Duplicating background layer in Photoshop layers panel
Before touching anything, duplicate your background layer. Hit Command+J on Mac or Control+J on Windows. This keeps your original pixel data intact no matter what the AI does downstream. It sounds obvious, but I’ve watched junior retouchers skip this step and then have no clean path back when a fill went sideways. Make it a habit. In my own workflow, I have an action that duplicates and renames the layer automatically when I open any file, so this never gets missed.
Duplicating background layer in Photoshop layers panel
Before touching anything, duplicate your background layer. Hit Command+J on Mac or Control+J on Windows. This keeps your original pixel data intact no matter what the AI does downstream. It sounds obvious, but I’ve watched junior retouchers skip this step and then have no clean path back when a fill went sideways. Make it a habit. In my own workflow, I have an action that duplicates and renames the layer automatically when I open any file, so this never gets missed.
Step 2: Try the Remove Tool’s “Find Distractions” Option
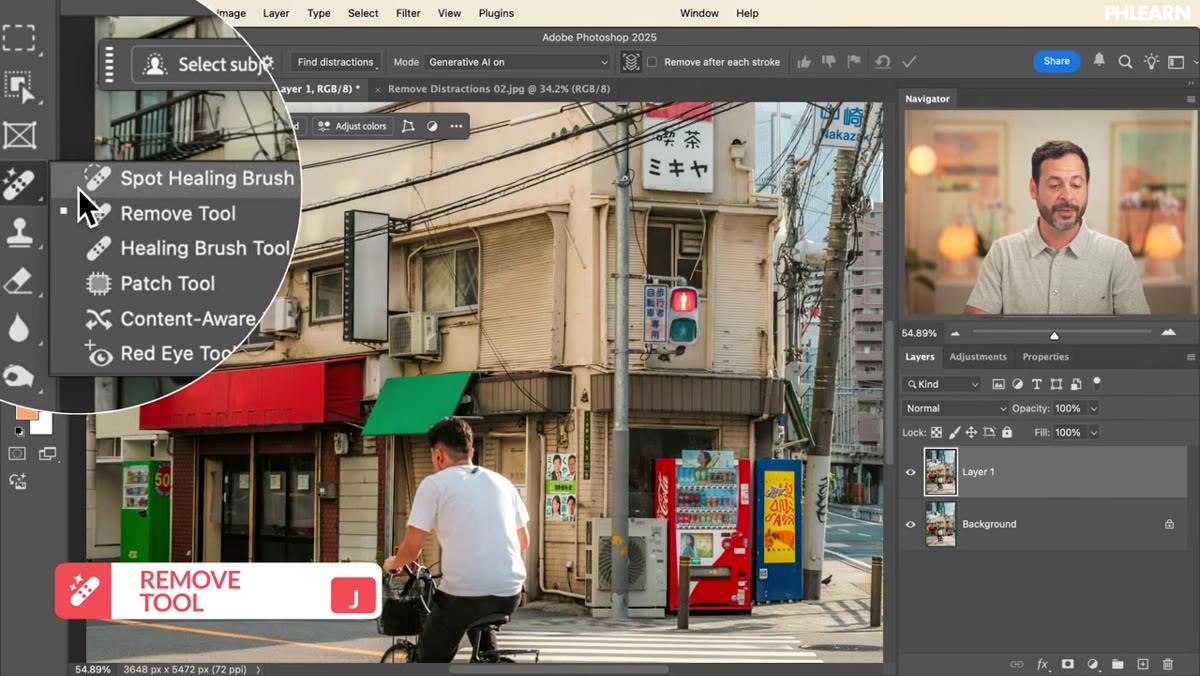 Remove tool selected in toolbar under spot healing brush
The Remove Tool lives in the toolbar nested under the Spot Healing Brush. It looks like a small bandage icon with sparkles around it. Click and hold on the Spot Healing Brush to reveal it, or press J and cycle through until you land on it.
Remove tool selected in toolbar under spot healing brush
The Remove Tool lives in the toolbar nested under the Spot Healing Brush. It looks like a small bandage icon with sparkles around it. Click and hold on the Spot Healing Brush to reveal it, or press J and cycle through until you land on it.
Once you’ve selected the Remove Tool, look at the top options bar. You’ll see a button labeled “Find Distractions.” Click it and then select the category you want to target. Photoshop currently offers two subcategories: wires and cables, and people in the background. Click your chosen category and let the AI run. Aaron’s demo shows an image loaded with power lines across a cityscape. After clicking, Photoshop processes the image and the cables are simply gone. Not reduced. Gone. The result Aaron shows on screen is genuinely impressive, and in my own test on a product shot with a stray USB cable in the background, it handled it cleanly without ghosting.
Step 3: Use the Selection Brush Tool to Paint Over Specific Areas
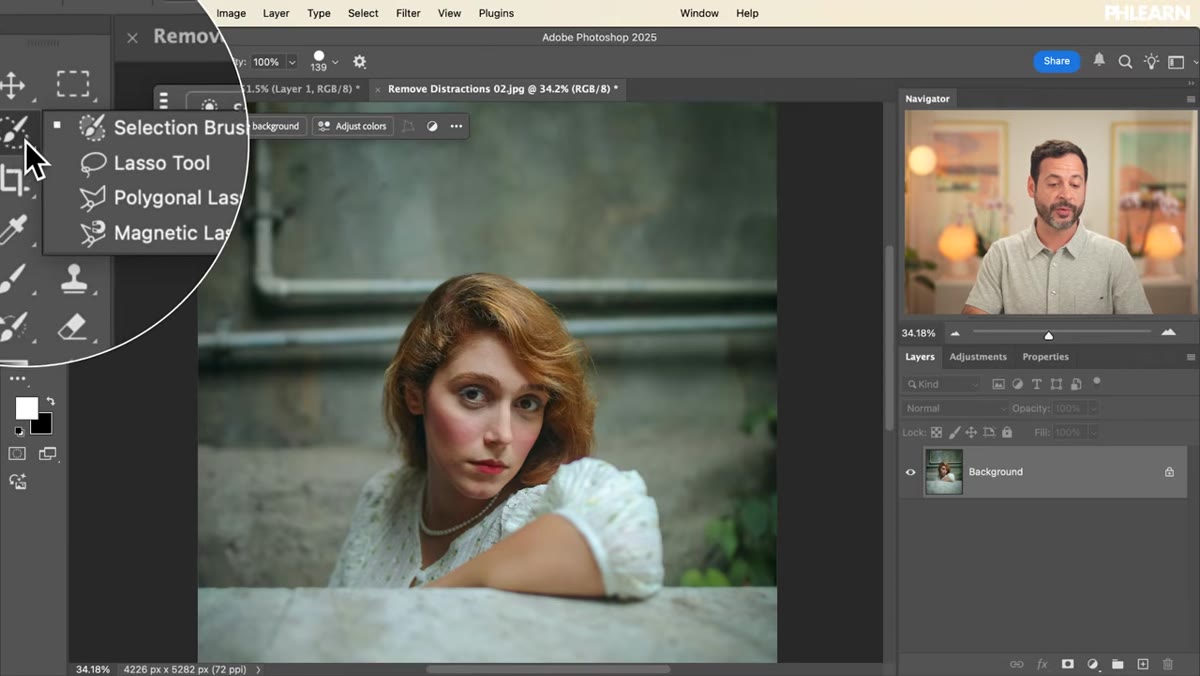 Pink painted selection over pipes in portrait background
For objects that aren’t wires or people, the Find Distractions button won’t help. This is where the Selection Brush Tool comes in. It’s a separate tool that lets you paint a selection over exactly what you want removed. You’ll see the painted area render as a pink overlay as you drag.
Pink painted selection over pipes in portrait background
For objects that aren’t wires or people, the Find Distractions button won’t help. This is where the Selection Brush Tool comes in. It’s a separate tool that lets you paint a selection over exactly what you want removed. You’ll see the painted area render as a pink overlay as you drag.
The key detail Aaron points out here is one that experienced retouchers will recognize immediately: paint the shadow too. If there’s a cast shadow from the object you’re removing, select it along with the object itself. AI fill reads context from the surrounding area, and an orphaned shadow that remains after a pipe is removed will look wrong instantly. Take an extra pass to get the full shadow footprint before you move on.
Step 4: Run Generative Fill With a Blank Prompt
 Generative Fill dialog open with empty text field
With your painted selection in place, click “Generative Fill” in the contextual taskbar that appears at the bottom of the canvas. A dialog will open with a text prompt field. Leave it completely blank. Don’t type “background” or “wall” or anything else. Just click “Generate.”
Generative Fill dialog open with empty text field
With your painted selection in place, click “Generative Fill” in the contextual taskbar that appears at the bottom of the canvas. A dialog will open with a text prompt field. Leave it completely blank. Don’t type “background” or “wall” or anything else. Just click “Generate.”
When the prompt is empty, Photoshop understands that your intent is removal, not replacement. It samples the surrounding image data and synthesizes what should logically be there. You’ll get three different generated variations, each visible in the Properties panel. Cycle through them and pick the one that blends best. Aaron’s portrait example shows the pipes removed cleanly, and where the brush accidentally overlapped the subject’s hair, Photoshop regenerated plausible hair strands. That’s a useful behavior to know about. If you’re too aggressive with your selection and clip the subject slightly, the AI doesn’t just delete that edge, it tries to reconstruct it.
The result comes in as a non-destructive Generative Layer. Toggle its visibility in the Layers panel to compare before and after at any point. Nothing is baked in.
Step 5: Know When to Fall Back on Manual Tools
 Clone stamp tool mentioned as manual alternative
AI removal is fast and increasingly reliable, but it isn’t always right. Aaron mentions the Clone Stamp Tool and Spot Healing Brush as manual alternatives, and in a commercial context, I’d add that these still earn their place. Complex textures, repeating patterns, or areas where the AI consistently generates artifacts are all situations where pulling out the Clone Stamp and doing it by hand is the more predictable choice.
Clone stamp tool mentioned as manual alternative
AI removal is fast and increasingly reliable, but it isn’t always right. Aaron mentions the Clone Stamp Tool and Spot Healing Brush as manual alternatives, and in a commercial context, I’d add that these still earn their place. Complex textures, repeating patterns, or areas where the AI consistently generates artifacts are all situations where pulling out the Clone Stamp and doing it by hand is the more predictable choice.
The Spot Healing Brush is faster than the Clone Stamp because it doesn’t require you to set a sample point. You just paint over the problem and Photoshop fills from the surrounding context. For small, isolated distractions on simple backgrounds, it’s still one of the most efficient tools in the panel.
What I’d Add From My Own Experience
The Generative Fill approach works well in isolation, but if you’re processing multiple images from the same shoot with the same background distraction, it can generate slightly different fills each time. That inconsistency matters in e-commerce, where a set of 20 product images needs to look like they share the same space. My workaround is to fix the distraction once on the cleanest image, then use that repaired region as a Clone Stamp source across the remaining files. You get the AI’s quality on one frame and manual consistency across the rest.
I’d also recommend keeping your generative layers ungrouped until final delivery review. When a client requests a revision on a specific image, having that layer accessible means you can regenerate with a different variation in seconds rather than starting over.
These tools have genuinely changed how fast distraction removal can move in a professional retouching session. The one-click Find Distractions feature for wires and cables alone would have saved me hours on certain architecture and product jobs I can remember clearly. The most important thing to take from this tutorial is the hierarchy: try the automatic detection first, fall back to painted selection with Generative Fill, and use manual tools when precision matters more than speed.
Watch the full tutorial on YouTube to see Aaron walk through all three methods on real images. The before-and-after on that cityscape shot alone is worth two minutes of your time.
Comments (2)
Been doing this wrong for years apparently. Thanks for the wake-up call.
The tip about one click to clean photoshops was the missing piece for me. Thank you.
Leave a Comment