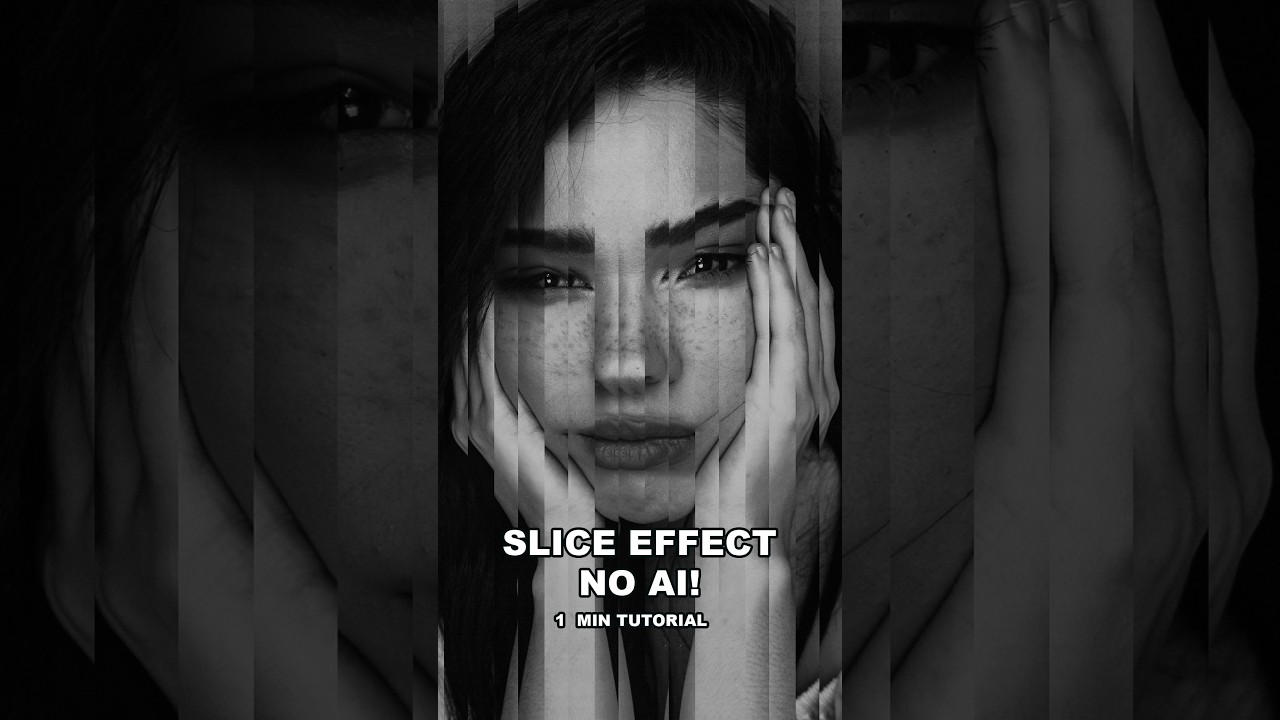
There’s a category of client request I’ve learned to dread over my fifteen years in commercial work: “Make it look editorial. You know, interesting.” That’s it. No reference image, no art direction, just vibes. I’ve built a small library of go-to effects I can reach for in those moments - effects that look considered and intentional without requiring a three-hour compositing session. The portrait slice effect is one of the best of them. It’s graphic, it photographs well in mockups, and it has that satisfying tension between structure and motion that art directors tend to respond to immediately.
I came across this technique through a one-minute tutorial from Aaron Nace over at PHLEARN - Watch the full tutorial on YouTube - and what impressed me most was that the whole thing is built from tools that have been in Photoshop for decades. No generative fill, no AI credits, no third-party plugins. Just the rectangular marquee, a layer mask, and a bit of keyboard discipline. The kind of technique that makes you feel like you actually understand the software rather than just prompting it.
What follows is my expanded walkthrough of the method. The original video is sixty seconds. This is what sixty seconds of watching translates to when you actually sit down to build it.
Step 1: Duplicate Your Base Layer
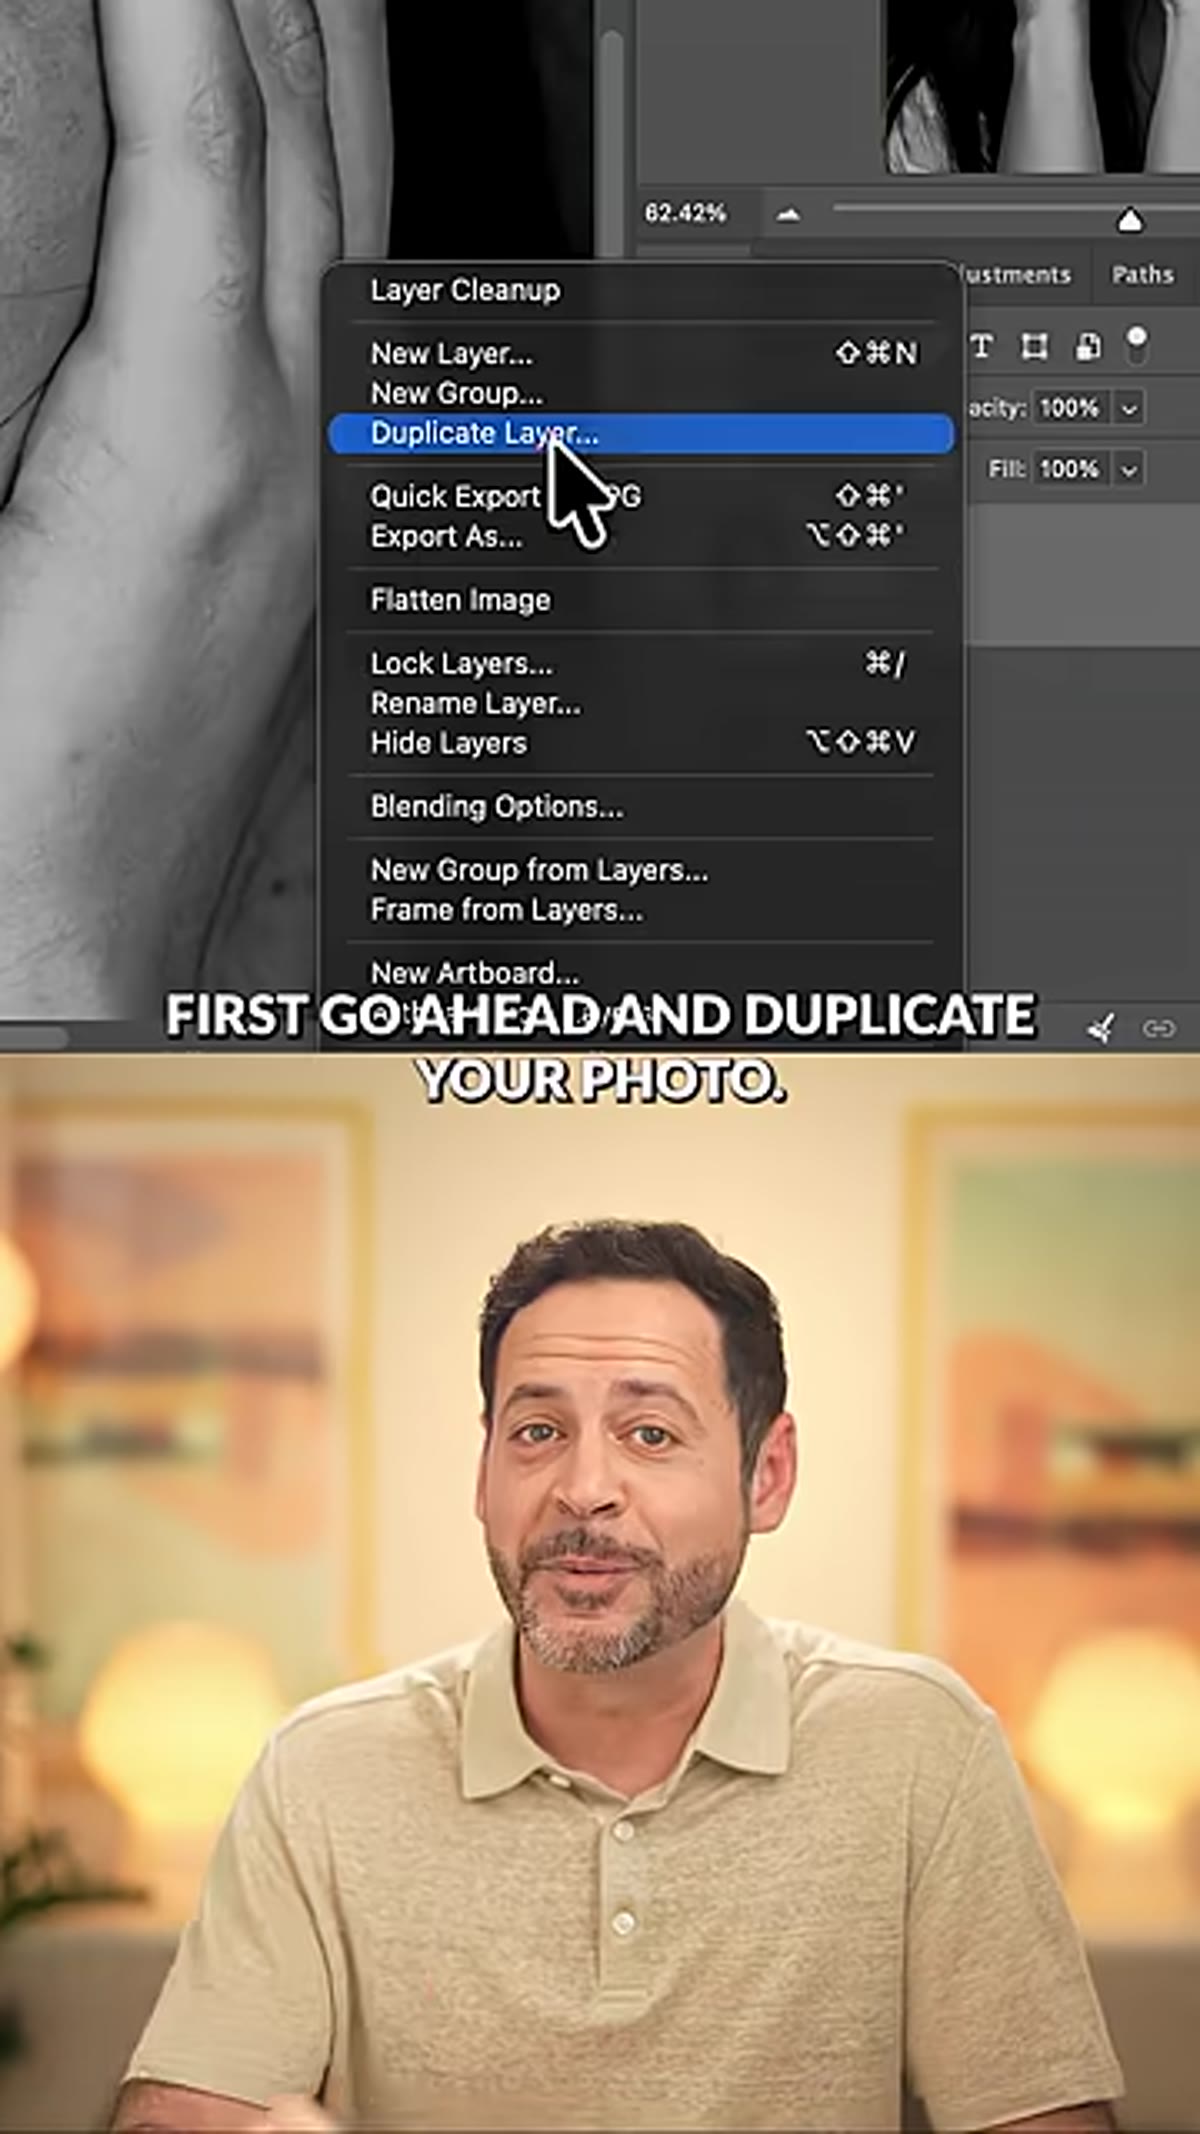 Duplicating the base photo layer in the Layers panel
Before touching anything else, duplicate your photo layer. In the Layers panel, drag your image layer to the New Layer icon, or use Cmd+J (Ctrl+J on Windows). This gives you two identical layers stacked on top of each other. The bottom one stays locked as your original reference. The top one is where all the visible action will happen. Working this way costs you nothing and protects you from the kind of mistakes that are painful to undo six steps later. Name the top layer something obvious - “Photo Top” works fine.
Duplicating the base photo layer in the Layers panel
Before touching anything else, duplicate your photo layer. In the Layers panel, drag your image layer to the New Layer icon, or use Cmd+J (Ctrl+J on Windows). This gives you two identical layers stacked on top of each other. The bottom one stays locked as your original reference. The top one is where all the visible action will happen. Working this way costs you nothing and protects you from the kind of mistakes that are painful to undo six steps later. Name the top layer something obvious - “Photo Top” works fine.
Step 2: Create a Vertical Bar on a New Layer
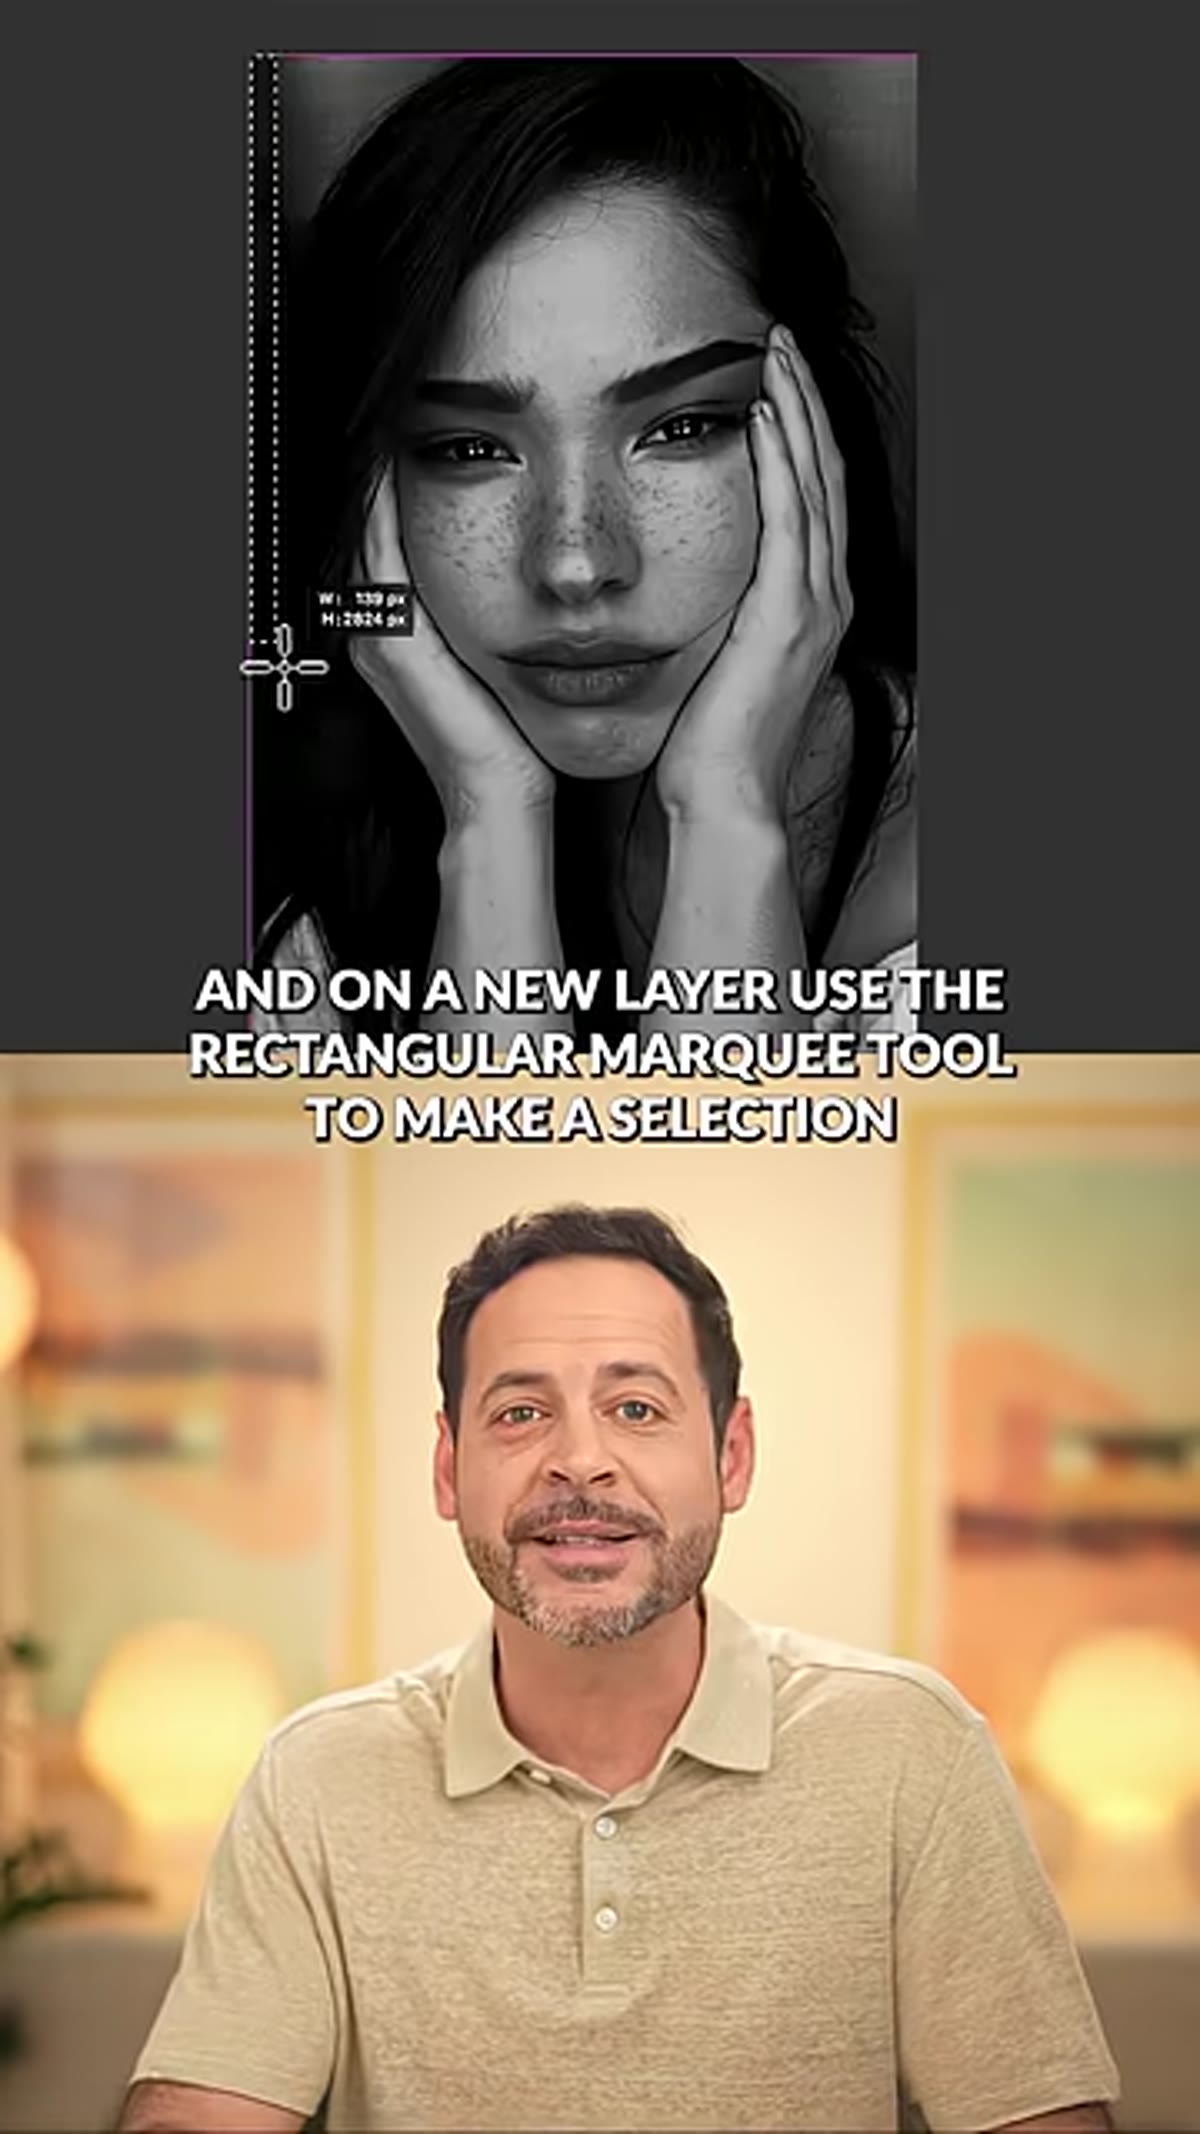 Rectangular marquee selection forming a vertical bar over the photo
Create a brand new empty layer above both photo layers. Grab the Rectangular Marquee tool (M) and draw a tall, narrow vertical selection that runs the full height of your canvas. The width of this bar is a creative decision, but somewhere between 20 and 60 pixels is a good starting range depending on your canvas size. Once your selection is active, fill it with white using Edit > Fill, or Shift+F5. Deselect with Cmd+D. This single white bar is the seed of your entire mask pattern.
Rectangular marquee selection forming a vertical bar over the photo
Create a brand new empty layer above both photo layers. Grab the Rectangular Marquee tool (M) and draw a tall, narrow vertical selection that runs the full height of your canvas. The width of this bar is a creative decision, but somewhere between 20 and 60 pixels is a good starting range depending on your canvas size. Once your selection is active, fill it with white using Edit > Fill, or Shift+F5. Deselect with Cmd+D. This single white bar is the seed of your entire mask pattern.
Don’t overthink the width at this stage. You’ll get a feel for what looks right once the bars are multiplied across the canvas. Thinner bars create a finer, more fragmented look. Wider bars give you something bolder and more graphic.
Step 3: Use Step and Repeat to Fill the Canvas
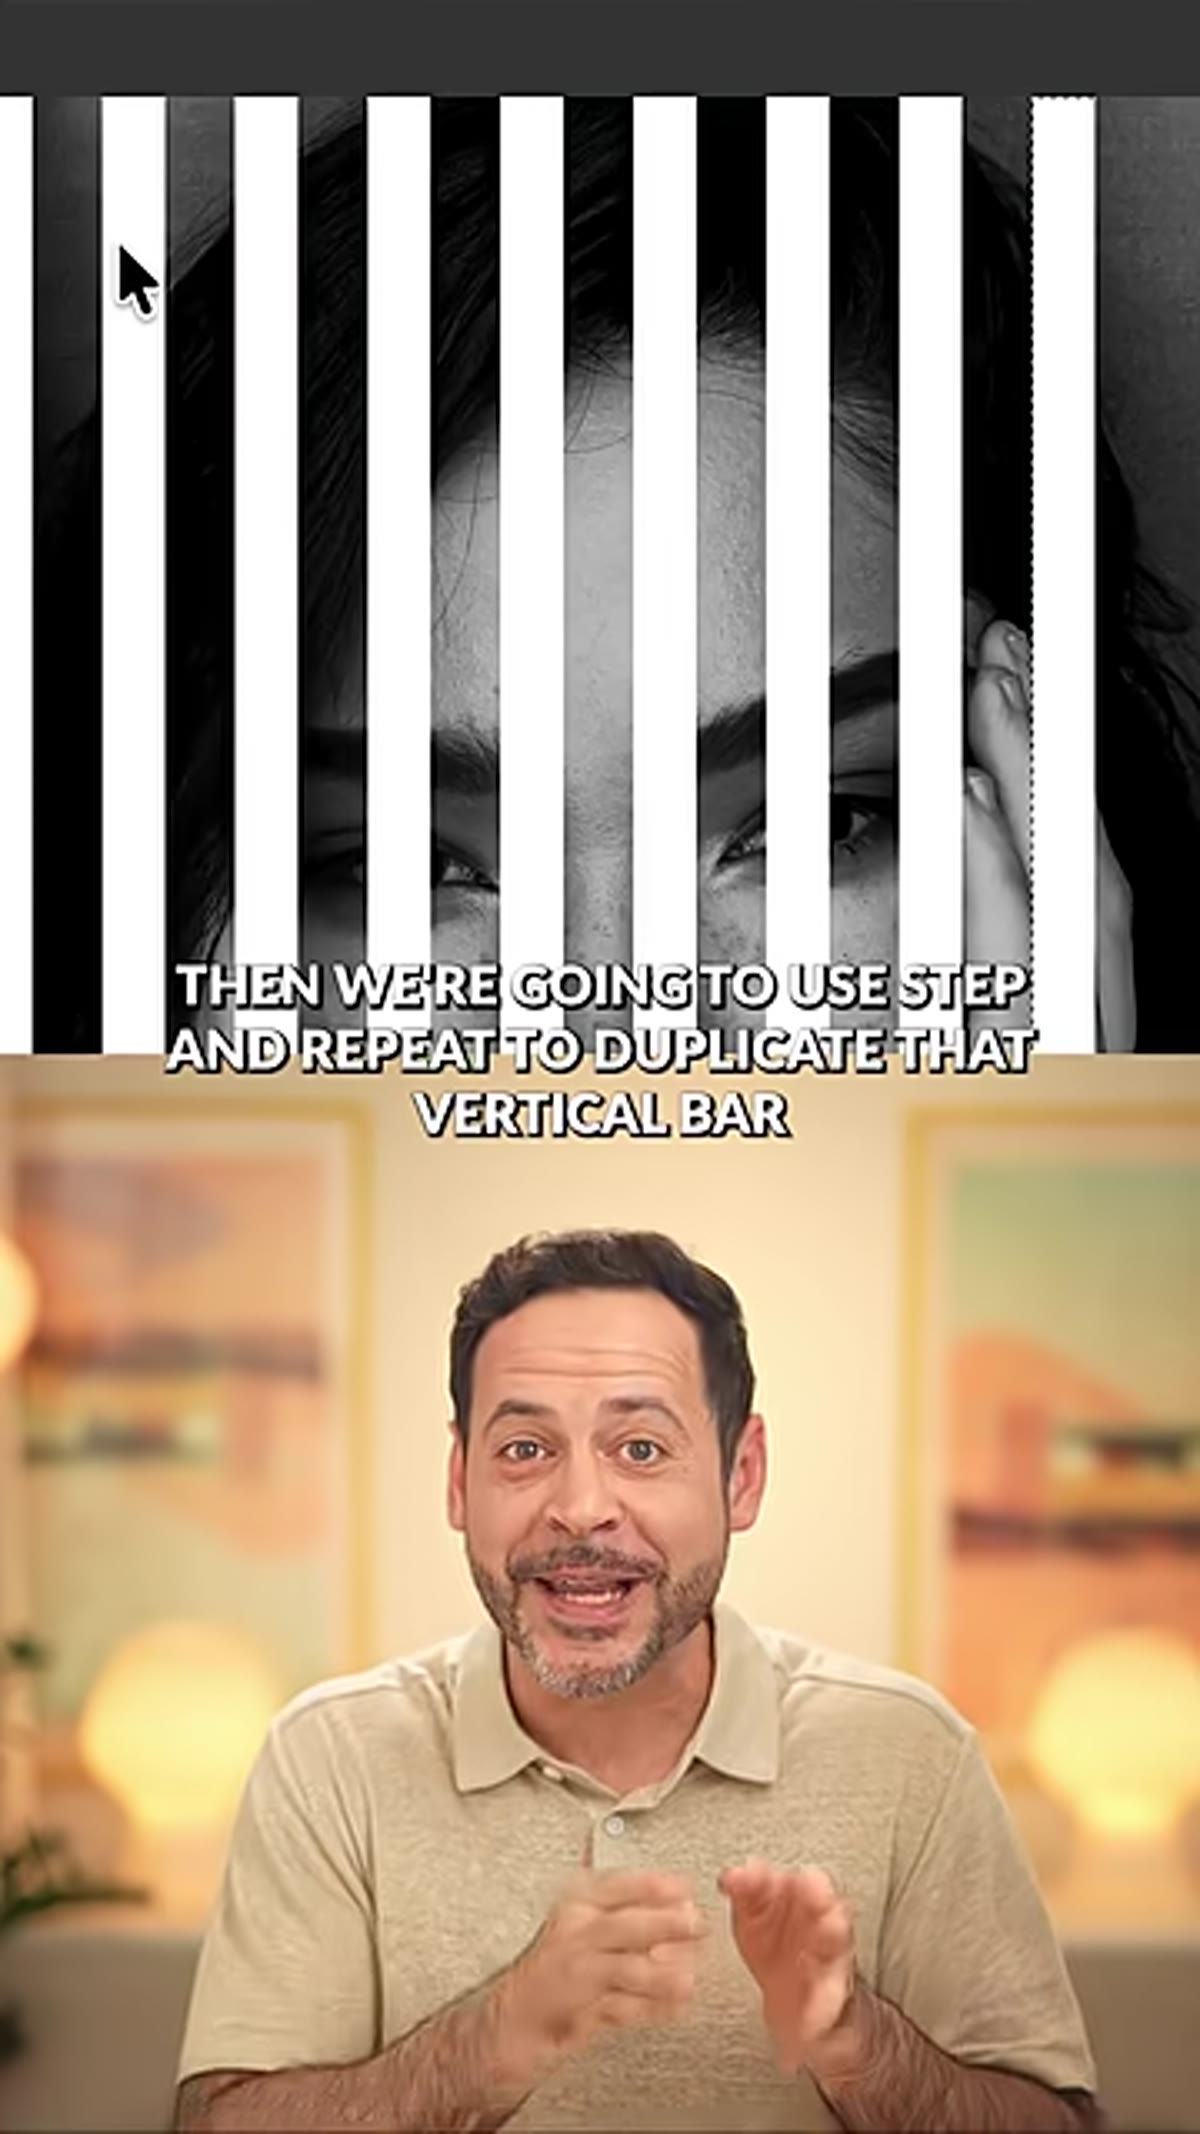 Multiple duplicated white bars spreading across the canvas
This is the step that does the heavy lifting, and it’s the one most people don’t know well enough. With your white bar layer selected, go to Edit > Free Transform (Cmd+T) and move the bar horizontally by a set amount - say, 80 pixels to the right. Hit Enter to confirm. Now use Cmd+Alt+Shift+T (Ctrl+Alt+Shift+T on Windows) repeatedly to duplicate and repeat that exact transformation. Each keypress creates a new copy of the bar shifted by the same distance, effectively tiling it across your canvas automatically.
Multiple duplicated white bars spreading across the canvas
This is the step that does the heavy lifting, and it’s the one most people don’t know well enough. With your white bar layer selected, go to Edit > Free Transform (Cmd+T) and move the bar horizontally by a set amount - say, 80 pixels to the right. Hit Enter to confirm. Now use Cmd+Alt+Shift+T (Ctrl+Alt+Shift+T on Windows) repeatedly to duplicate and repeat that exact transformation. Each keypress creates a new copy of the bar shifted by the same distance, effectively tiling it across your canvas automatically.
Keep pressing until the bars cover the full width of your image. Once they’re in place, select all of those bar layers in the Layers panel and merge them into a single layer with Cmd+E. You now have one flat layer containing your entire striped pattern, all in white, ready to become a mask. The spacing between bars is what determines the gap between slices in the final effect - equal spacing between bar width and gap width creates a clean 50/50 rhythm that tends to work well.
Step 4: Load the Stripe Layer as a Selection
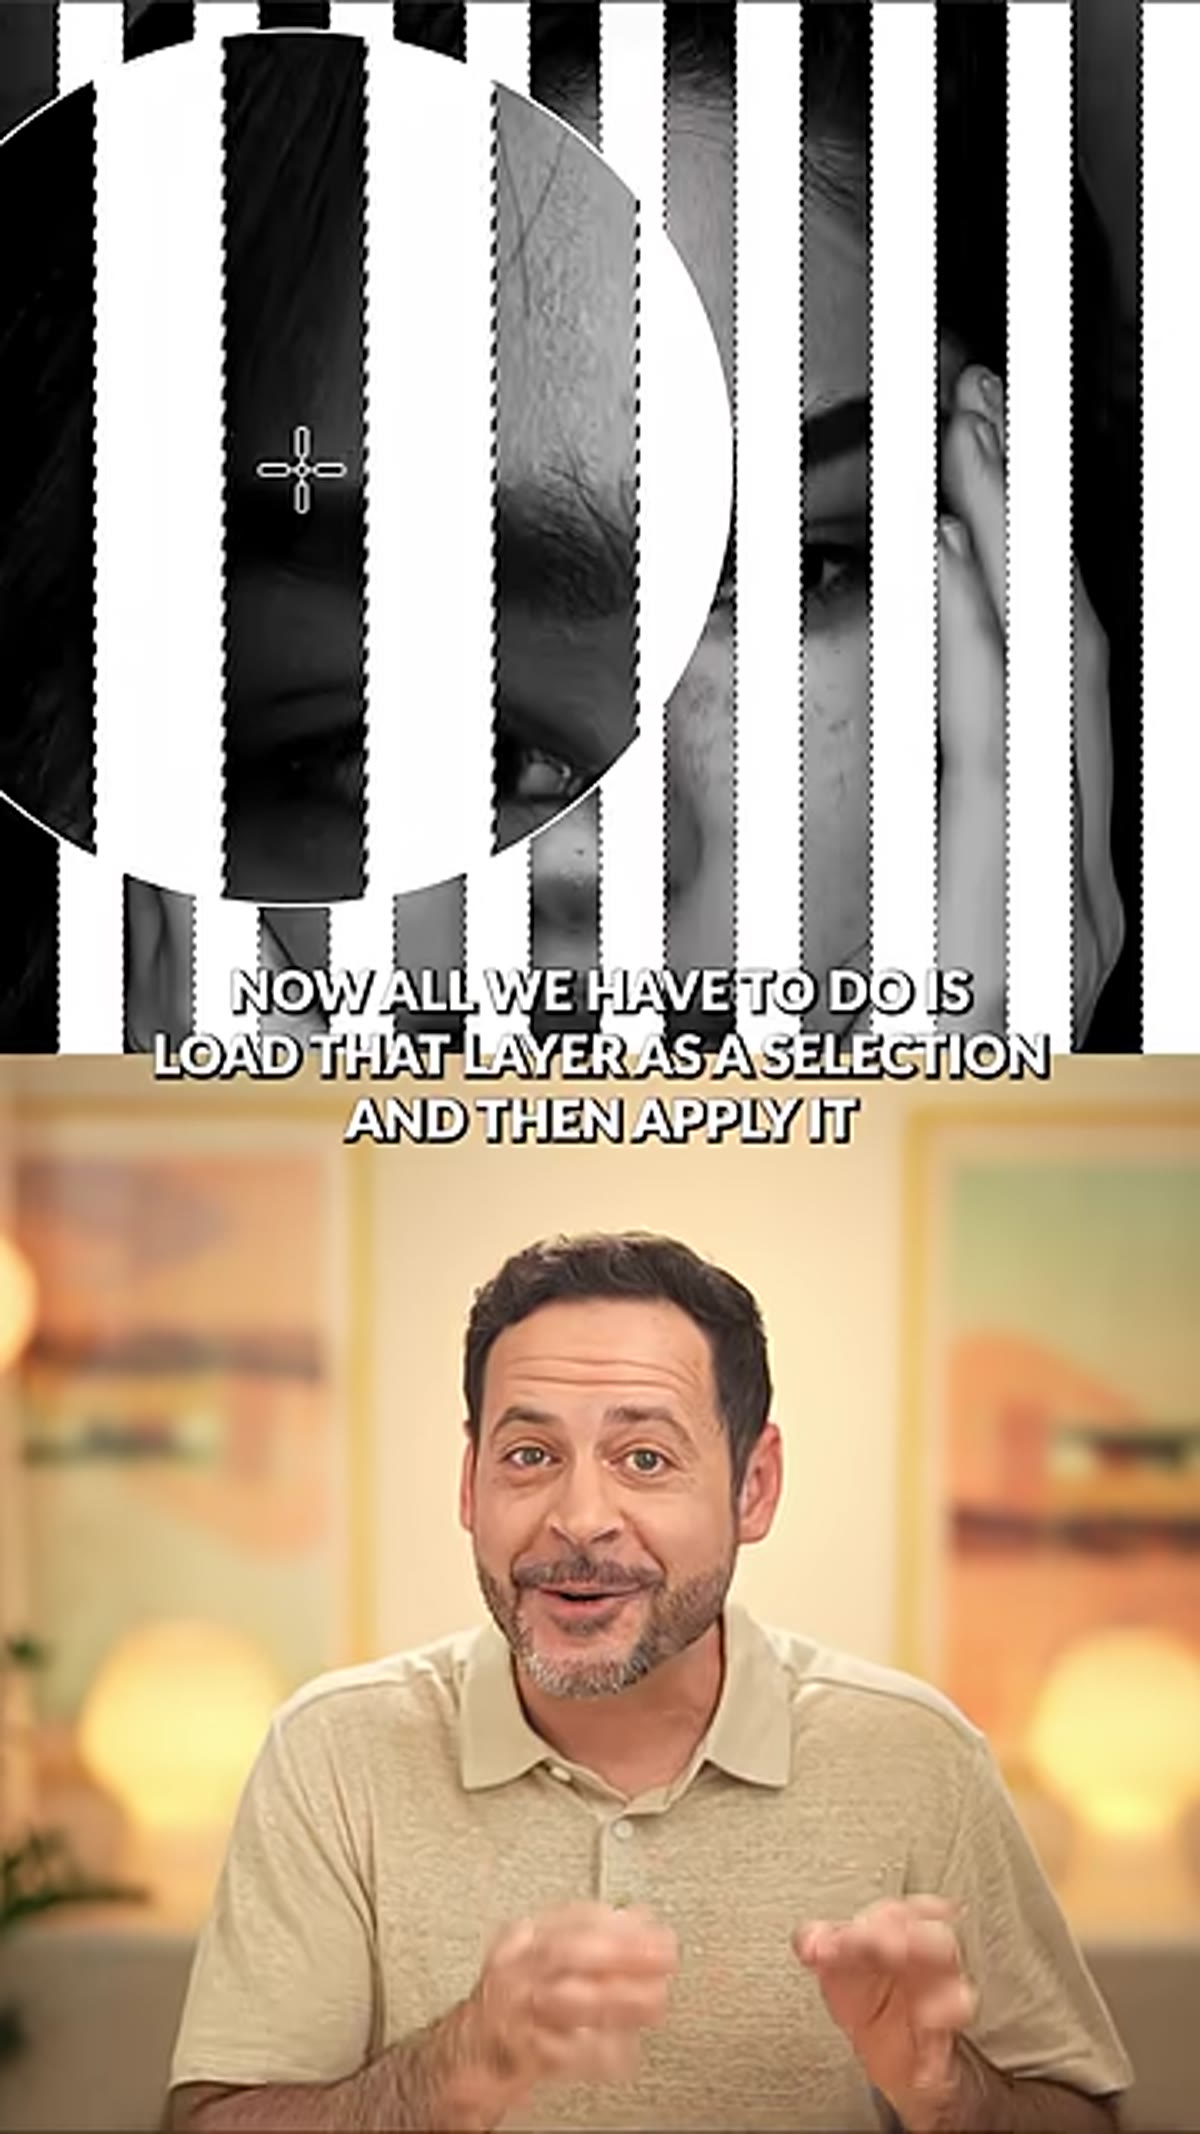 Loading layer contents as a selection via Ctrl-click on layer thumbnail
Cmd+click (Ctrl+click on Windows) directly on the thumbnail of your merged stripe layer in the Layers panel. This loads the white areas as an active selection. You’ll see the marching ants appear around every bar across your canvas. Once that selection is loaded, you can hide or delete the stripe layer itself - it’s done its job. The selection is now stored temporarily in memory, and that’s all you need to carry forward.
Loading layer contents as a selection via Ctrl-click on layer thumbnail
Cmd+click (Ctrl+click on Windows) directly on the thumbnail of your merged stripe layer in the Layers panel. This loads the white areas as an active selection. You’ll see the marching ants appear around every bar across your canvas. Once that selection is loaded, you can hide or delete the stripe layer itself - it’s done its job. The selection is now stored temporarily in memory, and that’s all you need to carry forward.
Step 5: Apply the Selection as a Layer Mask
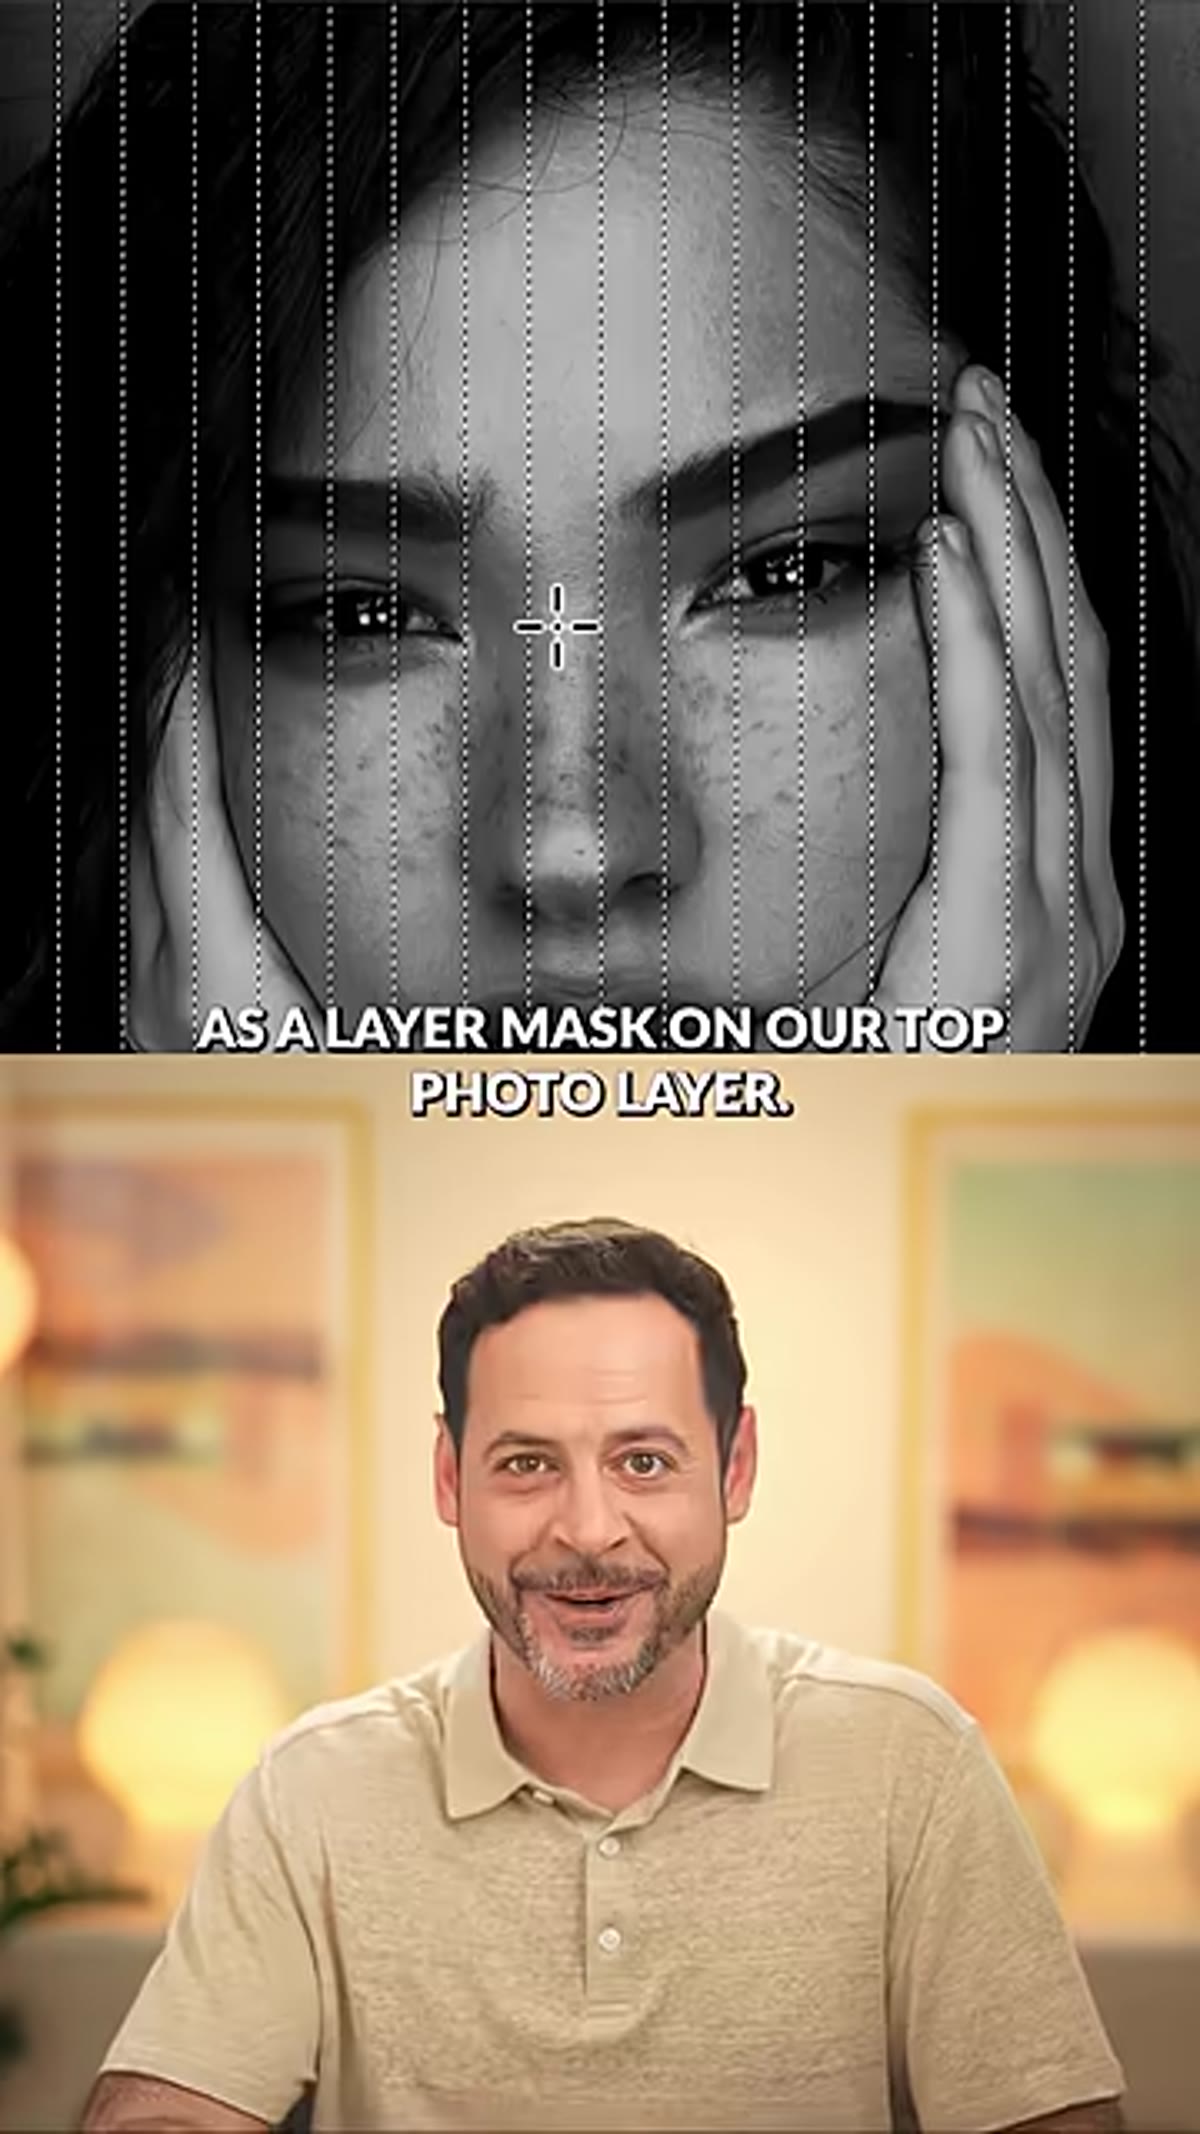 Layer mask applied to the top photo layer in Layers panel
Click on your top photo layer to make it active. With your stripe selection still live, click the Add Layer Mask button at the bottom of the Layers panel - it looks like a rectangle with a circle inside. Photoshop instantly converts your selection into a mask, hiding everything outside the white bars and revealing only the sliced strips of your photo. The bottom photo layer shows through in the gaps. Right now, both layers show the same image, so the effect isn’t visible yet - that changes in the next step.
Layer mask applied to the top photo layer in Layers panel
Click on your top photo layer to make it active. With your stripe selection still live, click the Add Layer Mask button at the bottom of the Layers panel - it looks like a rectangle with a circle inside. Photoshop instantly converts your selection into a mask, hiding everything outside the white bars and revealing only the sliced strips of your photo. The bottom photo layer shows through in the gaps. Right now, both layers show the same image, so the effect isn’t visible yet - that changes in the next step.
Step 6: Slide the Top Layer to Create the Offset
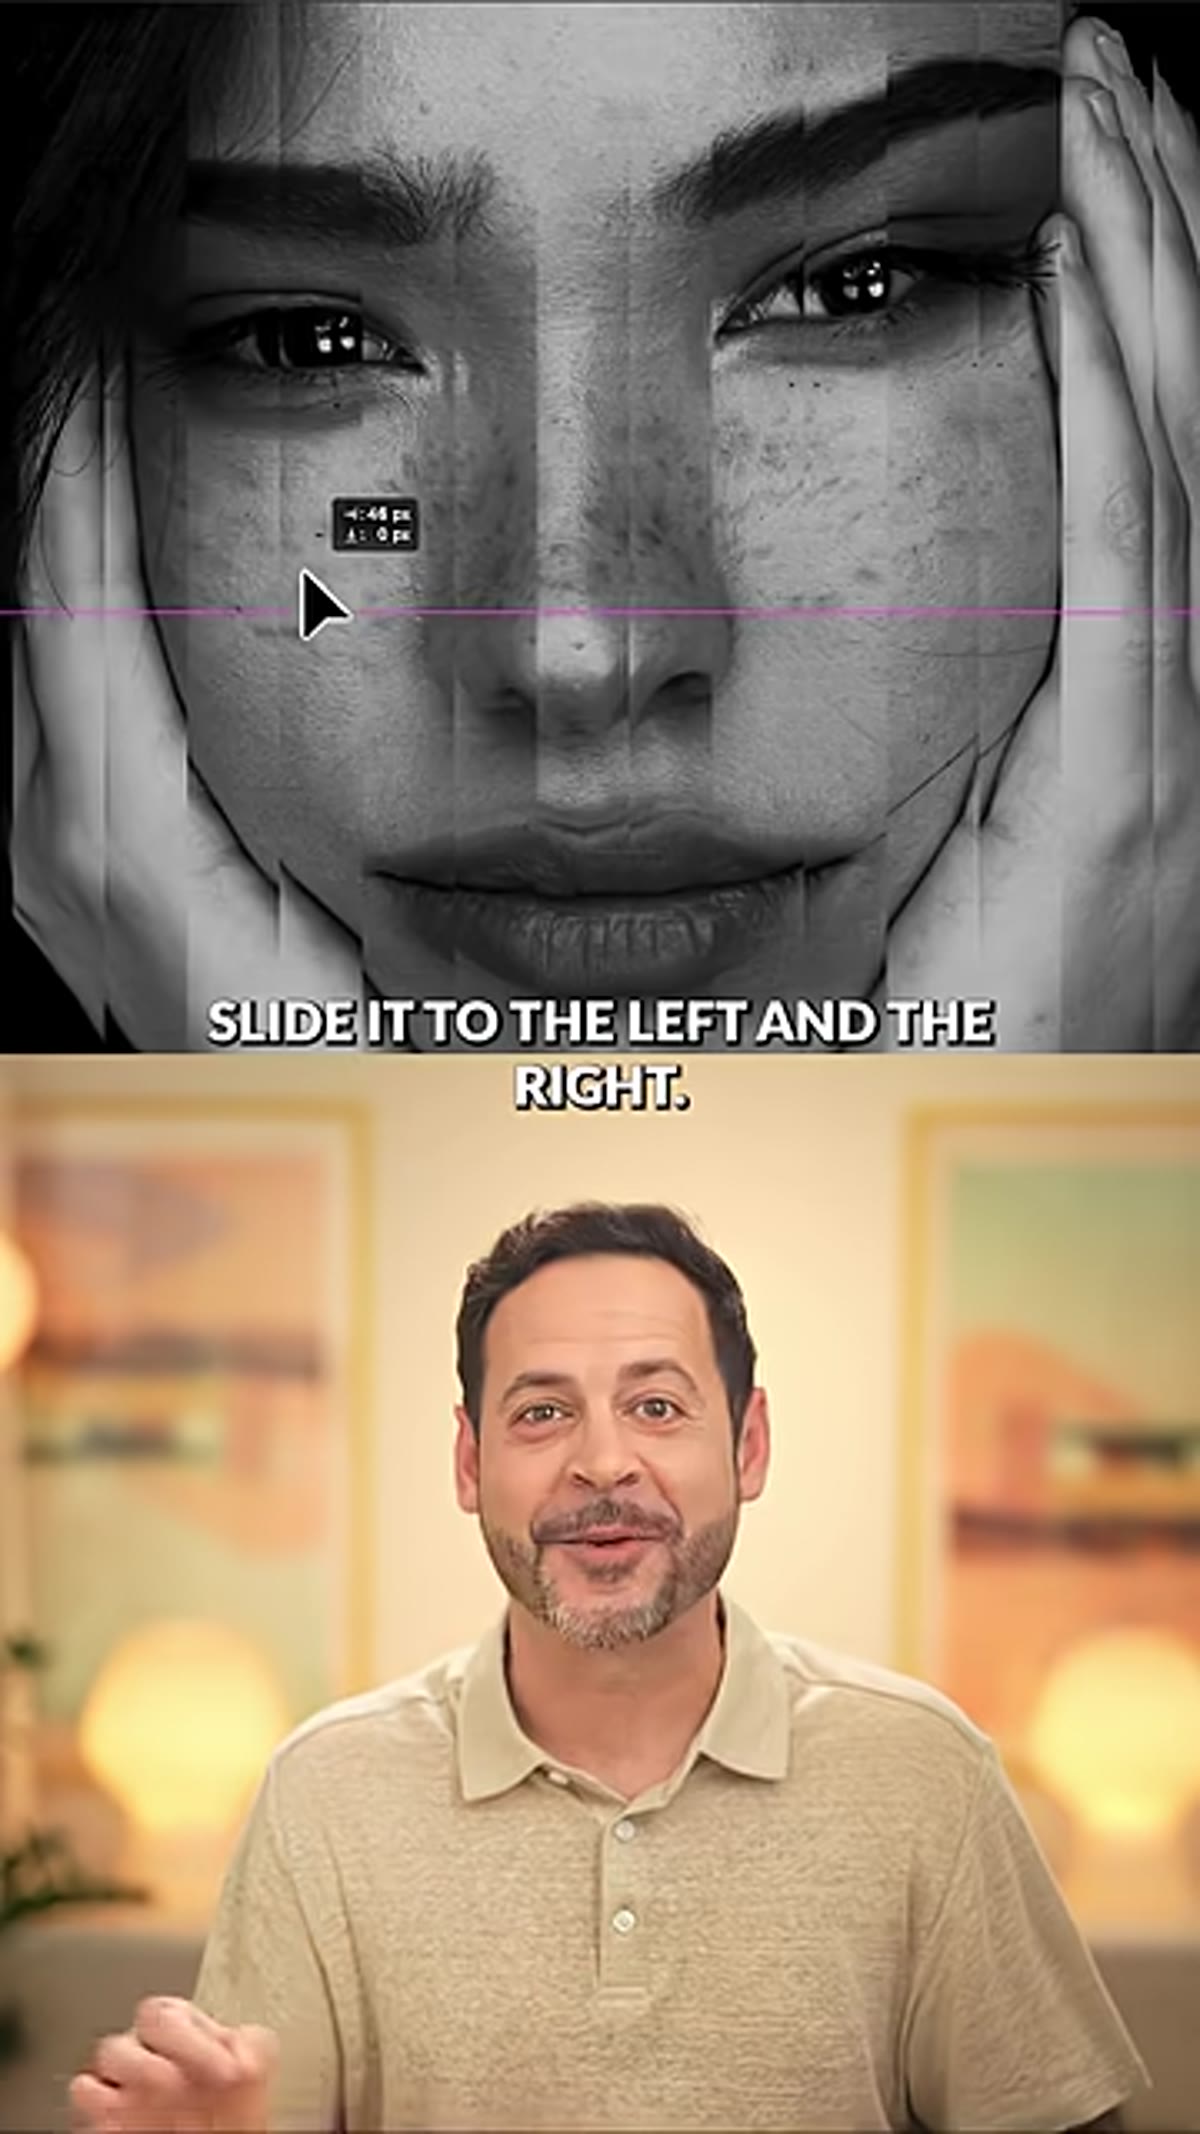 Top photo layer shifted horizontally to reveal the slice offset effect
Click on the image thumbnail of your top photo layer - not the mask thumbnail, the image itself. Now use the Move tool (V) or simply tap the left and right arrow keys to shift the layer horizontally. As you move it, the image inside the bars slides while the gaps stay locked to the original photo below. This offset between the two positions is what creates the slice effect. The further you shift, the more dramatic the displacement. A subtle shift of 30 to 50 pixels reads as a glitch or double-exposure. A more aggressive shift of 150 pixels or more starts to feel almost cubist.
Top photo layer shifted horizontally to reveal the slice offset effect
Click on the image thumbnail of your top photo layer - not the mask thumbnail, the image itself. Now use the Move tool (V) or simply tap the left and right arrow keys to shift the layer horizontally. As you move it, the image inside the bars slides while the gaps stay locked to the original photo below. This offset between the two positions is what creates the slice effect. The further you shift, the more dramatic the displacement. A subtle shift of 30 to 50 pixels reads as a glitch or double-exposure. A more aggressive shift of 150 pixels or more starts to feel almost cubist.
How I’d Adapt This for Commercial Work
The technique as described is already solid, but in a production context I’d take it one step further: build the stripe layer creation into a Photoshop action. The step-and-repeat sequence in particular - the Free Transform, confirm, then repeated Cmd+Alt+Shift+T - is exactly the kind of mechanical repetition that actions are designed to absorb. Record it once with your preferred bar width and spacing, save it, and the next time a client asks for “something editorial,” you’re three clicks from a finished mask.
I’d also consider saving the merged stripe layer as a PNG and dropping it into a library. Variable bar widths, angled stripes, curved bars built from selections - each one becomes a reusable mask template. The core logic of this effect, load a shape as a selection, apply it as a mask, offset the layers, scales to nearly any visual pattern you want to experiment with.
The most important thing this tutorial reinforced for me is that Photoshop’s oldest tools are still its most flexible ones. A selection, a mask, and a transformation shortcut - that’s the entire technical footprint of an effect that looks like it required something far more exotic.
Watch the full tutorial on YouTube and then check out Aaron’s extended version on the PHLEARN site for the downloadable PSD template and sample images.
Comments (2)
Would love to see a follow-up going deeper into this topic.
Quality content like this is rare. Keep it up.
Leave a Comment