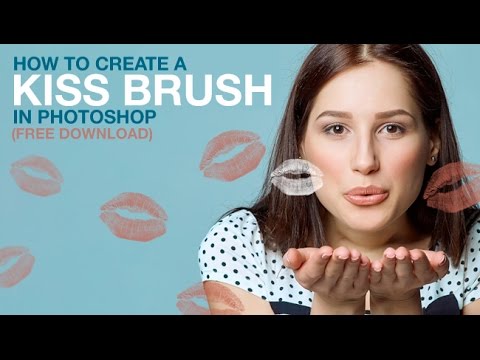
Custom brushes are one of those Photoshop tools I consistently underestimate. I’ve built actions that call brushes, built presets around brushes, and tracked the hours saved because of brushes, but I rarely stop to think about making them from scratch using real-world source material. That’s what pulled me into this tutorial. In this Aaron Nace (PHLEARN) tutorial, Watch the full tutorial on YouTube, he walks through the process of scanning an actual lipstick kiss from paper, cleaning it up in Photoshop, and converting it into a reusable custom brush. The approach is simple but the underlying logic applies to any textured brush you’d want to build from a real object or photograph.
The reason this matters practically: stock kiss brushes look like stock kiss brushes. They tile awkwardly, they’re too perfect, and they read as fake the moment they land on a portrait. A brush built from an actual kiss print has the compression irregularities, the texture of paper, the real lip shape of a real person. For commercial retouching work, that kind of authenticity is exactly what separates a comp that earns approval from one that gets kicked back. Even if you never use a kiss brush professionally, the method here is the template for building any organic brush from physical source material.
Step 1: Capture and Open Your Source Kiss
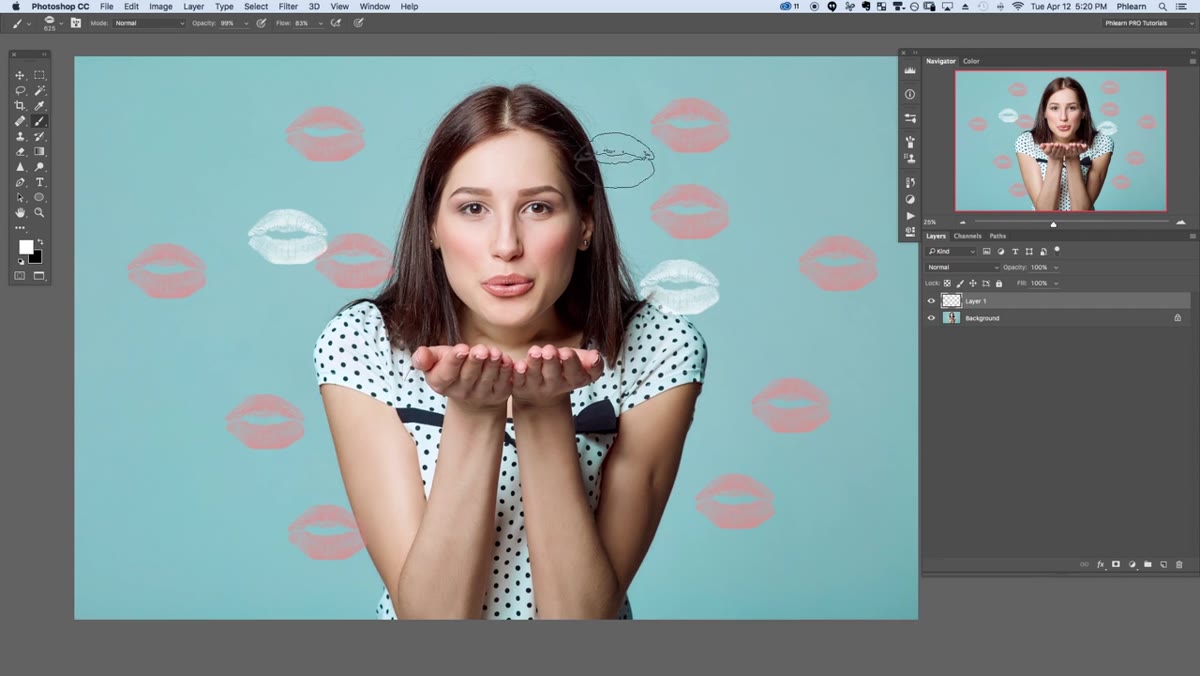 Scanned paper with multiple lipstick kiss marks visible
The starting point is a piece of paper with a lipstick kiss on it. Aaron’s team applied lipstick to one of their studio assistants and pressed it directly onto paper, then ran it through a flatbed scanner. You don’t need a scanner. A well-lit phone photo against a clean white background works. What you need is good contrast between the kiss and the paper. Avoid shadows across the print. A scanner is ideal because it captures fine texture evenly, but natural window light on a flat surface will get you 90% there.
Scanned paper with multiple lipstick kiss marks visible
The starting point is a piece of paper with a lipstick kiss on it. Aaron’s team applied lipstick to one of their studio assistants and pressed it directly onto paper, then ran it through a flatbed scanner. You don’t need a scanner. A well-lit phone photo against a clean white background works. What you need is good contrast between the kiss and the paper. Avoid shadows across the print. A scanner is ideal because it captures fine texture evenly, but natural window light on a flat surface will get you 90% there.
Step 2: Select and Isolate the Best Kiss
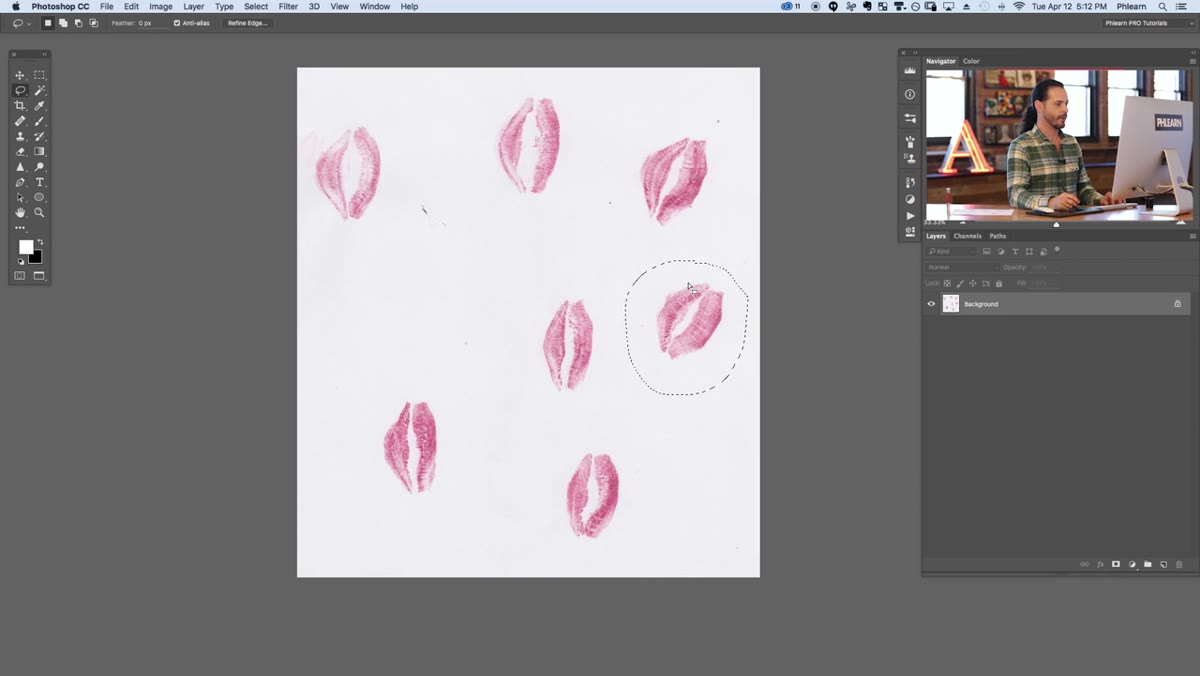 Lasso tool selection drawn around a single kiss mark
Open the scanned image in Photoshop. If you have multiple attempts on the page, pick the cleanest one with the most complete lip impression. Use the Lasso tool (L) to draw a loose selection around just that kiss, leaving a small margin around it. Then hit Command+J (Mac) or Ctrl+J (PC) to copy that selection up onto its own new layer. You can hit Command+T to bring up Free Transform and rotate it to a natural orientation. Most kiss prints come off the page at an angle depending on how the paper was positioned, so a quick rotation pass gets everything squared up before you move further.
Lasso tool selection drawn around a single kiss mark
Open the scanned image in Photoshop. If you have multiple attempts on the page, pick the cleanest one with the most complete lip impression. Use the Lasso tool (L) to draw a loose selection around just that kiss, leaving a small margin around it. Then hit Command+J (Mac) or Ctrl+J (PC) to copy that selection up onto its own new layer. You can hit Command+T to bring up Free Transform and rotate it to a natural orientation. Most kiss prints come off the page at an angle depending on how the paper was positioned, so a quick rotation pass gets everything squared up before you move further.
Step 3: Clean Up the Edges
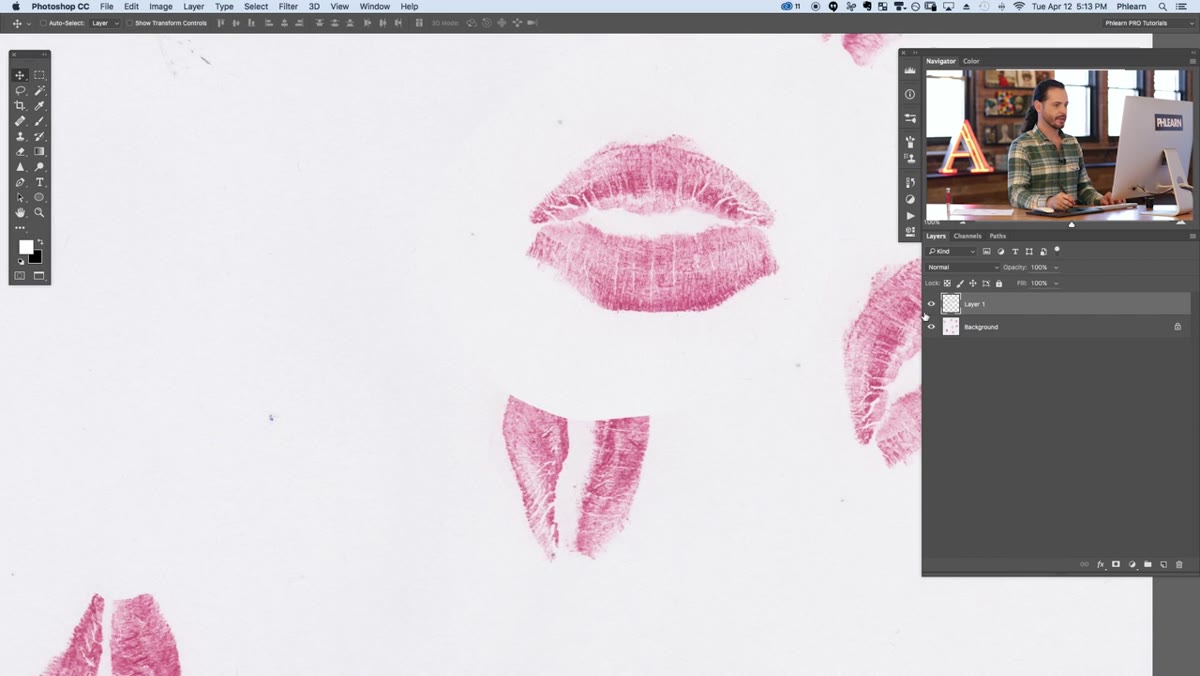 Clone stamp tool being used to clean smudges around the kiss
Zoom into the isolated kiss layer and toggle off the original background layer so you’re looking at just the kiss on a transparent canvas. Here’s where Aaron makes a good practical call: he starts with the Healing Brush (J) but switches to the Clone Stamp tool (S) because the Healing Brush blurs edge detail as it blends. For something like a kiss print where the crisp edge is the whole point, the Clone Stamp is the right call. Sample from a clean area of the white paper nearby and paint over any smudges, stray ink marks, or torn paper texture around the perimeter of the kiss. Keep the lip texture itself untouched. You’re only cleaning the surrounding noise.
Clone stamp tool being used to clean smudges around the kiss
Zoom into the isolated kiss layer and toggle off the original background layer so you’re looking at just the kiss on a transparent canvas. Here’s where Aaron makes a good practical call: he starts with the Healing Brush (J) but switches to the Clone Stamp tool (S) because the Healing Brush blurs edge detail as it blends. For something like a kiss print where the crisp edge is the whole point, the Clone Stamp is the right call. Sample from a clean area of the white paper nearby and paint over any smudges, stray ink marks, or torn paper texture around the perimeter of the kiss. Keep the lip texture itself untouched. You’re only cleaning the surrounding noise.
Step 4: Move to a New Document
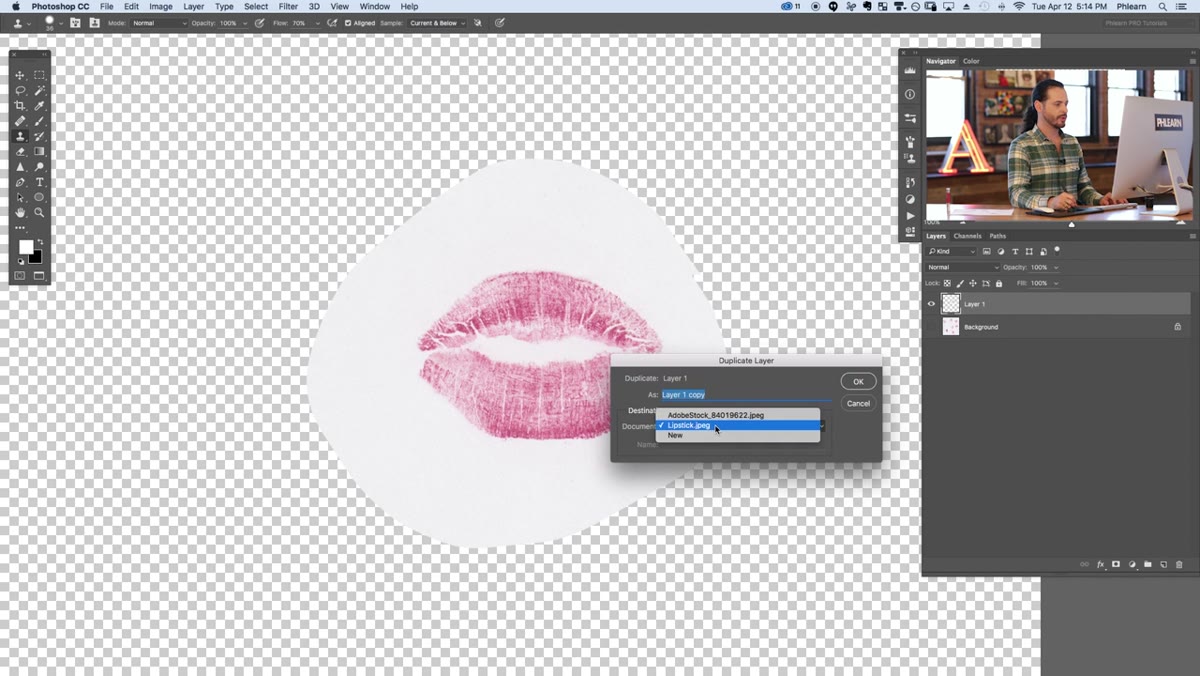 Duplicate layer dialog box with New Document selected
Right-click the cleaned kiss layer in your Layers panel and choose Duplicate Layer. In the dialog that appears, set the Destination to “New” to open the layer in a brand new document. This keeps your original scan intact. The reason you’re working in a separate document is that brush definition in Photoshop reads from the entire canvas bounds, and you want tight control over what’s inside that boundary before you define it.
Duplicate layer dialog box with New Document selected
Right-click the cleaned kiss layer in your Layers panel and choose Duplicate Layer. In the dialog that appears, set the Destination to “New” to open the layer in a brand new document. This keeps your original scan intact. The reason you’re working in a separate document is that brush definition in Photoshop reads from the entire canvas bounds, and you want tight control over what’s inside that boundary before you define it.
Step 5: Desaturate and Set Levels for Black on White
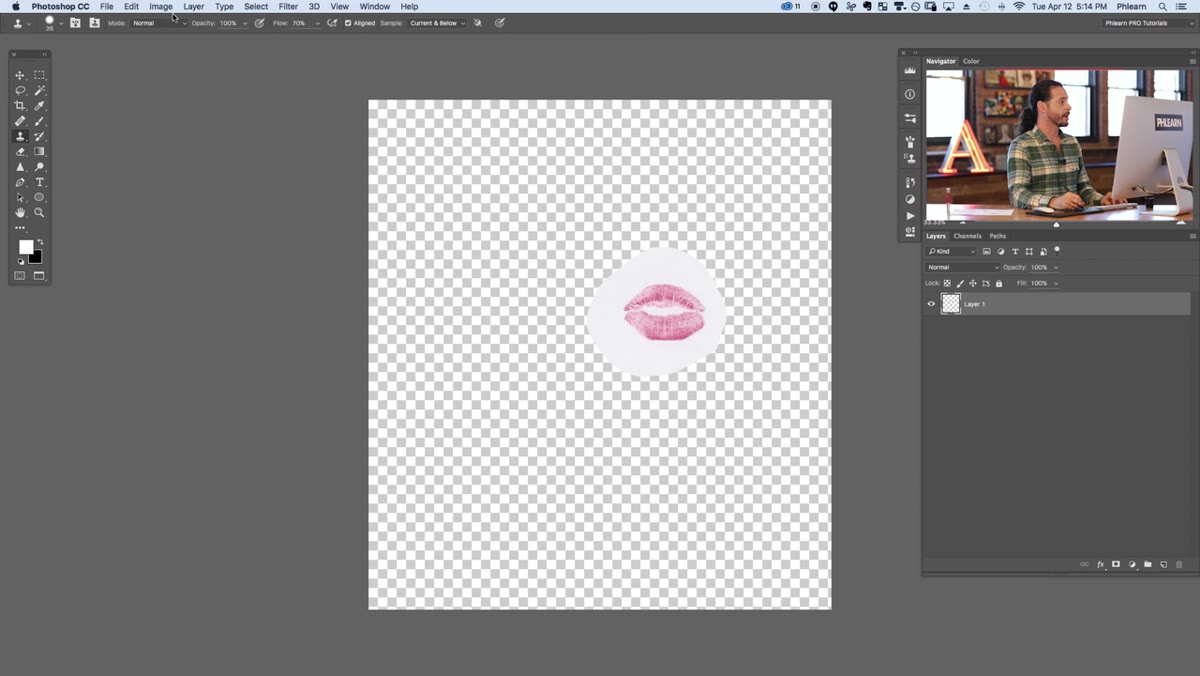 Desaturated kiss layer with Levels dialog open, dark midpoint slider moved left
Here’s the critical concept behind how Photoshop brushes actually work: dark areas paint, white areas are transparent. The darker the pixel, the more opaque the brush stroke. So your source image needs to be black or near-black on a pure white background. Start by desaturating the layer: Image, Adjustments, Desaturate. Then bring up Levels with Command+L (Ctrl+L on PC). Use the white point eyedropper to click the paper background and push it to pure white. Then drag the midpoint slider to the left to darken the lip impression significantly. You want the kiss to read as deep, rich gray to black. Hit OK.
Desaturated kiss layer with Levels dialog open, dark midpoint slider moved left
Here’s the critical concept behind how Photoshop brushes actually work: dark areas paint, white areas are transparent. The darker the pixel, the more opaque the brush stroke. So your source image needs to be black or near-black on a pure white background. Start by desaturating the layer: Image, Adjustments, Desaturate. Then bring up Levels with Command+L (Ctrl+L on PC). Use the white point eyedropper to click the paper background and push it to pure white. Then drag the midpoint slider to the left to darken the lip impression significantly. You want the kiss to read as deep, rich gray to black. Hit OK.
Step 6: Add a White Background Layer and Define the Brush
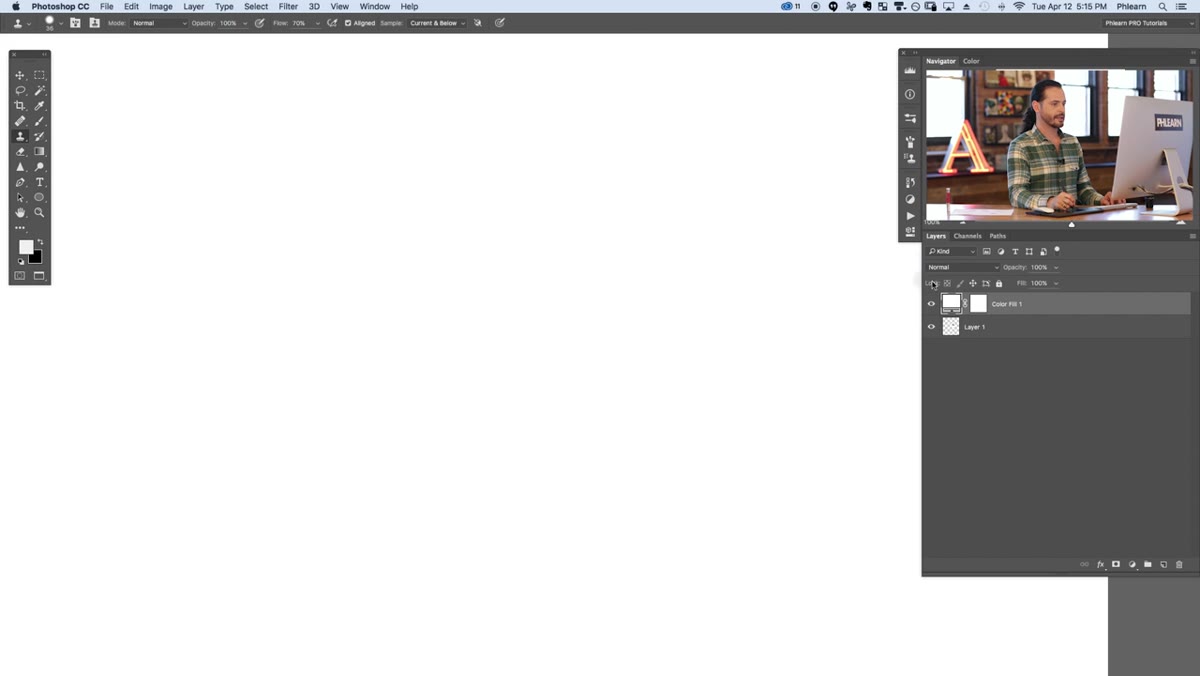 White solid color layer beneath the kiss layer in Layers panel
Add a Solid Color adjustment layer beneath your kiss layer: click the adjustment layer icon at the bottom of the Layers panel and choose Solid Color, then set it to pure white (hex ffffff). This gives you a clean white canvas underneath the kiss so the composition reads correctly before defining. Now flatten the image or make a merged selection of the canvas. Go to Edit, Define Brush Preset. Name it whatever makes sense to you. Photoshop will now register this kiss as a brush in your brush library, available any time you pick up the Brush tool.
White solid color layer beneath the kiss layer in Layers panel
Add a Solid Color adjustment layer beneath your kiss layer: click the adjustment layer icon at the bottom of the Layers panel and choose Solid Color, then set it to pure white (hex ffffff). This gives you a clean white canvas underneath the kiss so the composition reads correctly before defining. Now flatten the image or make a merged selection of the canvas. Go to Edit, Define Brush Preset. Name it whatever makes sense to you. Photoshop will now register this kiss as a brush in your brush library, available any time you pick up the Brush tool.
Extending This Into a Real Workflow
This is where I’d push the technique further than the tutorial covers. Once you’ve defined the brush, go immediately into the Brush Settings panel (Window, Brush Settings) and configure spacing, scatter, and angle jitter. A single static kiss is a novelty. A brush with slight angle jitter and size variation becomes something you can scatter naturally across a surface or build up with multiple strokes without it reading as a repeated stamp. I’d also save the configured brush as a Tool Preset, not just a brush preset, so the settings travel with it. And if you’re deploying this inside a Photoshop action, set the brush call to reference a specific preset name so the action doesn’t break if someone reorganizes their brush library.
The biggest thing Aaron demonstrates here isn’t really about kiss brushes at all. It’s the workflow logic of taking real-world physical texture, cleaning it up methodically, and converting it into a repeatable digital asset. That logic applies to fabric impressions, paint strokes, fingerprints, ink rollers, anything you can press onto paper and scan. Once you internalize the black-on-white rule and understand that Photoshop brushes are essentially grayscale masks, you can build an entire library of organic brushes that no one else has.
Watch the full tutorial on YouTube to follow along with Aaron Nace’s original demonstration.
Comments (1)
This is exactly what I needed today. Been struggling with this for weeks.
Leave a Comment