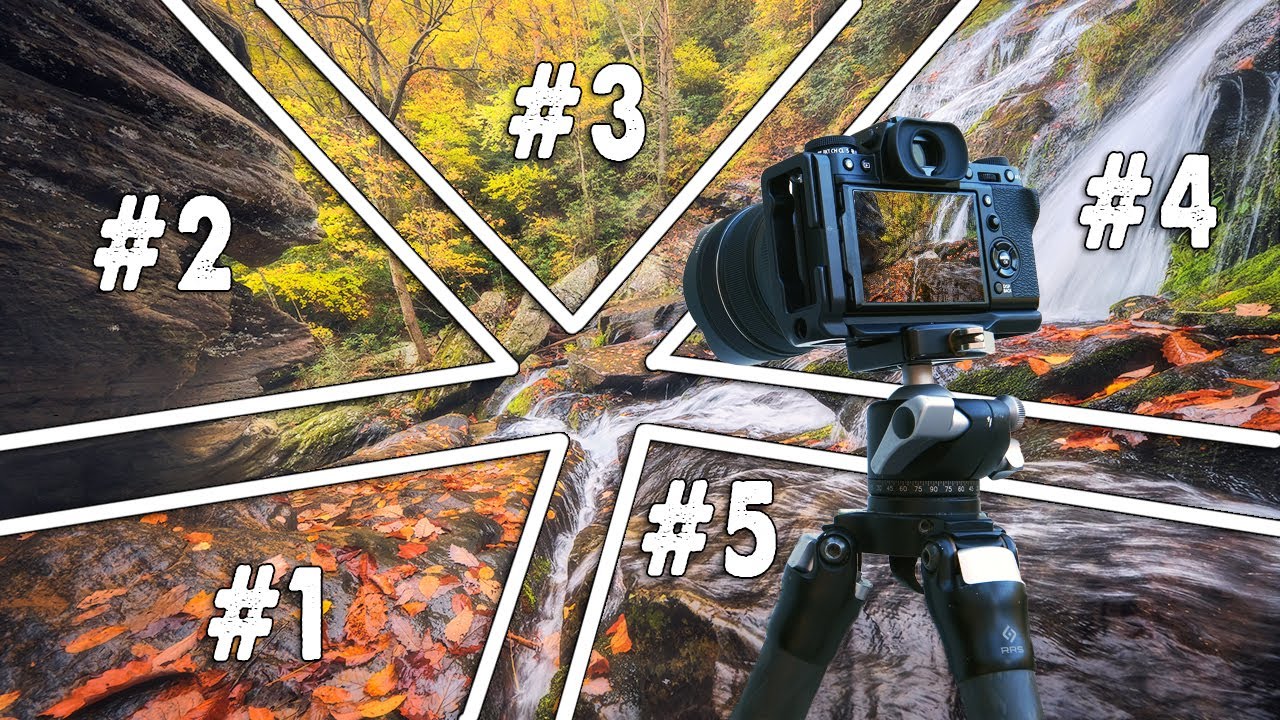
I’ve spent fifteen years telling clients exactly what their images need. Stronger subject placement. A leading line. Something in the foreground to create depth. The advice rolls out automatically. But landscape photography is a different beast entirely, and for a long time I was humbled by it every single time I went out with my own camera. I knew all the principles. I just couldn’t apply them fast enough when I was standing in a river at golden hour with cold water in my boots and fading light overhead.
That’s why this tutorial from Mark Denney landed so well with me. In his video Watch the full tutorial on YouTube, Denney walks through a real trip to the Blue Ridge Mountains and shows how he moved from a mediocre first shot to a strong final composition using five repeatable steps. It’s not a theory lecture. It’s a field workflow, and field workflows are something I understand deeply. The difference between knowing a technique and having a system for applying it under pressure is the difference between a good image and a frustrating afternoon.
What follows is a breakdown of those five steps, written so you can take them into the field without needing to pull out your phone and scrub through a video.
Step 1: Identify Your Reason
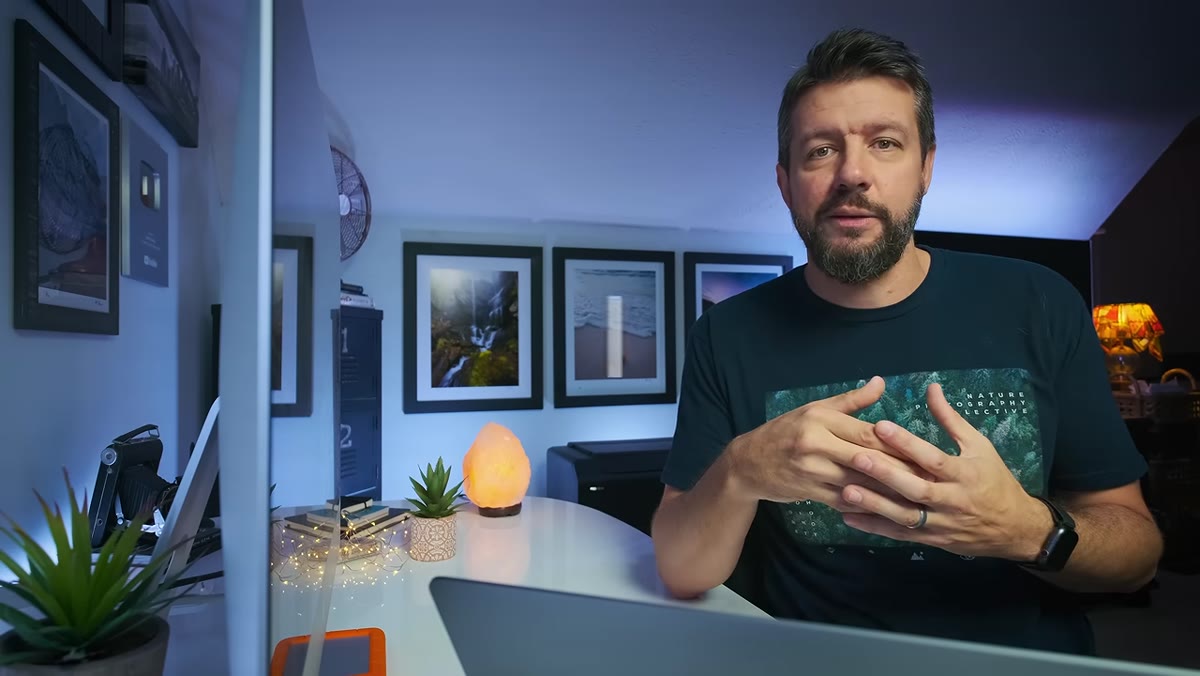 First waterfall image on screen, Mark explaining “the reason”
Before you set up your tripod or even think about focal length, you need to name the one thing you came to photograph. Denney calls this “the reason,” and while it sounds almost too simple, having it explicit changes how you make every decision that follows. Is it the waterfall? The mountain ridgeline? The color in the tree canopy? Name it out loud if you have to. That subject is the destination your composition needs to deliver the viewer to. Every other decision you make on location is in service of that single element.
First waterfall image on screen, Mark explaining “the reason”
Before you set up your tripod or even think about focal length, you need to name the one thing you came to photograph. Denney calls this “the reason,” and while it sounds almost too simple, having it explicit changes how you make every decision that follows. Is it the waterfall? The mountain ridgeline? The color in the tree canopy? Name it out loud if you have to. That subject is the destination your composition needs to deliver the viewer to. Every other decision you make on location is in service of that single element.
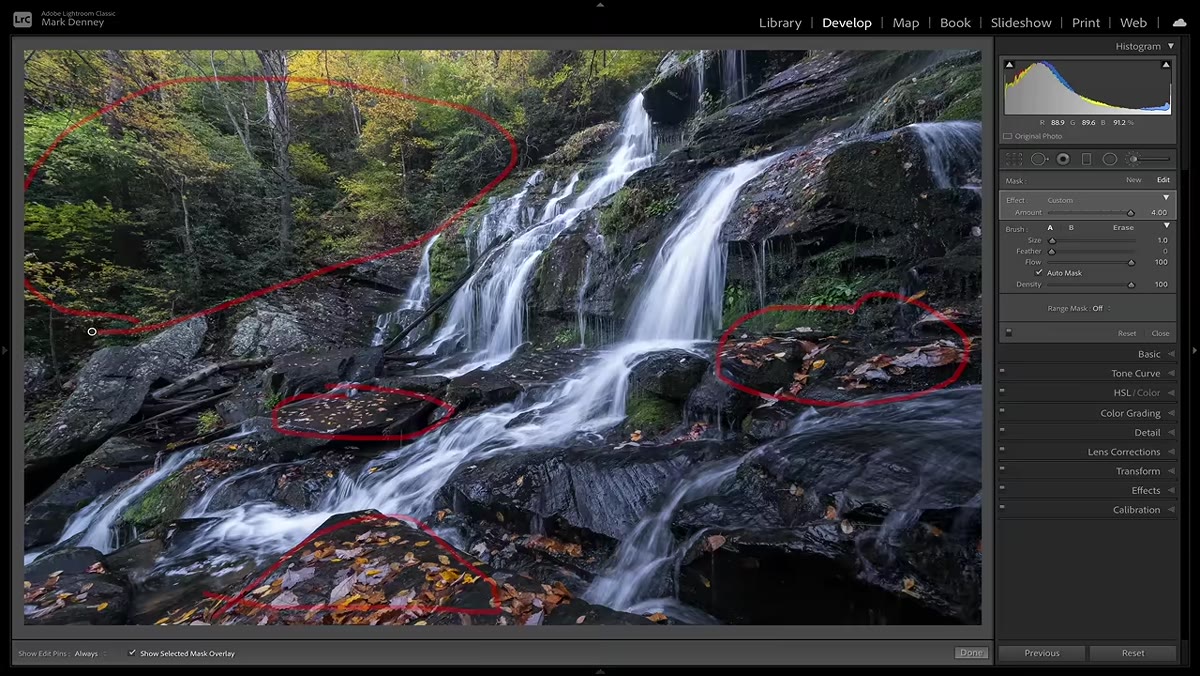
For Denney’s Blue Ridge shoot, the reason was a large cascading waterfall. His very first frame was rough, and he knew it. He took around 40 to 50 variations before he landed on the final composition. That’s not failure. That’s the process working correctly, and it starts by knowing what you’re building toward.
Step 2: Find Your Supporting Elements
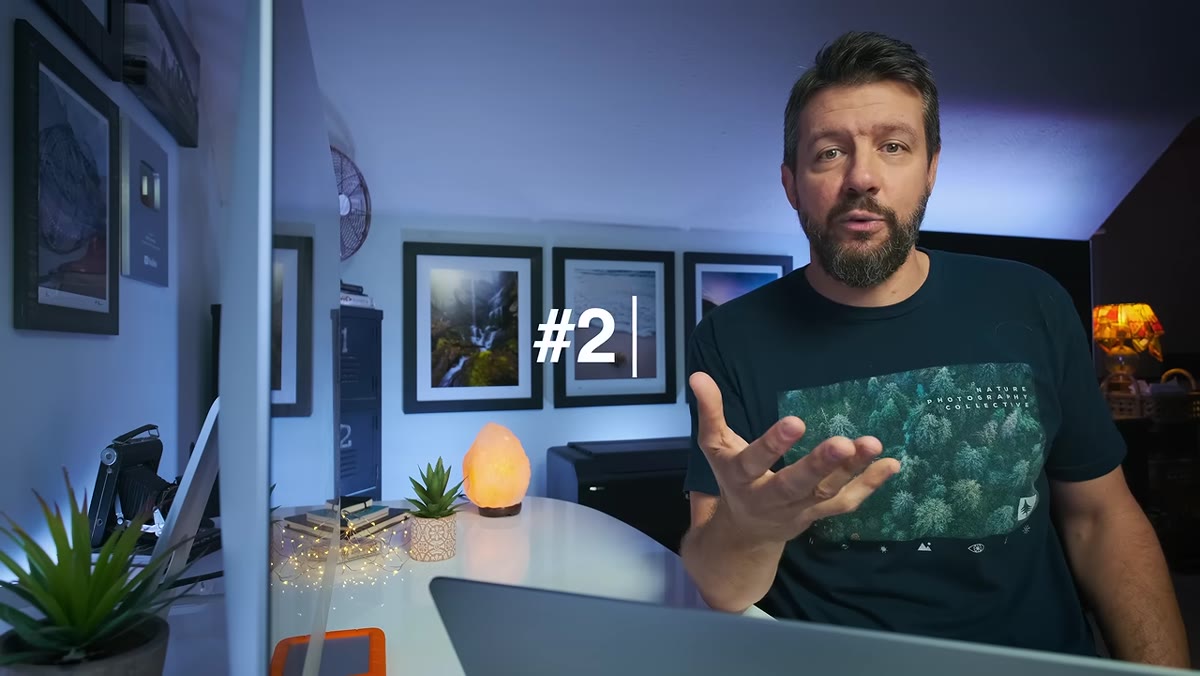 Mark gesturing toward foreground rocks and surrounding foliage near the waterfall
Once your reason is locked in, look at what the scene is offering you as support. Supporting elements are the compositional tools that guide the viewer’s eye toward your subject. These include foreground rocks, leading lines formed by streams or paths, tree branches that frame the scene, or layers of terrain that create a sense of depth. You’re not decorating the image. You’re building a visual path.
Mark gesturing toward foreground rocks and surrounding foliage near the waterfall
Once your reason is locked in, look at what the scene is offering you as support. Supporting elements are the compositional tools that guide the viewer’s eye toward your subject. These include foreground rocks, leading lines formed by streams or paths, tree branches that frame the scene, or layers of terrain that create a sense of depth. You’re not decorating the image. You’re building a visual path.
The practical move here is to walk the location before you set up. Take a few test frames with your phone or just look through your viewfinder without shooting. Ask yourself what’s between you and your reason, and whether any of it helps or hurts. A rock that clutters the foreground at one angle might become a strong anchor point from three feet to the left.
Step 3: Explore Multiple Vantage Points
 Mark physically moving to different positions, comparing angles at the waterfall
This is where most photographers underinvest their time. We find a decent angle and we stay there, especially if the light is moving fast. Denney pushes back on that instinct hard. Moving your position, even by a small amount, changes the relationship between your reason and your supporting elements dramatically. A foreground rock that was half-cut off at one position becomes a clean anchor from a lower angle. A distracting branch disappears when you shift slightly right.
Mark physically moving to different positions, comparing angles at the waterfall
This is where most photographers underinvest their time. We find a decent angle and we stay there, especially if the light is moving fast. Denney pushes back on that instinct hard. Moving your position, even by a small amount, changes the relationship between your reason and your supporting elements dramatically. A foreground rock that was half-cut off at one position becomes a clean anchor from a lower angle. A distracting branch disappears when you shift slightly right.
Give yourself permission to look awkward. Get lower, get higher, wade closer, step back further. Each new position is a new composition, and you won’t know which one works until you’ve tried at least four or five. The camera doesn’t lie, so take quick test shots rather than trying to evaluate everything in your head.
Step 4: Refine the Frame Edges
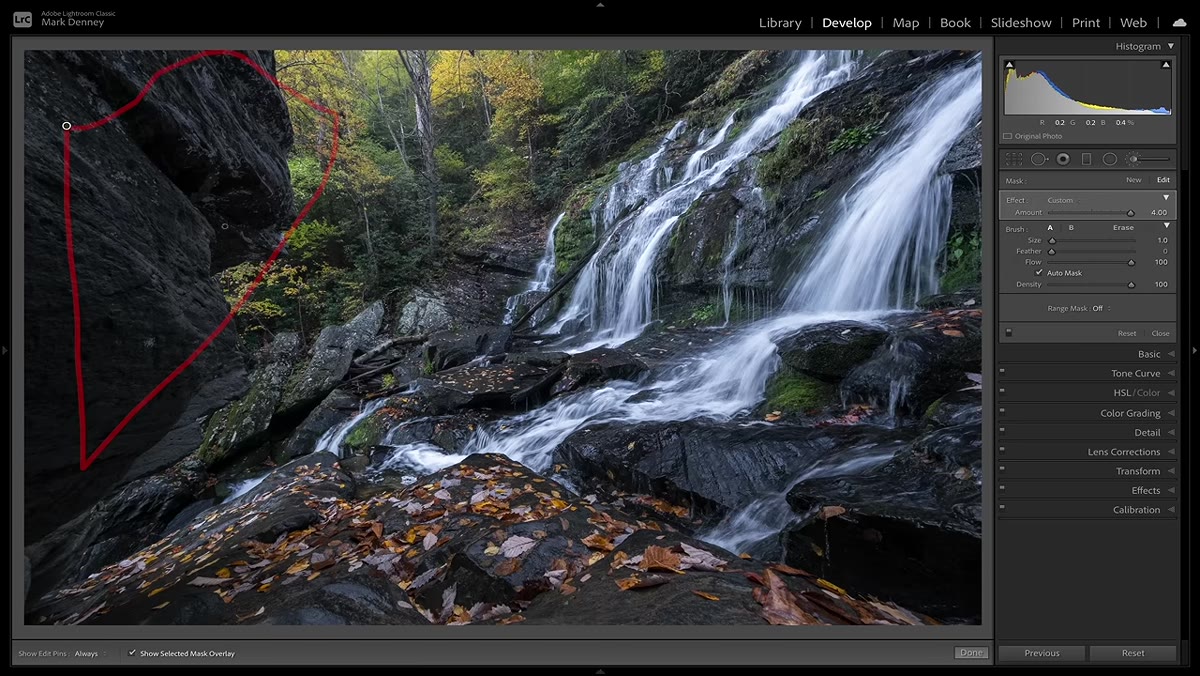 Mark zooming and adjusting framing to clean up the image borders
After you’ve found a strong vantage point, the work shifts to precision. Denney pays close attention to the edges of the frame, and this is something I’ve trained myself to do in post-production for years but rarely thought about systematically in the field. What’s being cut off at the border? Are you clipping a tree trunk awkwardly? Is there a bright patch of sky in the corner pulling attention away from your subject?
Mark zooming and adjusting framing to clean up the image borders
After you’ve found a strong vantage point, the work shifts to precision. Denney pays close attention to the edges of the frame, and this is something I’ve trained myself to do in post-production for years but rarely thought about systematically in the field. What’s being cut off at the border? Are you clipping a tree trunk awkwardly? Is there a bright patch of sky in the corner pulling attention away from your subject?
Small adjustments to focal length, camera height, or your exact standing position can clean up edge problems without requiring you to abandon a composition you’ve already found. Work the edges deliberately. Check all four corners of your viewfinder before you shoot a keeper frame.
Step 5: Commit and Shoot the Variation
 Final composition locked in, Mark taking multiple exposures of the settled frame
Once the composition is solid, Denney doesn’t just fire one frame and move on. He commits to that composition and works it, making subtle changes to shutter speed, experimenting with different light as it shifts, and sometimes bracketing exposures for HDR or focus stacking later in post. The composition decision is made, and now the technical execution gets full attention.
Final composition locked in, Mark taking multiple exposures of the settled frame
Once the composition is solid, Denney doesn’t just fire one frame and move on. He commits to that composition and works it, making subtle changes to shutter speed, experimenting with different light as it shifts, and sometimes bracketing exposures for HDR or focus stacking later in post. The composition decision is made, and now the technical execution gets full attention.
This separation of concerns is something I use constantly in my studio work. Composition decisions and exposure decisions are different cognitive tasks. Mixing them creates hesitation and costs you frames. Lock the composition, then optimize everything else within it.
A Note on Bringing This into Post-Production
The reason this workflow resonates with me is that it maps almost directly onto how I think about retouching priorities. In the studio, I always identify the hero element first, then decide what supporting adjustments serve it. Skin retouching, for example, doesn’t exist to show off technique. It exists to make the subject’s face the destination for the viewer’s eye. Denney’s field workflow is essentially that same principle applied before the shutter fires.
If you’re using Photoshop actions for your landscape edits, this framework gives you a better brief for what your post-processing needs to accomplish. An action that enhances a waterfall’s detail and contrast is more useful when you’ve already composed the image so the waterfall is unambiguously the subject. Good field decisions reduce the amount of corrective work you have to do later, and anything that reduces corrective work is, in my experience, worth building a system around.
The single most valuable thing in this tutorial is the permission it gives you to take 50 shots of the same scene without feeling like you’re doing something wrong. Iteration isn’t indecision. It’s how strong compositions are actually built in the field. Denney’s five steps give that iteration a structure so you’re not just shooting randomly. You’re moving through a repeatable process every time you’re on location.
Watch the full tutorial on YouTube to see the Blue Ridge Mountain images side by side and watch Denney walk through exactly how each step changed his final frame.
Comments
Leave a Comment