
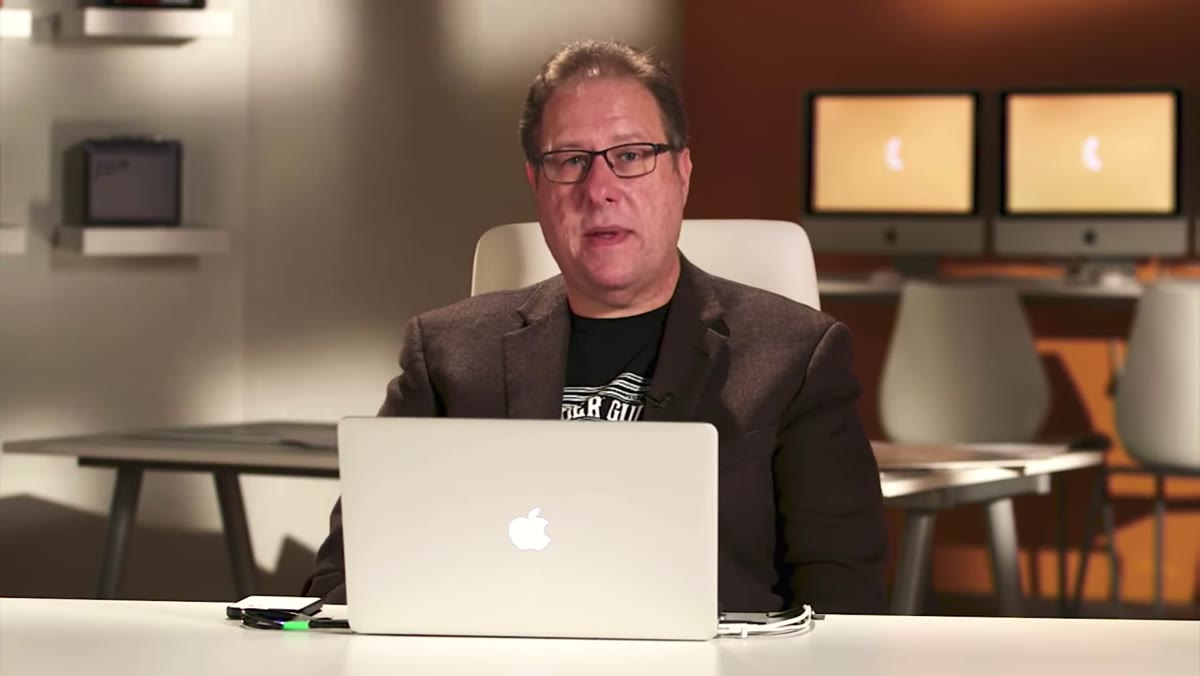
I spent a long time thinking that tourist removal was purely a post-production problem. Set up the tripod, shoot the famous landmark, then spend an hour cloning out strangers in Photoshop. After 15 years of commercial work, I know better now, but I still catch myself skipping the field discipline and paying for it at the computer. That habit got challenged pretty directly when I watched Scott Kelby walk through his approach in this KelbyOne tutorial. Watch the full tutorial on YouTube. His framework is not complicated, but it is specific in a way that a lot of “remove tourists in Photoshop” content simply is not.
The core insight is that this is a two-stage system, and the split between those stages is a real decision you make on location. Every minute you wait with the tripod is minutes you are not spending with the clone stamp. Kelby is explicit about this tradeoff, and once you hear it framed that way, you cannot unhear it. I keep a rough log of how long my Photoshop cleanup sessions run. The sessions that follow shots where I was impatient on location are consistently two to three times longer. The math is obvious. The discipline is the hard part.
Step 1: Audit Your Frame for Attention Thieves Before You Shoot
 Wide shot of busy restaurant interior with distracting text visible
Before you trip the shutter, scan the entire frame for anything that will compete for the viewer’s attention. Kelby identifies two categories here: bright elements that pull the eye, and text. Text is the more dangerous of the two. Human brains are wired to read, full stop. If there is signage, a brand name, or any readable lettering in your composition, that is where viewers will go first, regardless of what you actually want them to see. A stunning historic building becomes background noise the moment a car advertisement enters the frame.
Wide shot of busy restaurant interior with distracting text visible
Before you trip the shutter, scan the entire frame for anything that will compete for the viewer’s attention. Kelby identifies two categories here: bright elements that pull the eye, and text. Text is the more dangerous of the two. Human brains are wired to read, full stop. If there is signage, a brand name, or any readable lettering in your composition, that is where viewers will go first, regardless of what you actually want them to see. A stunning historic building becomes background noise the moment a car advertisement enters the frame.
The fix at this stage is compositional. Reframe to exclude the text. Raise the camera angle. Move laterally. This costs you nothing except a few seconds of repositioning, and it saves you the genuinely tedious work of rebuilding architectural detail in post. Kelby shows a specific example from Prague where recomposing eliminated a car ad entirely. The post-processing version of that fix would have required rebuilding stone column detail. There is no action or preset that makes that fast.
Step 2: Shoot Above the Crowd When You Cannot Clear the Frame
 Camera raised high above crowd inside a packed monument or church
When you are working inside a packed space, a church, a monument, a market hall, and recomposing laterally is not an option, go vertical. Raise the camera above head height and shoot upward or at a steep angle. You lose some of the ground-level context, but you also lose the crowd entirely. The trade is usually worth it.
Camera raised high above crowd inside a packed monument or church
When you are working inside a packed space, a church, a monument, a market hall, and recomposing laterally is not an option, go vertical. Raise the camera above head height and shoot upward or at a steep angle. You lose some of the ground-level context, but you also lose the crowd entirely. The trade is usually worth it.
This works particularly well with architecture because the interesting detail is often above eye level anyway. Kelby demonstrates this with interior crowd shots where lifting the frame a few feet eliminates dozens of people without any post-processing at all. It also naturally forces a more dynamic angle than the straight-on tourist snapshot most people default to.
Step 3: Use the Tripod and Wait for Natural Gaps
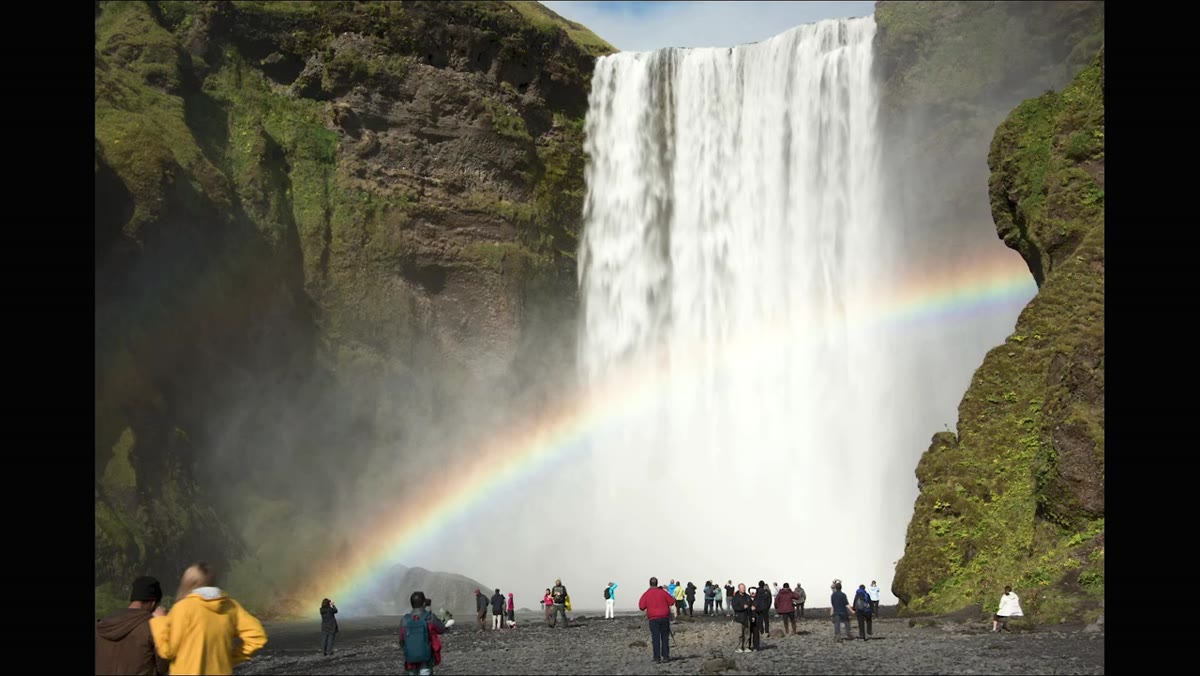 Tripod set up at Icelandic waterfall with crowds in foreground
Set up on a tripod and commit to waiting. This is where most photographers give up too early. Kelby describes a 15 to 20 minute wait at a crowded Icelandic waterfall before the crowd thinned enough for a clean shot. That is a real number, not an exaggeration, and if you have been to Skogafoss or Seljalandsfoss in peak season, you already know it is accurate.
Tripod set up at Icelandic waterfall with crowds in foreground
Set up on a tripod and commit to waiting. This is where most photographers give up too early. Kelby describes a 15 to 20 minute wait at a crowded Icelandic waterfall before the crowd thinned enough for a clean shot. That is a real number, not an exaggeration, and if you have been to Skogafoss or Seljalandsfoss in peak season, you already know it is accurate.
The tripod matters here for two reasons. First, your framing stays locked, so when the gap appears you are not scrambling to re-establish composition. Second, if you plan to do any exposure blending or focus stacking later, consistent framing across multiple frames is essential. Have the shot fully dialed in before the crowd clears, so the moment you get your window, the only thing you need to do is press the shutter.
Step 4: Ask Politely When You Are Almost There
 Photographer gesturing to passerby to pause briefly at the waterfall
When you are one or two people away from a clean frame, just ask. Kelby does this directly in the tutorial, describing how he flagged down someone approaching from the side and asked for a 30-second hold. The response was immediate and cooperative. Most people, when asked politely and briefly, are happy to pause for a moment. They are not your enemy. They are also trying to enjoy the location.
Photographer gesturing to passerby to pause briefly at the waterfall
When you are one or two people away from a clean frame, just ask. Kelby does this directly in the tutorial, describing how he flagged down someone approaching from the side and asked for a 30-second hold. The response was immediate and cooperative. Most people, when asked politely and briefly, are happy to pause for a moment. They are not your enemy. They are also trying to enjoy the location.
This is an underused tool. Photographers stand and silently fume while a stranger walks into frame, when a simple “excuse me, could you give me just one second?” would solve it in 10 seconds flat. Keep the ask short, be specific about what you need, and say thank you audibly. The social cost is essentially zero.
Step 5: Remove Remaining Distractions in Photoshop Using Content-Aware Tools
 Before and after comparison of Prague building with power lines removed
Once you have done the field work, bring the image into Photoshop for cleanup. Kelby’s primary targets at this stage are power lines, cables, and any remaining people who could not be avoided. For linear elements like power lines, the Spot Healing Brush set to Content-Aware mode is your first tool. Paint directly over the line in a single stroke and let Photoshop sample the surrounding sky or architecture.
Before and after comparison of Prague building with power lines removed
Once you have done the field work, bring the image into Photoshop for cleanup. Kelby’s primary targets at this stage are power lines, cables, and any remaining people who could not be avoided. For linear elements like power lines, the Spot Healing Brush set to Content-Aware mode is your first tool. Paint directly over the line in a single stroke and let Photoshop sample the surrounding sky or architecture.
For larger obstructions, use the Lasso tool to draw a loose selection around the problem area, then go to Edit, Fill, and choose Content-Aware. For complex backgrounds like detailed stonework or foliage, you may need to follow up with the Clone Stamp tool, sampling from nearby areas with matching texture. Work at 100% zoom and move through the image methodically. Kelby is honest in the tutorial that some fixes, particularly rebuilding architectural detail obscured by signage, take more time than they are worth in a single session. Knowing when to stop is part of the workflow.
How I Would Extend This Workflow with Automation
The field discipline Kelby describes is manual by nature, but the Photoshop side has real automation potential. I have built actions that run a Content-Aware fill sequence on a pre-drawn selection and then flatten to a stamped layer for final cleanup. It does not replace the judgment calls, but it cuts the repetitive setup steps down considerably. If you are processing travel images in batches after a trip, even a simple action that opens a new stamped layer, desaturates a duplicate for damage inspection, and saves a working PSD can shave 20 to 30 seconds per image. Across a 400-image trip haul, that adds up to hours.
The bigger automation opportunity is in your import and culling workflow. If you come home with cleaner source files because you waited on location, your batch processing runs faster and your action-driven cleanup is more reliable. Garbage in, garbage out applies here just as much as it does in product photography.
The single most important thing this tutorial reinforced for me is that patience on location and skill in Photoshop are not interchangeable, they are complementary. The better you get at one, the more effective the other becomes. Watch the full tutorial on YouTube to see Kelby’s before-and-after comparisons, which make the case far more visually than any description can.
Comments
Leave a Comment