How to Build and Save Custom Presets in Aperture (So You Stop Reinventing the Same Edit)

How to Build and Save Custom Presets in Aperture (So You Stop Reinventing the Same Edit)

There’s a specific kind of frustration that comes from nailing an edit, closing the app, and then spending twenty minutes trying to reconstruct the same adjustments on the next shoot. I’ve done it more times than I’d like to admit, usually on deadline, usually at 11pm. The whole point of a preset workflow is to capture the decision once and stop making it over and over again. That principle is what drives everything I do in post-production, whether I’m working in Photoshop, Lightroom, or Aperture.

The Insta360 Go 2 Is the Smallest Camera With the Biggest Workflow Lesson for Creatives

The Insta360 Go 2 Is the Smallest Camera With the Biggest Workflow Lesson for Creatives

I track time obsessively. I have a spreadsheet that currently sits at over 2,400 hours saved through Photoshop automation alone. So when a piece of hardware shows up that’s been engineered specifically to remove friction from the capture side of a workflow, I pay attention. Most of my work lives in post-production, but the footage and files I’m working with only exist because someone made a fast, clean decision at the moment of capture.

The One Lightroom Adjustment Brush Setting That's Quietly Wrecking Your Masks

The One Lightroom Adjustment Brush Setting That's Quietly Wrecking Your Masks

I’ve watched photographers abandon perfectly good tools because of a single default setting nobody bothered to explain to them. The Lightroom Adjustment Brush is one of the most frequently misunderstood features in the whole application, and the complaint is almost always the same: “It leaves gaps,” or “It paints unevenly,” or my personal favorite, “It misses spots.” After years of building post-production workflows for ad agencies and e-commerce clients, I can tell you those complaints are valid.

Stop Copying Presets to a Flash Drive: How to Sync Photoshop Settings Across Machines with Creative Cloud

Stop Copying Presets to a Flash Drive: How to Sync Photoshop Settings Across Machines with Creative Cloud

For years, my multi-machine setup was held together with a 32GB flash drive and a lot of optimism. I had one workstation in my studio, a laptop for on-site client reviews, and a home machine I used for late-night retouching sessions. Every time I built a new action set or refined my brush library, I had to remember to copy everything over manually. I didn’t always remember. I once showed up to a client presentation with the wrong version of my color-grading presets loaded, and the whole review turned into an awkward “that’s not quite what we approved” conversation.

How to Install, Use, and Manage Lightroom Presets Without Losing Your Mind (or Your Files)

How to Install, Use, and Manage Lightroom Presets Without Losing Your Mind (or Your Files)

Presets saved my post-production business. That is not an exaggeration. When I transitioned out of studio work into running my own consultancy, the volume of editing I had to absorb solo was genuinely alarming. Presets, alongside actions and batch workflows, became the infrastructure I built everything else on top of. So when a tutorial promises to cover presets from soup to nuts, installation through backup, I pay attention. In this Matt Kloskowski tutorial, Watch the full tutorial on YouTube, Matt walks through the complete lifecycle of a Lightroom preset: getting it into Lightroom, using it intelligently, layering presets together, peeking inside them to understand what they’re actually doing, keeping your library organized, and protecting that library when you switch machines.

Expression Over Perfection: What Portrait Photographers Actually Get Wrong About Posing

Expression Over Perfection: What Portrait Photographers Actually Get Wrong About Posing

Fifteen years in commercial studios trained me to be precise. Margins, masks, batch queues - everything measured and repeatable. But the work that actually moves clients, the shots that get shared and printed and hung on walls, those almost never come from a technically perfect setup. They come from a moment. And if you’re so locked into correct posing that you miss the moment, you’ve already lost the shot that matters.

How to Turn a Real-World Texture Into a Custom Photoshop Brush (Using Nothing But a Phone Photo)

How to Turn a Real-World Texture Into a Custom Photoshop Brush (Using Nothing But a Phone Photo)

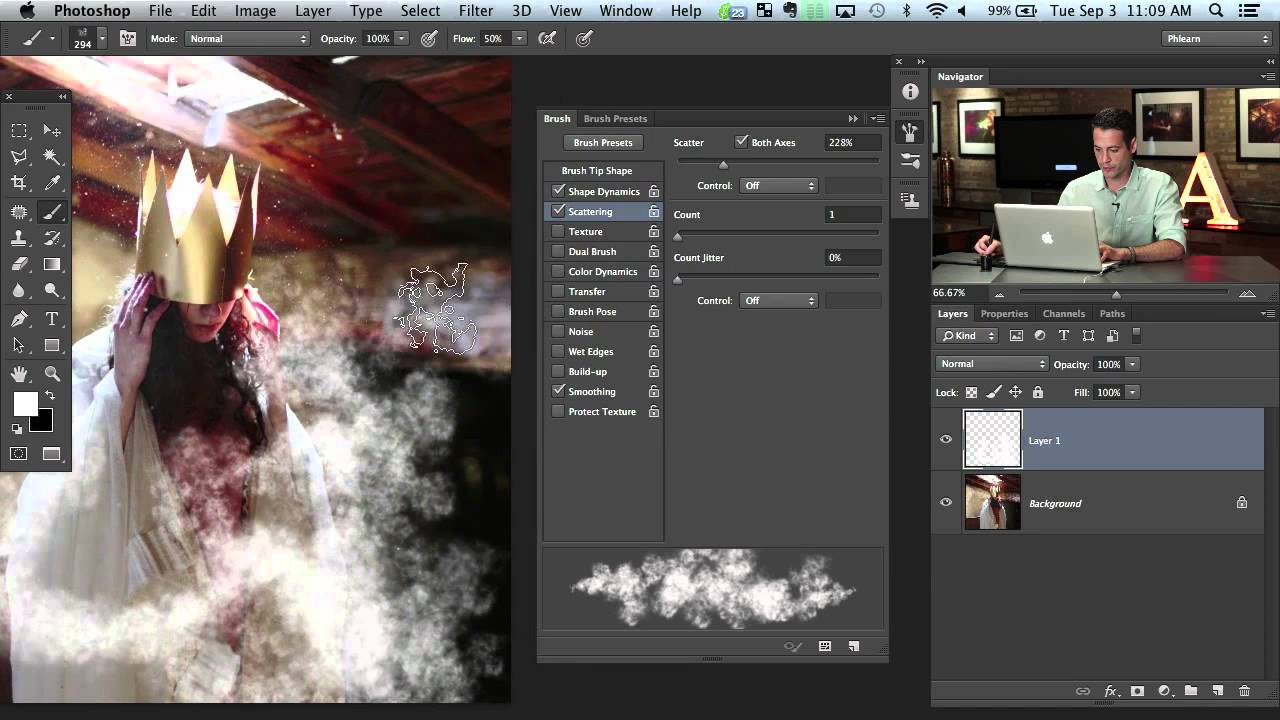
Most custom brush packs feel like someone else’s handwriting. You install them, they look great in the preview, and then you spend twenty minutes trying to make them fit your actual project. I’ve been there. After fifteen years in commercial studios, I’ve got folders full of brush sets I downloaded once and never opened again. The ones I actually reach for are the ones I made myself - because they carry the specific texture, weight, and imperfection that a stock pack can never replicate.

How I'd Structure My Landscape Editing Workflow (And What This Tutorial Got Right)

How I'd Structure My Landscape Editing Workflow (And What This Tutorial Got Right)

There’s a specific kind of dread that hits when you open a folder called “Photos - Misc 2022” and realize you have no idea what’s in it. I’ve been organizing digital assets professionally for fifteen years, and I still see photographers - talented ones - lose hours every month just hunting for files. The capture is the fun part. What happens after you get home determines whether that work ever sees the light of day in a coherent, repeatable way.

How to Wipe Out Power Lines, Signs, and Visual Clutter Using Photoshop's Content-Aware Patch Tool

How to Wipe Out Power Lines, Signs, and Visual Clutter Using Photoshop's Content-Aware Patch Tool

Anyone who has delivered location photography to an ad agency knows the sinking feeling: you get back to your desk, open the raw files, and there’s a power line cutting straight through the hero shot. Or a parking sign. Or a stray person in the background of what was supposed to be a clean architectural image. These aren’t artistic problems. They’re time problems. Every minute spent cloning and healing manually is a minute you’re not billing for, and the cumulative drag on a busy retouching day is real.

How to Use a Laser Tripwire to Nail Stop-Action Water Shots Every Time

How to Use a Laser Tripwire to Nail Stop-Action Water Shots Every Time

There’s a category of shot that looks effortless in a final ad but is genuinely punishing to capture without the right system: anything involving fast-moving liquid hitting a subject. I’ve watched assistants on commercial sets spend entire afternoons throwing water, firing the camera on continuous burst, and hoping something usable landed in the pile. Most of the time, maybe two or three frames out of hundreds are worth keeping, and even then the timing is pure luck.

How to Add Realistic Snow in Photoshop: Two Methods That Actually Work

How to Add Realistic Snow in Photoshop: Two Methods That Actually Work

Every December I get at least three client requests for “wintery” versions of images that were shot in July. Ad agencies love a good seasonal pivot, and nothing says “we planned this last minute” like asking your retoucher to add snow to a product shot of a pickup truck in front of a parking garage. I’ve used stock overlays, third-party plugins, and some truly embarrassing workarounds over the years. But a clean, convincing, layered snow effect built from scratch inside Photoshop?

Turn Any Multi-Layer Photoshop Look Into a One-Click Preset Using Color Lookup Tables

Turn Any Multi-Layer Photoshop Look Into a One-Click Preset Using Color Lookup Tables

Client work has a way of forcing efficiency. When you’re juggling color-grading across a product catalog for an ad agency, rebuilding three-adjustment-layer looks from scratch for each new shoot stops being an inconvenience and starts costing real money. For years, the standard answer to “can I save this whole look as one preset?” was a frustrating no. You could save individual adjustment layer presets, sure, but the moment your look depended on a curves layer, a hue/saturation layer with a blend mode change, and an opacity tweak stacked together, you were on your own.