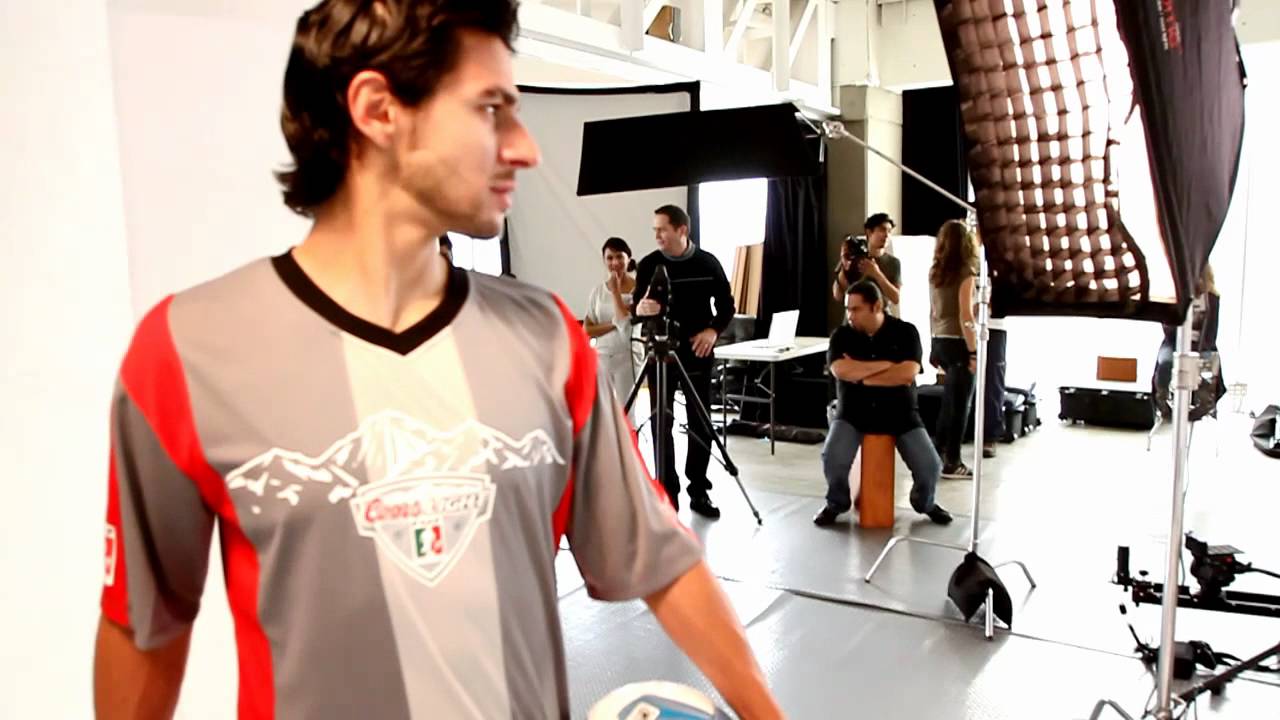
There’s a specific problem that comes up constantly in commercial work: you need to photograph a subject in motion, under full control, against a background you’re going to swap out in post. The subject has a narrow window of availability. The shot has to work both vertically and horizontally. And the lighting needs to freeze movement with enough sharpness to survive a full-page print. I’ve set up variations of this scenario dozens of times for ad agency clients, and the details are what separate a usable image from a reshoot conversation.
In this The Slanted Lens tutorial, photographer Jay P. Morgan walks through a full location shoot in Mexico City with Mexican soccer player Raphael Marcus Lugo for the FMF. The production was built for composite work from the ground up: background plates shot separately at ruins the day before, a white cove setup for clean extractions, and a lighting rig designed to handle both standing and mid-air horizontal positions. Every light choice has a reason. That kind of intentional setup is worth pulling apart.
What makes this tutorial genuinely useful for post-production work is the connection it draws between capture decisions and retouching outcomes. Better light placement means cleaner masks. Short flash duration means sharper edges on a kicking leg. These aren’t just photography concepts. They’re decisions that directly affect how much time you spend in Photoshop afterward.
Step 1: Shoot Background Plates Separately
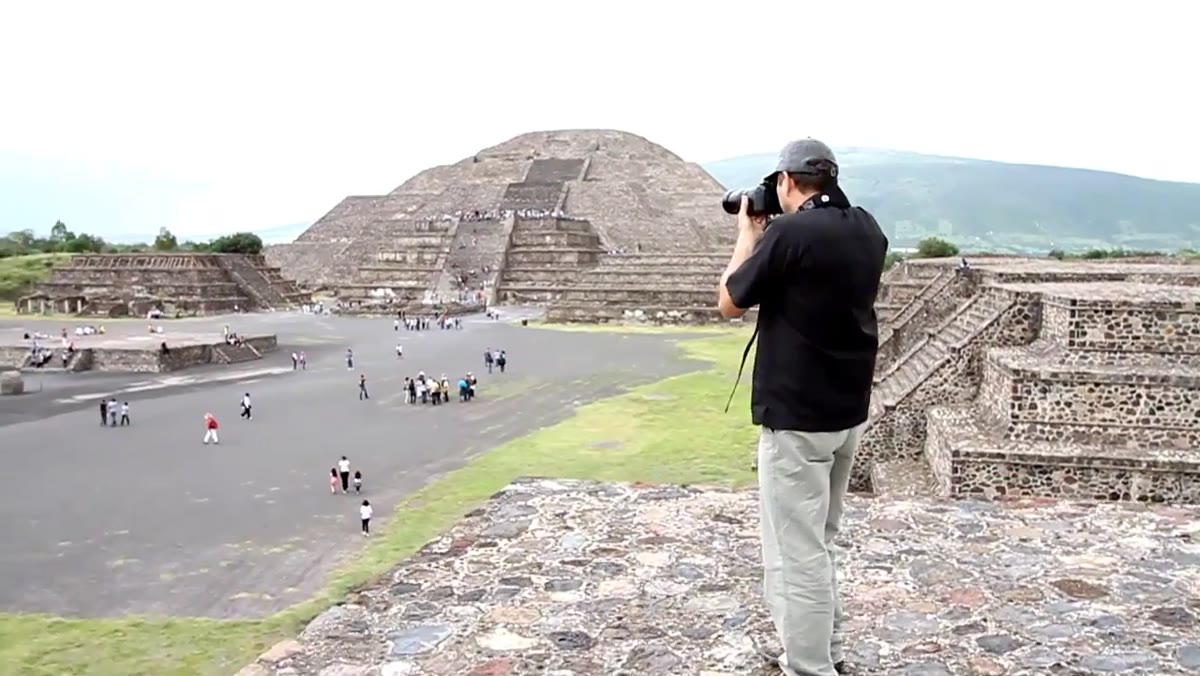 Ruins location background plates being captured the day before
Before the talent arrives, plan a dedicated session for your background environment. In this production, the team went to ruins outside Mexico City the day before the main shoot. This separation matters because you can take your time composing clean plates without managing a subject, and you can shoot at the natural light quality that suits the environment rather than forcing it to match a studio setup later.
Ruins location background plates being captured the day before
Before the talent arrives, plan a dedicated session for your background environment. In this production, the team went to ruins outside Mexico City the day before the main shoot. This separation matters because you can take your time composing clean plates without managing a subject, and you can shoot at the natural light quality that suits the environment rather than forcing it to match a studio setup later.
When capturing plates for compositing, shoot more coverage than you think you need. Vary your focal lengths and angles slightly so you have options during the comp stage. Capture at your lowest native ISO and expose to the right of the histogram to preserve shadow detail. The more latitude in your plate files, the more flexibility you have when matching them to a subject shot under controlled light.
Step 2: Choose Lighting That Works Across Two Positions
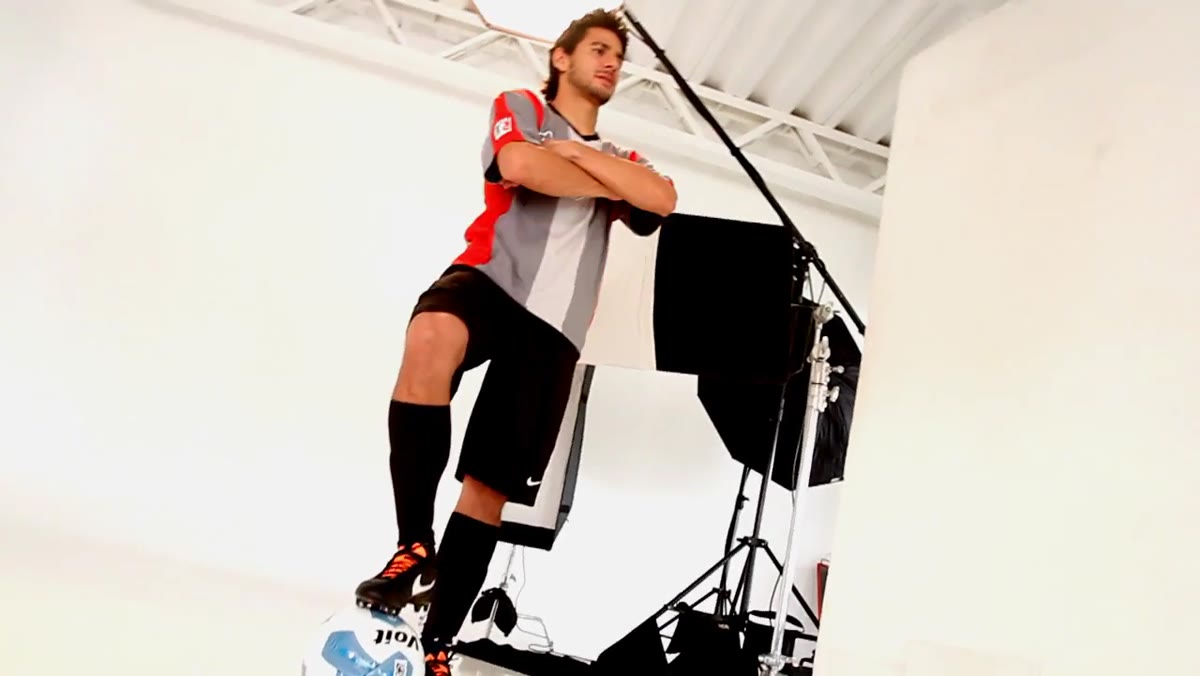 Overview of the full cove lighting setup for standing and horizontal positions
The shoot required lighting that could work when the subject was standing and when he was horizontal in the air during jumps and kicks. This is a real constraint that forces you to think about your rig as a system rather than a collection of individual lights. Every modifier has to earn its placement by contributing to both positions.
Overview of the full cove lighting setup for standing and horizontal positions
The shoot required lighting that could work when the subject was standing and when he was horizontal in the air during jumps and kicks. This is a real constraint that forces you to think about your rig as a system rather than a collection of individual lights. Every modifier has to earn its placement by contributing to both positions.
The solution here was to build the rig around rim lighting rather than frontal lighting. Rim sources stay useful whether the subject is vertical or horizontal because they define the edge of the body against the background. That’s especially important for composite work, where edge separation is everything. A flat frontal setup might look fine in-frame but give you a nightmare extraction in Photoshop.
Step 3: Set Your Key Light as a Rim Source Off Camera Left
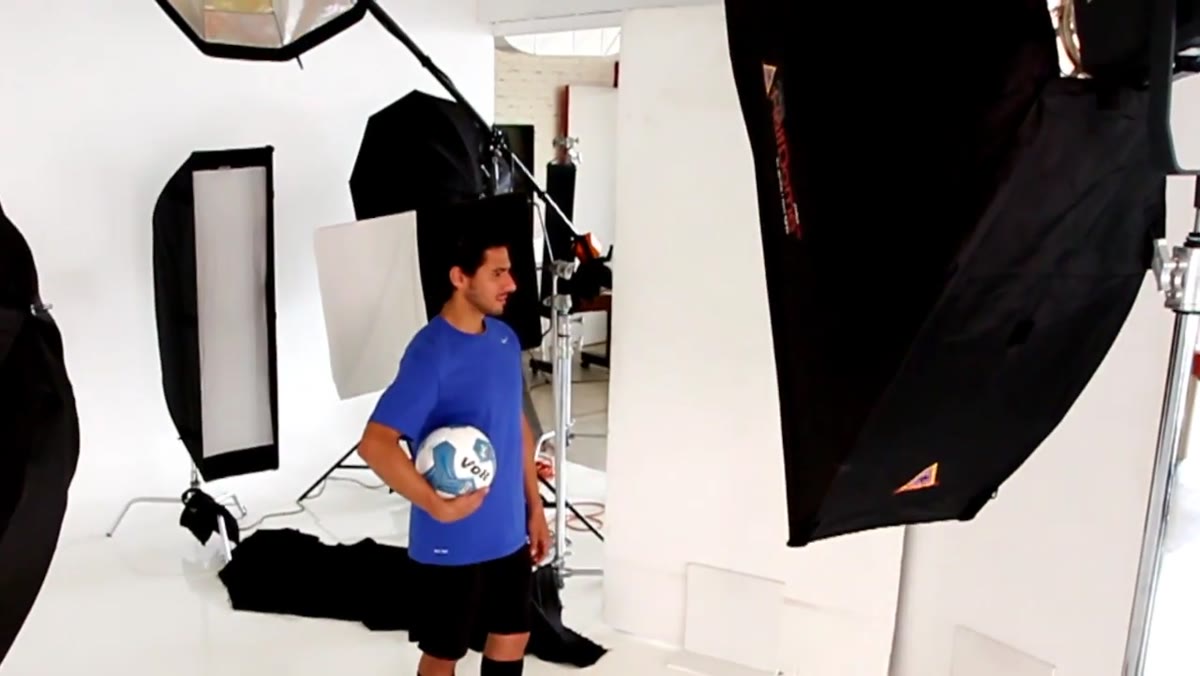 Medium strip box with grid positioned at camera left
The key light was a medium strip box with a grid, placed off camera left. The grid narrows the spread of light and prevents spill onto the background, which keeps your cove clean and your subject’s edge well-defined. The placement was deliberately set to skim across the subject’s face rather than illuminate it frontally, creating a rim quality even from the key position.
Medium strip box with grid positioned at camera left
The key light was a medium strip box with a grid, placed off camera left. The grid narrows the spread of light and prevents spill onto the background, which keeps your cove clean and your subject’s edge well-defined. The placement was deliberately set to skim across the subject’s face rather than illuminate it frontally, creating a rim quality even from the key position.
Strip boxes are useful for full-length subjects because they provide a taller column of light that covers more of the body without going wide. On a standing athlete, that vertical spread means consistent exposure from shoulder to hip without repositioning.
Step 4: Use Speed Lights at Minus One Stop to Freeze Motion
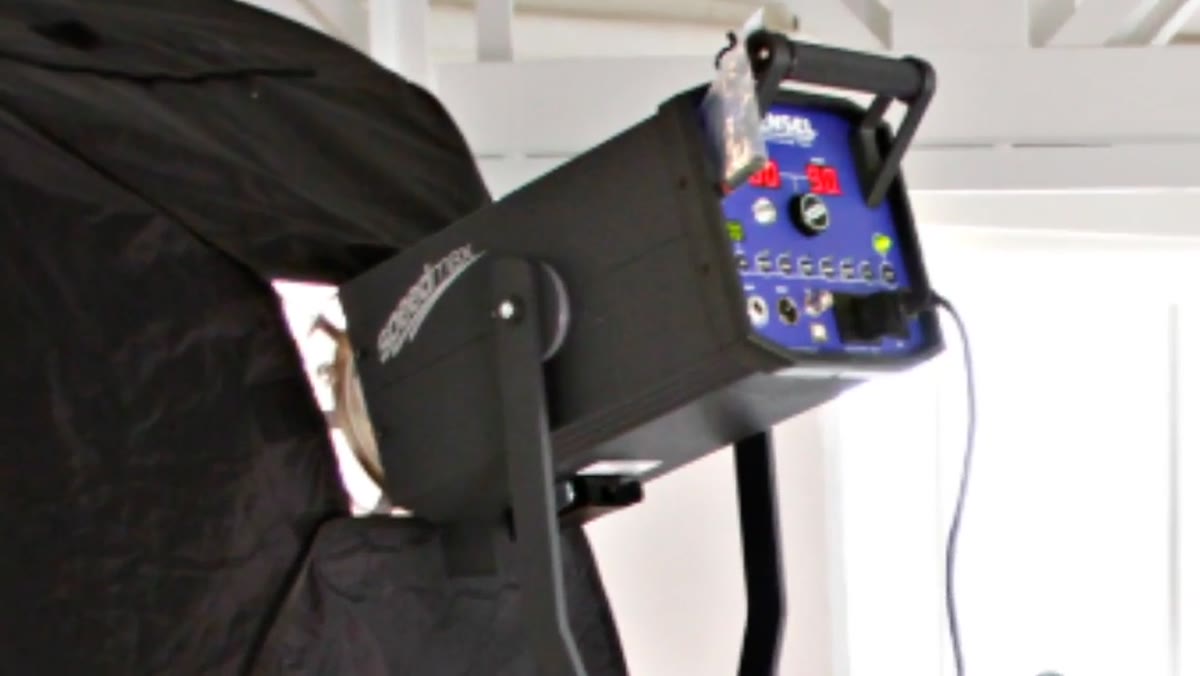 Hensel speed light unit selected for short flash duration
This is the technical decision that ties the whole shoot together. Speed lights (as opposed to monolights running at full power) produce a significantly shorter flash duration, which is what actually freezes movement in an image, not shutter speed alone. The team used Hensel speed lights across multiple positions and ran all of them at minus one stop from their maximum output.
Hensel speed light unit selected for short flash duration
This is the technical decision that ties the whole shoot together. Speed lights (as opposed to monolights running at full power) produce a significantly shorter flash duration, which is what actually freezes movement in an image, not shutter speed alone. The team used Hensel speed lights across multiple positions and ran all of them at minus one stop from their maximum output.
Running lights at reduced power shortens the flash duration further. At full power, a flash duration might be 1/800s or slower. Pull it back a stop, and you can get into the 1/2000s to 1/4000s range depending on the unit. For a kicking leg moving at speed, that difference is visible in the sharpness of the final frame, and it directly affects how cleanly you can mask the subject for a composite. Blurred edges are much harder to work with than sharp ones.
Step 5: Add an Overhead Rim Light for Consistent Body Definition
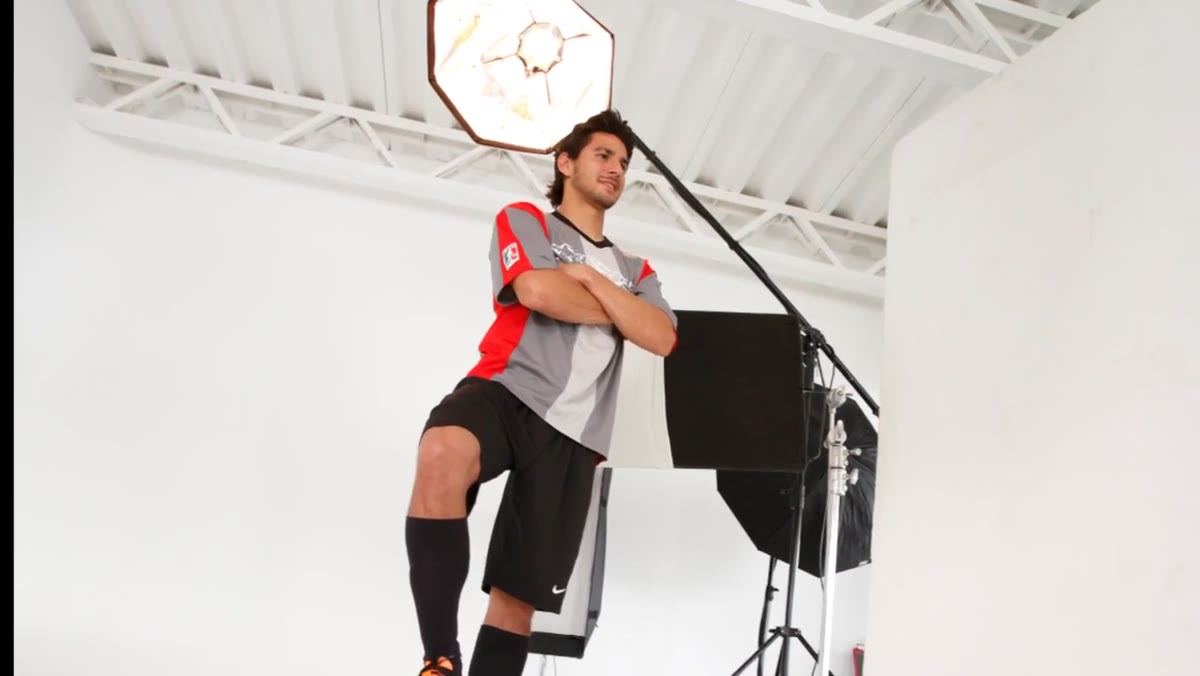 Open-faced ocodome mounted overhead as a rim light
A second speed light in an open-faced ocodome was mounted overhead to create a top rim. This light gives a highlight along the top of the shoulders and head when the subject is standing, and transitions to a side or top rim when the subject goes horizontal during jumps. It’s a position that serves both orientations without requiring adjustment between shots.
Open-faced ocodome mounted overhead as a rim light
A second speed light in an open-faced ocodome was mounted overhead to create a top rim. This light gives a highlight along the top of the shoulders and head when the subject is standing, and transitions to a side or top rim when the subject goes horizontal during jumps. It’s a position that serves both orientations without requiring adjustment between shots.
Overhead rim sources also add a sense of dimension and depth that reads well in composite work. When you’re placing a subject into a background plate, that top light can be matched to a sky or overhead ambient source in the environment, which helps sell the integration.
Step 6: Solve Specific Exposure Problems with Targeted Fills
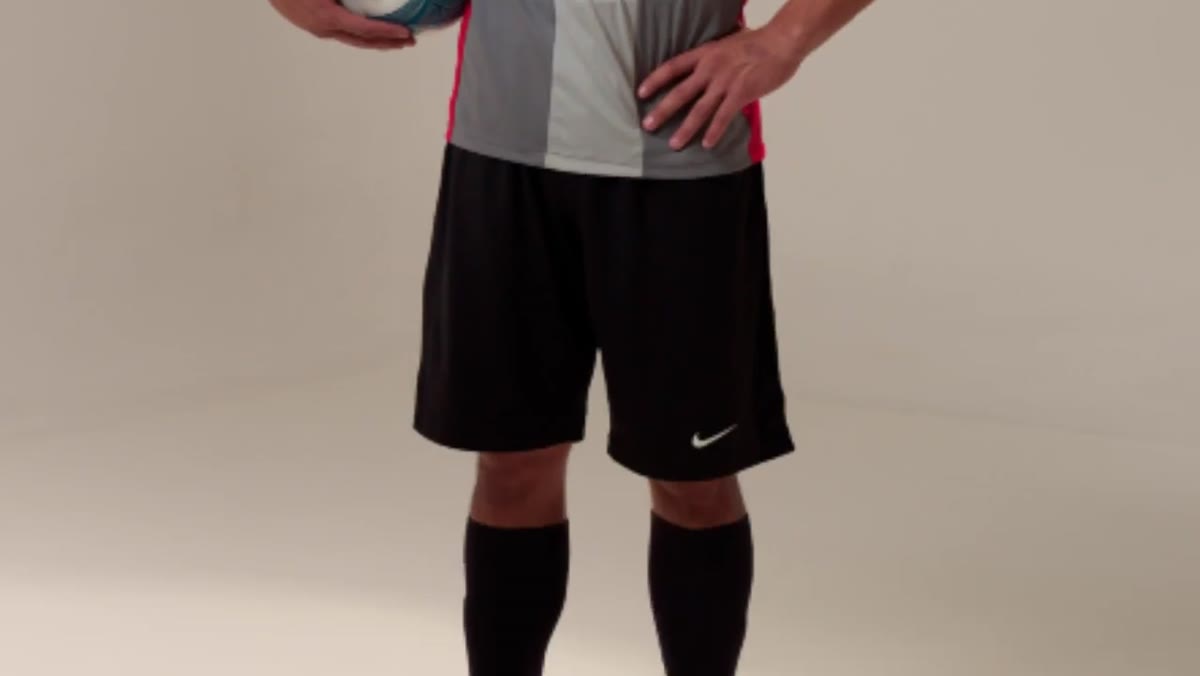 Grid on monolight added to open up dark socks and shoes
Watch for exposure problems that only become visible once the rig is live with the actual subject. In this shoot, the dark socks and shoes were reading too dark against the floor. A gridded monolight was added specifically to open up the lower legs without affecting the rest of the frame. Background umbrellas were added on each side of the cove to keep the white background bright and even. And when the subject went horizontal, a strip box was added on camera right to bring detail into the legs and face in that position.
Grid on monolight added to open up dark socks and shoes
Watch for exposure problems that only become visible once the rig is live with the actual subject. In this shoot, the dark socks and shoes were reading too dark against the floor. A gridded monolight was added specifically to open up the lower legs without affecting the rest of the frame. Background umbrellas were added on each side of the cove to keep the white background bright and even. And when the subject went horizontal, a strip box was added on camera right to bring detail into the legs and face in that position.
This iterative approach to lighting is how commercial setups actually get built. You start with a framework and adjust to what the subject and environment reveal. Document your final positions and power settings, because that information feeds directly into how you approach the composite and retouching later.
What I’d Add for Post-Production Efficiency
One thing the tutorial doesn’t cover is how to translate the lighting documentation into a retouching workflow. In my studio practice, I photograph the final light setup with my phone before we wrap, and I keep those reference images with the RAW files. When I’m building the composite, I know exactly where the key and rim sources were. That lets me match shadow direction in the background plate intelligently, and it makes luminosity mask selections much faster because I already know which edges are rim-lit and which are soft.
If you’re batch-processing athlete composites for campaign use, a well-documented setup like this one is worth building an action set around. Consistent lighting means consistent masking challenges, and consistent masking challenges mean repeatable automation steps.
The single most important lesson from this tutorial is that freezing action starts with your flash duration, not your shutter speed, and that a rim-focused lighting strategy serves both your capture and your compositing. Every choice made on set in Mexico City reduced the workload in post.
Watch the full tutorial on YouTube to see the setup in context and catch the behind-the-scenes footage of the shoot itself.
Comments (2)
Great breakdown. The step-by-step approach really helps.
Great article! I actually covered something related on my site — the color grading angle is really complementary to this.
Leave a Comment