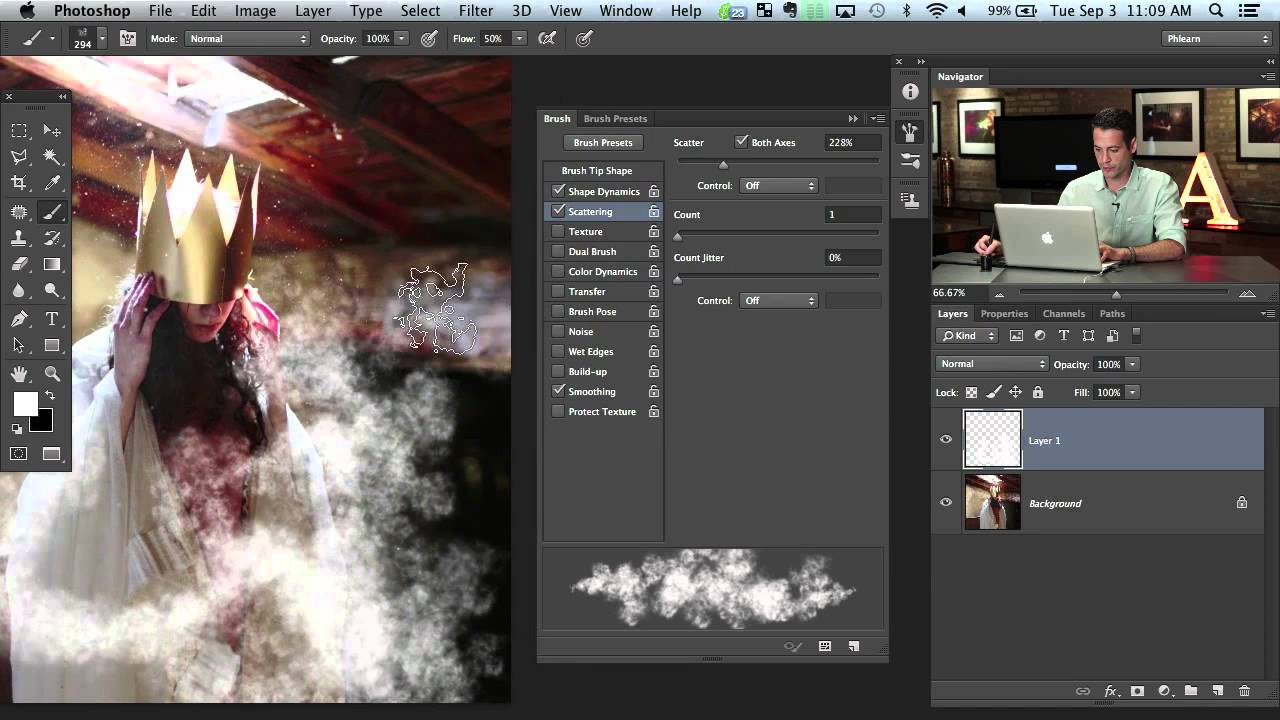
Every few months I have a retoucher on my team reach for a soft round brush to add atmosphere to a composite, and every time I see it, I feel a small, specific pain. The result always looks exactly like what it is: a white blob painted with a Photoshop brush. After 15 years of working in commercial post-production, I can spot a stock brush atmospheric effect from across a client presentation room, and so can the art directors sitting next to me.
The fix is not to find a better preset. The fix is to build a brush from real photographic texture. In this Watch the full tutorial on YouTube by Aaron Nace from PHLEARN, he walks through exactly how to do that. The method is clever because it uses existing atmospheric detail from the very image you’re editing as the raw material for the brush. The result has an organic quality that no preset library can replicate, because it came from a real photograph of real light scattering through real particles.
What I want to do here is break the process down into steps you can follow without pausing the video every 30 seconds, and add a few notes from my own experience running this kind of technique through high-volume production workflows.
Step 1: Duplicate Your Working Image to a New Document
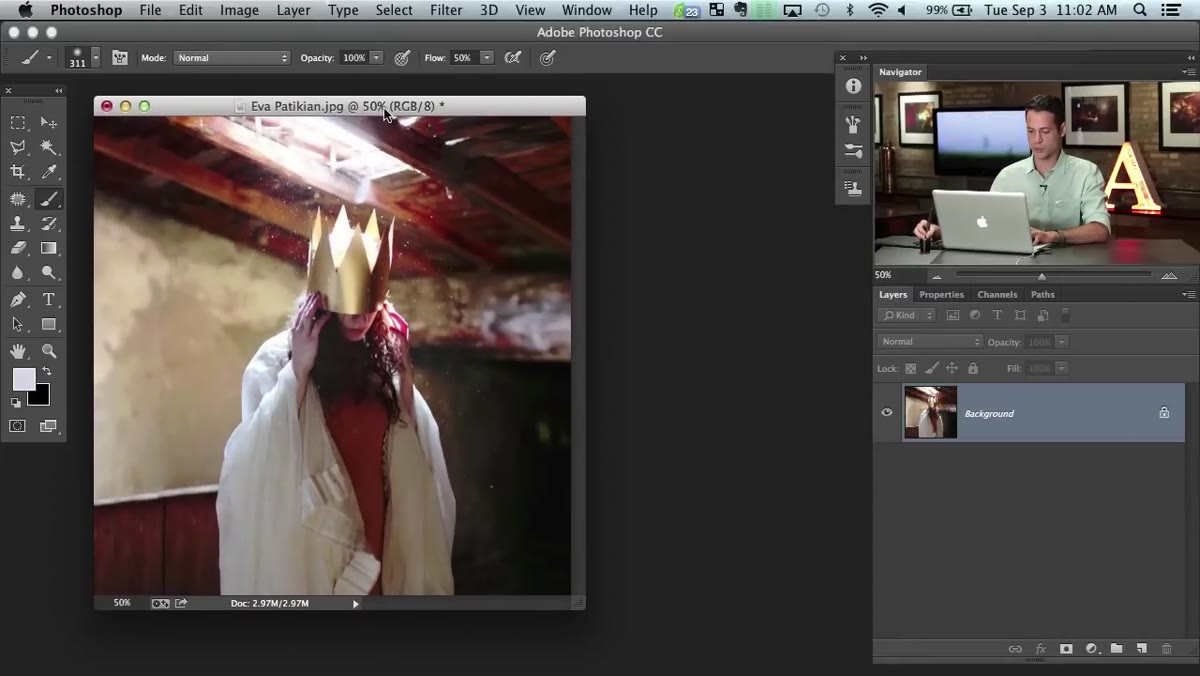 Duplicate layer dialog set to New Document destination
Start by right-clicking your background layer in the Layers panel and choosing “Duplicate Layer.” In the dialog that appears, set the destination to “New Document.” This gives you a sandbox copy to manipulate freely without touching your original composite. The key here is that you want a fresh context with no obligations. You’re going to push this image around in ways that would ruin it as a photograph, and that’s exactly the point.
Duplicate layer dialog set to New Document destination
Start by right-clicking your background layer in the Layers panel and choosing “Duplicate Layer.” In the dialog that appears, set the destination to “New Document.” This gives you a sandbox copy to manipulate freely without touching your original composite. The key here is that you want a fresh context with no obligations. You’re going to push this image around in ways that would ruin it as a photograph, and that’s exactly the point.
Step 2: Desaturate to Black and White
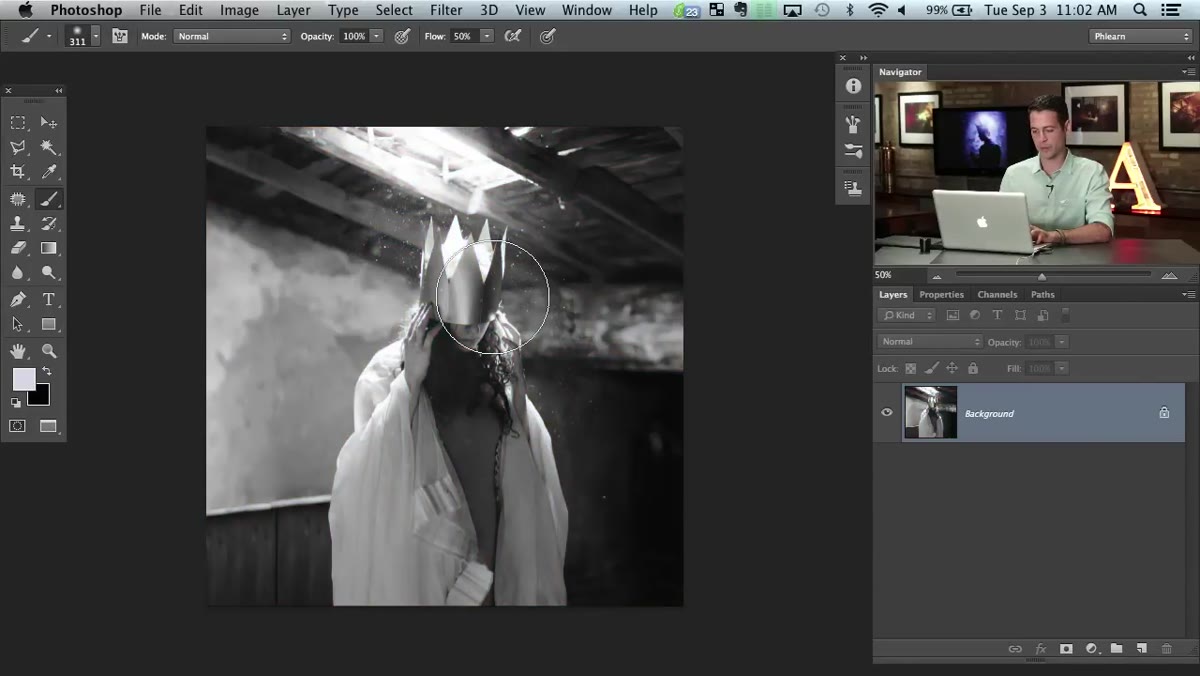 Desaturated image displayed in new document window
With your new document open, hit Shift+Command+U (Shift+Ctrl+U on Windows) to desaturate the image. Photoshop defines custom brushes using luminosity values, not color. Dark areas in your brush source become areas of high opacity when you paint; light areas become transparent. Color is irrelevant and will actually confuse the process if you leave it in. Once you’re looking at a grayscale version of the image, you can start thinking about the tonal structure you want your brush to have.
Desaturated image displayed in new document window
With your new document open, hit Shift+Command+U (Shift+Ctrl+U on Windows) to desaturate the image. Photoshop defines custom brushes using luminosity values, not color. Dark areas in your brush source become areas of high opacity when you paint; light areas become transparent. Color is irrelevant and will actually confuse the process if you leave it in. Once you’re looking at a grayscale version of the image, you can start thinking about the tonal structure you want your brush to have.
Step 3: Identify the Atmospheric Texture You Want to Capture
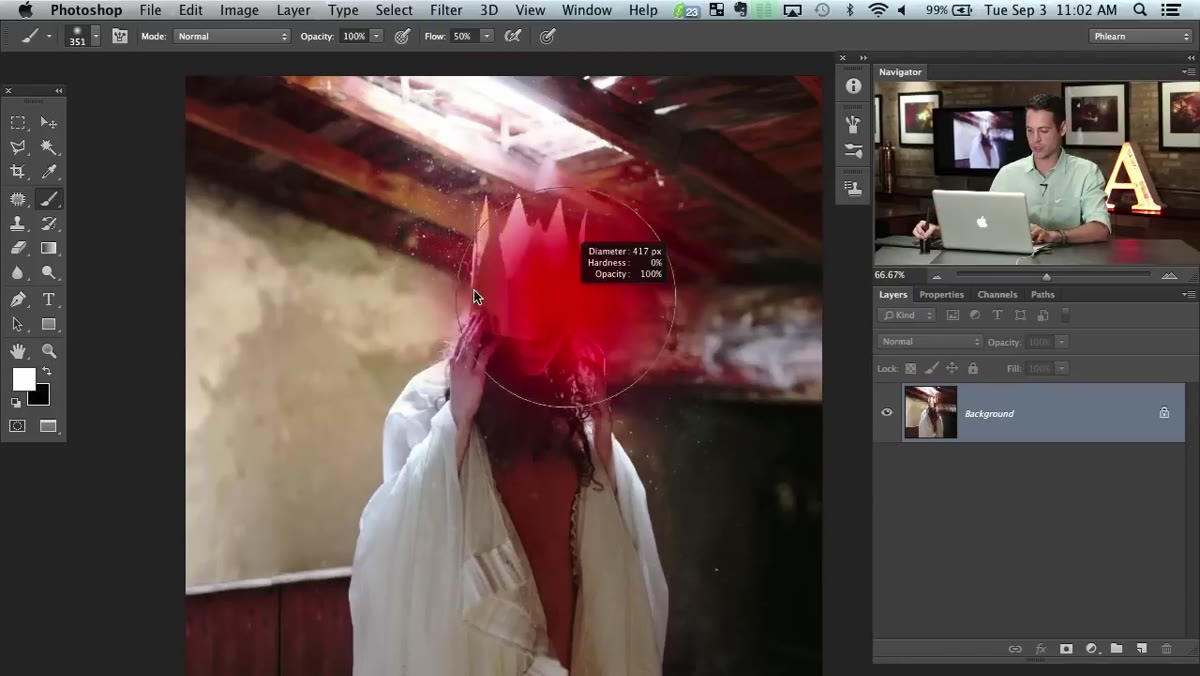 Original image showing fog and dust particles near the top
Before you start manipulating anything, study the image. Look for areas where light is already diffusing in an interesting way. In Aaron’s example, there’s a beautiful region near the top of the frame where fog and suspended dust particles create soft, irregular gradations. That’s your target. The goal in the next step is to concentrate that texture toward the center of your canvas while keeping the tonal transitions as natural as possible. You want a zone of relative brightness surrounded by softer, darker edges, because that structure is what will make the brush feel like it fades organically when you paint with it.
Original image showing fog and dust particles near the top
Before you start manipulating anything, study the image. Look for areas where light is already diffusing in an interesting way. In Aaron’s example, there’s a beautiful region near the top of the frame where fog and suspended dust particles create soft, irregular gradations. That’s your target. The goal in the next step is to concentrate that texture toward the center of your canvas while keeping the tonal transitions as natural as possible. You want a zone of relative brightness surrounded by softer, darker edges, because that structure is what will make the brush feel like it fades organically when you paint with it.
Step 4: Use the Clone Stamp in Screen Mode to Build Up Brightness
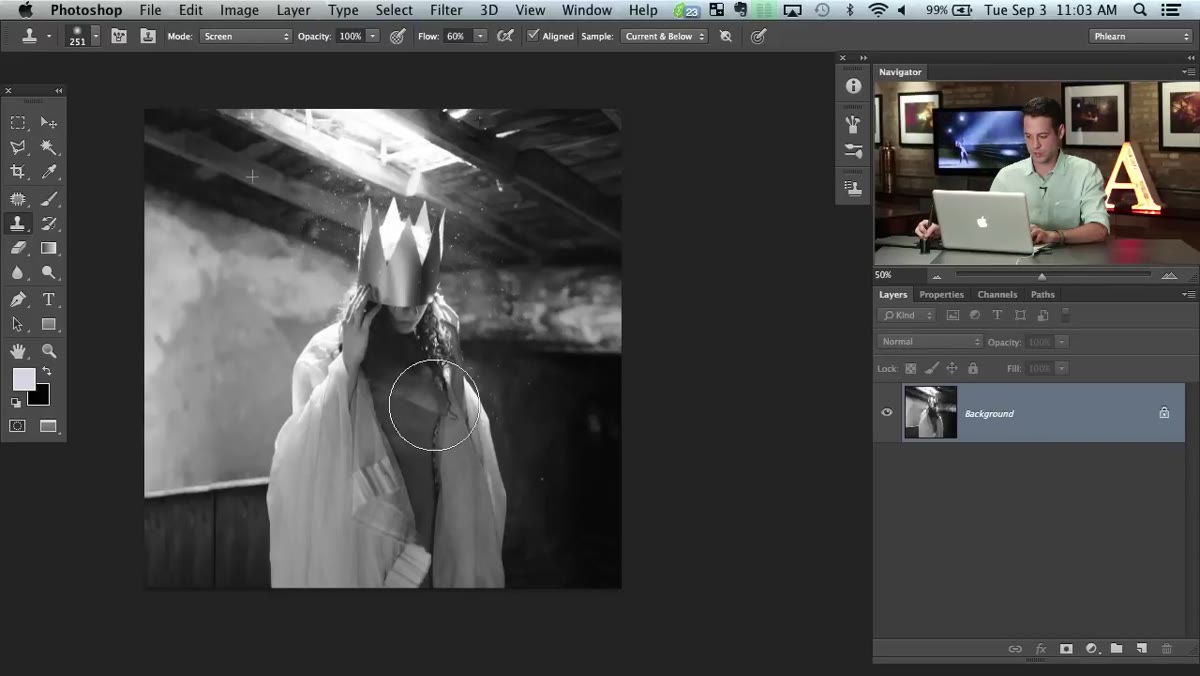 Clone Stamp tool active with blending mode set to Screen
Grab the Clone Stamp tool (S) and, critically, change its blending mode in the Options Bar from Normal to Screen. Screen mode means each clone pass only adds light, never dark, so you can build up that central bright zone without creating harsh edges or blocking out the surrounding texture. Sample from an area of the image with the fog or atmospheric detail you want, then paint over your target zone. Work in loose, overlapping passes rather than trying to be precise. The imprecision is the point. Natural fog is not symmetrical, and neither should your brush source be.
Clone Stamp tool active with blending mode set to Screen
Grab the Clone Stamp tool (S) and, critically, change its blending mode in the Options Bar from Normal to Screen. Screen mode means each clone pass only adds light, never dark, so you can build up that central bright zone without creating harsh edges or blocking out the surrounding texture. Sample from an area of the image with the fog or atmospheric detail you want, then paint over your target zone. Work in loose, overlapping passes rather than trying to be precise. The imprecision is the point. Natural fog is not symmetrical, and neither should your brush source be.
Step 5: Use Multiply Mode to Deepen the Surrounding Areas
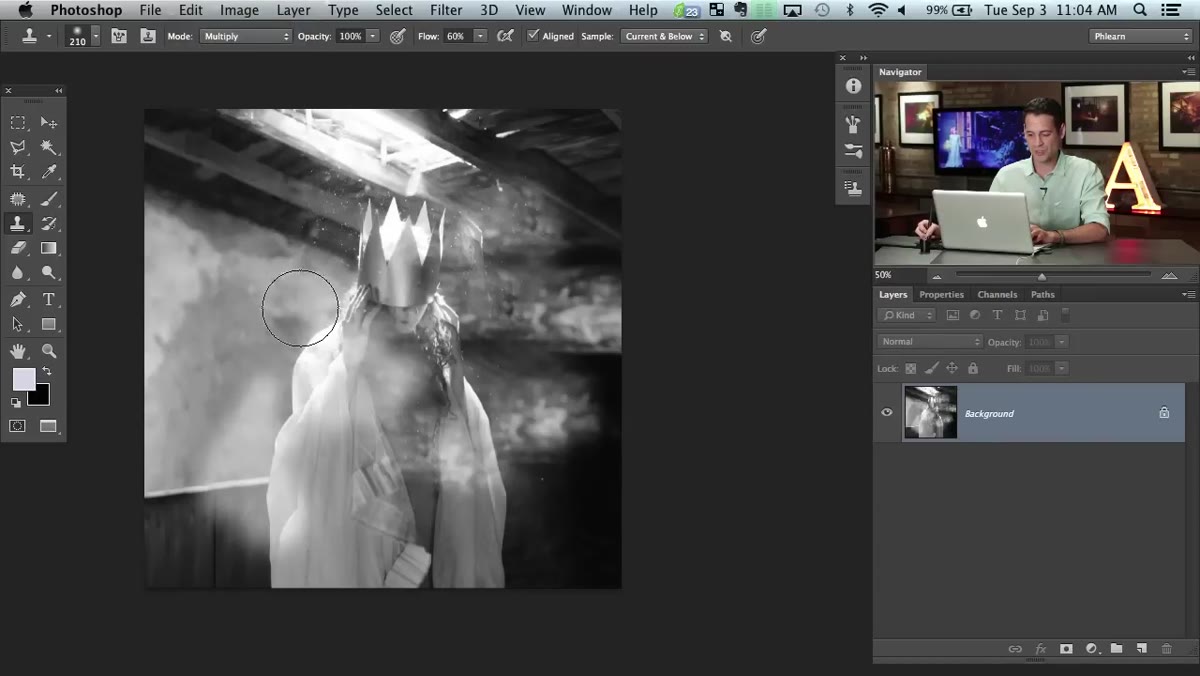 Clone Stamp blending mode switched to Multiply
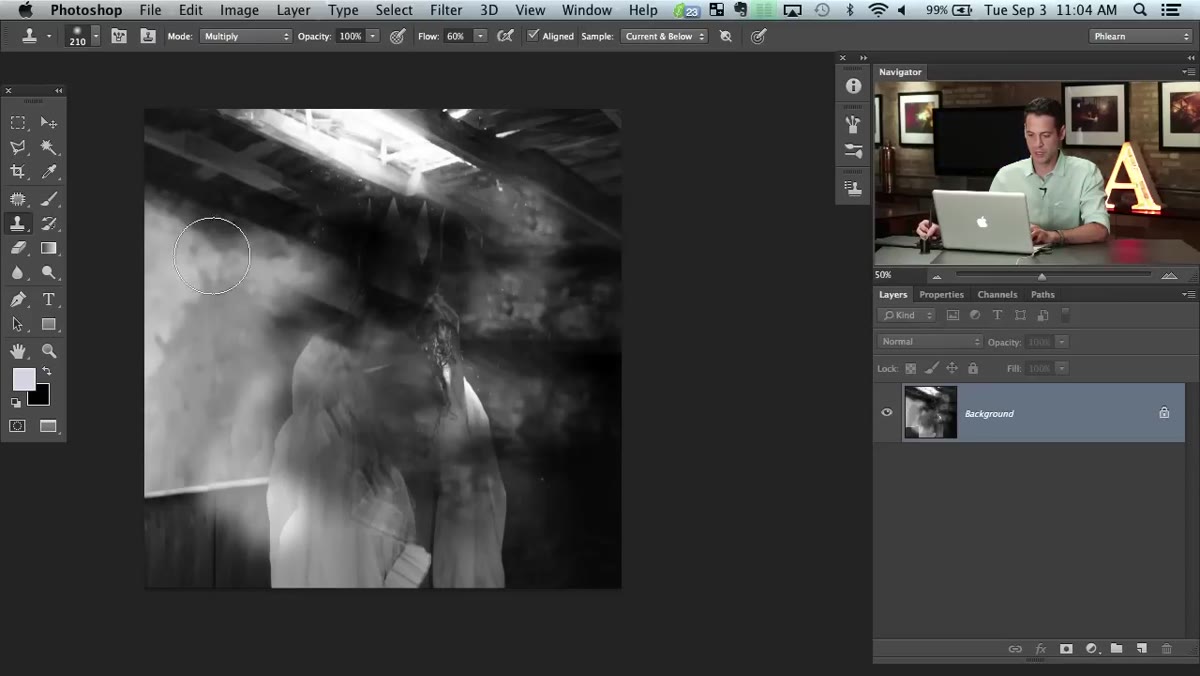
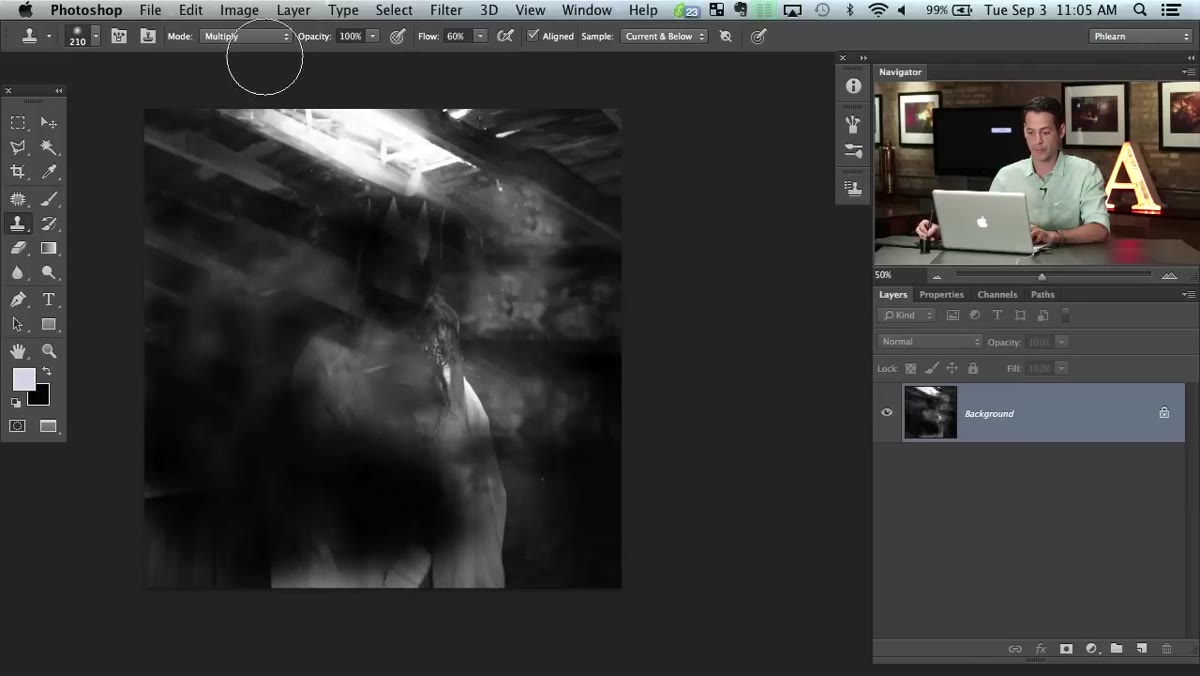
Switch the Clone Stamp’s blending mode to Multiply and work the areas surrounding your bright central zone. Multiply mode does the opposite of Screen: it only adds density, pulling tones darker. This reinforces the contrast structure of your brush shape, giving you that central light area falling off into deeper shadow at the edges. The combination of Screen passes in the center and Multiply passes at the edges is what creates the convincing depth. Work loosely, keep things asymmetrical, and avoid cloning from areas near the document edge, because those hard boundaries will appear as visible cut lines in your final brush and give the game away immediately.
Clone Stamp blending mode switched to Multiply
Switch the Clone Stamp’s blending mode to Multiply and work the areas surrounding your bright central zone. Multiply mode does the opposite of Screen: it only adds density, pulling tones darker. This reinforces the contrast structure of your brush shape, giving you that central light area falling off into deeper shadow at the edges. The combination of Screen passes in the center and Multiply passes at the edges is what creates the convincing depth. Work loosely, keep things asymmetrical, and avoid cloning from areas near the document edge, because those hard boundaries will appear as visible cut lines in your final brush and give the game away immediately.
Step 6: Define the Brush Preset
 Edit menu open with Define Brush Preset option highlighted
Once you’re happy with the texture and tonal structure, go to Edit > Define Brush Preset. Give it a descriptive name that will still mean something to you six months from now. Something like “Fog Organic 01” beats “new brush 7” every time. Photoshop converts the entire visible canvas into the brush tip shape. You’ll now find it at the bottom of your brush preset list. Open the Brush Settings panel (F5) and experiment with Spacing, Scatter, and Size Jitter to give the brush a more randomized, natural feel when you paint. A little Scatter goes a long way.
Edit menu open with Define Brush Preset option highlighted
Once you’re happy with the texture and tonal structure, go to Edit > Define Brush Preset. Give it a descriptive name that will still mean something to you six months from now. Something like “Fog Organic 01” beats “new brush 7” every time. Photoshop converts the entire visible canvas into the brush tip shape. You’ll now find it at the bottom of your brush preset list. Open the Brush Settings panel (F5) and experiment with Spacing, Scatter, and Size Jitter to give the brush a more randomized, natural feel when you paint. A little Scatter goes a long way.
Step 7: Paint Atmosphere Back Into Your Original Image
 New custom brush being used to paint fog onto original image
Return to your original composite, create a new empty layer above your background, and set it to Screen or Lighten blend mode depending on the look you need. Lower your brush opacity to somewhere between 10 and 30 percent and build the effect up in multiple passes. Low opacity, multiple passes is always the right approach here. You have much more control than if you try to nail it in one stroke. Paint in the direction the existing light is traveling in the image, and vary your brush size between passes to avoid a mechanical, repeating pattern.
New custom brush being used to paint fog onto original image
Return to your original composite, create a new empty layer above your background, and set it to Screen or Lighten blend mode depending on the look you need. Lower your brush opacity to somewhere between 10 and 30 percent and build the effect up in multiple passes. Low opacity, multiple passes is always the right approach here. You have much more control than if you try to nail it in one stroke. Paint in the direction the existing light is traveling in the image, and vary your brush size between passes to avoid a mechanical, repeating pattern.
A Note on Saving These for Production Use
The one thing Aaron doesn’t get into, which matters a lot in a studio context, is brush export and team sharing. Once you’ve built a brush this way, export it as a .ABR file immediately via the Brush Preset picker’s export option. I keep a shared network folder of production brushes organized by category, and every new machine that comes into my workflow gets them loaded on day one. If you’re doing any volume of retouching work, even just for yourself, a library of custom atmospheric brushes built this way is worth more than most paid preset packs, because they’re tuned to real photographic texture rather than someone’s idea of what atmosphere looks like.
The single most important thing this technique teaches you is that your best brush resources are already inside the images you’re working with. Photoshop’s brush engine is the vehicle. The real raw material is a good photograph. Watch the full tutorial on YouTube to see Aaron walk through the whole process in real time.
Comments
Leave a Comment