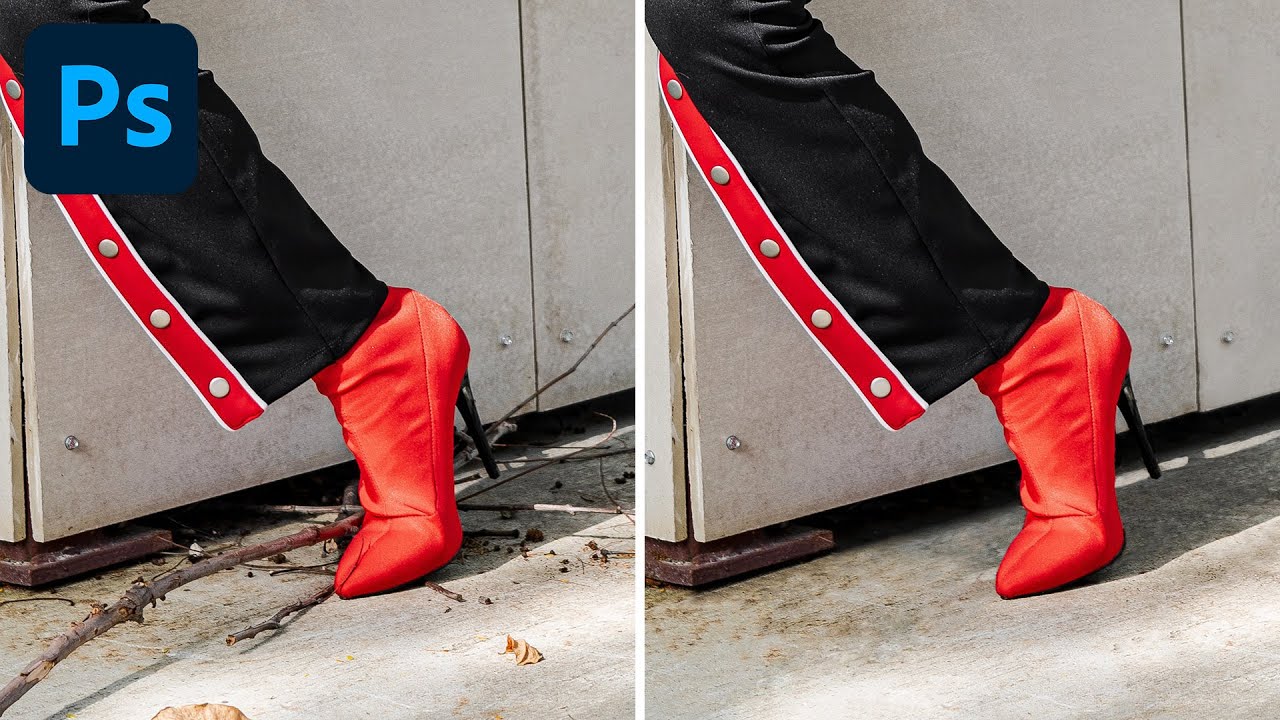
After fifteen years working in commercial studios, I can tell you that a genuinely clean shooting environment is a fantasy. Gravel lots, outdoor lifestyle shoots, product setups on location - there is always something on the ground that shouldn’t be there. A candy wrapper. A twig. A shadow from a fence post that crept into frame at the worst possible moment. The shot is otherwise perfect, the client wants it by Thursday, and you’ve got 40 frames that all need the same treatment. This is not a creative problem. It’s a logistics problem, and Photoshop is the solution.
Watch the full tutorial on YouTube
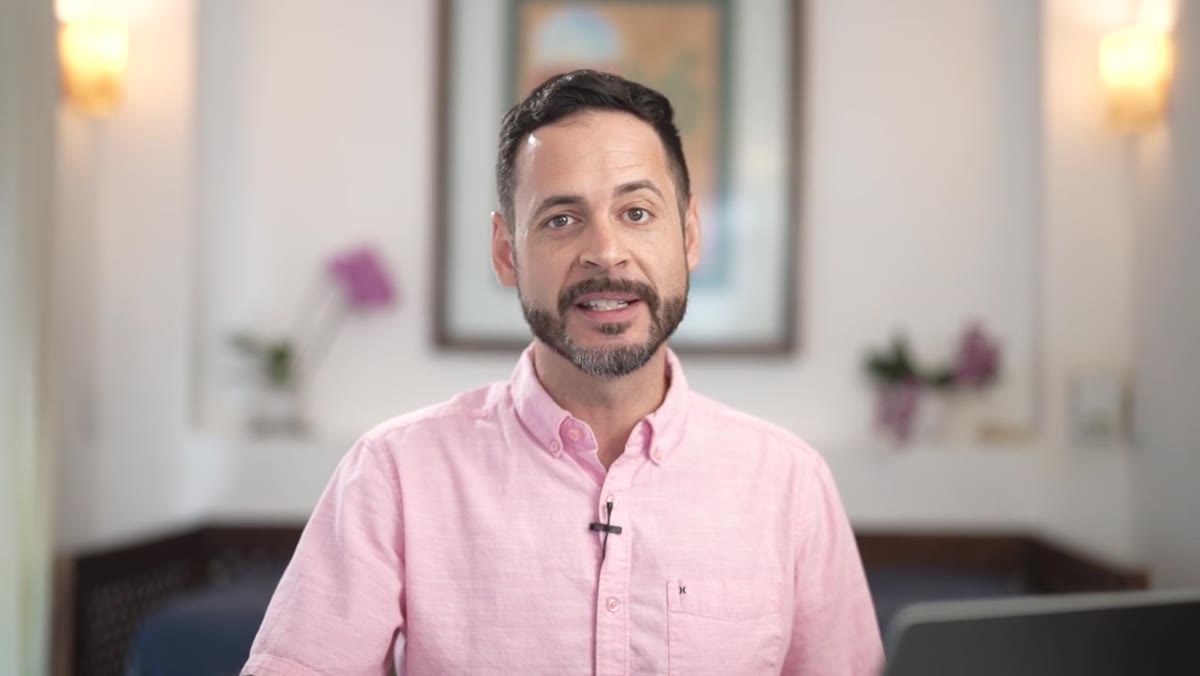
In this Aaron Nace (PHLEARN) tutorial, he works through exactly this scenario: a portrait with a genuinely messy ground plane covered in dirt, sticks, branches, and shadows from all of them. What makes the walkthrough useful isn’t that he shows you two tools exist - most Photoshop users already know that. It’s that he’s specific about which tool earns its keep in which situation, and he builds a repeatable switching workflow between the two. That’s the part worth internalizing.
Step 1: Create a New Empty Layer Before You Touch Anything
 New layer created above background in Layers panel
Before reaching for any retouching tool, create a new blank layer above your image. This one habit separates destructive editing from a workflow you can actually fix later. Everything you paint, clone, or heal goes onto this separate layer, which means you can erase mistakes, toggle visibility, or throw the whole thing away without touching the original pixel data. It costs you nothing and buys you everything.
New layer created above background in Layers panel
Before reaching for any retouching tool, create a new blank layer above your image. This one habit separates destructive editing from a workflow you can actually fix later. Everything you paint, clone, or heal goes onto this separate layer, which means you can erase mistakes, toggle visibility, or throw the whole thing away without touching the original pixel data. It costs you nothing and buys you everything.
Step 2: Set Up the Spot Healing Brush with “Sample All Layers”
 Top options bar showing Sample All Layers checkbox checked
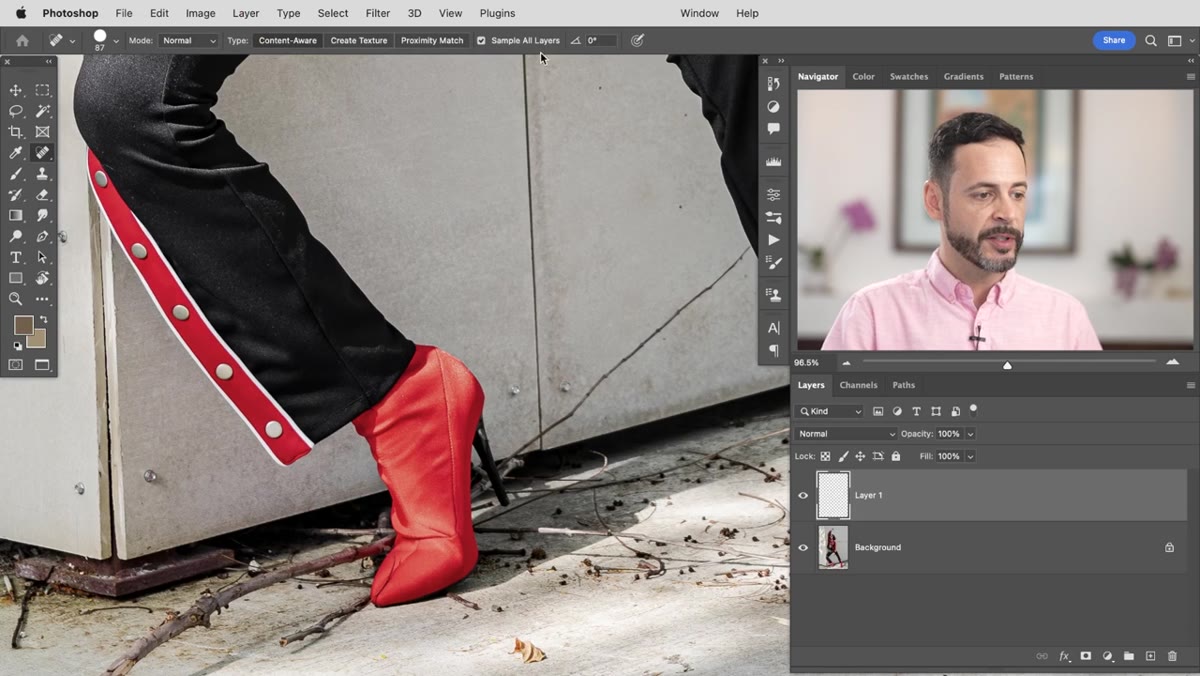
Press J to activate the Spot Healing Brush - it looks like a bandage icon in the toolbar. The critical setup step happens in the options bar at the top of your screen: make sure “Sample All Layers” is checked. Without this, the tool will sample only your empty new layer, find nothing, and produce garbage results. With it checked, Photoshop reads the pixel data from your actual image underneath while writing the correction onto your clean layer. That’s the non-destructive trick in action.
Top options bar showing Sample All Layers checkbox checked
Press J to activate the Spot Healing Brush - it looks like a bandage icon in the toolbar. The critical setup step happens in the options bar at the top of your screen: make sure “Sample All Layers” is checked. Without this, the tool will sample only your empty new layer, find nothing, and produce garbage results. With it checked, Photoshop reads the pixel data from your actual image underneath while writing the correction onto your clean layer. That’s the non-destructive trick in action.
Step 3: Paint Over Distractions in Open, Textured Areas
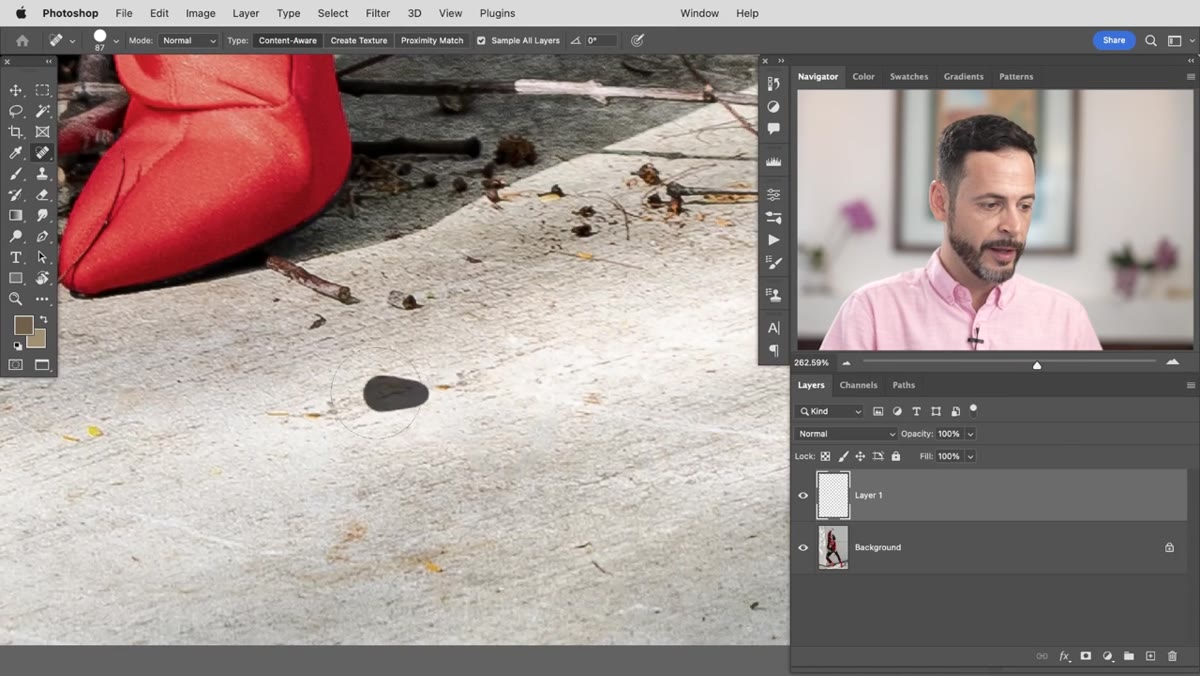 Spot healing brush painting over a stick on the ground
The Spot Healing Brush is a confidence tool. You don’t set a source point - you just paint over whatever you want gone and let Photoshop figure out what should be there instead. For areas with relatively consistent texture - gravel, grass, dirt, asphalt - it does this remarkably well on the first pass. If it doesn’t nail it, paint over the same area a second time. The algorithm samples surrounding pixels to generate a fill, and a second pass gives it more context to work with. Resize your brush with the bracket keys so it’s only slightly larger than the debris you’re covering. Oversized brushes pull in too much surrounding information and create soft, blurry patches.
Spot healing brush painting over a stick on the ground
The Spot Healing Brush is a confidence tool. You don’t set a source point - you just paint over whatever you want gone and let Photoshop figure out what should be there instead. For areas with relatively consistent texture - gravel, grass, dirt, asphalt - it does this remarkably well on the first pass. If it doesn’t nail it, paint over the same area a second time. The algorithm samples surrounding pixels to generate a fill, and a second pass gives it more context to work with. Resize your brush with the bracket keys so it’s only slightly larger than the debris you’re covering. Oversized brushes pull in too much surrounding information and create soft, blurry patches.
Step 4: Use the Eraser When the Tool Overcorrects Near Subject Edges
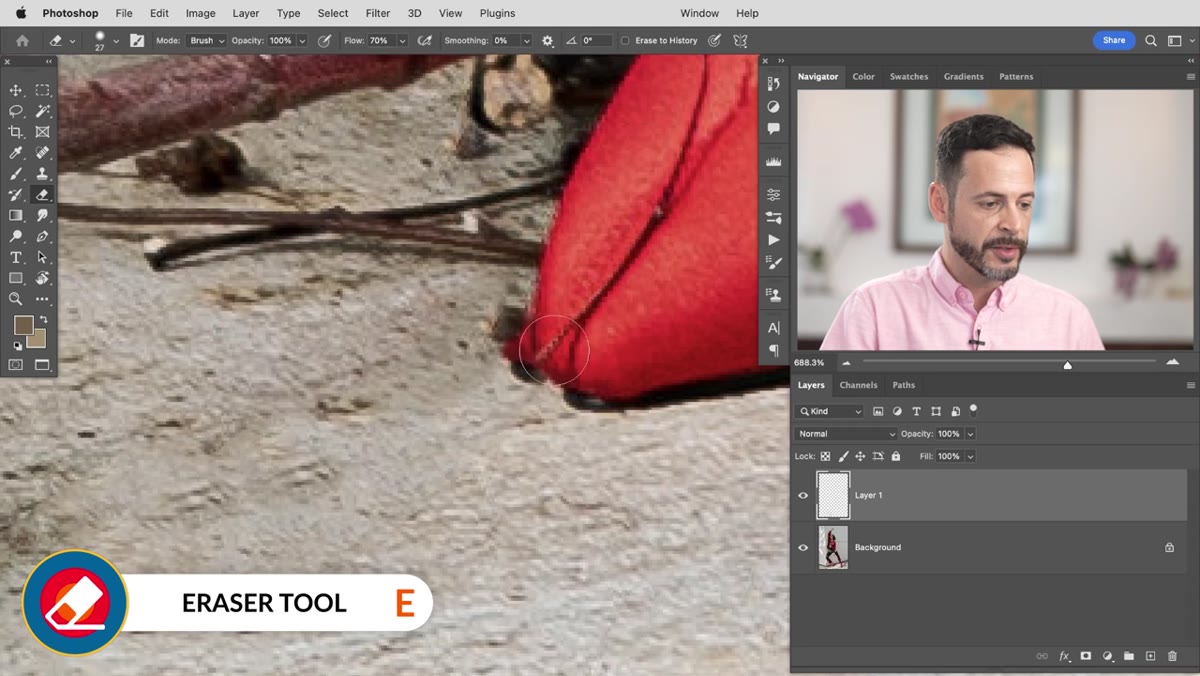 Eraser tool cleaning up a weird artifact near the subject’s toe
Sometimes the Spot Healing Brush gets ambitious. When it detects an edge - the toe of a shoe, the hem of a jacket, a leg - it can smear subject pixels into the repaired area or create a strange bulge where the fill meets the edge. When that happens, press E for the Eraser and paint away just the problem area on your correction layer. Because you’re working on a separate layer, the eraser removes only the bad correction paint, not your original image. This is a quick fix, not a workaround - it takes about five seconds and keeps you moving.
Eraser tool cleaning up a weird artifact near the subject’s toe
Sometimes the Spot Healing Brush gets ambitious. When it detects an edge - the toe of a shoe, the hem of a jacket, a leg - it can smear subject pixels into the repaired area or create a strange bulge where the fill meets the edge. When that happens, press E for the Eraser and paint away just the problem area on your correction layer. Because you’re working on a separate layer, the eraser removes only the bad correction paint, not your original image. This is a quick fix, not a workaround - it takes about five seconds and keeps you moving.
Step 5: Switch to the Clone Stamp Tool for Edge Detail
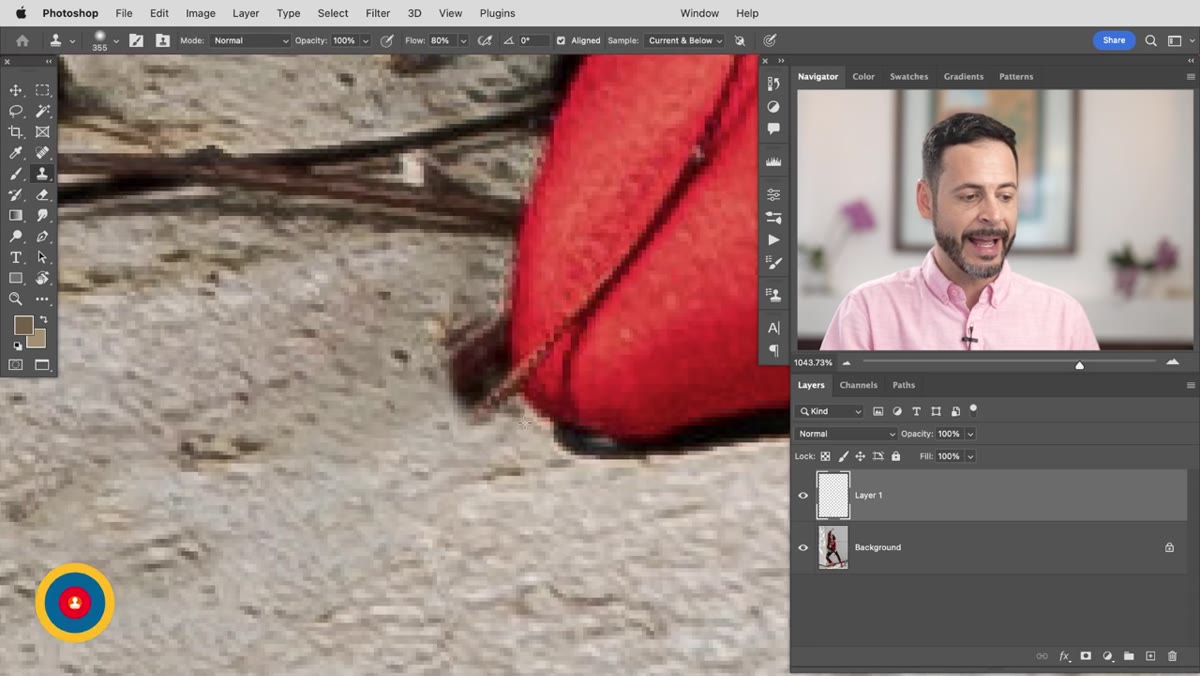 Clone Stamp tool selected, options bar showing “Current and Below”
Press S for the Clone Stamp. In the options bar, set the sample mode to “Current and Below” - same logic as before, keeps the workflow non-destructive on your new layer. The Clone Stamp differs fundamentally from the Spot Healing Brush: you manually define the source point by holding Alt (Windows) or Option (Mac) and clicking a clean area of the image. Then wherever you paint, Photoshop copies pixels exactly from that source point. There’s no algorithmic guessing. That precision is exactly what you need near edges, where the Spot Healing Brush tends to blend and blur when you need sharp, clean lines.
Clone Stamp tool selected, options bar showing “Current and Below”
Press S for the Clone Stamp. In the options bar, set the sample mode to “Current and Below” - same logic as before, keeps the workflow non-destructive on your new layer. The Clone Stamp differs fundamentally from the Spot Healing Brush: you manually define the source point by holding Alt (Windows) or Option (Mac) and clicking a clean area of the image. Then wherever you paint, Photoshop copies pixels exactly from that source point. There’s no algorithmic guessing. That precision is exactly what you need near edges, where the Spot Healing Brush tends to blend and blur when you need sharp, clean lines.
Reduce the brush size so it’s tight enough to follow the edge detail. Sample from a clean patch of ground that’s close in tone and texture to the area you’re fixing. Paint in short strokes rather than long sweeps - this gives you more control and lets you re-sample if the texture drifts.
Step 6: Alternate Between Tools as the Work Demands
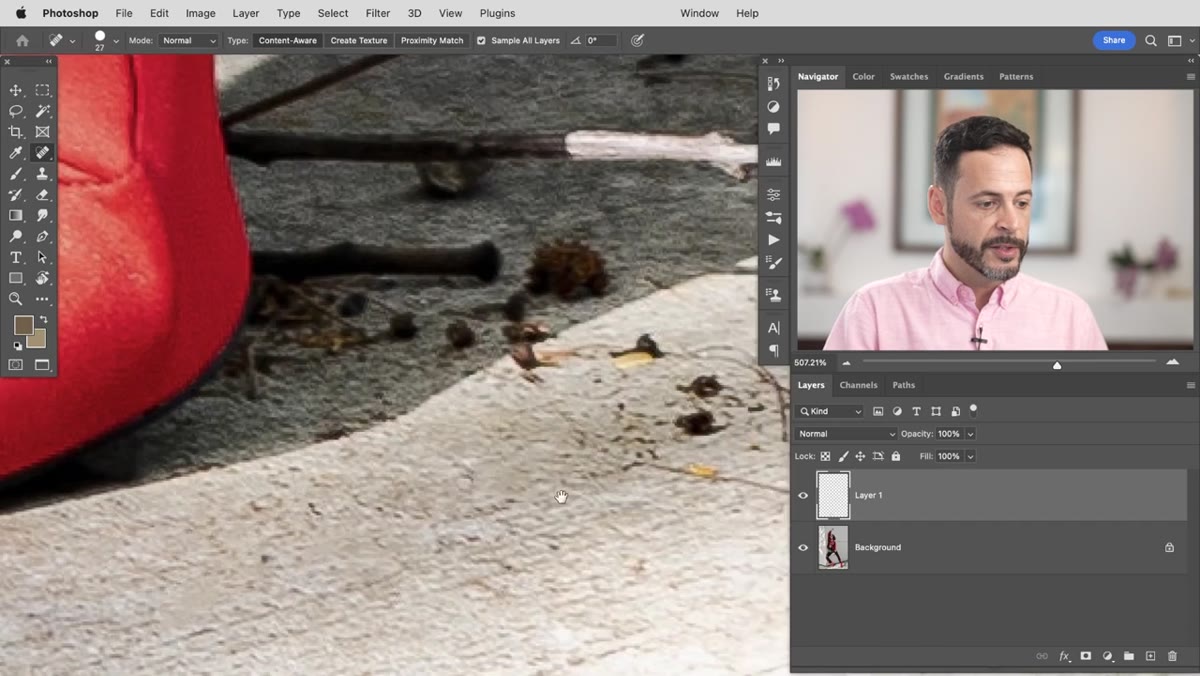 Switching back to Spot Healing Brush after Clone Stamp edge work
This is the actual workflow: it’s not one tool or the other, it’s a back-and-forth based on what each area needs. Open, grungy, textured ground? Spot Healing Brush. Edge where subject meets background? Clone Stamp. Back into open ground? Switch back. Aaron Nace describes it as a “play” between the two, and that’s accurate - you develop a rhythm, and it gets faster as you go. The keyboard shortcuts J and S make switching nearly instantaneous. Don’t stay loyal to one tool out of habit when the other will do the job better in ten seconds.
Switching back to Spot Healing Brush after Clone Stamp edge work
This is the actual workflow: it’s not one tool or the other, it’s a back-and-forth based on what each area needs. Open, grungy, textured ground? Spot Healing Brush. Edge where subject meets background? Clone Stamp. Back into open ground? Switch back. Aaron Nace describes it as a “play” between the two, and that’s accurate - you develop a rhythm, and it gets faster as you go. The keyboard shortcuts J and S make switching nearly instantaneous. Don’t stay loyal to one tool out of habit when the other will do the job better in ten seconds.
What I’d Add from the Consulting Side
The techniques here are solid and they work. Where I’d push further for anyone processing volume is in standardizing this before the shoot. If you’re doing location work where ground clutter is predictable - outdoor lifestyle, fashion, product on pavement - build a Photoshop Action that automates the new-layer creation, names the layer consistently, and sets the tool modes you always use. It doesn’t automate the actual retouching - that still needs a human eye - but it eliminates the three-to-five step setup every single time you open a file. Across a batch of 80 images, that’s meaningful time back.
I’d also flag that on truly complex backgrounds - leaf litter, cobblestone, anything with strong directional pattern - the Clone Stamp is going to do most of the heavy lifting. The Spot Healing Brush earns its place on organic, low-pattern textures. Knowing that split before you start saves you from fighting the wrong tool on a tight deadline.
The core lesson here is deceptively simple: use the Spot Healing Brush for general areas and switch to the Clone Stamp when edge precision matters. That two-tool rotation, executed on a separate layer, handles the vast majority of ground-clutter cleanup you’ll encounter in real retouching work. It’s not glamorous, but a clean background in the final image is always worth the extra time.
Watch the full tutorial on YouTube to see Aaron Nace work through the full image from start to finish - watching the tool-switching rhythm in real time is worth the runtime on its own.
Comments
Leave a Comment