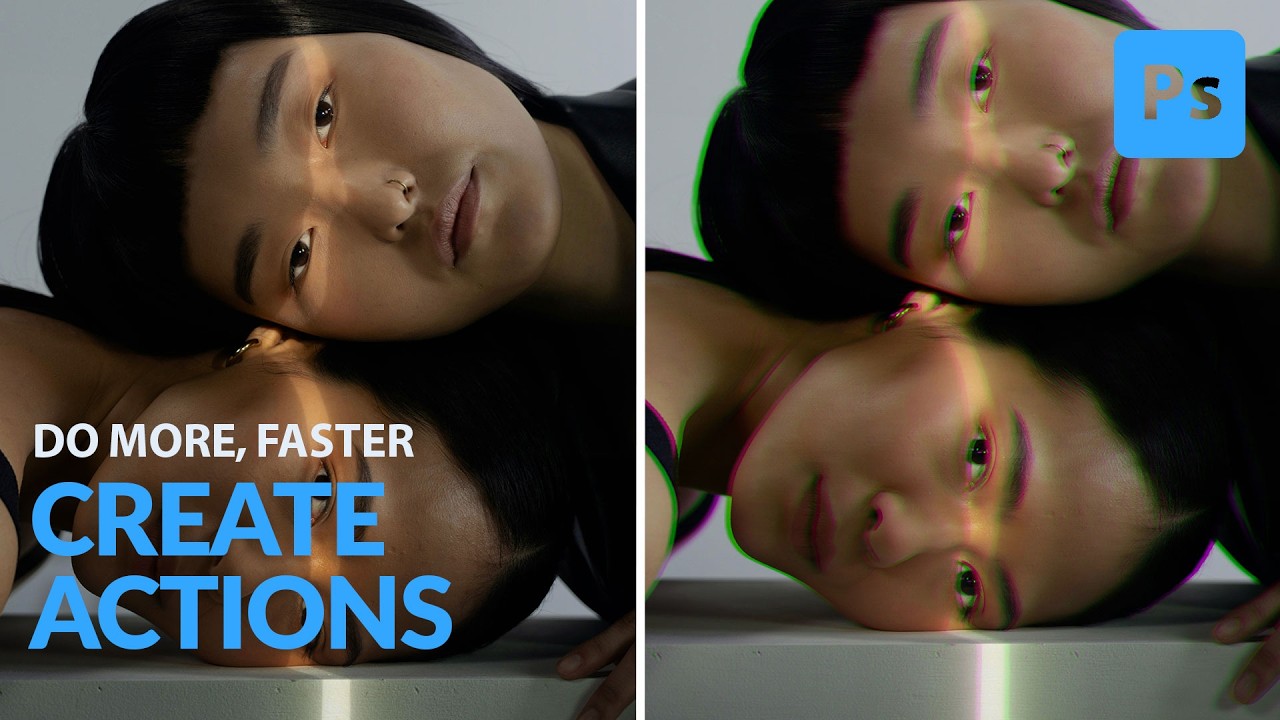
I built my first Photoshop action at 26 and I haven’t manually repeated a task since. That’s not hyperbole - I track this stuff. But even after years of building complex action sets for commercial clients, I still find myself going back to fundamentals videos when I want to tighten up how I’m structuring a new workflow. In this Aaron Nace (PHLEARN) tutorial, Watch the full tutorial on YouTube, Aaron walks through creating a split color effect as a vehicle for teaching the full action recording and playback cycle. The effect itself is a nice party trick, but what’s actually valuable here is the methodology underneath it.
What I appreciate most about Aaron’s approach is that he treats actions as living documents, not one-shot recordings. He stops, tests, resumes, and edits mid-process. That’s exactly how you should think about them if you want actions that survive contact with real client files instead of just working once on your demo image.
Step 1: Open the Actions Panel and Create a Set
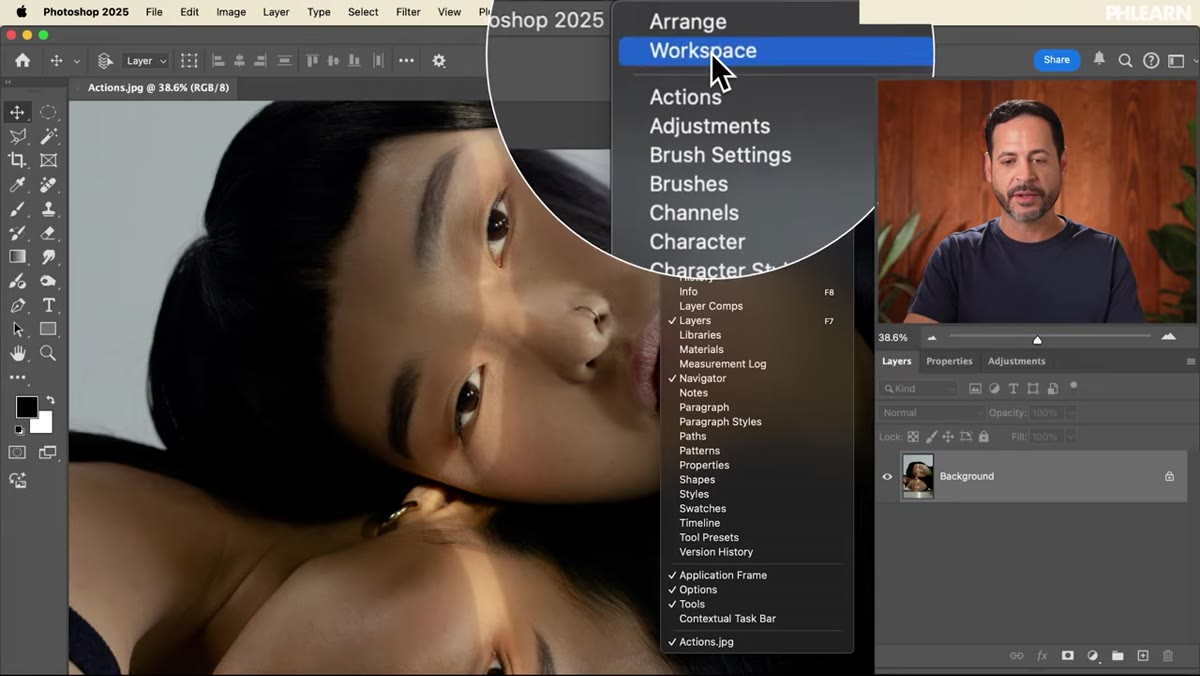 Actions panel opening with new folder being created
Before you record a single step, get organized. Go to Window, then Actions to open the panel. From there, click the folder icon at the bottom to create a new Action Set - Aaron names his “Split Color.” Think of sets as project folders. If you’re working across multiple client accounts or effect categories, keeping actions grouped by set will save you from scrolling through a wall of unrelated recordings six months from now. I color-code mine, which you can do by right-clicking a set and assigning a color label.
Actions panel opening with new folder being created
Before you record a single step, get organized. Go to Window, then Actions to open the panel. From there, click the folder icon at the bottom to create a new Action Set - Aaron names his “Split Color.” Think of sets as project folders. If you’re working across multiple client accounts or effect categories, keeping actions grouped by set will save you from scrolling through a wall of unrelated recordings six months from now. I color-code mine, which you can do by right-clicking a set and assigning a color label.
Step 2: Create a New Action and Start Recording
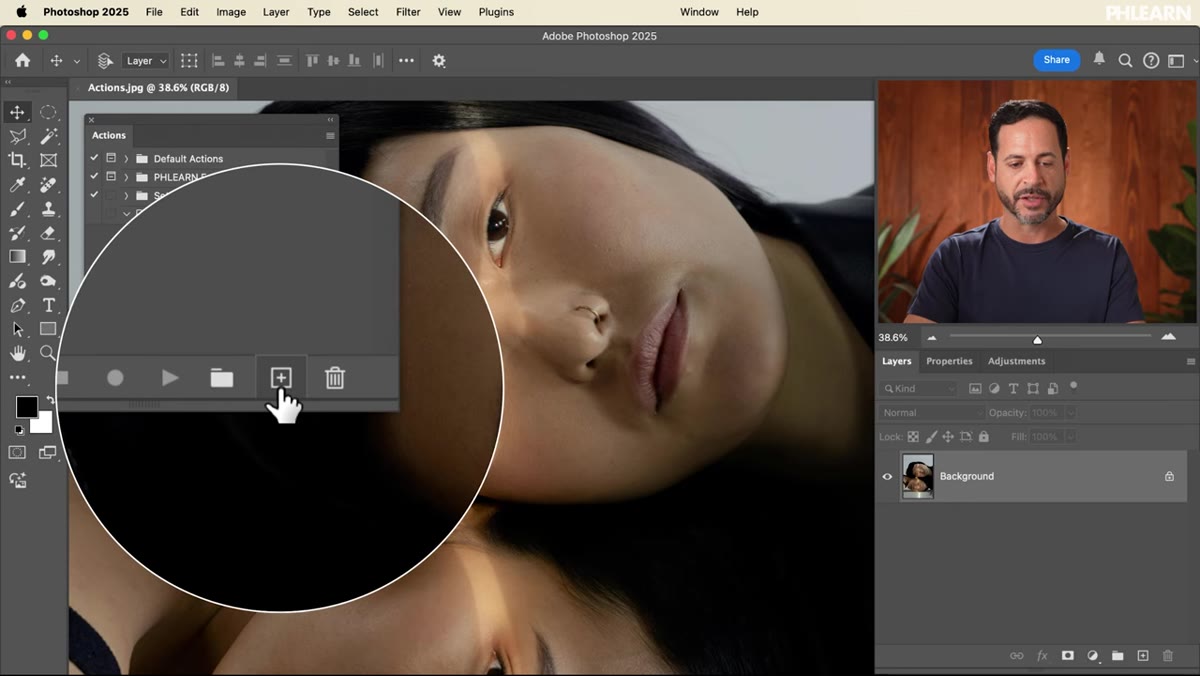 New action dialog with record button highlighted
With your set selected, click the plus icon to add a new action. Name it something specific - “Split Color” works here, but in production work I’d name it after the deliverable it produces. Hit Record, and the red dot in the panel confirms you’re live. From this point, every supported operation in Photoshop gets logged. There’s no countdown, no warning before you do something you didn’t intend to record. Move carefully and deliberately, especially your first few times through.
New action dialog with record button highlighted
With your set selected, click the plus icon to add a new action. Name it something specific - “Split Color” works here, but in production work I’d name it after the deliverable it produces. Hit Record, and the red dot in the panel confirms you’re live. From this point, every supported operation in Photoshop gets logged. There’s no countdown, no warning before you do something you didn’t intend to record. Move carefully and deliberately, especially your first few times through.
Step 3: Build the Base Layer Using Apply Image
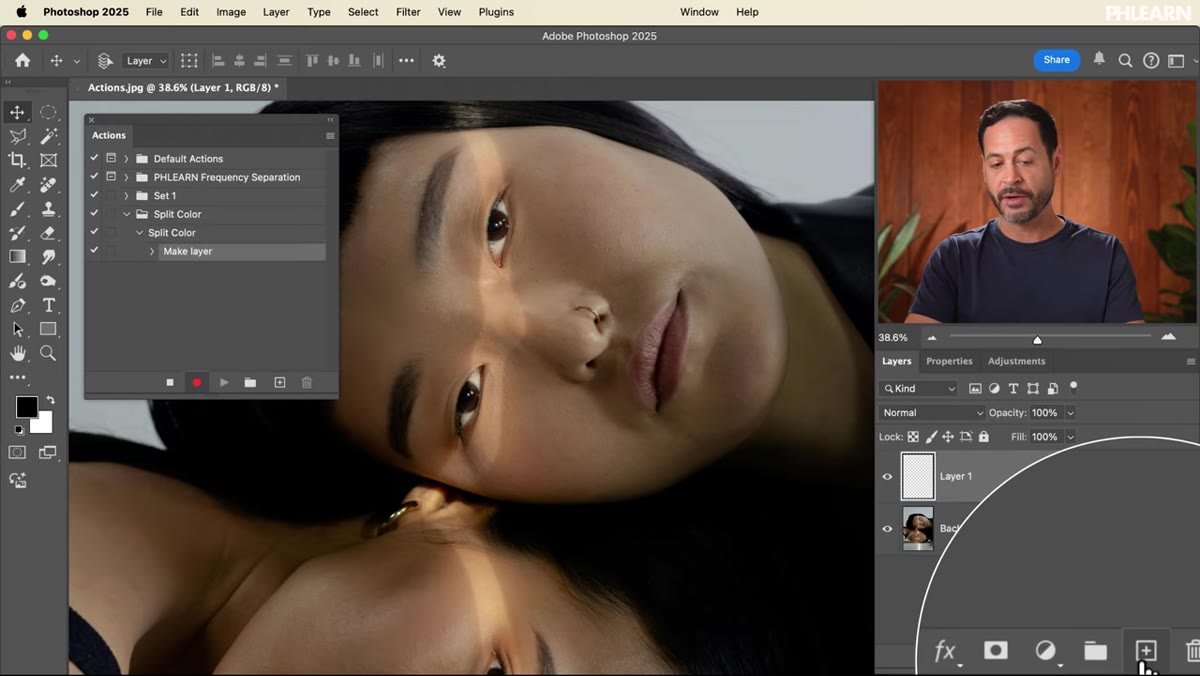 New layer created with Apply Image dialog open
The first recorded steps here are creating a new blank layer above the background, then using Image - Apply Image to populate it. Apply Image is doing something useful: it takes a flattened snapshot of your entire visible canvas and stamps it onto the target layer. This is more reliable in an action than duplicating a specific named layer, because Apply Image doesn’t care what your layers are called. It just reads what’s visible. Hit OK with the default settings and you’ll have a pixel-accurate copy of your composite on a new layer, ready to manipulate.
New layer created with Apply Image dialog open
The first recorded steps here are creating a new blank layer above the background, then using Image - Apply Image to populate it. Apply Image is doing something useful: it takes a flattened snapshot of your entire visible canvas and stamps it onto the target layer. This is more reliable in an action than duplicating a specific named layer, because Apply Image doesn’t care what your layers are called. It just reads what’s visible. Hit OK with the default settings and you’ll have a pixel-accurate copy of your composite on a new layer, ready to manipulate.
Step 4: Stop Recording and Test What You Have
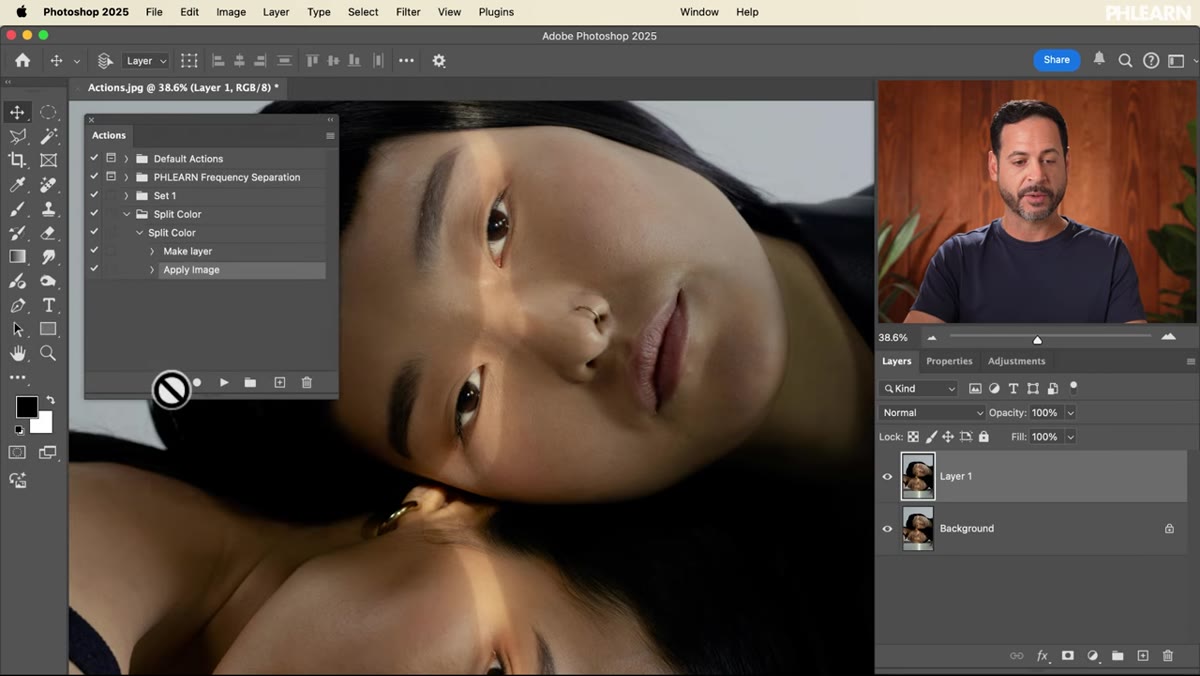 Stop button pressed, action list showing two recorded steps
This is the step most beginners skip, and it’s the reason their actions blow up later. Aaron hits Stop, deletes the layer he just created, and plays the action back from scratch. Two steps run automatically - make layer, apply image - and the result matches what he built manually. Get in the habit of doing this checkpoint test after every logical block of steps. If something’s off, you catch it while the action is still small and easy to re-record. Catching a bad step inside a 40-step action is a much worse afternoon.
Stop button pressed, action list showing two recorded steps
This is the step most beginners skip, and it’s the reason their actions blow up later. Aaron hits Stop, deletes the layer he just created, and plays the action back from scratch. Two steps run automatically - make layer, apply image - and the result matches what he built manually. Get in the habit of doing this checkpoint test after every logical block of steps. If something’s off, you catch it while the action is still small and easy to re-record. Catching a bad step inside a 40-step action is a much worse afternoon.
Step 5: Resume Recording From the Last Step
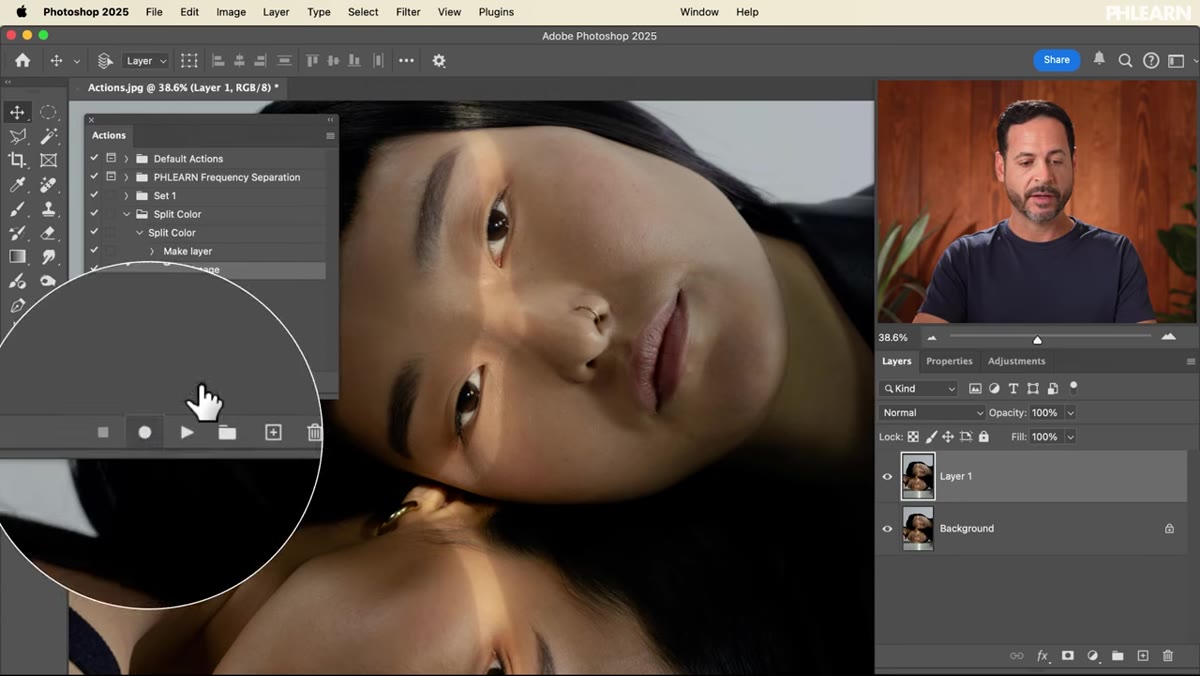 Action panel with last step selected before resuming record
Here’s a feature that changes how you think about building actions: you don’t have to start over. Click on the last completed step in your action list to highlight it, then hit the Record button again. Photoshop resumes logging from that point forward. Aaron uses this to continue building the split color effect without scrapping his earlier work. This is especially useful when you’ve tested and confirmed the first half of an action is solid - you’re building on a verified foundation rather than re-recording everything from memory.
Action panel with last step selected before resuming record
Here’s a feature that changes how you think about building actions: you don’t have to start over. Click on the last completed step in your action list to highlight it, then hit the Record button again. Photoshop resumes logging from that point forward. Aaron uses this to continue building the split color effect without scrapping his earlier work. This is especially useful when you’ve tested and confirmed the first half of an action is solid - you’re building on a verified foundation rather than re-recording everything from memory.
Step 6: Move the Layer With Keyboard Arrows (Not the Mouse)
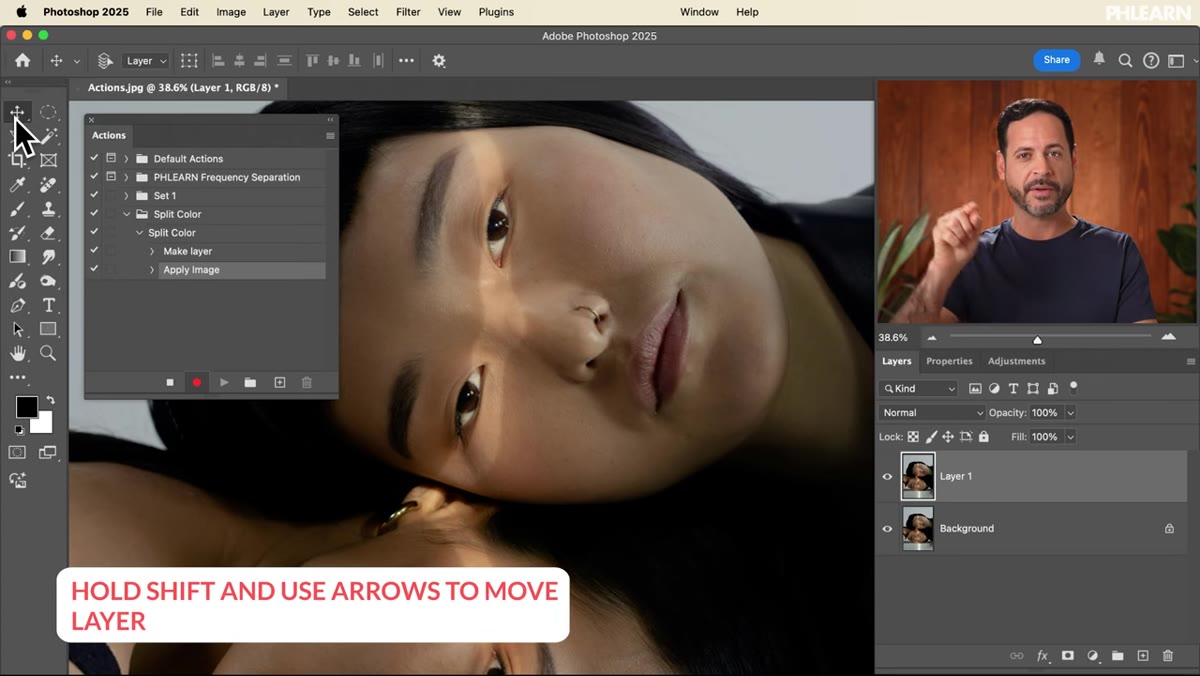 Move tool selected with layer shifting via arrow key input
With recording resumed, Aaron switches to the Move tool and uses Shift plus the right arrow key to nudge the layer horizontally. Each Shift-arrow moves 10 pixels, so two presses shifts the layer 20 pixels to the right. This is an important discipline for action recording: use keyboard-driven positioning instead of click-and-drag whenever possible. Mouse drags record as relative pixel offsets, but they depend on where your cursor started. Keyboard nudges are absolute and predictable across different canvas sizes. Your future self - running this action on a 6000px wide file - will thank you.
Move tool selected with layer shifting via arrow key input
With recording resumed, Aaron switches to the Move tool and uses Shift plus the right arrow key to nudge the layer horizontally. Each Shift-arrow moves 10 pixels, so two presses shifts the layer 20 pixels to the right. This is an important discipline for action recording: use keyboard-driven positioning instead of click-and-drag whenever possible. Mouse drags record as relative pixel offsets, but they depend on where your cursor started. Keyboard nudges are absolute and predictable across different canvas sizes. Your future self - running this action on a 6000px wide file - will thank you.
Step 7: Apply the Blending Effect via Layer Style
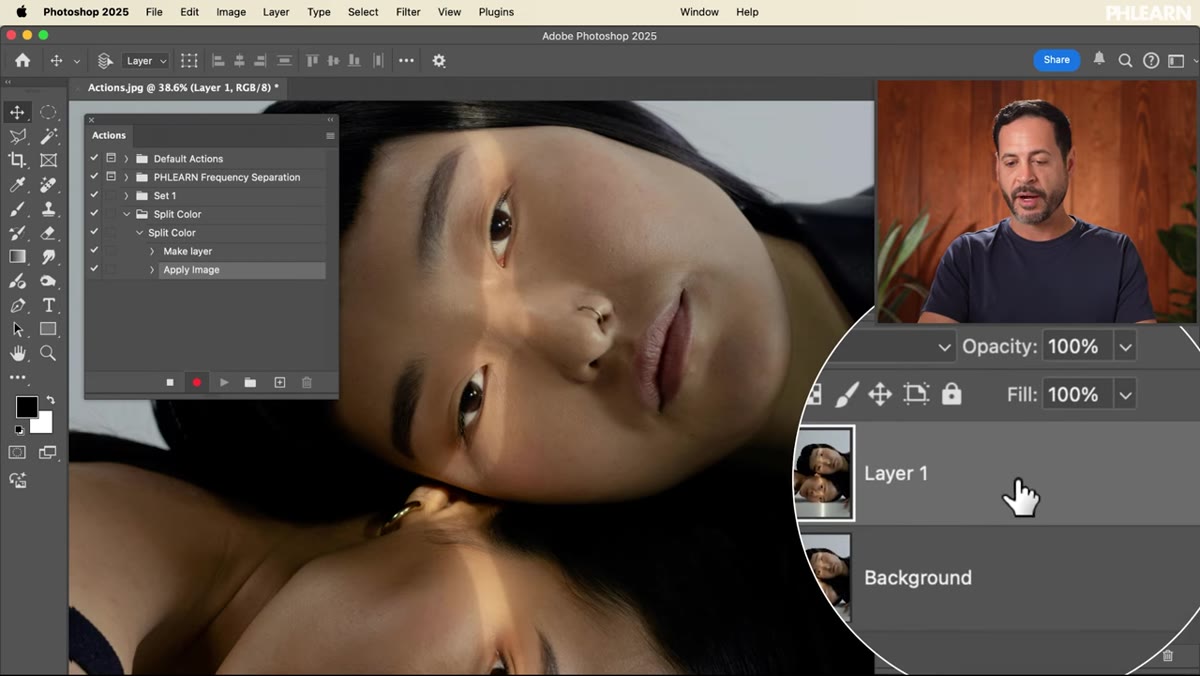 Layer Style dialog open with Advanced Blending channels visible
Double-clicking the layer thumbnail opens the Layer Style dialog. Navigate to the Advanced Blending section where you’ll see channel checkboxes labeled R, G, and B. Uncheck the R channel. This tells Photoshop to exclude red channel data from this layer’s blending, which creates the color split effect when combined with the original background layer beneath it. The visual result is a chromatic offset - the kind of thing that would take several manual steps to set up from scratch each time. Aaron toggles the layer on and off to demonstrate the before/after, and it’s a clean effect. Hit OK, stop the recording, and you have a complete action.
Layer Style dialog open with Advanced Blending channels visible
Double-clicking the layer thumbnail opens the Layer Style dialog. Navigate to the Advanced Blending section where you’ll see channel checkboxes labeled R, G, and B. Uncheck the R channel. This tells Photoshop to exclude red channel data from this layer’s blending, which creates the color split effect when combined with the original background layer beneath it. The visual result is a chromatic offset - the kind of thing that would take several manual steps to set up from scratch each time. Aaron toggles the layer on and off to demonstrate the before/after, and it’s a clean effect. Hit OK, stop the recording, and you have a complete action.
What I’d Add for Production Use
The action Aaron builds here is a solid foundation, but if you’re running this on client work, I’d add two steps at the beginning: one to flatten or stamp-visible if you’re working on a layered file, and one to record the image mode (confirming it’s RGB, not CMYK or Lab). Apply Image behaves differently across color modes, and if you’re in a mixed-mode workflow - which happens constantly in e-commerce and print prep - an action that doesn’t check mode will produce inconsistent results. I also save all production actions as ATN files to a dedicated backup drive immediately after building them. I’ve been burned by a corrupted preferences file before. The action I spent two hours building was gone. It happened once.
The single most important concept in this tutorial is the test-and-resume loop. Recording a full action in one unbroken take feels efficient, but it’s fragile. The approach Aaron demonstrates - record a few steps, stop, verify, resume - produces actions you can actually trust across hundreds of files. That’s the difference between an action you use once as a demo and one that becomes a permanent part of your workflow. Watch the full tutorial on YouTube to see the complete split color effect come together, including the playback demonstration that shows just how fast a well-built action runs.
Comments (1)
Tried this technique this morning. Game changer for real.
Leave a Comment