
I have a confession that will surprise exactly no one who runs a post-production operation: I spent the first three years of my career losing files. Not permanently, but functionally. A raw file buried in a folder called “New Folder (3)” on a drive labeled “BU_FINAL_v2” might as well not exist. When a client calls asking for the original raws from a shoot you did eighteen months ago, “I think it’s somewhere on the G drive” is not a sentence you want to say out loud. Workflow is what separates a studio that scales from one that drowns in its own archive.
In this Aaron Nace (PHLEARN) tutorial, Watch the full tutorial on YouTube, Aaron walks through a complete end-to-end system: importing from a memory card, setting up a file structure that makes retrieval fast years later, making initial adjustments in Lightroom, and round-tripping cleanly into Photoshop and back. It’s practical, it’s studio-tested, and if you’re the kind of person who has ever typed a filename with the word “FINAL” in it, you need this.
The system he describes maps closely to what I’ve built in my own consultancy over fifteen years. A few of his specifics made me rethink some of my own habits in useful ways.
Step 1: Import With Intention, Not Just Speed
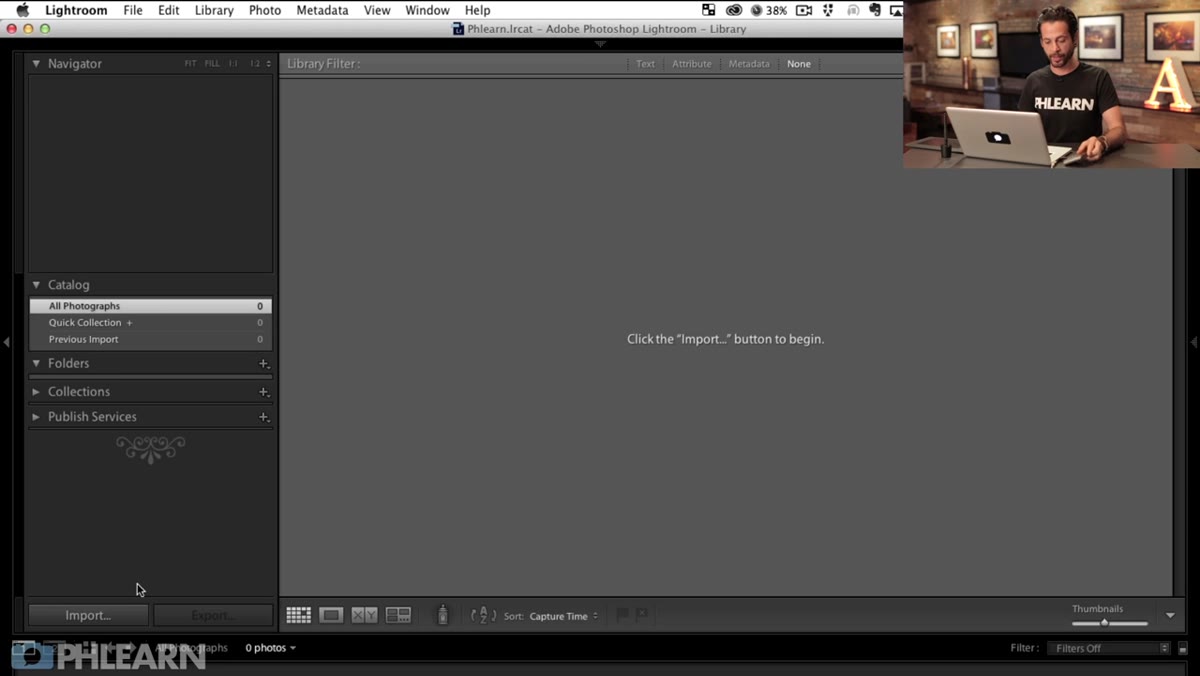 Lightroom import dialog open with memory card detected
Most photographers hit import the same way they hit snooze: reflexively, without thinking. Aaron’s point is that the import step is where your organizational system either starts strong or starts unraveling. Inside Lightroom’s import dialog, you’re not just copying files. You’re making decisions about how findable those files will be in two years.
Lightroom import dialog open with memory card detected
Most photographers hit import the same way they hit snooze: reflexively, without thinking. Aaron’s point is that the import step is where your organizational system either starts strong or starts unraveling. Inside Lightroom’s import dialog, you’re not just copying files. You’re making decisions about how findable those files will be in two years.
He recommends setting the destination to your main Pictures folder and letting Lightroom organize by date automatically. That means Lightroom generates a year folder at the top level, then creates dated subfolders underneath. It’s a structure that requires zero maintenance and makes it immediately obvious when something was shot.
Step 2: Choose Your File Format at Import, Not Later
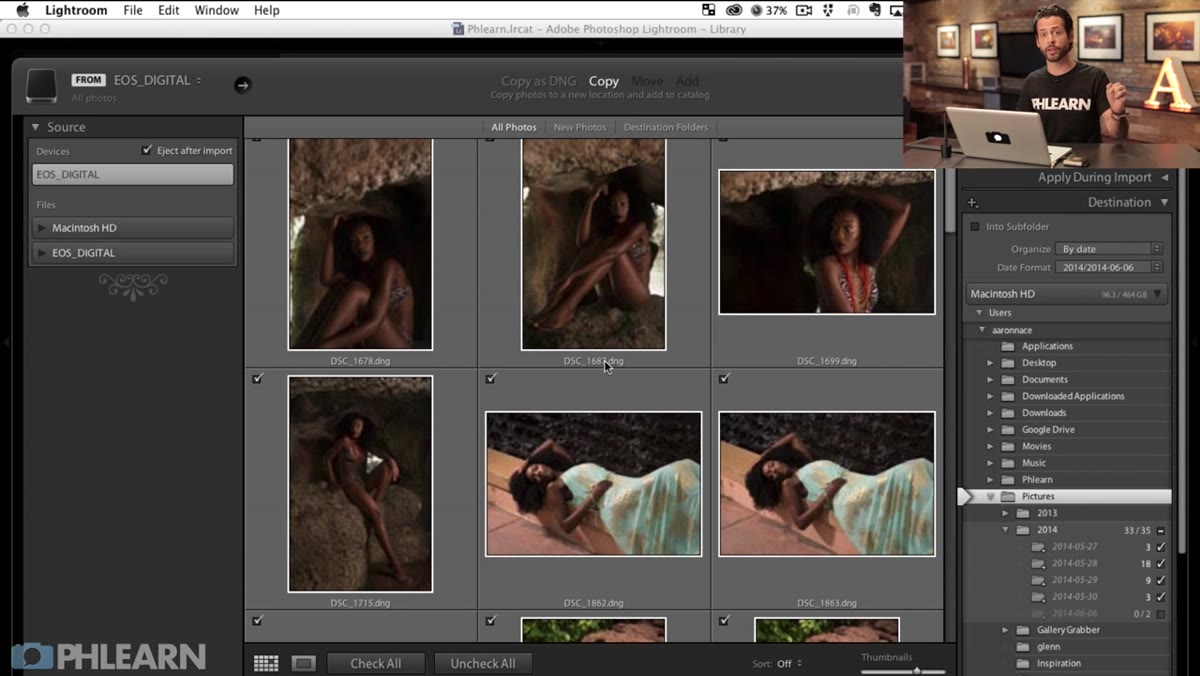 Import options panel showing Copy as DNG selected
If you’re shooting RAW files straight from the camera, the import step is the right moment to convert to DNG. Aaron recommends this specifically because DNG files run smaller than proprietary formats like CR2 or NEF, which matters when you’re moving files between workstations or to external drives. He selects “Copy as DNG” in the import options rather than a straight copy.
Import options panel showing Copy as DNG selected
If you’re shooting RAW files straight from the camera, the import step is the right moment to convert to DNG. Aaron recommends this specifically because DNG files run smaller than proprietary formats like CR2 or NEF, which matters when you’re moving files between workstations or to external drives. He selects “Copy as DNG” in the import options rather than a straight copy.
I’d add one thing from hard experience: DNG also simplifies things if you work with contractors or send files to a retoucher who might not have the right camera profile for your specific body. It’s a more portable format and the file size savings compound fast when you’re dealing with thousands of images per month.
Step 3: Handle Multi-Day Shoots as One Project, Not Multiple Date Folders
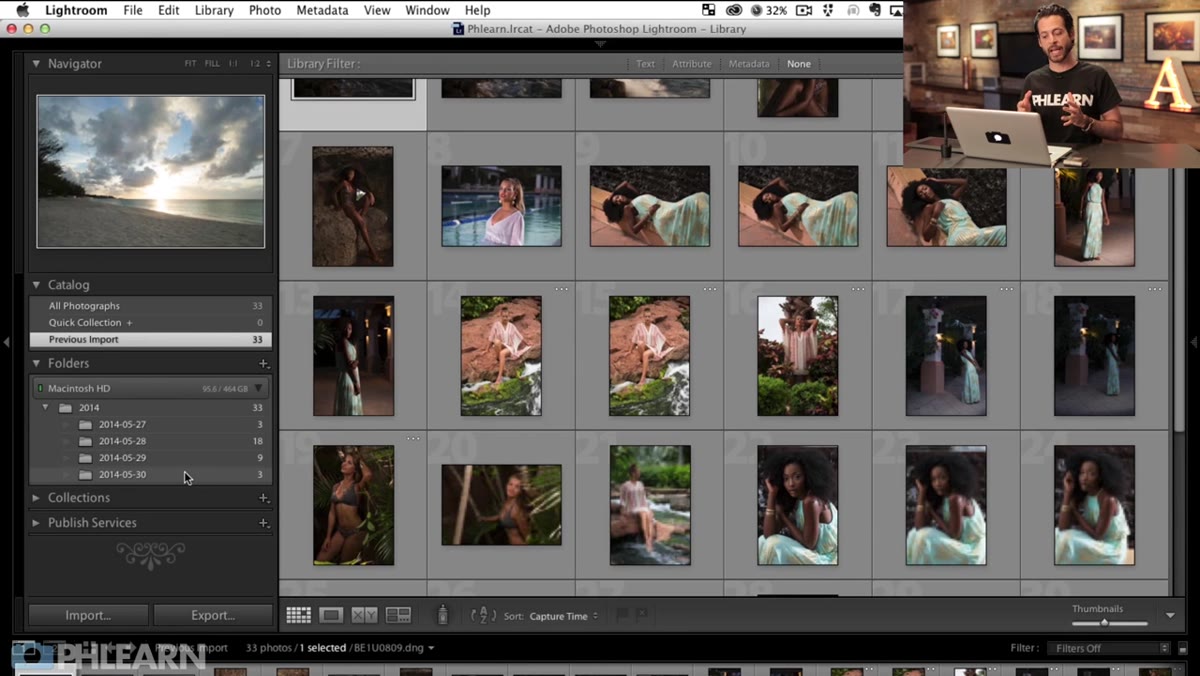 Lightroom folder panel showing multiple date subfolders from one shoot
Here’s where Aaron makes a point that a lot of tutorials skip entirely. When a shoot spans multiple days, Lightroom’s date-based organization will split those images across separate folders automatically. That’s useful for stock or personal work, but it creates friction on a commercial job where everything from that project belongs together.
Lightroom folder panel showing multiple date subfolders from one shoot
Here’s where Aaron makes a point that a lot of tutorials skip entirely. When a shoot spans multiple days, Lightroom’s date-based organization will split those images across separate folders automatically. That’s useful for stock or personal work, but it creates friction on a commercial job where everything from that project belongs together.
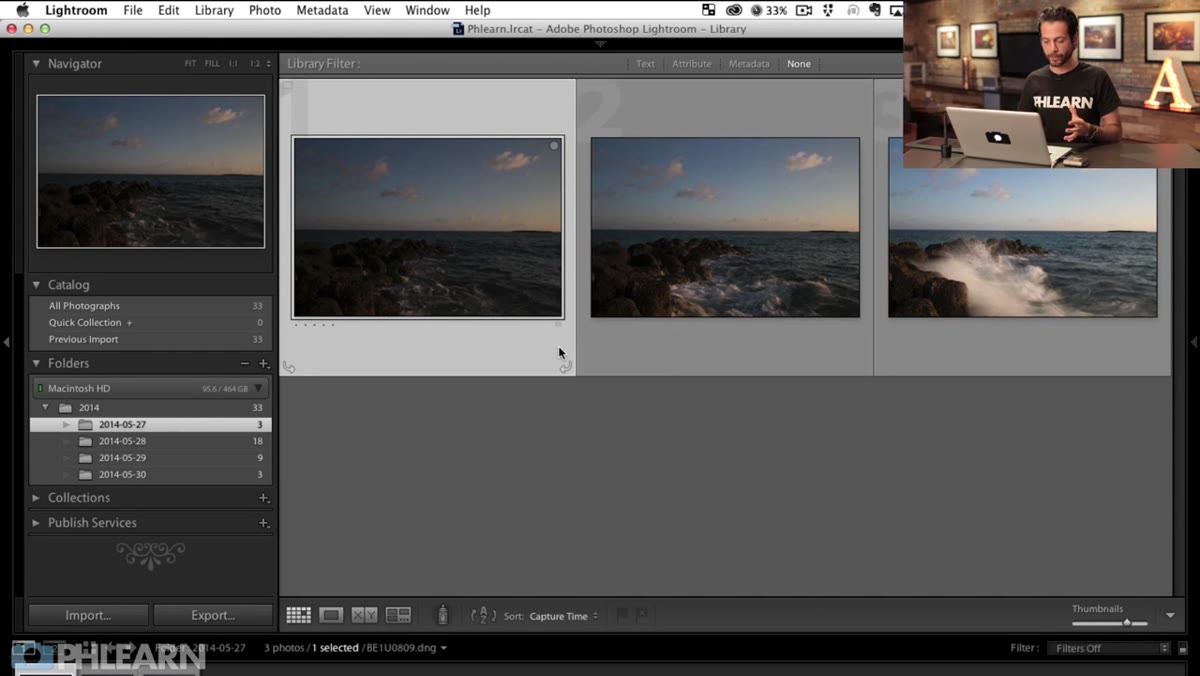
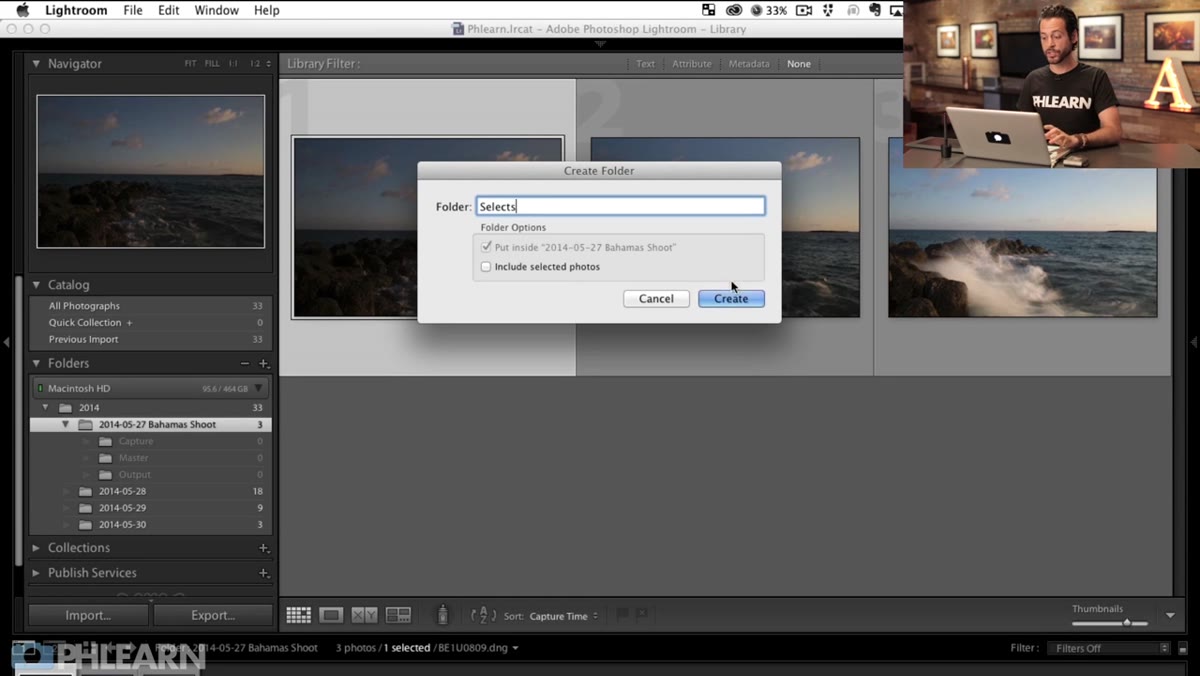
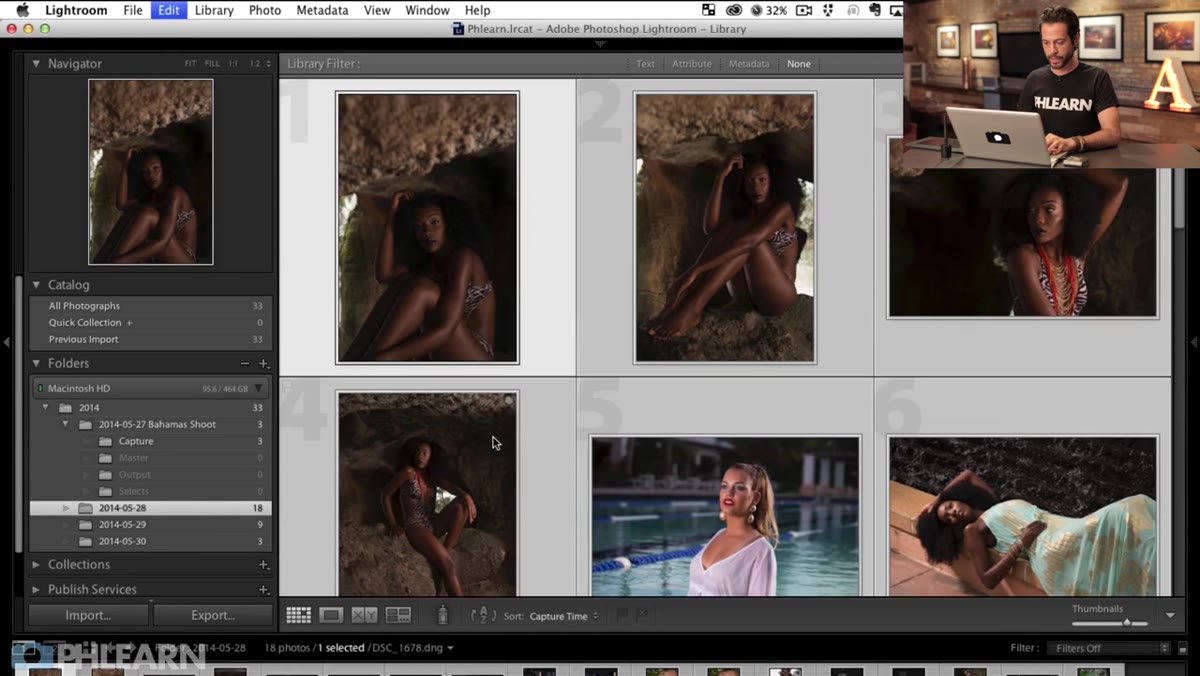
His solution is straightforward: after the import settles, consolidate those date folders into a single project folder named for the client or campaign. You do this inside Lightroom’s folder panel so the catalog stays updated. You’re not dragging files around in Finder or Explorer and breaking links. The date-based import gets the files onto the drive cleanly, and the project folder reorganization makes them retrievable by job rather than just by date.
Step 4: Make Global Adjustments in Lightroom Before Going Anywhere Near Photoshop
 Lightroom Develop module with exposure and white balance sliders adjusted
Lightroom is where you handle the decisions that apply across an entire batch: exposure correction, white balance, lens corrections, noise reduction. Aaron’s workflow treats Lightroom as a triage and global-adjustment layer, not a finishing tool. You’re not doing selective edits here. You’re getting the image to a clean, neutral baseline that makes the Photoshop work faster.
Lightroom Develop module with exposure and white balance sliders adjusted
Lightroom is where you handle the decisions that apply across an entire batch: exposure correction, white balance, lens corrections, noise reduction. Aaron’s workflow treats Lightroom as a triage and global-adjustment layer, not a finishing tool. You’re not doing selective edits here. You’re getting the image to a clean, neutral baseline that makes the Photoshop work faster.
This matters for efficiency more than most people realize. If you’re sending a slightly green, underexposed file into Photoshop and correcting it there on a per-image basis, you’re doing work that Lightroom could have done to fifty images in thirty seconds with a sync. Nail the global pass first. The Photoshop layer is for work that genuinely requires pixel-level control.
Step 5: Round-Trip to Photoshop Without Breaking the Catalog
 Right-click menu in Lightroom showing Edit In Photoshop option
The handoff from Lightroom to Photoshop is where a lot of workflows silently fall apart. If you export a TIFF, edit it, save it somewhere random, and try to reimport it manually, you’ve already created version confusion. Aaron’s approach keeps Lightroom in control of the round-trip.
Right-click menu in Lightroom showing Edit In Photoshop option
The handoff from Lightroom to Photoshop is where a lot of workflows silently fall apart. If you export a TIFF, edit it, save it somewhere random, and try to reimport it manually, you’ve already created version confusion. Aaron’s approach keeps Lightroom in control of the round-trip.
From inside Lightroom, right-click the image and choose Edit In Photoshop. Lightroom passes a full-resolution file to Photoshop with your Lightroom adjustments baked in. When you save and close that file in Photoshop, Lightroom automatically pulls the edited version back into the catalog alongside the original. The two files sit together. You always know which is the raw and which is the retouched version. No manual reimporting, no naming confusion.
Step 6: Maintain a Consistent Output Folder Structure for Deliverables
 Lightroom Export dialog with folder destination and file naming options visible
The last piece Aaron addresses is where your final files land. Inside Lightroom’s export dialog, you can set a specific subfolder as the destination. He ties this back to the project folder structure established at import: the deliverable JPEGs go into an “Output” subfolder inside the same project folder that holds the raws and PSDs.
Lightroom Export dialog with folder destination and file naming options visible
The last piece Aaron addresses is where your final files land. Inside Lightroom’s export dialog, you can set a specific subfolder as the destination. He ties this back to the project folder structure established at import: the deliverable JPEGs go into an “Output” subfolder inside the same project folder that holds the raws and PSDs.
That single habit means that eighteen months from now, if a client needs a reprint or an agency needs the original files for a new campaign, everything for that job is in one place. Raw files, PSD working files, and output JPEGs, all in one project folder, all findable in under thirty seconds.
What I’d Add From Running a High-Volume Studio
Aaron’s system is clean and I’d implement it almost exactly as described. The one thing I’d layer on top for anyone doing e-commerce or product work at volume is a naming convention at the file level, not just the folder level. I use a client code, shoot date, and sequence number baked into every filename at import. It sounds tedious until you need to search across multiple drives for every file associated with a specific client and your file manager can find them all in a single search because the client code is literally in the filename.
I’ve also built Lightroom presets that apply my standard global adjustments automatically on import, so step four above happens before I’ve even looked at the thumbnails. That shaves time on every single job, and it’s the kind of small automation that compounds into hours saved each month. My spreadsheet tracking that kind of time savings is embarrassingly detailed, but the numbers justify the habit.
The core idea here is simple: the decisions you make at import determine how much friction you deal with for the entire life of that project. A clean catalog structure, a consistent folder hierarchy, and a proper Lightroom-to-Photoshop round-trip aren’t glamorous, but they’re the difference between a studio that can take on more work and one that can’t find last Tuesday’s files.
Watch the full tutorial on YouTube and implement even two or three of these steps. Your future self, the one who gets an urgent client call at 9pm asking for original raws from a year ago, will be genuinely grateful.
Comments
Leave a Comment