Stop Fighting the Clone Stamp Tool — Build a Custom Dirt Brush Instead

Stop Fighting the Clone Stamp Tool — Build a Custom Dirt Brush Instead

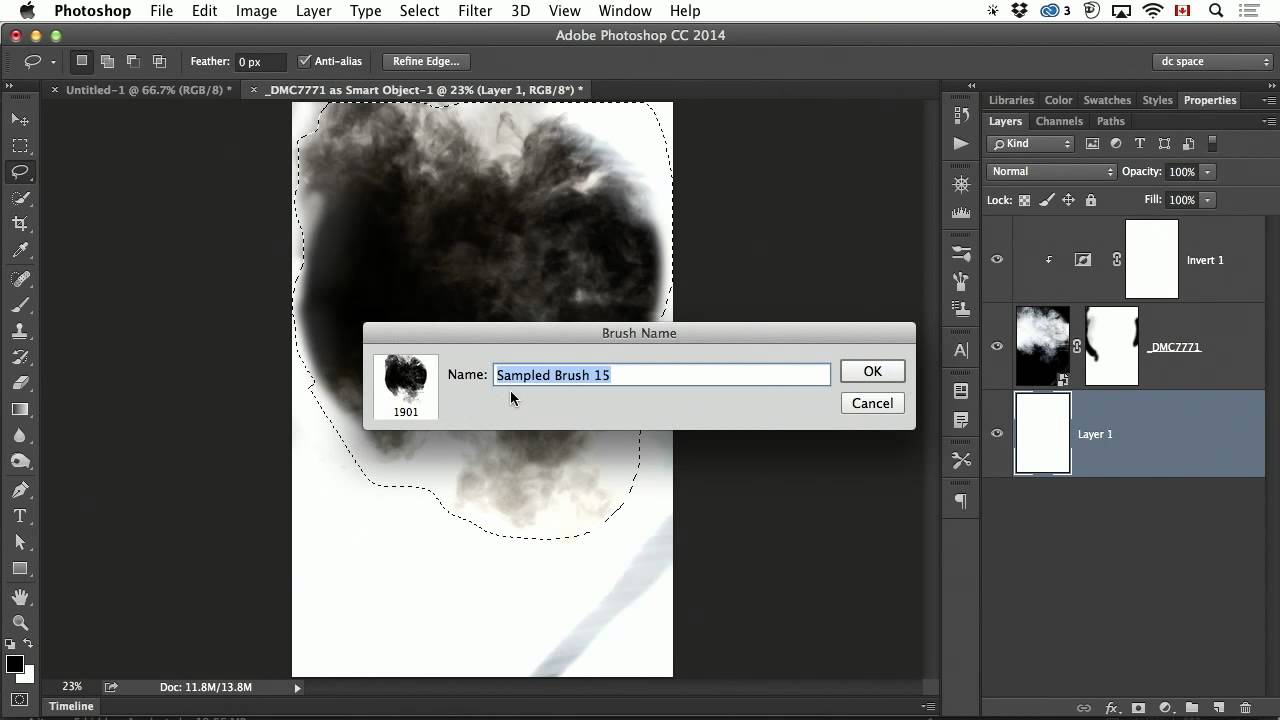
There’s a specific kind of retouching failure I’ve seen come out of otherwise competent studios for years: the ghost smear. You know the one. Someone used the Clone Stamp tool on a gravel path or a dirt surface, and no matter how carefully they feathered the edges, you can still see exactly where one clone sample ends and another begins. It’s subtle, but once you’ve spotted it on a client’s deliverable, you can’t unsee it.

Build a Vintage Film Preset in Lightroom Classic (And Never Recreate That Look From Scratch Again)

Build a Vintage Film Preset in Lightroom Classic (And Never Recreate That Look From Scratch Again)

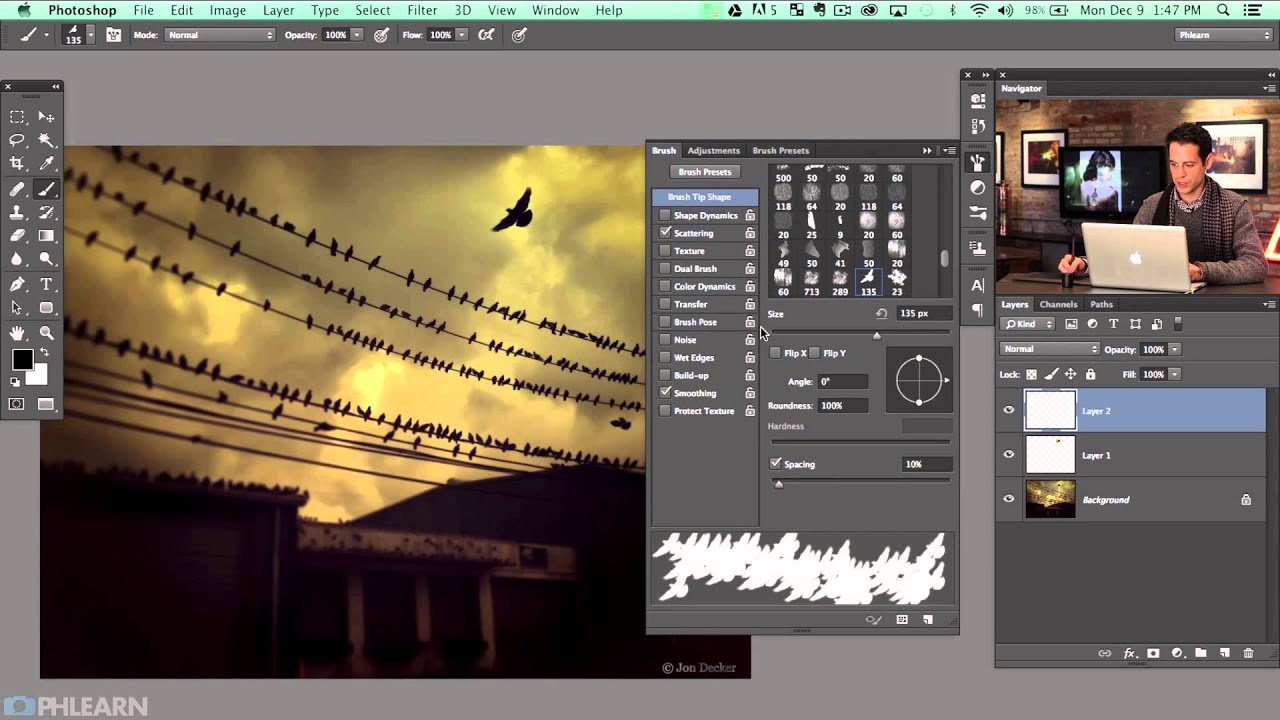
There is a particular kind of frustration that only photographers understand: you nail a look on one image, move on to the next session, and spend twenty minutes trying to remember exactly what you did. Contrast down how much? Which shadow color? I’ve been doing post-production work for fifteen years, and I can tell you that the answer to that problem isn’t a better memory. It’s a preset. In this Aaron Nace tutorial from PHLEARN, he walks through the entire process of building a vintage film preset inside Lightroom Classic - from dialing in the adjustments to saving and organizing the preset so it’s actually usable across sessions and projects.

Stop Fighting Distractions in Post: A Practical Guide to Cleaning Up Location Shots with Generative Fill

Stop Fighting Distractions in Post: A Practical Guide to Cleaning Up Location Shots with Generative Fill

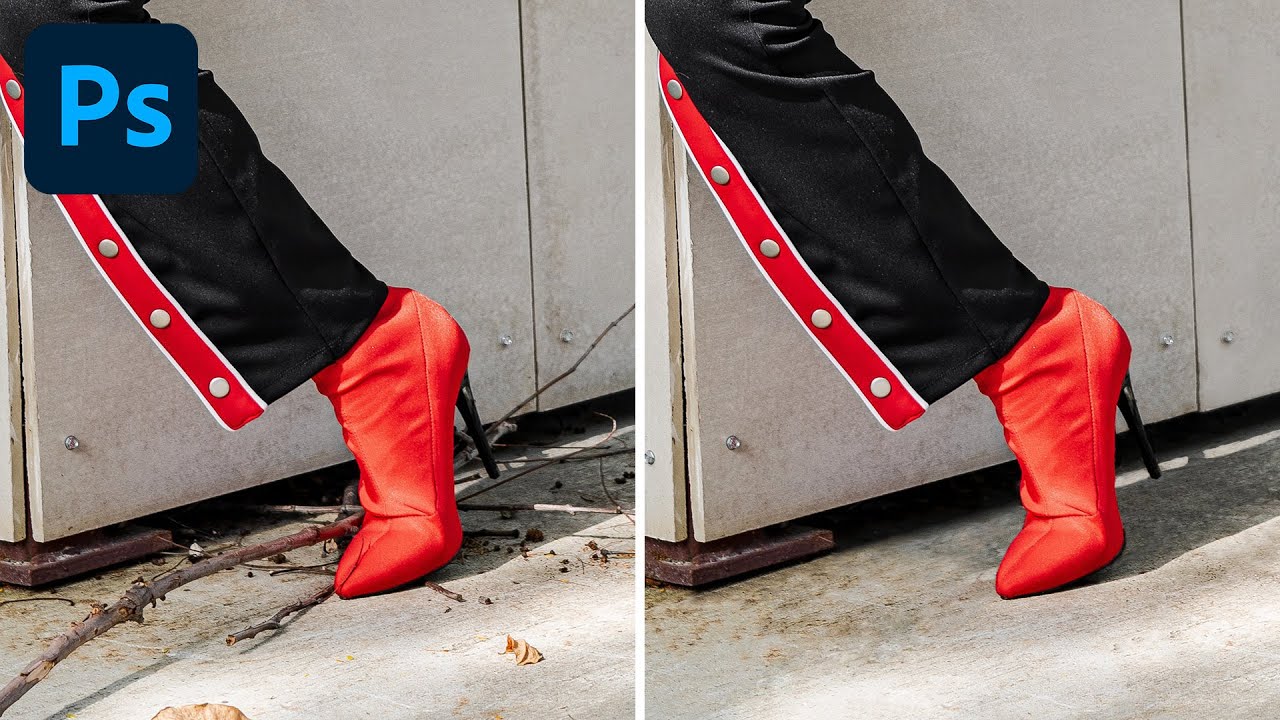
Every location shoot comes with baggage. Fences, utility poles, stray branches, the occasional gate that someone definitely could have walked around. I’ve been cleaning up this kind of environmental noise for clients for years, and the honest truth is that the tools have never been better than they are right now. The challenge isn’t capability anymore. It’s knowing the exact sequence and settings that get you to a clean result without burning an hour on a single frame.

Stop Exporting Images One at a Time: A Practical Guide to Lightroom Export Presets

Stop Exporting Images One at a Time: A Practical Guide to Lightroom Export Presets

There is a certain kind of pain that only photographers know. You finish editing a set of images, they look great, and then you spend the next forty-five minutes manually exporting the same files at different sizes for Instagram, your client’s website, and the print lab. Same dialog box, slightly different numbers, over and over. I spent an embarrassing amount of time doing exactly this before I finally sat down and built a proper export preset system in Lightroom.

When the Wrong Camera Teaches You the Right Workflow Lesson

When the Wrong Camera Teaches You the Right Workflow Lesson

There’s a version of this post where I talk about megapixels and autofocus systems. This isn’t that post. In this Mark Denney tutorial, the gear is almost beside the point, and that’s exactly why I kept thinking about it long after I watched it. I spend most of my working hours in Photoshop, building batch systems and actions for clients who need 500 product shots processed consistently before Friday afternoon. Efficiency is the whole game.

Smart Objects in Photoshop: The Workflow That Saves Commercial Composites (and Your Sanity)

Smart Objects in Photoshop: The Workflow That Saves Commercial Composites (and Your Sanity)

There’s a specific kind of dread that hits when a client emails at 4 p.m. asking for their logo to be swapped across 47 mockup files you built three weeks ago. If those files aren’t structured correctly, you’re spending your evening clicking through layers one by one. I’ve been there. Early in my commercial work I treated Smart Objects like a nice-to-have, something I’d use when I remembered. It took one particularly brutal product campaign revision round to make me treat them like load-bearing structure on every single project.

How to Shoot Action Movie-Style Photos: Lighting, Haze, and Cinematic Atmosphere on Any Budget

How to Shoot Action Movie-Style Photos: Lighting, Haze, and Cinematic Atmosphere on Any Budget

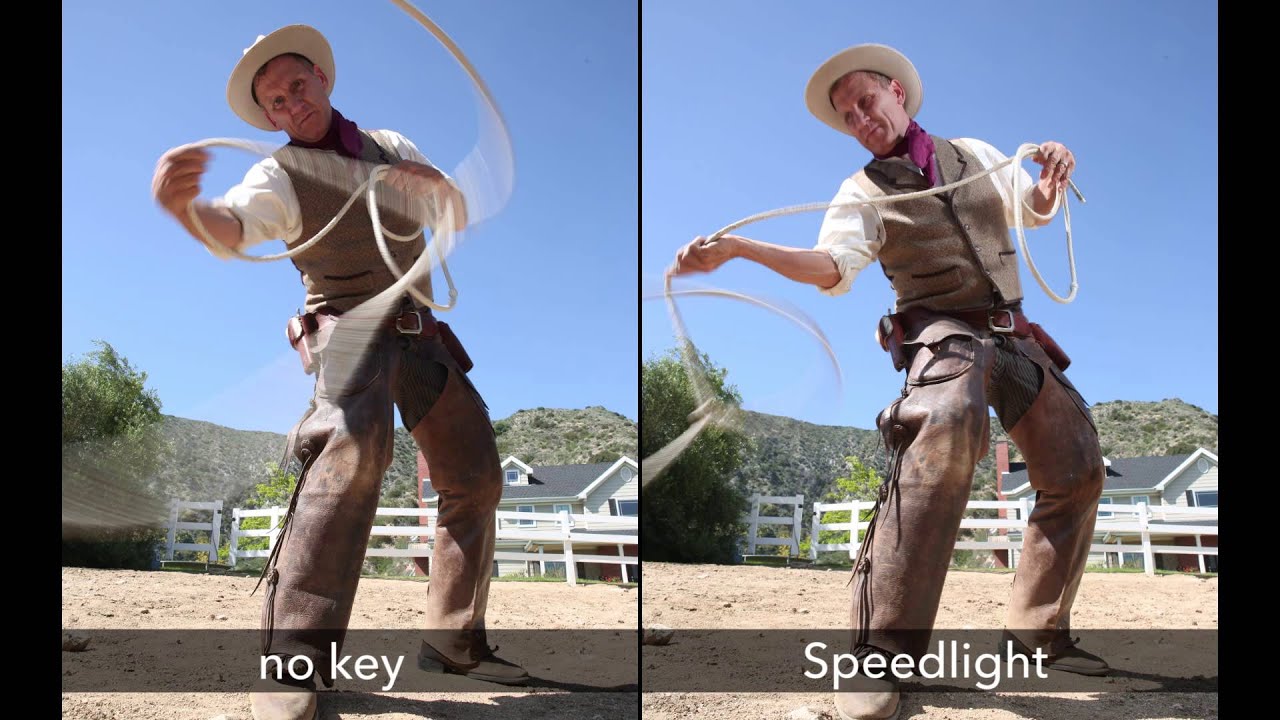
Most of my work lives in the controlled chaos of commercial studios - product shots, ad campaigns, e-commerce grids that need to look consistent at scale. But every so often a client wants something with real cinematic punch, the kind of image that looks like it was pulled from a movie poster rather than a catalog. That gap between “nice photo” and “this looks like a film still” used to cost me a lot of trial and error.

Lightroom's Adaptive Color Profiles Are the Starting Point I Wish I'd Had Years Ago

Lightroom's Adaptive Color Profiles Are the Starting Point I Wish I'd Had Years Ago

I track time obsessively. I have a spreadsheet that logs every hour my automation tools have saved me, and right now it’s sitting at over 2,400 hours. So when I see a feature that genuinely changes how fast I can get from import to edit-ready, I pay attention. Presets have always been my first line of defense against flat RAW files, but I’ve quietly suspected there was a smarter way to handle that initial color foundation.

From One Edit to Thousands: How to Build Photoshop Actions and Droplets That Actually Save Time

From One Edit to Thousands: How to Build Photoshop Actions and Droplets That Actually Save Time

I built my first Photoshop action at 26 and I have not manually repeated a task since. That is not an exaggeration - I keep a spreadsheet. Right now it sits at over 2,400 hours saved across fifteen years of studio and consultancy work. So when I came across Vicki Taufer’s segment on actions and droplets in her CreativeLive tutorial on pets and people photography, I watched it twice. Not because the concepts were new to me, but because Vicki explains the mental model behind actions in a way that finally makes the whole system click for photographers who have been avoiding it.

How I Stopped Living in Fear of Hard Drive Failure (And Built a Workflow That Actually Scales)

How I Stopped Living in Fear of Hard Drive Failure (And Built a Workflow That Actually Scales)

I have backup drives for my backup drives. My colleagues find this funny until one of them loses a shoot. I’ve been color-coding storage drives and labeling them obsessively since my early days in commercial studios, and the habit has saved me more than once. So when I came across Watch the full tutorial on YouTube from Peter McKinnon, where he walks through exactly how a single rugged drive failure nearly took down his entire library, it hit close to home.

How to Give Flat Textures Real Depth Using Photoshop's 3D Lighting Tools

How to Give Flat Textures Real Depth Using Photoshop's 3D Lighting Tools

There’s a category of client request that used to slow me down more than it should have: “Make it feel like it has weight.” Usually this comes from an art director staring at a perfectly sharp texture image that looks, despite being beautiful, completely flat on screen. No shadows cutting across the surface. No sense that light is raking across the grain or the cracks. Just a photo sitting there looking like a photo.

From Three Phone Shots to Canvas-Ready Panorama: A Lightroom-to-Photoshop Workflow That Actually Works

From Three Phone Shots to Canvas-Ready Panorama: A Lightroom-to-Photoshop Workflow That Actually Works

Most of my work runs through a pretty controlled pipeline. Commercial shoots, tethered capture, calibrated monitors, the whole setup. But I’ve been doing this long enough to know that the real test of a workflow isn’t how it performs under ideal conditions. It’s how it holds up when someone hands you three slightly overlapping iPhone photos and asks for a canvas print. That scenario comes up more than you’d think, and for a long time my answer was “I’ll do my best” followed by a lot of manual patching in Photoshop.