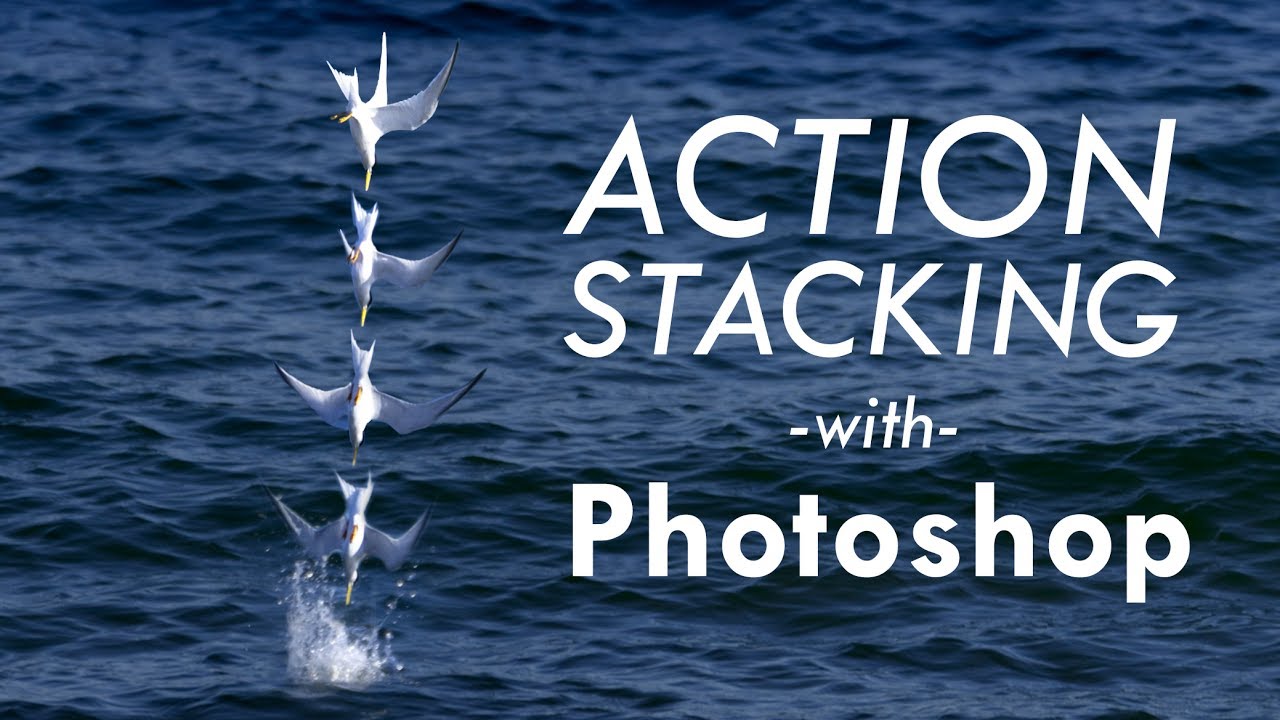
Action photography has a fundamental problem that video doesn’t: you get one frozen moment, and if you pick the wrong one, the story disappears. I’ve been shooting commercially for fifteen years and I still feel the tension every time a client wants “energy” in a still image. You can push shutter speed, nail the peak action, get lucky with timing. But showing a sequence of motion in a single frame? That’s a compositing problem, and most photographers don’t know where to start.
Watch the full tutorial on YouTube
In this Tony and Chelsea Northrup tutorial, Tony walks through how he built a striking composite of a bird diving into water by stacking 23 sequential frames into one image. The technique combines panorama stitching for the background with per-frame subject masking, all assembled in Photoshop. It’s a multi-hour process when you’re doing it by hand, and I’ll be honest. the first time I watched this I immediately started thinking about which parts could be batched. But before you automate anything, you need to understand the full workflow. Here it is, broken down into concrete steps you can follow on your own sequence.
Step 1: Match Exposures Before You Export Anything
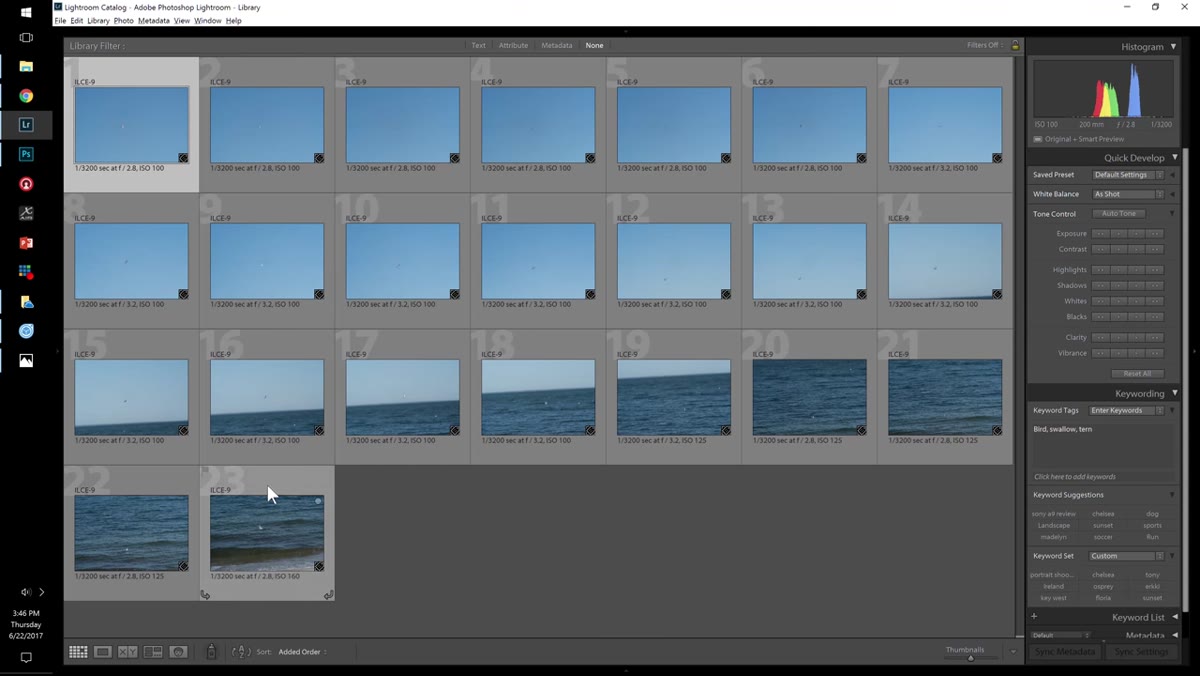 Lightroom’s Match Total Exposures option in the Develop menu
This step is easy to skip and painful to regret. If your camera was in any kind of auto-exposure mode during the shoot, the frames in your sequence will have slight brightness variations. When you composite them together, those differences show up as obvious tonal seams. In Lightroom, select all the frames from your sequence, then go to Photo > Develop Settings > Match Total Exposures. That single command normalizes the brightness across the whole set.
Lightroom’s Match Total Exposures option in the Develop menu
This step is easy to skip and painful to regret. If your camera was in any kind of auto-exposure mode during the shoot, the frames in your sequence will have slight brightness variations. When you composite them together, those differences show up as obvious tonal seams. In Lightroom, select all the frames from your sequence, then go to Photo > Develop Settings > Match Total Exposures. That single command normalizes the brightness across the whole set.
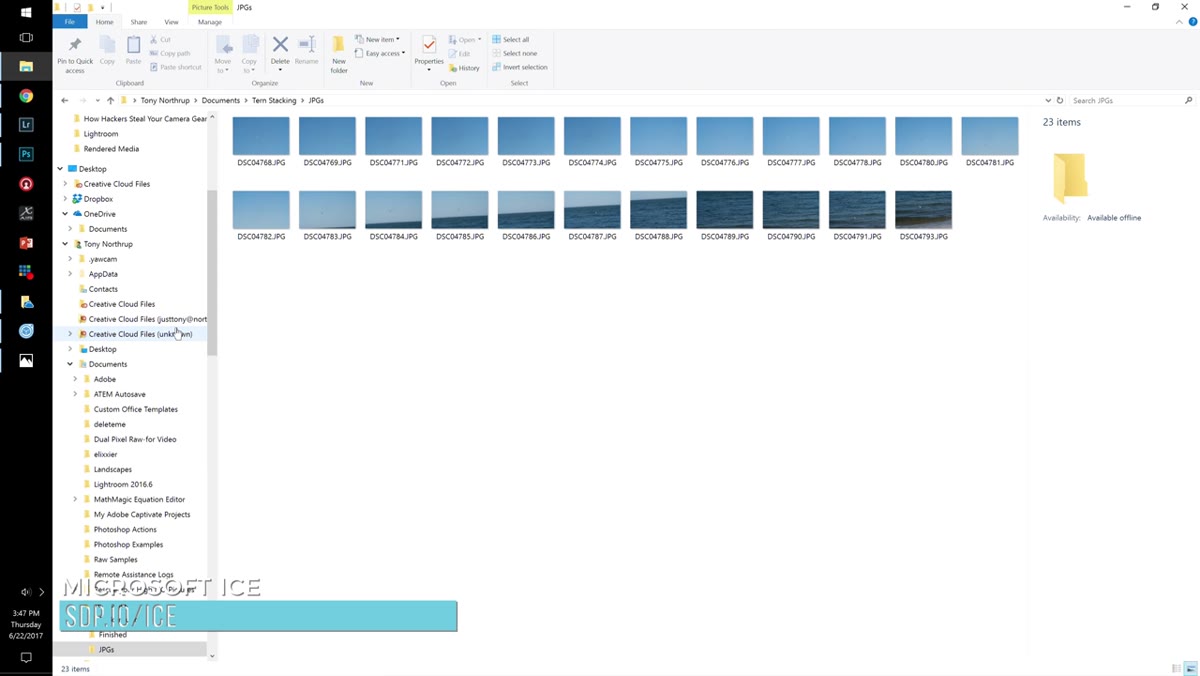
Once your exposures are consistent, export the full sequence as JPEGs to a dedicated folder. You don’t need maximum quality TIFFs here. JPEGs are lighter to process and the panorama stitching software handles them without complaint. Keep your file naming sequential so the chronological order is obvious when you’re reassembling layers later.
Step 2: Stitch the Background Into a Panorama Using Microsoft ICE
 Microsoft ICE interface with multiple bird photos loaded
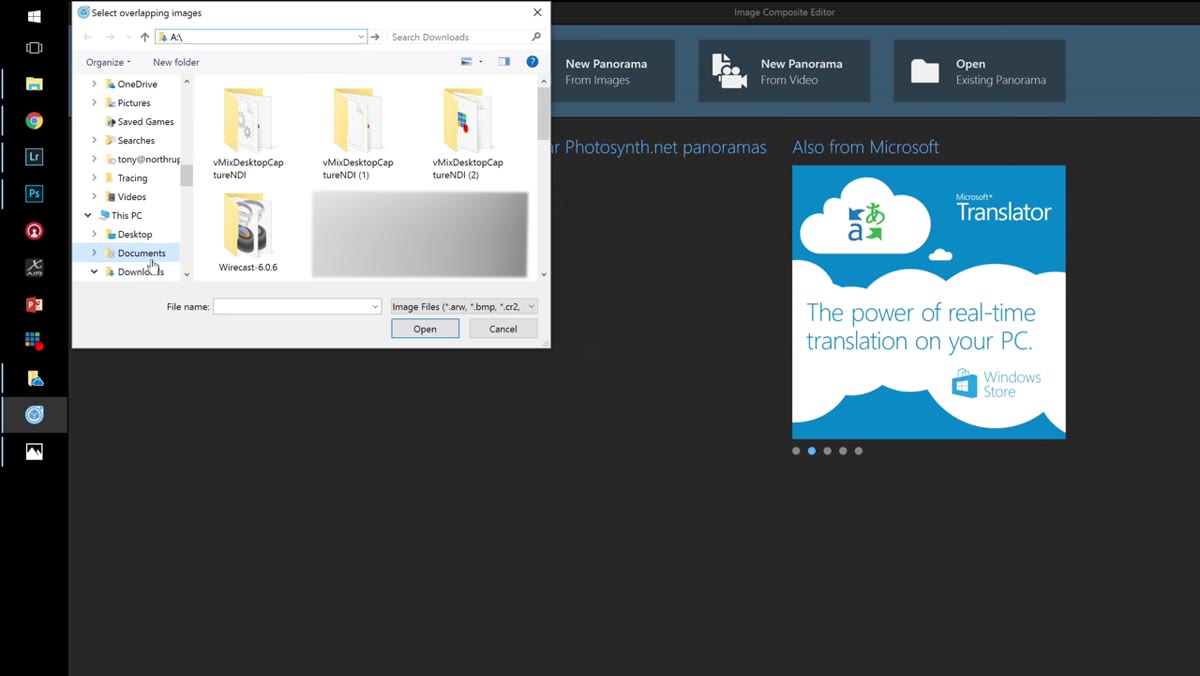
This is the part that will send Mac users on a detour, so let’s address it directly. Tony uses Microsoft ICE (Image Composite Editor), a free Windows tool available at stdp.io/ice. Lightroom’s built-in panorama merge failed for this particular sequence, which isn’t surprising. Sequences shot with a moving subject confuse alignment algorithms that expect static scenes. ICE handles it more gracefully.
Microsoft ICE interface with multiple bird photos loaded
This is the part that will send Mac users on a detour, so let’s address it directly. Tony uses Microsoft ICE (Image Composite Editor), a free Windows tool available at stdp.io/ice. Lightroom’s built-in panorama merge failed for this particular sequence, which isn’t surprising. Sequences shot with a moving subject confuse alignment algorithms that expect static scenes. ICE handles it more gracefully.
Open ICE, click New Panorama, and load your entire sequence. The default camera motion settings work well for most action sequences shot with a telephoto lens. On the Stitch step, use the horizon alignment tool if your scene has a clear horizon line. Getting it level here saves you a correction step in Photoshop. When you reach the Crop stage, resist the urge to crop tightly. Leave those jagged, irregular edges in the exported panorama. A sky or water background is trivially easy to fill with Photoshop’s Content-Aware Fill later, and the larger your background canvas, the more flexibility you have when placing your stacked subjects.
Step 3: Open the Panorama as Your Base Layer in Photoshop
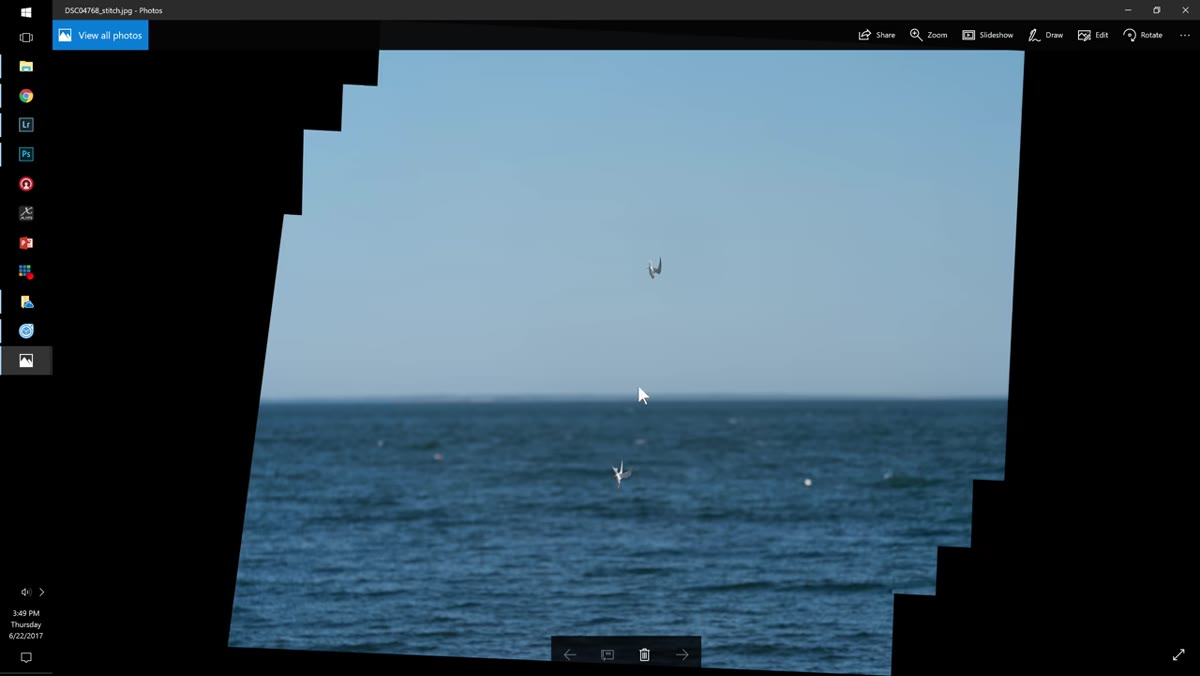 The completed panorama file open in Photoshop, showing full width
Once ICE exports the stitched panorama, open it in Photoshop. This is your canvas and your background. Before you do anything else, use Content-Aware Fill (Edit > Content-Aware Fill) to patch those jagged edges you left in from the crop stage. For simple backgrounds like sky and water, the fill is usually convincing on the first attempt. For more complex backgrounds, you might need to do it in sections or touch up with the Clone Stamp tool afterward.
The completed panorama file open in Photoshop, showing full width
Once ICE exports the stitched panorama, open it in Photoshop. This is your canvas and your background. Before you do anything else, use Content-Aware Fill (Edit > Content-Aware Fill) to patch those jagged edges you left in from the crop stage. For simple backgrounds like sky and water, the fill is usually convincing on the first attempt. For more complex backgrounds, you might need to do it in sections or touch up with the Clone Stamp tool afterward.
Take a moment to assess the overall tone of this background layer. This is your reference point for how all the subject layers will need to look. If the background feels too bright or too flat, adjust it now rather than trying to match it across twenty individual masked layers later. Lock this layer once you’re satisfied. You won’t want to accidentally edit it.
Step 4: Isolate the Subject From Each Individual Frame
 Overview of the 23 JPEG sequence files in Windows Explorer
This is the labor-intensive core of the technique and there is no shortcut that doesn’t cost you quality. For each frame in your sequence, open the file in Photoshop and isolate your subject using the masking method that fits your background. For a bird against open sky or water, Select Subject (Select > Subject) is a reasonable starting point. Refine the selection in Select and Mask, paying extra attention to any feathery or hair-like edges that the AI tends to smear.
Overview of the 23 JPEG sequence files in Windows Explorer
This is the labor-intensive core of the technique and there is no shortcut that doesn’t cost you quality. For each frame in your sequence, open the file in Photoshop and isolate your subject using the masking method that fits your background. For a bird against open sky or water, Select Subject (Select > Subject) is a reasonable starting point. Refine the selection in Select and Mask, paying extra attention to any feathery or hair-like edges that the AI tends to smear.
Once you have a clean selection, add a layer mask rather than deleting the background. Non-destructive masking means you can fix mistakes without going back to the source file. Name each layer clearly using the frame number or the position in the sequence (for example, “bird-frame-07” or “approach-mid”). When you have twenty-plus layers, sloppy naming becomes its own kind of punishment.
Step 5: Place and Position Each Subject Layer on the Background
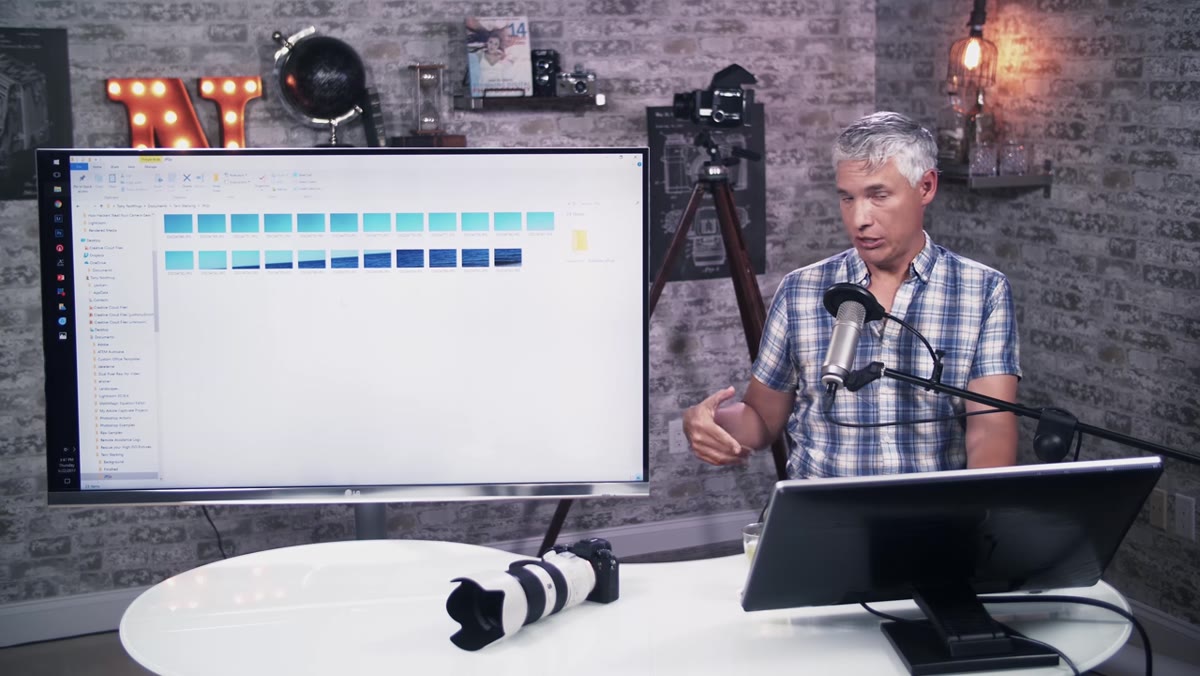 Diagram showing background panorama with subject layers to be placed on top
Drag each masked subject layer onto your background canvas and position it where the bird actually was in the frame relative to the background. This is where having the panorama as a true background pays off. The background contains visual landmarks that help you place each instance of the subject accurately. Don’t guess. use the original photo as a reference by toggling visibility, then position the layer to match.
Diagram showing background panorama with subject layers to be placed on top
Drag each masked subject layer onto your background canvas and position it where the bird actually was in the frame relative to the background. This is where having the panorama as a true background pays off. The background contains visual landmarks that help you place each instance of the subject accurately. Don’t guess. use the original photo as a reference by toggling visibility, then position the layer to match.
Work through the sequence in chronological order, building your layer stack from bottom to top or by using layer groups labeled for each stage of the action. Reduce the opacity of each layer temporarily to around 60% while positioning. it makes the spatial relationship between layers much easier to read. Return each layer to 100% opacity once it’s placed.
Step 6: Refine Blending and Clean Up Edge Artifacts
 Close-up of the completed bird stacking composite at 1:1 zoom
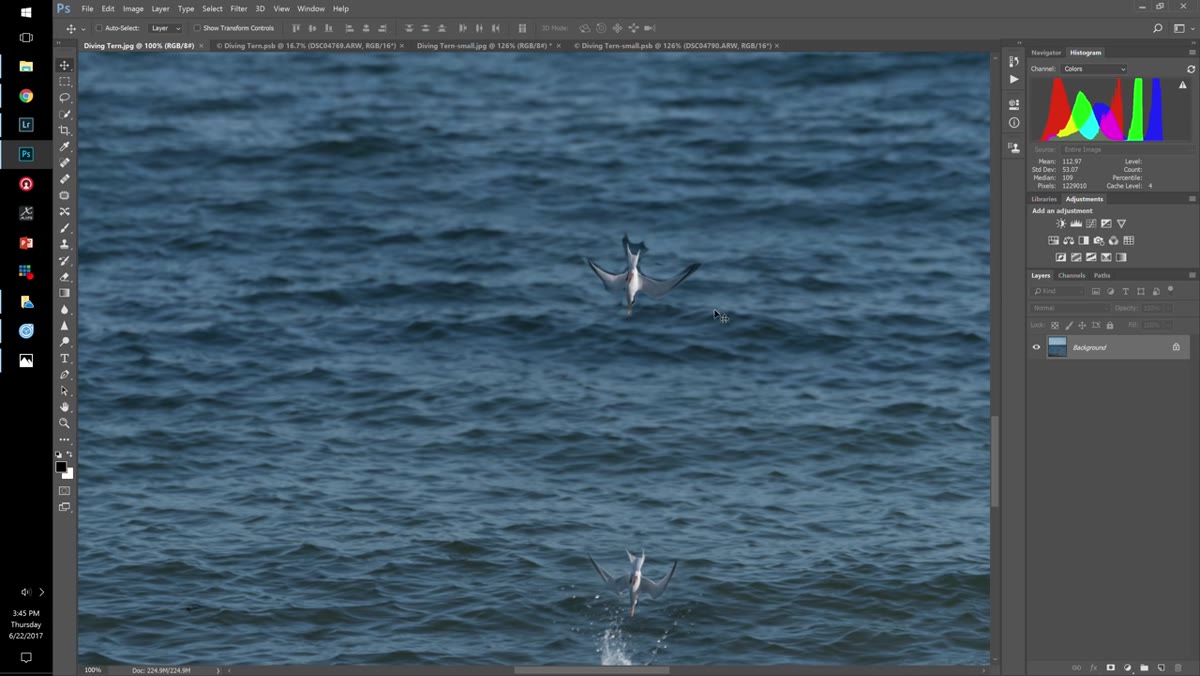
With all subject layers positioned, zoom in to 100% and audit every masked edge. Feathering that looked fine at fit-to-screen scale often reveals fringing or halo artifacts at 1:1. Use a soft black brush on each layer mask to clean up edges, and a white brush to recover any subject detail the initial selection dropped. Pay particular attention to where any two instances of the subject overlap. you may need to paint on one mask to hide part of one layer so the other reads cleanly.
Close-up of the completed bird stacking composite at 1:1 zoom
With all subject layers positioned, zoom in to 100% and audit every masked edge. Feathering that looked fine at fit-to-screen scale often reveals fringing or halo artifacts at 1:1. Use a soft black brush on each layer mask to clean up edges, and a white brush to recover any subject detail the initial selection dropped. Pay particular attention to where any two instances of the subject overlap. you may need to paint on one mask to hide part of one layer so the other reads cleanly.
Global adjustments come last. Add a Curves or Color Grading adjustment layer above everything and use it to unify the color temperature across all the composited elements. Slight vignetting around the edges can also help pull the eye through the sequence rather than letting it scatter.
What I’d Add From My Own Workflow
Before running through a stack like this manually, I’d build a Photoshop Action that automates steps 4 and 5 for each individual file: run Select Subject, add a layer mask, name the layer from the filename, and export to a specific folder as a PSD. It won’t handle the positioning, that part requires human judgment. But it eliminates the repetitive setup for each frame. On a 23-frame sequence, that action saves somewhere between 45 minutes and an hour, depending on how clean your selections come out. My spreadsheet says that kind of per-project time saving adds up faster than people expect.
The other thing I’d note is that ICE is genuinely excellent for stitching sequences that weren’t designed to be panoramas. If you’re on a Mac, it’s worth spinning up a Windows VM just for this tool. I’ve tried several Mac alternatives on client work and none of them handles overlapping moving subjects as cleanly.
Action stacking is one of those techniques that looks technically intimidating but is actually a series of logical steps executed patiently. The real skill isn’t Photoshop knowledge. it’s in the sequencing, the consistent masking discipline, and the eye for what makes the composite read as a unified image rather than a collage. Tony’s tutorial is one of the clearest breakdowns of this workflow I’ve seen, and it’s worth watching the full version to see how his specific creative decisions played out.
Watch the full tutorial on YouTube
Comments (4)
The before and after really sells it. Incredible difference.
Just used this on a wedding shoot edit. Client was thrilled.
The before and after really sells it. Incredible difference.
This should be required reading for anyone starting out.
Leave a Comment