
Every December I end up building out holiday assets for at least two or three client campaigns. Greeting cards, social graphics, seasonal e-commerce banners - they all need the same thing: snow. And for years I was either licensing stock snowflake overlays I didn’t fully control, or hand-placing individual elements and nudging them around like some kind of festive lunatic. What I actually needed was a custom brush I owned, one that I could dial in, save, and reuse across any project without worrying about licensing or resolution.
In this Aaron Nace (PHLEARN) tutorial, the whole process gets laid out cleanly and efficiently. Watch the full tutorial on YouTube - it runs fast and the payoff is immediate. What I want to do here is walk through each stage in enough detail that you can follow along without stopping and starting the video, and then add a note or two from my own experience working this kind of asset into production pipelines.
Step 1: Source Your Snowflake Image and Check Image Size
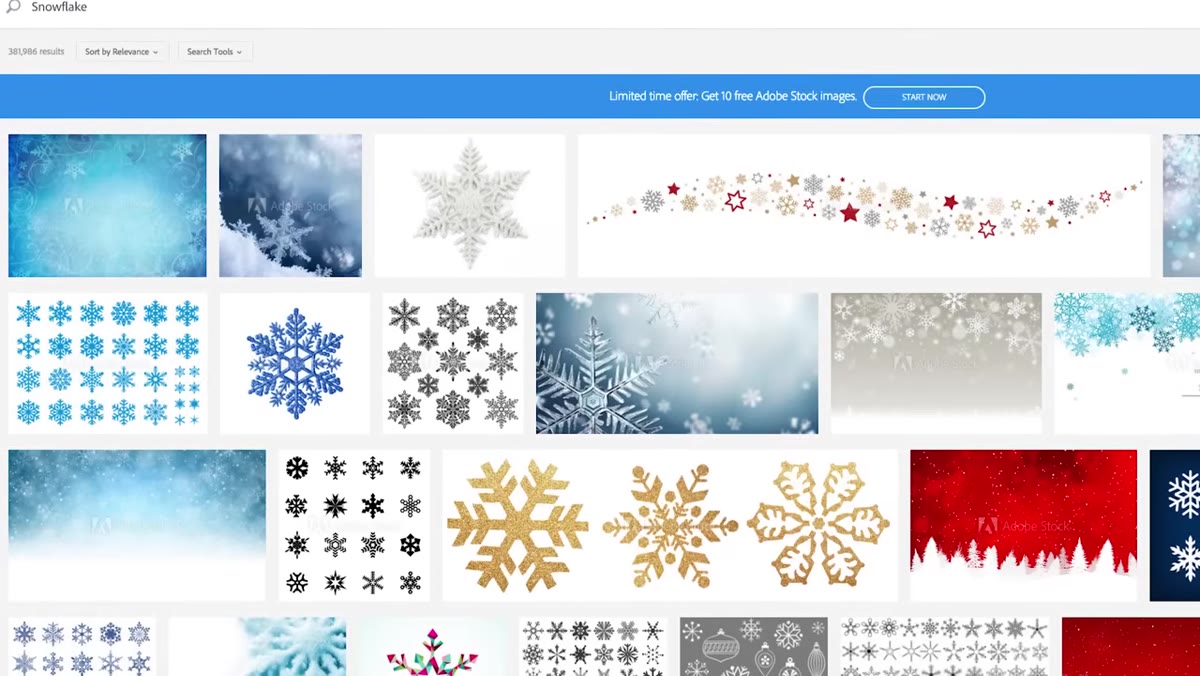 Snowflake stock photo open in Photoshop workspace
Start with any clear snowflake image. Aaron uses Adobe Stock, which is a solid choice for licensing clarity, but a free stock site works fine as long as you have the rights to use it. The key constraint here is size: Photoshop brush presets can technically be very large, but a bloated brush tip will slow your system down noticeably, especially if you’re scattering hundreds of instances across a canvas. The target is around 1,000 pixels wide.
Snowflake stock photo open in Photoshop workspace
Start with any clear snowflake image. Aaron uses Adobe Stock, which is a solid choice for licensing clarity, but a free stock site works fine as long as you have the rights to use it. The key constraint here is size: Photoshop brush presets can technically be very large, but a bloated brush tip will slow your system down noticeably, especially if you’re scattering hundreds of instances across a canvas. The target is around 1,000 pixels wide.
Open your image, go to Image, then Image Size. If your file is coming in at something like 5,000 x 5,000 pixels (common with stock downloads), just change the width value to 1,000. With proportional scaling locked, the height will follow automatically. Hit OK and you’re sized correctly before you’ve done anything else.
Step 2: Desaturate the Image
 Desaturate menu option highlighted under Image Adjustments
Brush presets in Photoshop read luminosity values, not color. Black areas become the opaque part of your brush stroke; white areas become transparent. So the first thing you need to do is strip the color entirely. Go to Image, then Adjustments, then Desaturate. One click and you have a grayscale image. No need to convert the color mode or add adjustment layers at this stage - desaturate is fast and nondestructive enough for this purpose.
Desaturate menu option highlighted under Image Adjustments
Brush presets in Photoshop read luminosity values, not color. Black areas become the opaque part of your brush stroke; white areas become transparent. So the first thing you need to do is strip the color entirely. Go to Image, then Adjustments, then Desaturate. One click and you have a grayscale image. No need to convert the color mode or add adjustment layers at this stage - desaturate is fast and nondestructive enough for this purpose.
What you’re left with should be a gray snowflake on a lighter background. That’s not quite right yet. You need true black on true white, which is what the next step handles.
Step 3: Use Levels to Push to Pure Black and White
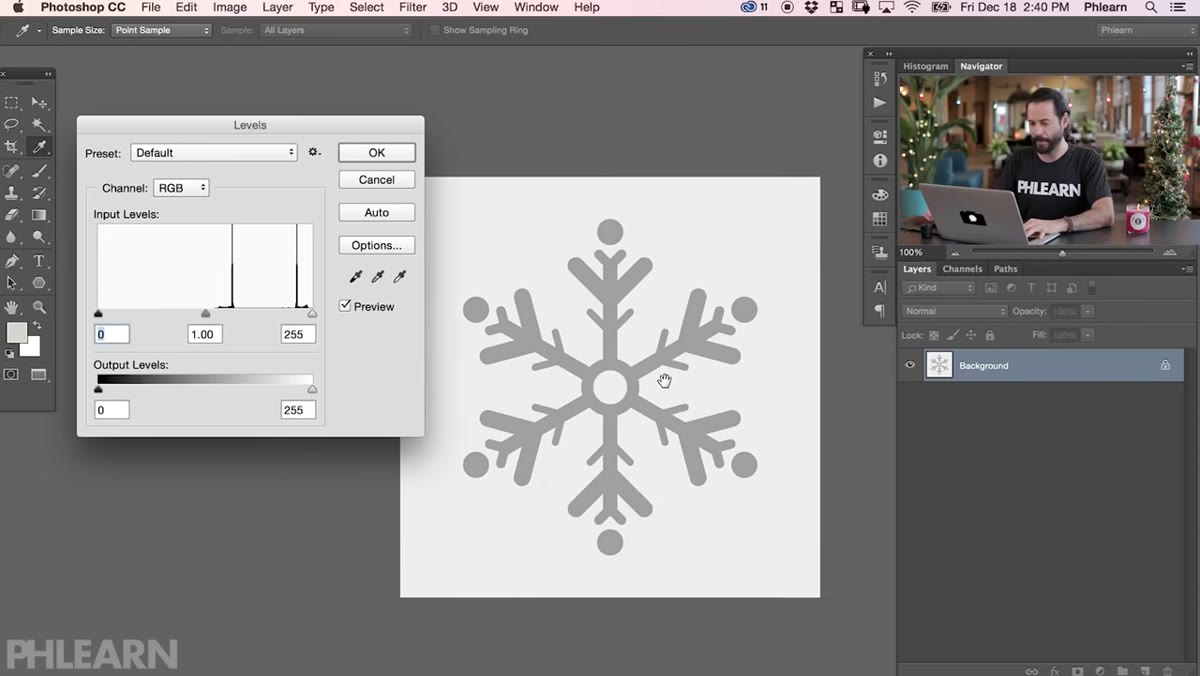 Levels dialog open with eyedropper tools visible
Hit Command+L (Ctrl+L on Windows) to open the Levels dialog. You’re not going to drag sliders here - you’re going to use the eyedroppers. There are three: one for the black point, one for the midtones, and one for the white point.
Levels dialog open with eyedropper tools visible
Hit Command+L (Ctrl+L on Windows) to open the Levels dialog. You’re not going to drag sliders here - you’re going to use the eyedroppers. There are three: one for the black point, one for the midtones, and one for the white point.
Click the white point eyedropper (the rightmost one), then click directly on the background of your image. This forces that area to pure white. Next, click the black point eyedropper (the leftmost one), then click directly on the snowflake itself. That forces the snowflake to pure black. Hit OK. You now have a clean two-tone image with maximum contrast - exactly what Photoshop needs to read as a brush tip. If any gray fringe remains around the edges, you can run Levels a second time and nudge the input sliders inward until it cleans up.
Step 4: Define the Brush Preset
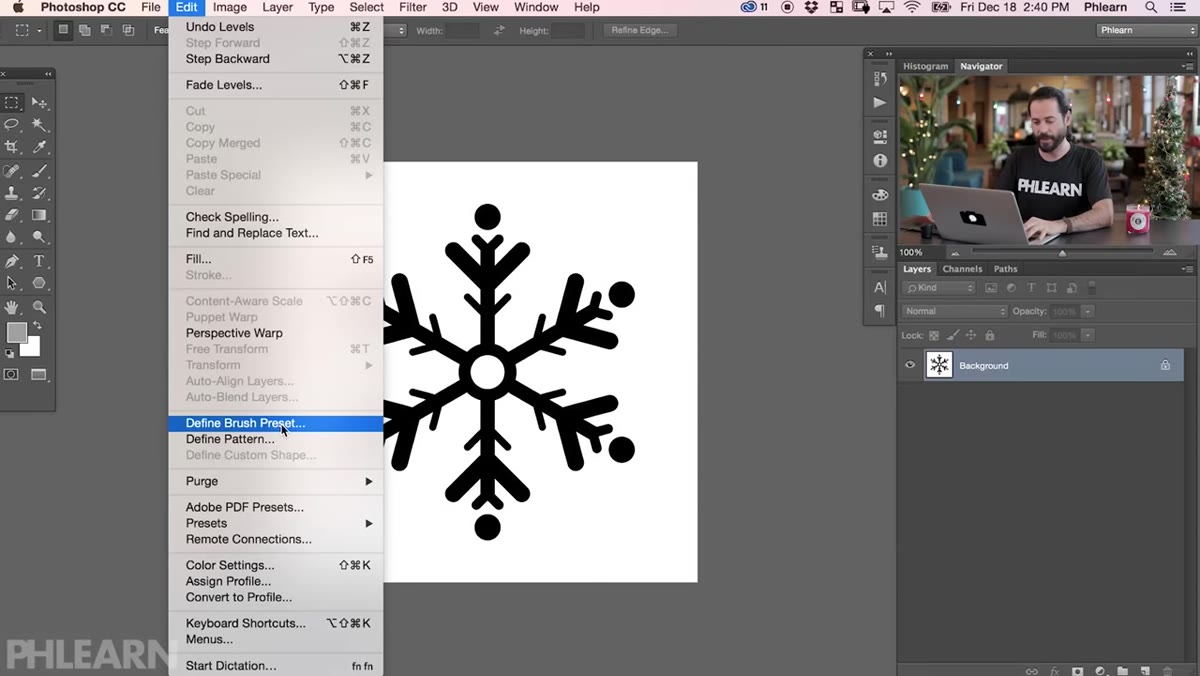 Define Brush Preset dialog with snowflake preview visible
This is the moment where your image becomes a reusable tool. Go to Edit, then scroll down to Define Brush Preset. A small dialog will appear showing a preview of your snowflake - if it looks clean and high-contrast in that preview, you’re in good shape. Give it a descriptive name (something like “Snowflake 01” works well if you plan to build a set) and click OK.
Define Brush Preset dialog with snowflake preview visible
This is the moment where your image becomes a reusable tool. Go to Edit, then scroll down to Define Brush Preset. A small dialog will appear showing a preview of your snowflake - if it looks clean and high-contrast in that preview, you’re in good shape. Give it a descriptive name (something like “Snowflake 01” works well if you plan to build a set) and click OK.
The brush is now saved into your active Photoshop brush library. You don’t need to save or export anything additional at this point - it lives in your presets. That said, later in the process you’ll want to export it as an .abr file if you’re going to share it, move it to another machine, or back it up. I’ll come back to that.
Step 5: Set Up a Working Document and Load the Brush
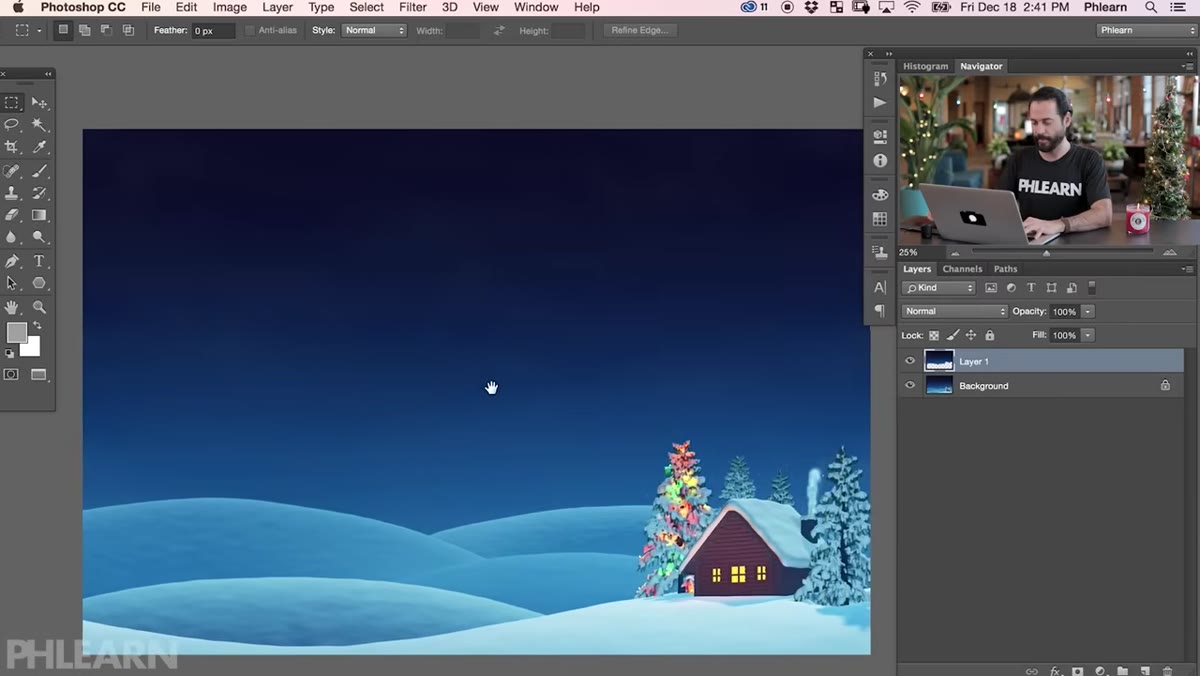 New document open with brush tool active and snowflake brush selected
Switch to the document where you want to paint snowflakes, or create a new one. Add a new layer - always work on a separate layer so you can adjust opacity, blend modes, and position without touching anything underneath. Hit B to activate the Brush tool. Your snowflake brush should appear at the top of your recently used brushes. Set your foreground color to white and make a test click on the canvas.
New document open with brush tool active and snowflake brush selected
Switch to the document where you want to paint snowflakes, or create a new one. Add a new layer - always work on a separate layer so you can adjust opacity, blend modes, and position without touching anything underneath. Hit B to activate the Brush tool. Your snowflake brush should appear at the top of your recently used brushes. Set your foreground color to white and make a test click on the canvas.
At this point you’ll have a single snowflake stamp. It works, but it’s not a blizzard. The next step is where the brush settings do the heavy lifting.
Step 6: Adjust Brush Settings to Create a Scatter Effect
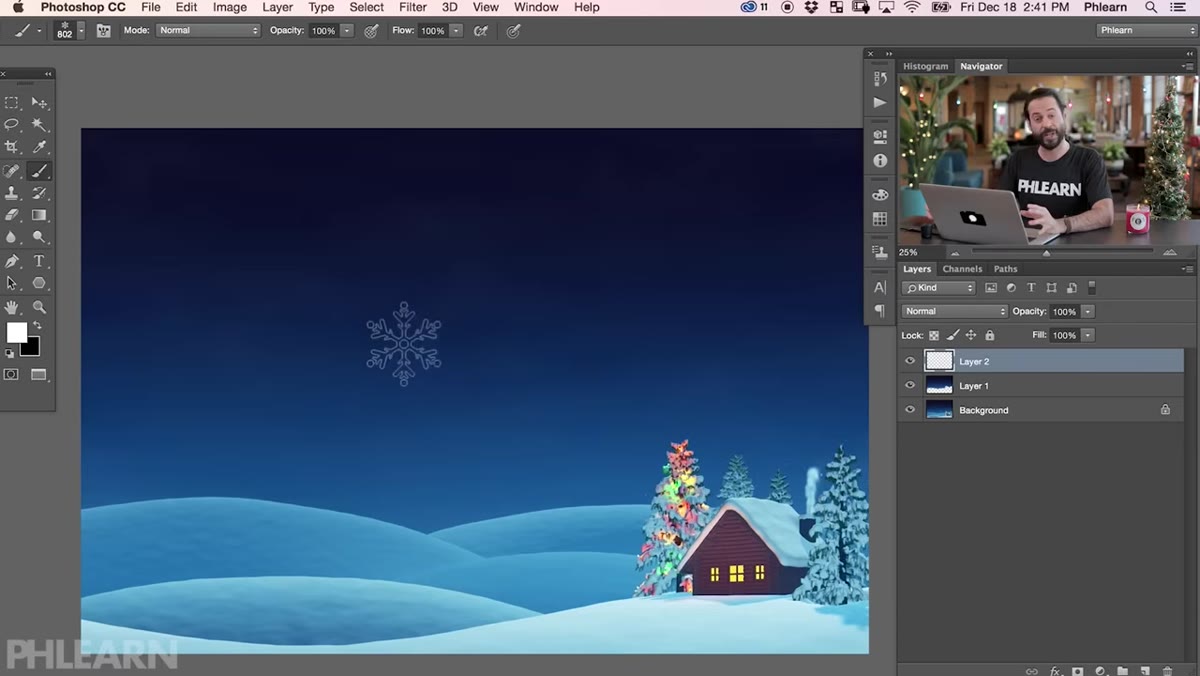 Brush Settings panel open showing spacing and scatter controls
Open the Brush Settings panel (Window, then Brush Settings, or press F5). This is where a single stamp becomes a dynamic, randomized effect. The key parameters to explore are Spacing (under Brush Tip Shape), Scatter, Size Jitter, and Angle Jitter - all found in the left-hand panel tabs.
Brush Settings panel open showing spacing and scatter controls
Open the Brush Settings panel (Window, then Brush Settings, or press F5). This is where a single stamp becomes a dynamic, randomized effect. The key parameters to explore are Spacing (under Brush Tip Shape), Scatter, Size Jitter, and Angle Jitter - all found in the left-hand panel tabs.
Increase Spacing to spread individual snowflakes apart rather than overlapping them into a smear. Enable Scatter and push that value up to spread flakes across both axes. Turn on Size Jitter to vary the scale of each flake so they don’t all look identical. Enable Angle Jitter and set it to a high value or full rotation so each snowflake lands at a different orientation. The combination of these four adjustments transforms your single-shape stamp into something that reads as a genuine, naturally varied snowfall.
From the Production Side: Save This as a Tool Preset, Not Just a Brush Preset
Here’s something Aaron’s tutorial sets up well but that I’d push further for anyone using this in a professional context. Once you have your brush settings dialed in - spacing, scatter, jitter, all of it - don’t just save the brush tip. Save the entire configuration as a Tool Preset. Go to the Tool Options bar at the top, click the small tool icon on the far left, and save a new preset from there. A Tool Preset captures not just the brush shape but all the settings you’ve applied, so when you reload it next December you’re not rebuilding from scratch.
I keep a folder of seasonal tool presets exactly like this. Paired with a simple action that adds a new layer, sets the foreground to white, and loads the preset, the whole setup takes about four seconds to deploy. On a job with fifty deliverables at different sizes, that adds up fast.
The single most important thing this tutorial demonstrates is that Photoshop brush creation is not a complex process - it’s a preparation process. Get your image to the right size, get your contrast to pure black and white, and Photoshop does the rest. The creative control comes from the brush settings afterward, and that’s where the real time investment pays off.
Watch the full tutorial on YouTube to see Aaron walk through the complete workflow, including how he offers the finished brush as a free download through PHLEARN.
Comments (2)
Just used this on a wedding shoot edit. Client was thrilled.
My workflow just got 10x faster. Not even kidding.
Leave a Comment