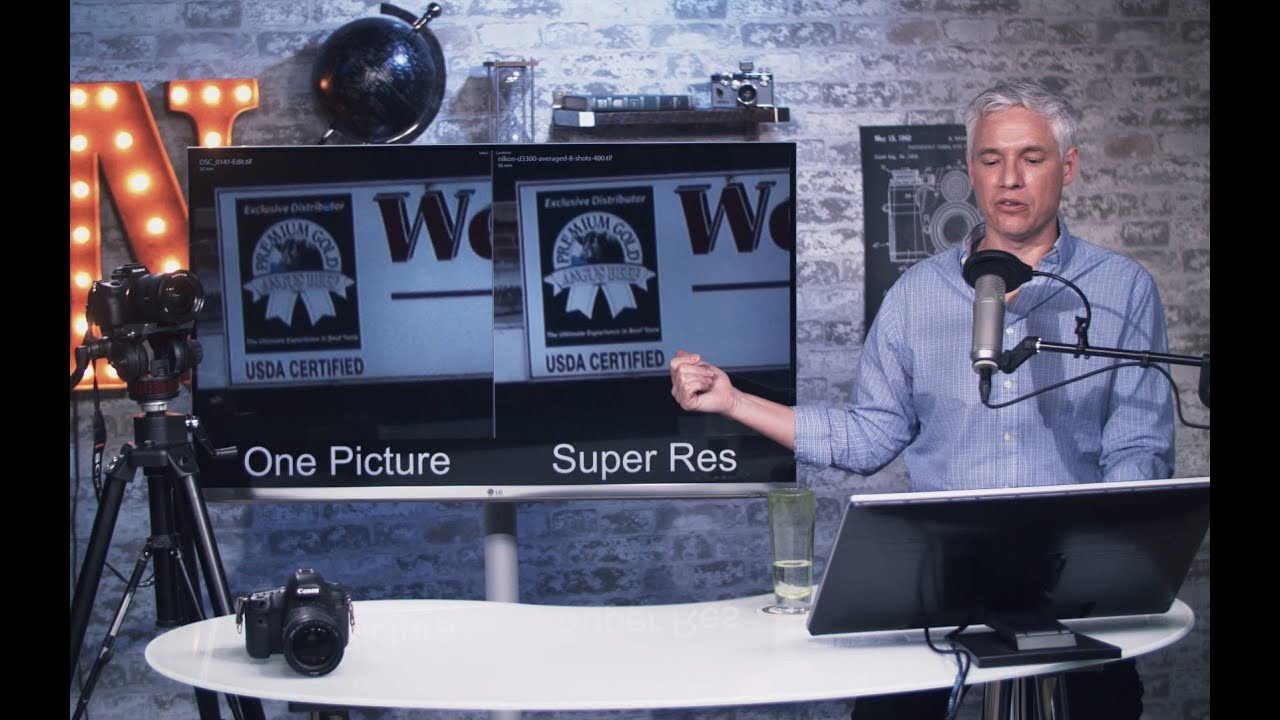
There’s a specific kind of frustration I know well: you’re looking at a shot from a campaign shoot, the composition is perfect, the light cooperated for once, and then you zoom in and see the noise crawling across your subject’s face like static. The file isn’t big enough to print at the size the client wants, and you didn’t have time to bracket or set up a tripod. In commercial work, that moment costs money. So when a technique comes along that can pull more resolution and cleaner detail out of files you’ve already captured, I pay attention.
In this Tony & Chelsea Northrup tutorial, Watch the full tutorial on YouTube, Tony walks through a method called super resolution: a process of shooting multiple frames of the same scene and stacking them in Photoshop to reduce noise, eliminate chromatic aberration, and recover genuine detail that any single frame would miss. He spent two weeks testing it before publishing, and he’s upfront about both what it can deliver and where it falls short. That kind of honesty is rare, and it’s why I kept watching.
The short version: if your camera has a burst mode, you already have everything you need to start getting more out of your files. Here’s how the process works.
Step 1: Shoot a Burst of Frames in the Field
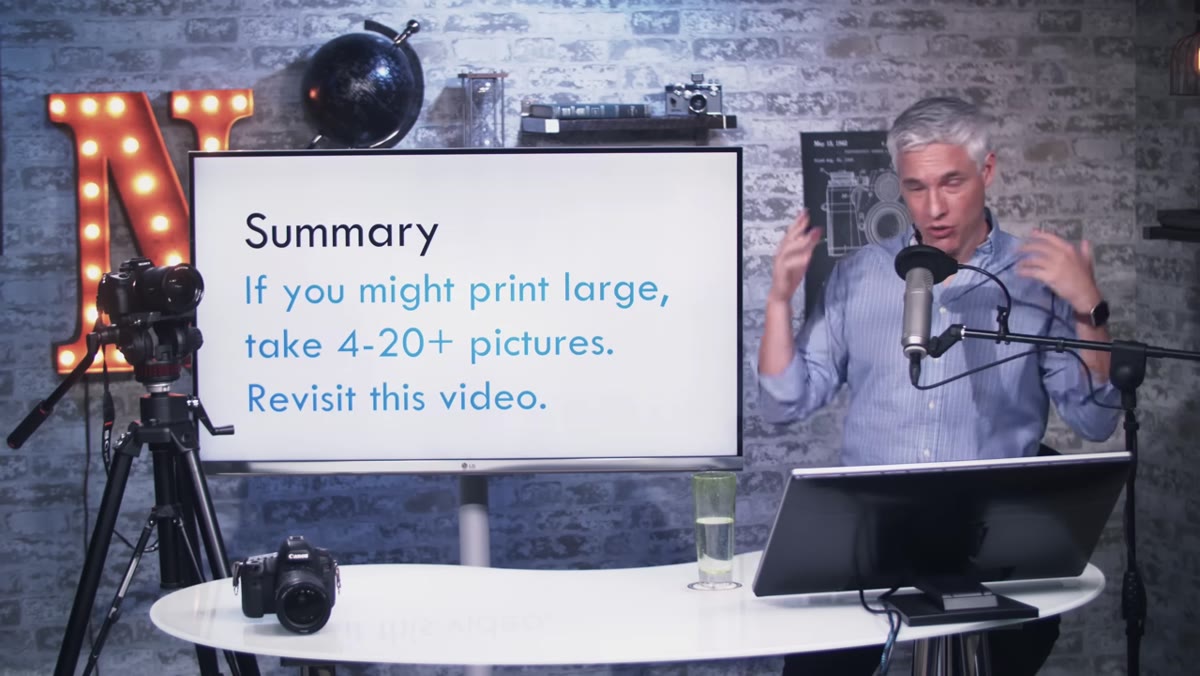 caption: Tony explaining burst mode shooting strategy outdoors
The whole technique depends on raw material, so this step happens before you even open Photoshop. When you find a scene worth keeping, put your camera in continuous shooting mode and fire off a burst. Tony recommends at least four frames, and says twenty is not excessive. The camera’s natural hand tremor between frames is actually part of what makes this work: each frame captures a slightly different sample of the scene’s light information.
caption: Tony explaining burst mode shooting strategy outdoors
The whole technique depends on raw material, so this step happens before you even open Photoshop. When you find a scene worth keeping, put your camera in continuous shooting mode and fire off a burst. Tony recommends at least four frames, and says twenty is not excessive. The camera’s natural hand tremor between frames is actually part of what makes this work: each frame captures a slightly different sample of the scene’s light information.
The key discipline here is not overthinking it in the field. You don’t need a tripod. You don’t need to change any other settings. Just shoot, move on, and know you can process the stack later at any point. I’ve started doing this instinctively on location jobs whenever I have a shot I think might have print potential.
Step 2: Understand What Image Averaging Alone Does (and Where It Breaks Down)
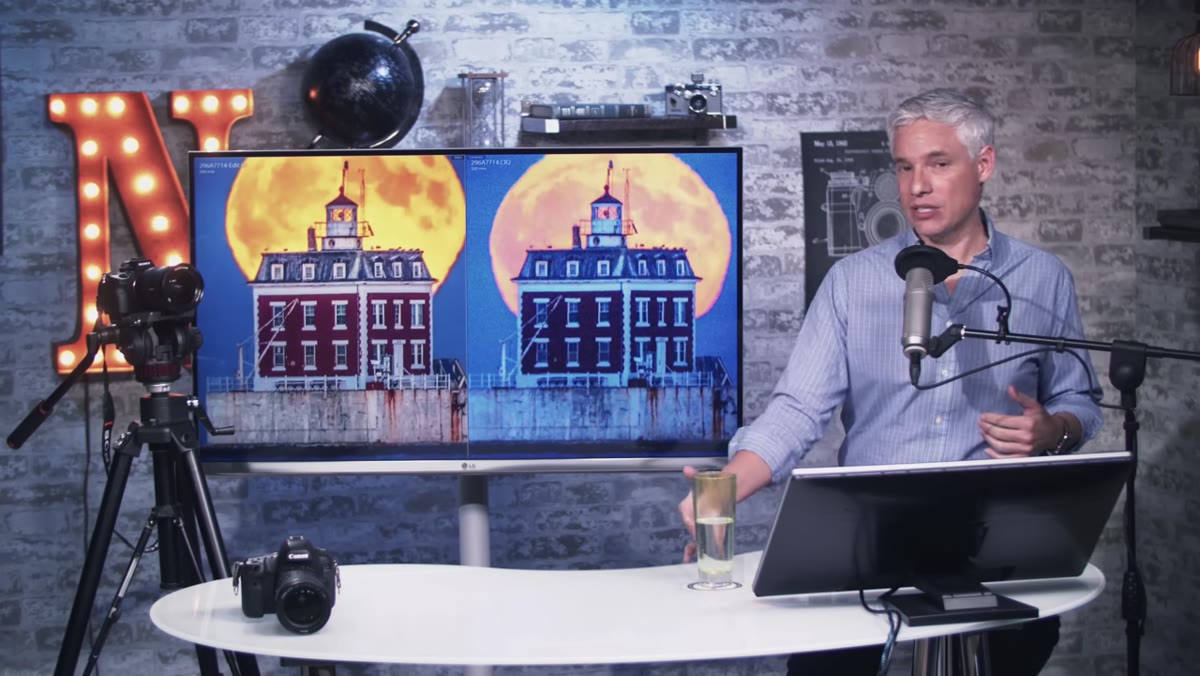 caption: Side-by-side showing averaged image vs single frame noise
Before diving into the full super resolution workflow, Tony shows what happens when you simply average a stack of images together. The noise reduction is dramatic. At ISO 3200, a single frame is often borderline unusable for large prints. An averaged stack of the same scene can look almost clean-shot. This is because random noise in each frame is different, and when you average multiple frames, the noise cancels itself out while the real detail reinforces itself.
caption: Side-by-side showing averaged image vs single frame noise
Before diving into the full super resolution workflow, Tony shows what happens when you simply average a stack of images together. The noise reduction is dramatic. At ISO 3200, a single frame is often borderline unusable for large prints. An averaged stack of the same scene can look almost clean-shot. This is because random noise in each frame is different, and when you average multiple frames, the noise cancels itself out while the real detail reinforces itself.
The catch is alignment. When Photoshop aligns handheld frames, the alignment is never perfect at the sub-pixel level. The result is a slight softening of fine detail, a trade-off that basic image averaging can’t avoid. Super resolution addresses this directly, which is what separates it from a simple stack-and-flatten approach.
Step 3: Load Your Frames into Photoshop as Layers
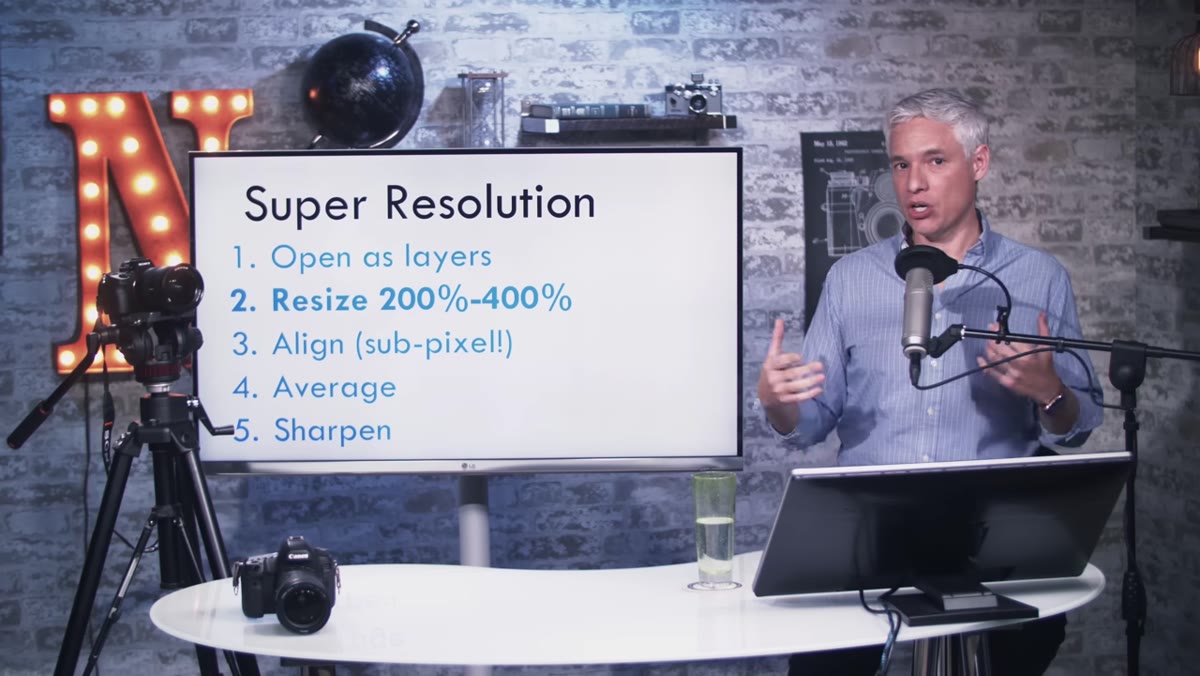 caption: Photoshop File menu showing load files as stack option
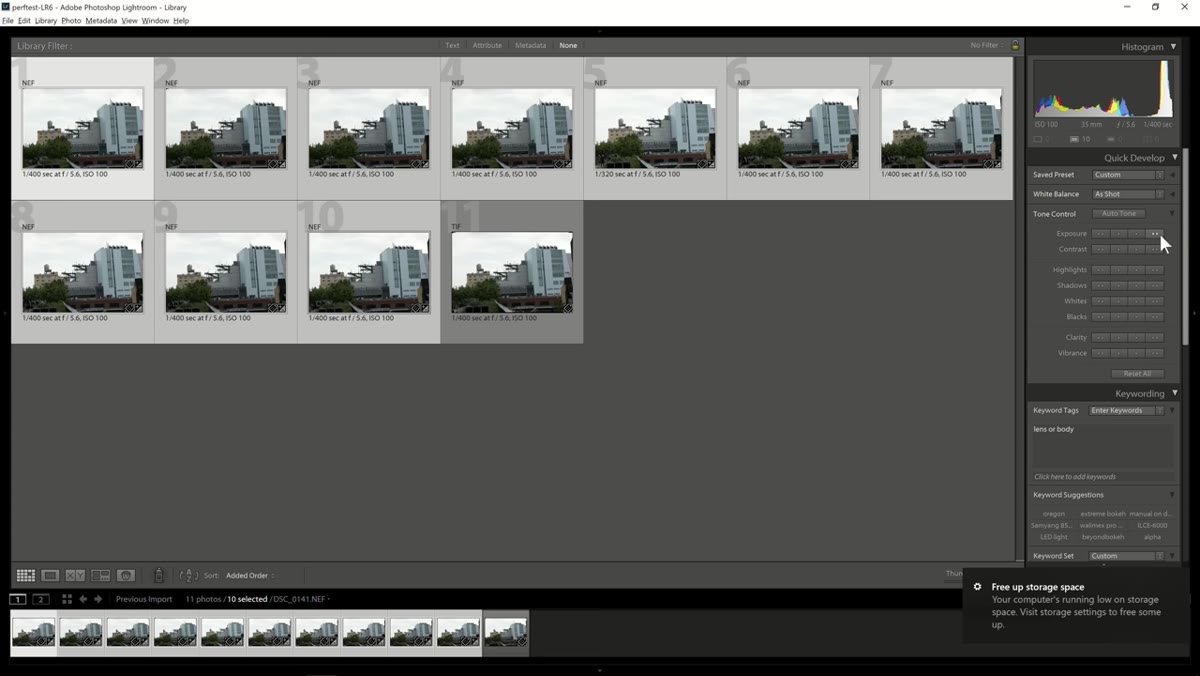
Open Photoshop and navigate to File, then Scripts, then Load Files into Stack. Select your burst frames from this dialog. Once loaded, you’ll have each frame sitting on its own layer inside a single document. Keep them in chronological order if possible, though it rarely matters for the math that comes next.
caption: Photoshop File menu showing load files as stack option
Open Photoshop and navigate to File, then Scripts, then Load Files into Stack. Select your burst frames from this dialog. Once loaded, you’ll have each frame sitting on its own layer inside a single document. Keep them in chronological order if possible, though it rarely matters for the math that comes next.
Before you do anything else, select all layers and run Auto-Align Layers from the Edit menu. Use the Auto projection setting. This is Photoshop doing the heavy lifting of matching the frames to each other based on shared content, accounting for the camera movement between shots.
Step 4: Apply the Photoshop Action to Process the Stack
 caption: Photoshop Actions panel with super resolution action loaded
This is where Tony’s free Photoshop actions come in, and where the workflow gets genuinely fast. The action automates the statistical processing that makes super resolution work rather than just averaging. Instead of all frames being weighted equally, the action works through a median or smart object approach that helps Photoshop distinguish real edge detail from frame-to-frame noise variation.
caption: Photoshop Actions panel with super resolution action loaded
This is where Tony’s free Photoshop actions come in, and where the workflow gets genuinely fast. The action automates the statistical processing that makes super resolution work rather than just averaging. Instead of all frames being weighted equally, the action works through a median or smart object approach that helps Photoshop distinguish real edge detail from frame-to-frame noise variation.
Load the action into your Actions panel via the flyout menu, then with your aligned layer stack open, hit Play. Depending on your machine and how many frames you’re processing, this will take a few minutes. On my workstation I run it while I’m keywording or handling email. The action outputs a processed composite that is sharper than a simple average and larger in effective resolution than any single input frame.
Step 5: Review Results and Compare Against a Single Frame
 caption: Zoomed comparison between super resolution result and original
Once the action finishes, zoom in to 100% and compare the result against one of your original frames. The noise reduction will be obvious immediately. Look more carefully at fine texture areas: fabric weave, hair, foliage, anything with high-frequency detail. A properly processed super resolution stack will show more of that texture, not less, which is the opposite of what a simple blur-based noise reduction achieves.
caption: Zoomed comparison between super resolution result and original
Once the action finishes, zoom in to 100% and compare the result against one of your original frames. The noise reduction will be obvious immediately. Look more carefully at fine texture areas: fabric weave, hair, foliage, anything with high-frequency detail. A properly processed super resolution stack will show more of that texture, not less, which is the opposite of what a simple blur-based noise reduction achieves.
Tony is honest that this technique is not a replacement for shooting a panorama if you need maximum detail, and it doesn’t beat camera-native pixel shift technology if your body has it. But for cameras that lack those options, and for situations where you didn’t have time to set up a pano sequence, this is a meaningful upgrade over doing nothing.
My Addition: Where This Fits Into a Real Production Workflow
I’ve tracked over 2,400 hours saved by Photoshop actions since I started keeping records, and the honest lesson from that spreadsheet is that the biggest gains come from automating things you do repeatedly on files that already exist, not just on ideal captures. That’s what makes this technique practically useful for commercial work.
The limitation I’ve run into is motion. Any subject movement between frames, a blowing leaf, a person shifting weight, a ripple on water, creates ghosting artifacts that the alignment step can’t fix. For product photography in a controlled studio environment, this is almost never an issue. For environmental or lifestyle work, it’s a real constraint. I run the action on landscape and architecture frames without hesitation. For anything with human subjects, I’m more selective and often manually mask problem areas after the stack processes.
One practical tip: organize your bursts into folders before loading them into Photoshop. I keep a subfolder named “stack” next to each shoot folder and drop bursts there as I cull. Makes it trivial to batch the action later without hunting through thousands of frames.
The single most important thing to take away from this technique is also the simplest: shoot the burst now and decide later. You can always choose not to stack frames, but you can’t go back and capture them after the moment is gone. The processing is fast when you have the action. The bigger cost is the frames you didn’t take.
Watch the full tutorial on YouTube to get Tony’s free Photoshop actions and see his full comparison examples.
Comments
Leave a Comment