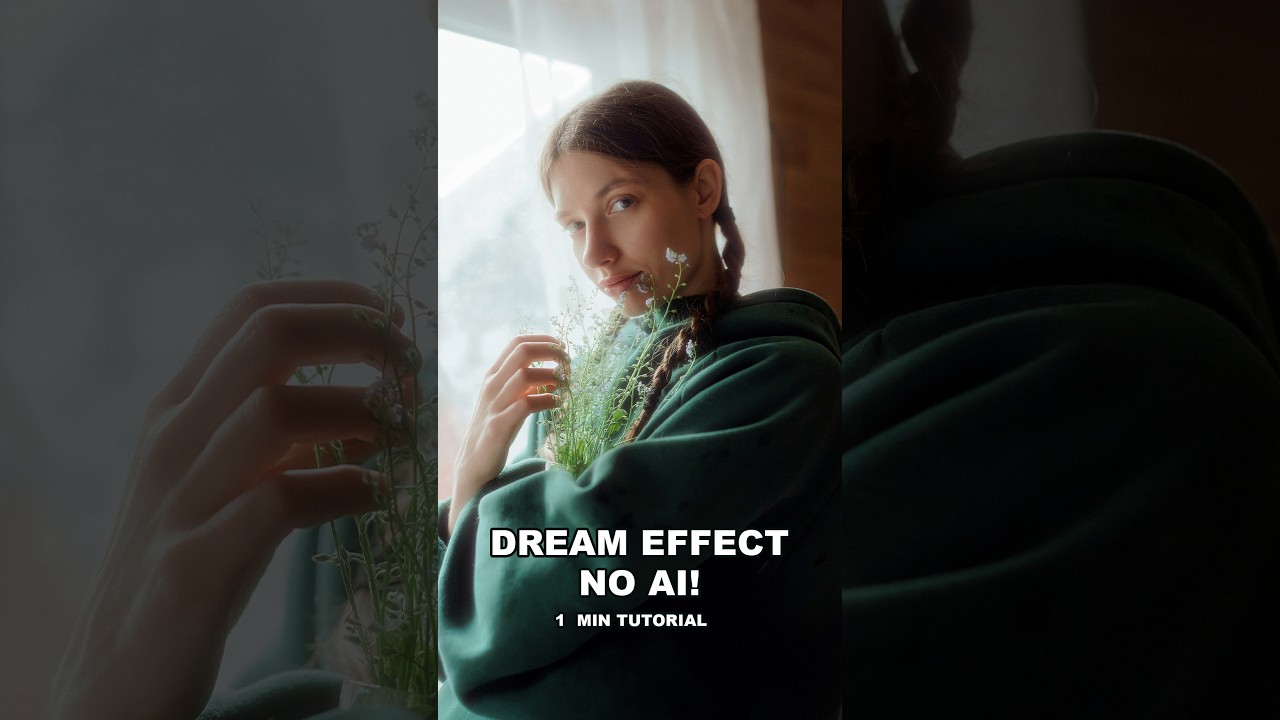
Client work has a way of humbling you. A few months back I was finishing a batch of lifestyle shots for a skincare brand, and the art director kept circling back to one note: “Can we make the light feel softer? More… luminous?” I’d already done my standard luminosity mask pass. I’d tried a couple of glow overlays from my preset library. None of it had the right quality. It looked processed rather than photographic. That’s the gap this technique fills.
In this Aaron Nace (PHLEARN) tutorial, Watch the full tutorial on YouTube, Nace walks through a method for building a soft, dreamy highlight bloom entirely inside Photoshop, no AI tools, no third-party plugins. What makes it worth your time isn’t just the aesthetic result. It’s the underlying logic: isolate only the highlights, blur them independently, and stack those blur layers with different radii so the glow has depth rather than a single flat halo. Then finish in Camera Raw for color and texture. The whole chain is non-destructive, which for anyone doing revision-heavy commercial work is non-negotiable.
I’ve been running Photoshop workflows for over fifteen years across studio and consultancy work, and I still learned something from watching this. Specifically, the two-layer blur approach with different radii is something I hadn’t formalized into my own process. It’s one of those techniques that seems obvious in retrospect, which is usually the sign of a genuinely good idea.
Step 1: Select the Highlights Using Color Range
 Color Range dialog open with Highlights selected in dropdown
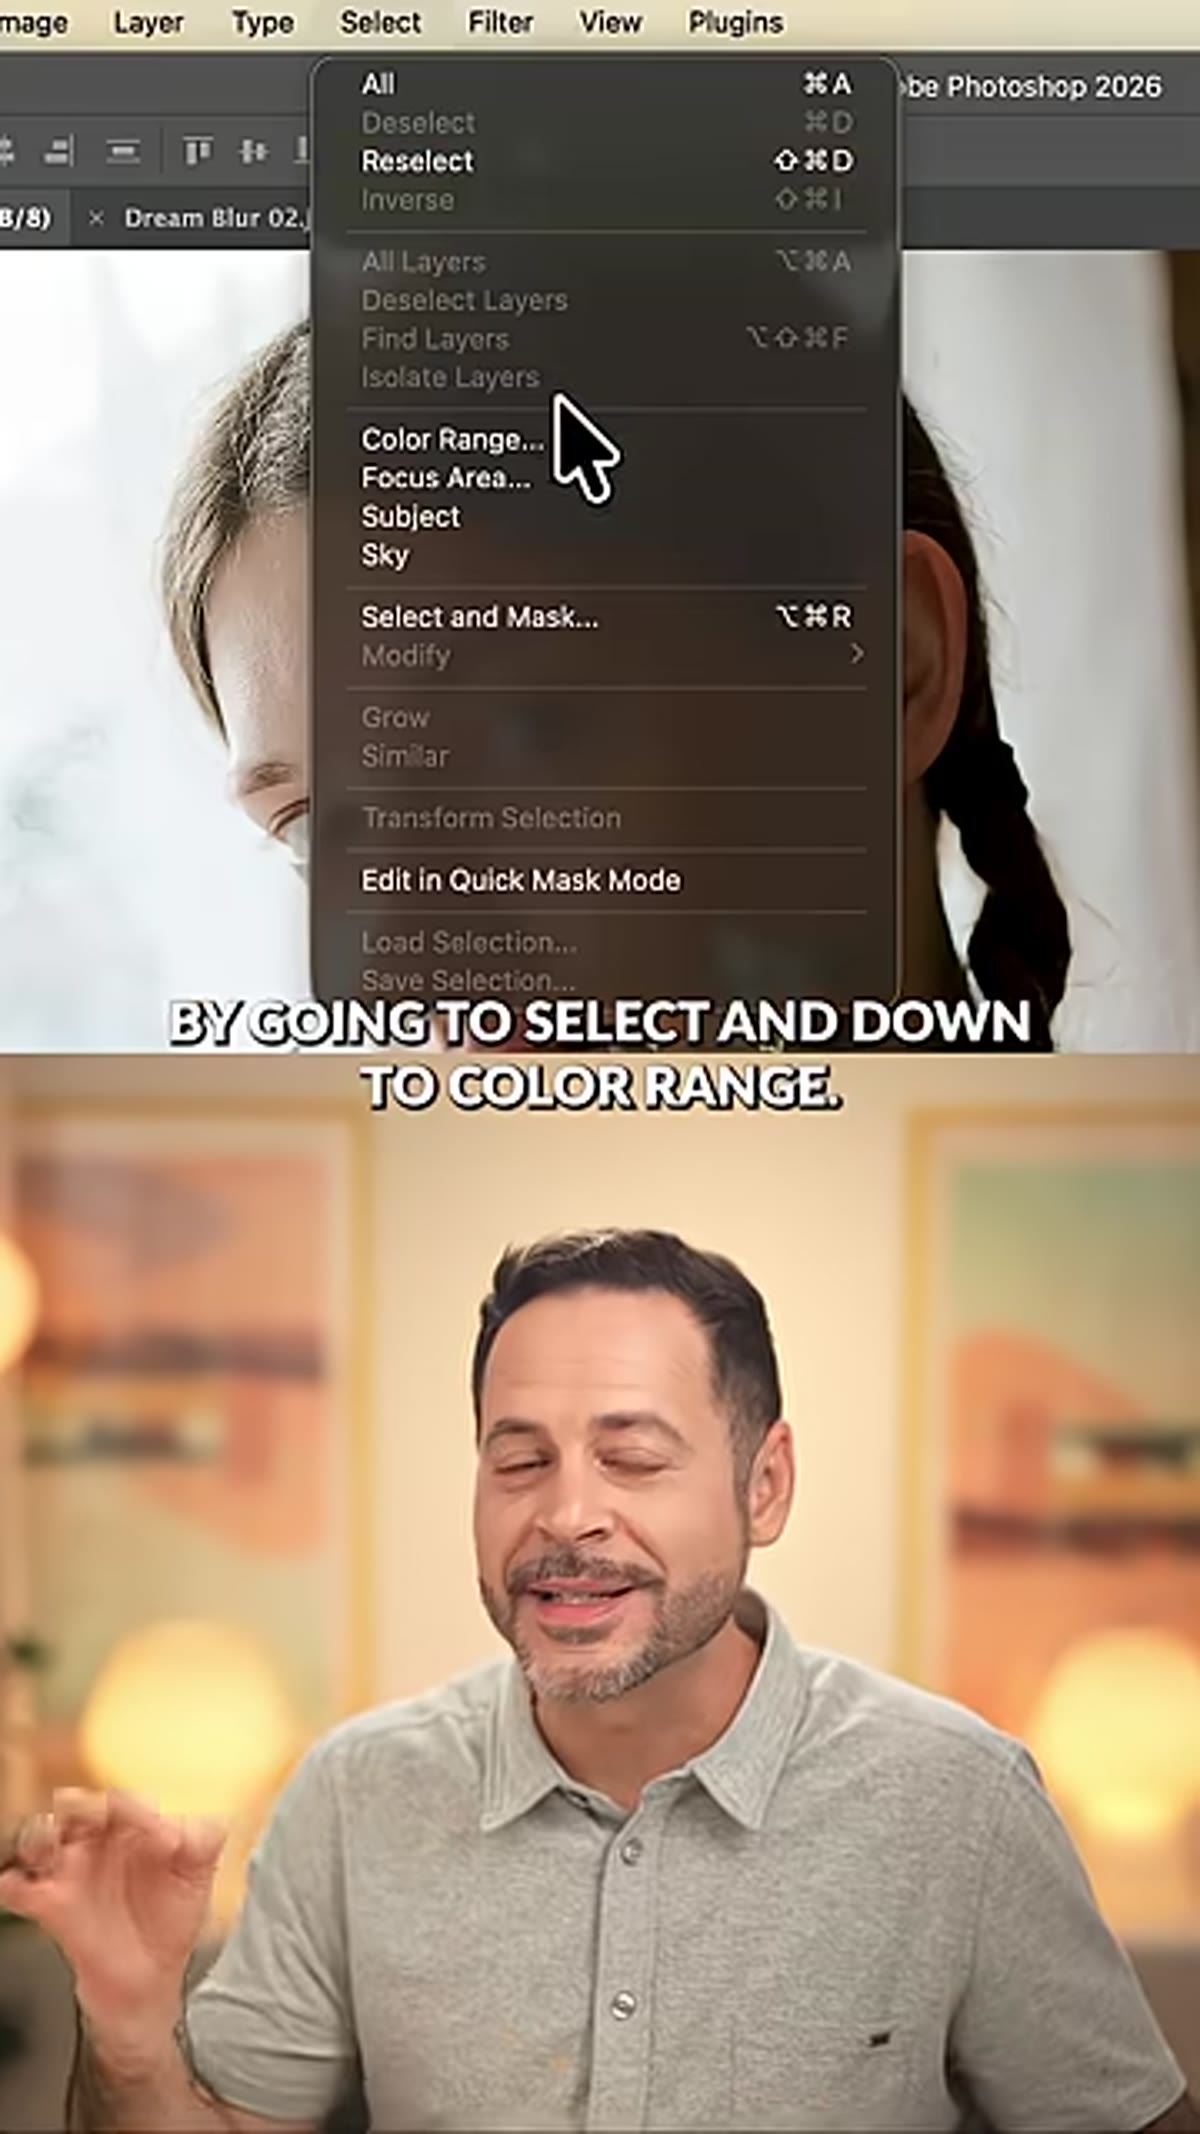
Go to Select > Color Range. In the dropdown at the top of the dialog, choose Highlights. You’ll see a grayscale preview of your selection, with white areas representing what will be selected. Use the Range and Fuzziness sliders to control how broadly the highlights are captured. Pull the range tighter if you only want the brightest specular areas, or open it up if you want to include mid-bright tones like skin catches and fabric sheen. The goal is to select the regions of the image where a light bloom would realistically originate. Don’t worry about getting it pixel-perfect. A soft, slightly feathered selection will actually work in your favor here.
Color Range dialog open with Highlights selected in dropdown
Go to Select > Color Range. In the dropdown at the top of the dialog, choose Highlights. You’ll see a grayscale preview of your selection, with white areas representing what will be selected. Use the Range and Fuzziness sliders to control how broadly the highlights are captured. Pull the range tighter if you only want the brightest specular areas, or open it up if you want to include mid-bright tones like skin catches and fabric sheen. The goal is to select the regions of the image where a light bloom would realistically originate. Don’t worry about getting it pixel-perfect. A soft, slightly feathered selection will actually work in your favor here.
Step 2: Copy the Highlights to a New Layer
 New layer appearing in Layers panel with highlight selection active
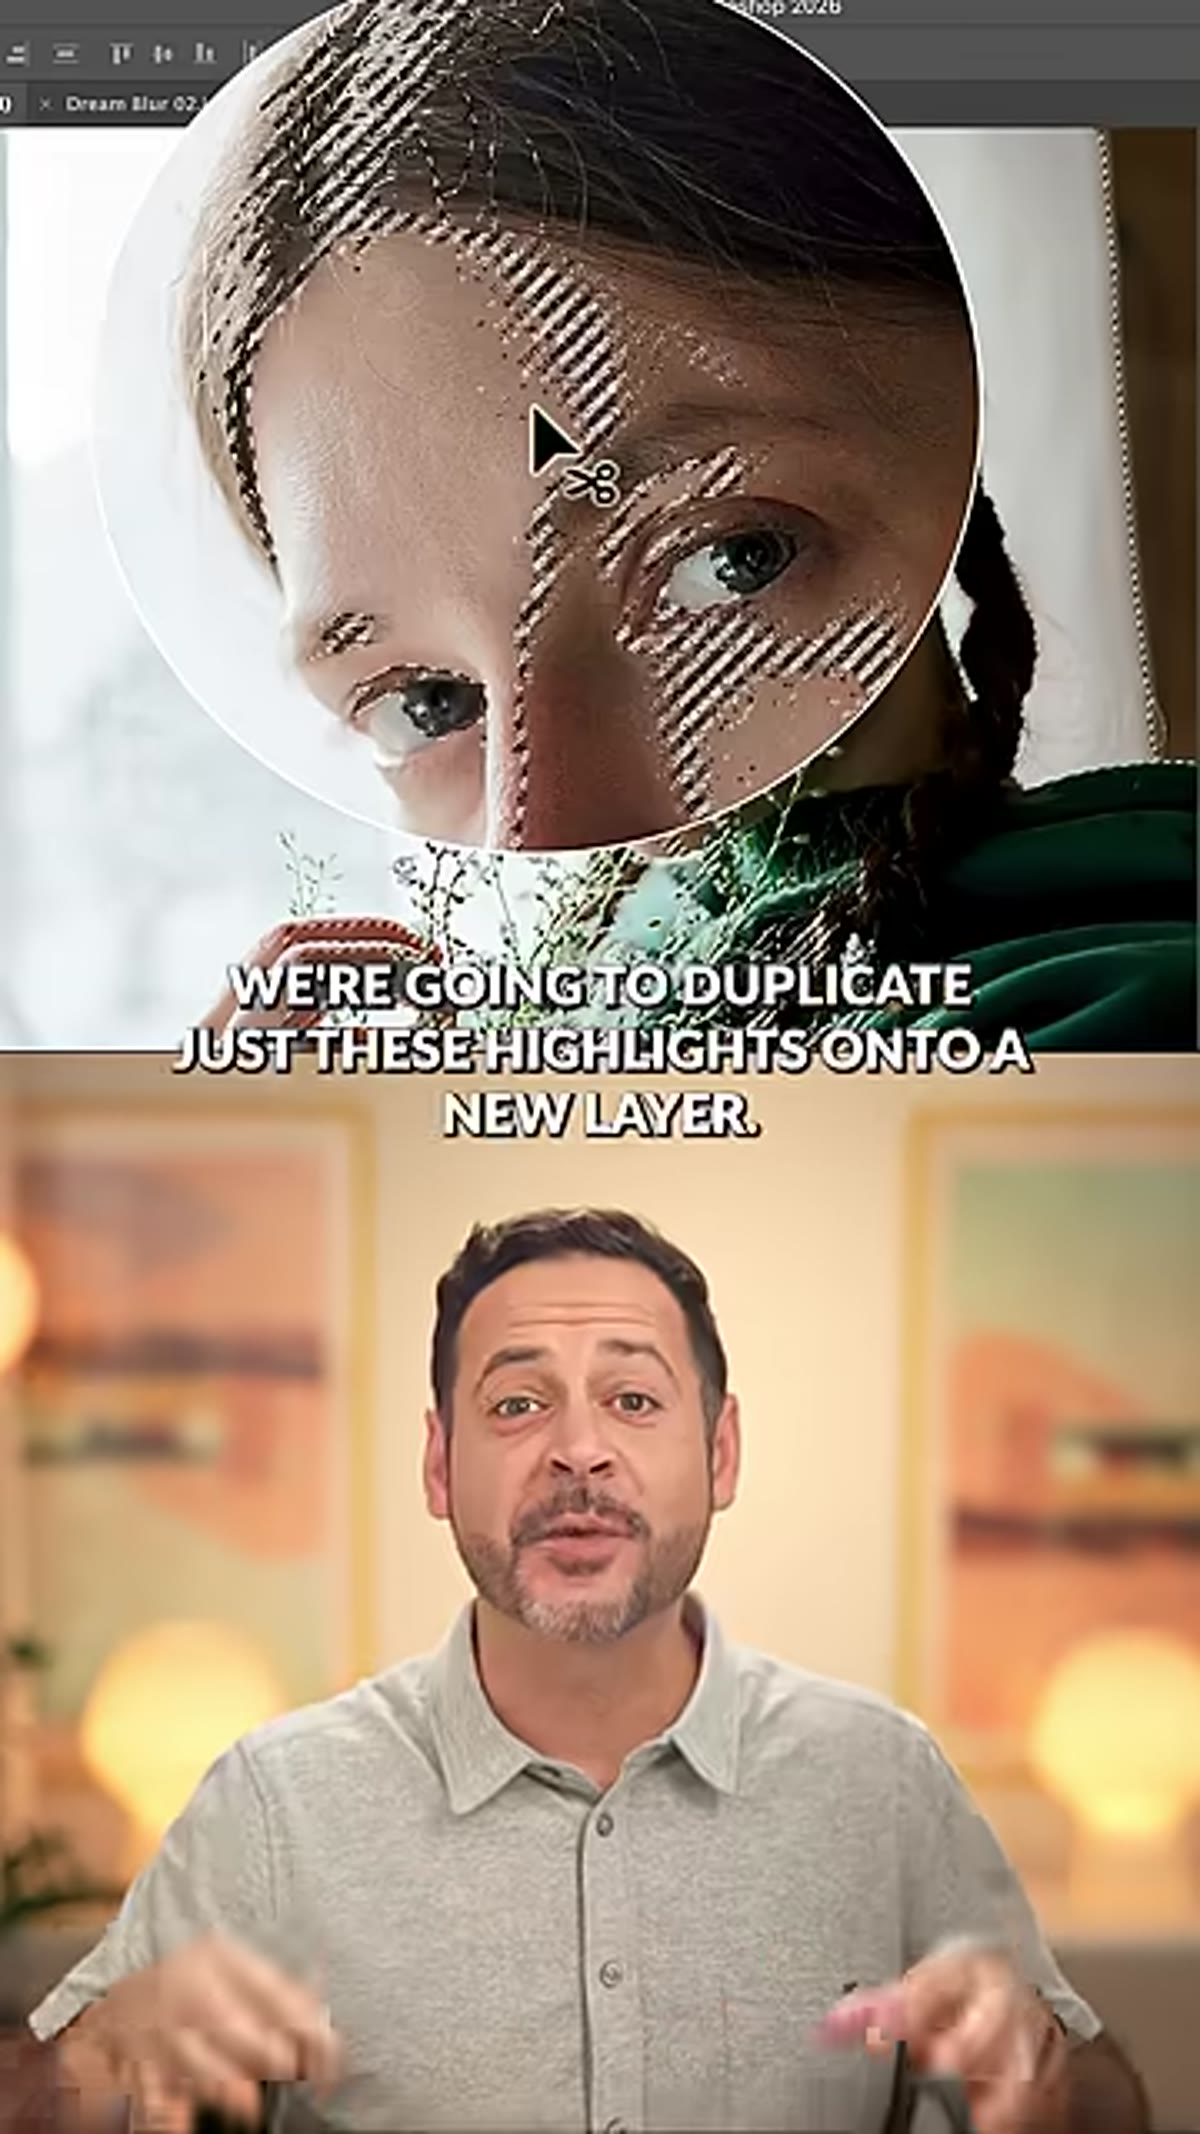
With your selection active, press Ctrl+J (Windows) or Cmd+J (Mac) to duplicate only the selected highlights onto a new layer above your original. This isolates just the bright areas of your image as independent layer content. You won’t be touching your original image layer at any point after this, which is exactly how it should be. Name the layer something clear like “Highlight Glow 1” now, before you start stacking. Future-you will appreciate it.
New layer appearing in Layers panel with highlight selection active
With your selection active, press Ctrl+J (Windows) or Cmd+J (Mac) to duplicate only the selected highlights onto a new layer above your original. This isolates just the bright areas of your image as independent layer content. You won’t be touching your original image layer at any point after this, which is exactly how it should be. Name the layer something clear like “Highlight Glow 1” now, before you start stacking. Future-you will appreciate it.
Step 3: Convert to Smart Object
 Right-click menu showing Convert to Smart Object option
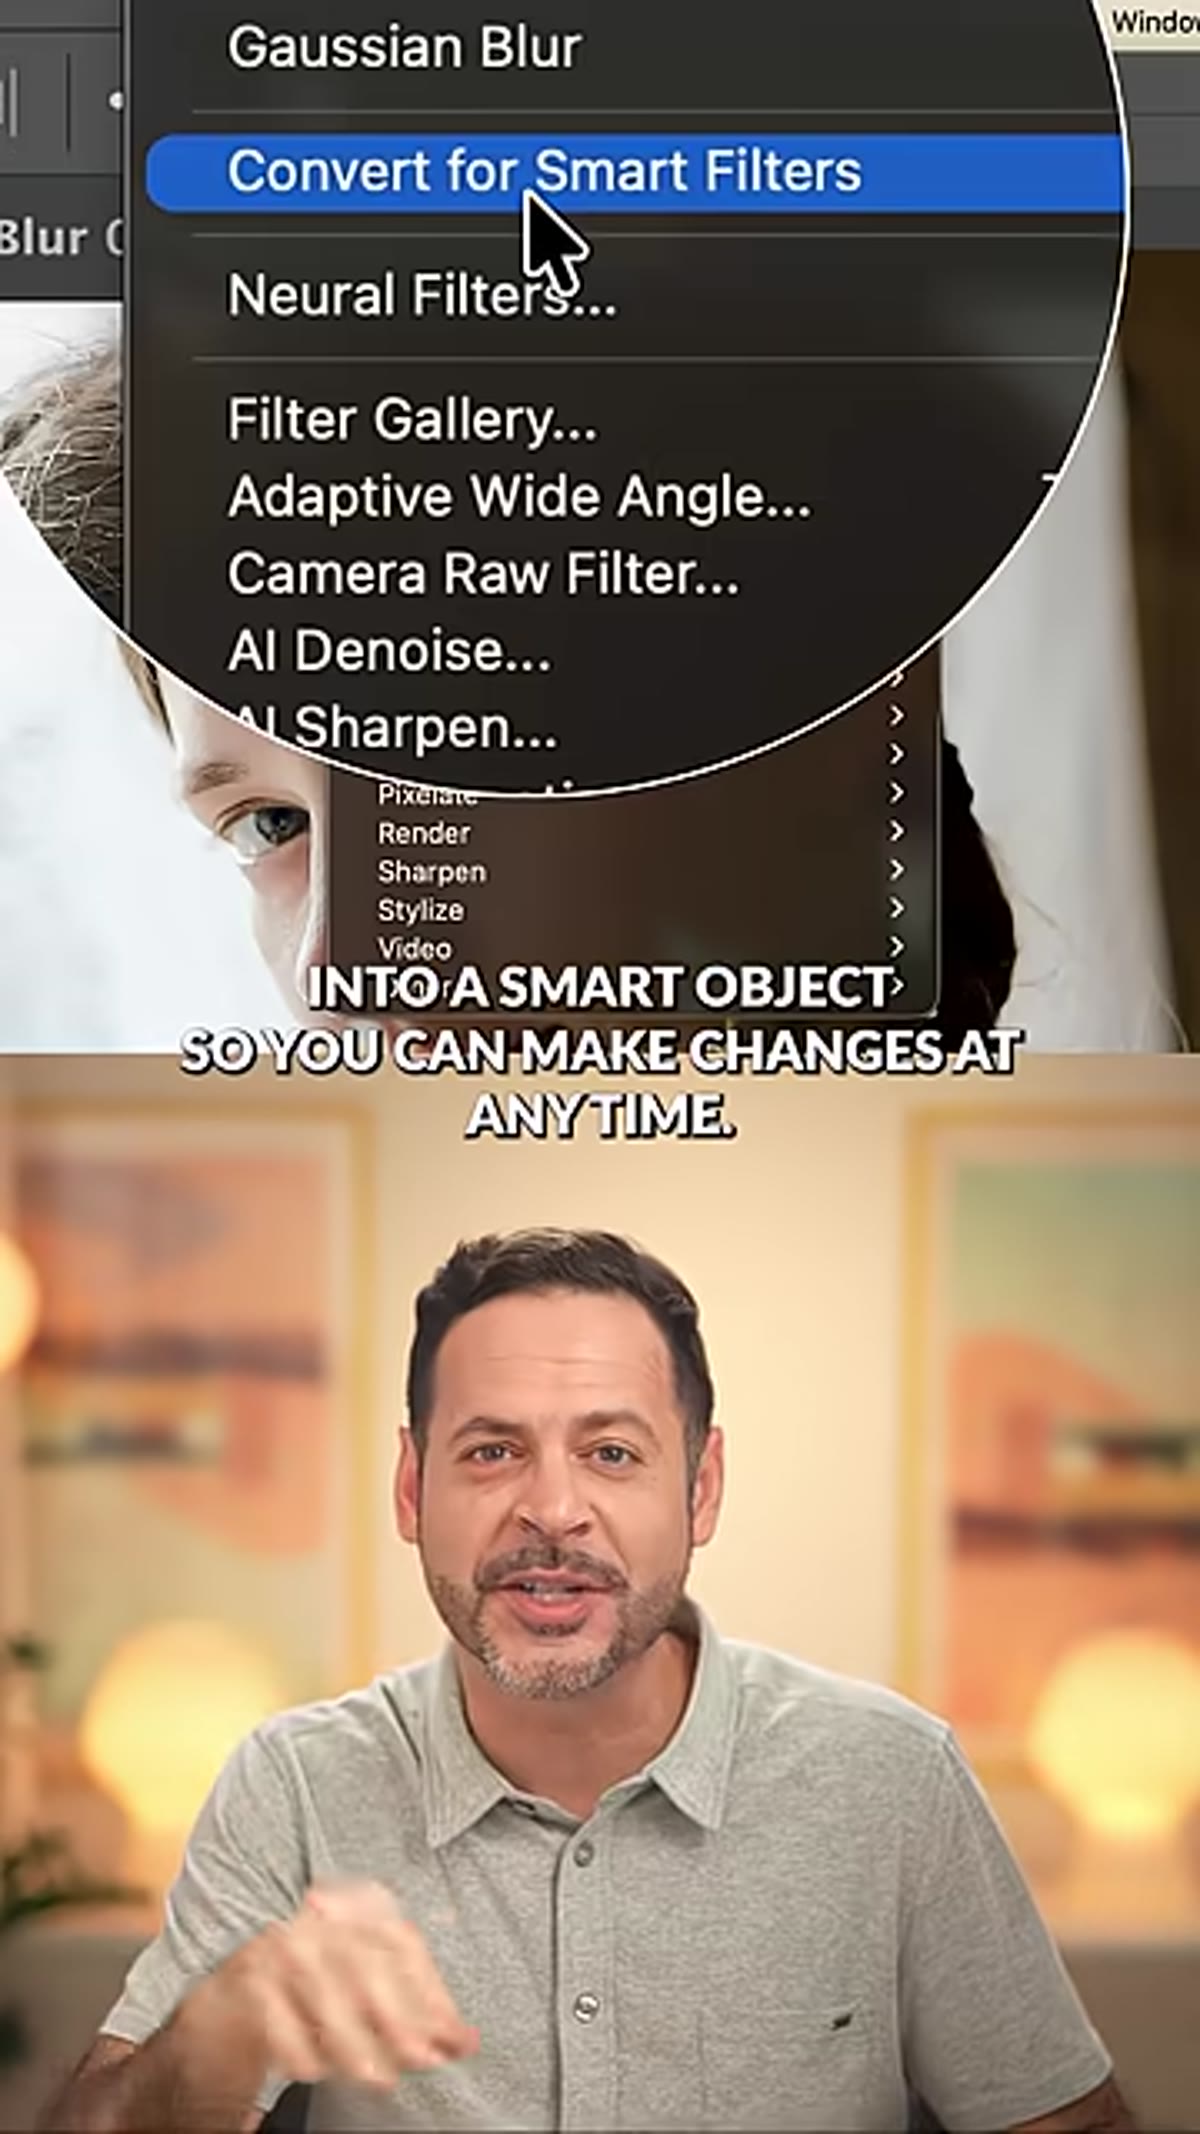
Right-click on your new highlight layer in the Layers panel and select Convert to Smart Object. This is the step that makes everything revisable. When you apply a Gaussian Blur to a Smart Object, it’s stored as an editable Smart Filter rather than baked into the pixels. If the art director comes back tomorrow and asks you to dial the glow up or down, you double-click the filter and adjust the radius. No need to rebuild from scratch. In commercial work, this isn’t optional. It’s the difference between a two-minute revision and a ten-minute one.
Right-click menu showing Convert to Smart Object option
Right-click on your new highlight layer in the Layers panel and select Convert to Smart Object. This is the step that makes everything revisable. When you apply a Gaussian Blur to a Smart Object, it’s stored as an editable Smart Filter rather than baked into the pixels. If the art director comes back tomorrow and asks you to dial the glow up or down, you double-click the filter and adjust the radius. No need to rebuild from scratch. In commercial work, this isn’t optional. It’s the difference between a two-minute revision and a ten-minute one.
Step 4: Set the Blend Mode to Lighten and Apply Gaussian Blur
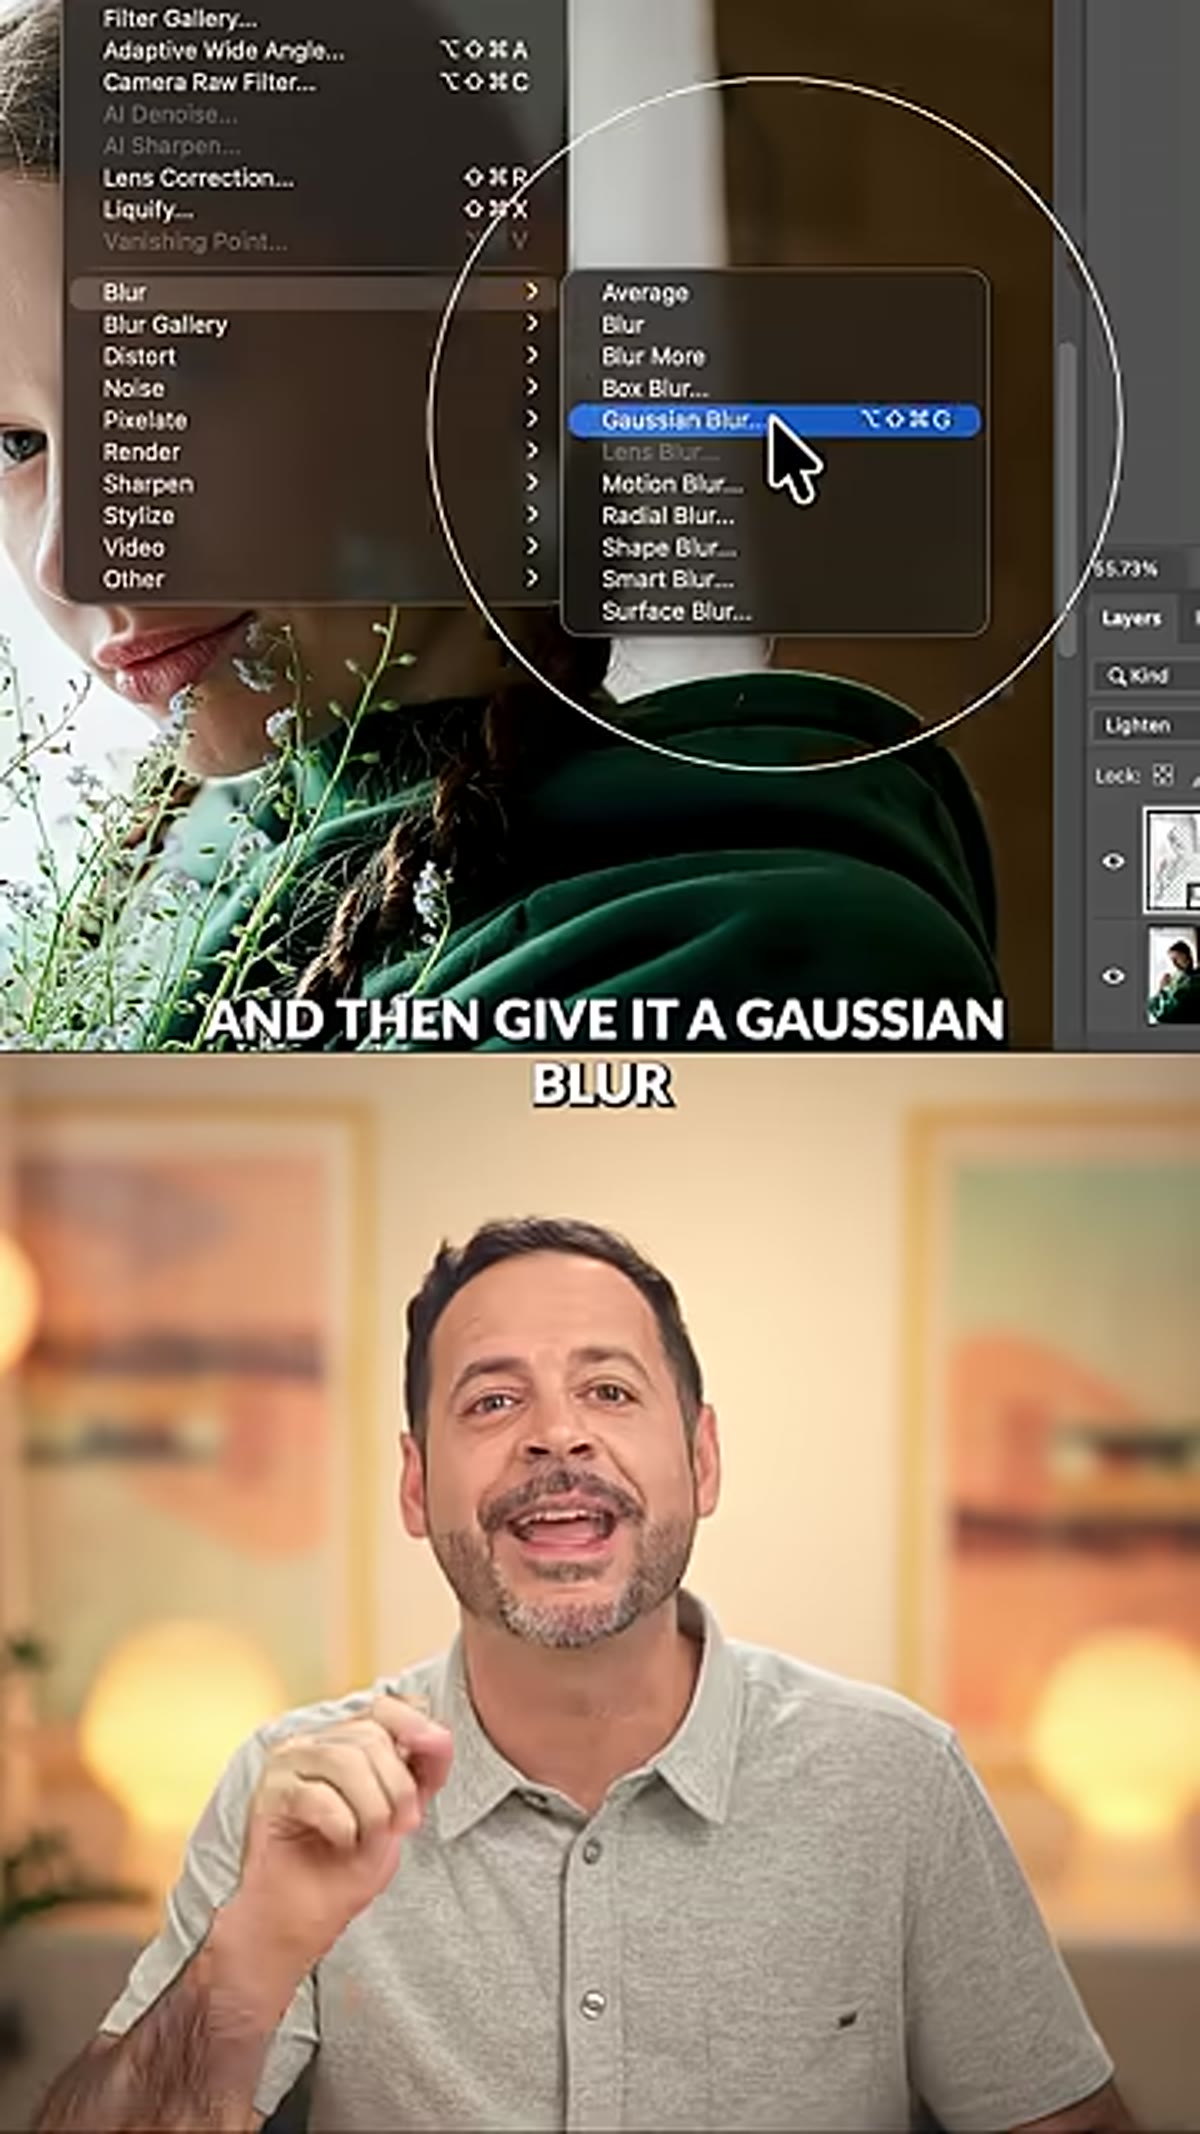 Blend mode dropdown set to Lighten in Layers panel
Change the blend mode of your Smart Object layer to Lighten. This blend mode only adds light to the image, meaning any pixel on this layer will only show through if it’s brighter than the pixel below it. Dark areas are effectively invisible. This keeps the glow from muddying your shadows or midtones. Next, go to Filter > Blur > Gaussian Blur and apply a moderate radius. Nace doesn’t specify an exact number because the right value depends entirely on your image resolution and how diffuse you want the effect. For a 24-megapixel file I’d start around 40-60 pixels and evaluate from there.
Blend mode dropdown set to Lighten in Layers panel
Change the blend mode of your Smart Object layer to Lighten. This blend mode only adds light to the image, meaning any pixel on this layer will only show through if it’s brighter than the pixel below it. Dark areas are effectively invisible. This keeps the glow from muddying your shadows or midtones. Next, go to Filter > Blur > Gaussian Blur and apply a moderate radius. Nace doesn’t specify an exact number because the right value depends entirely on your image resolution and how diffuse you want the effect. For a 24-megapixel file I’d start around 40-60 pixels and evaluate from there.
Step 5: Duplicate the Layer and Apply a Larger Blur
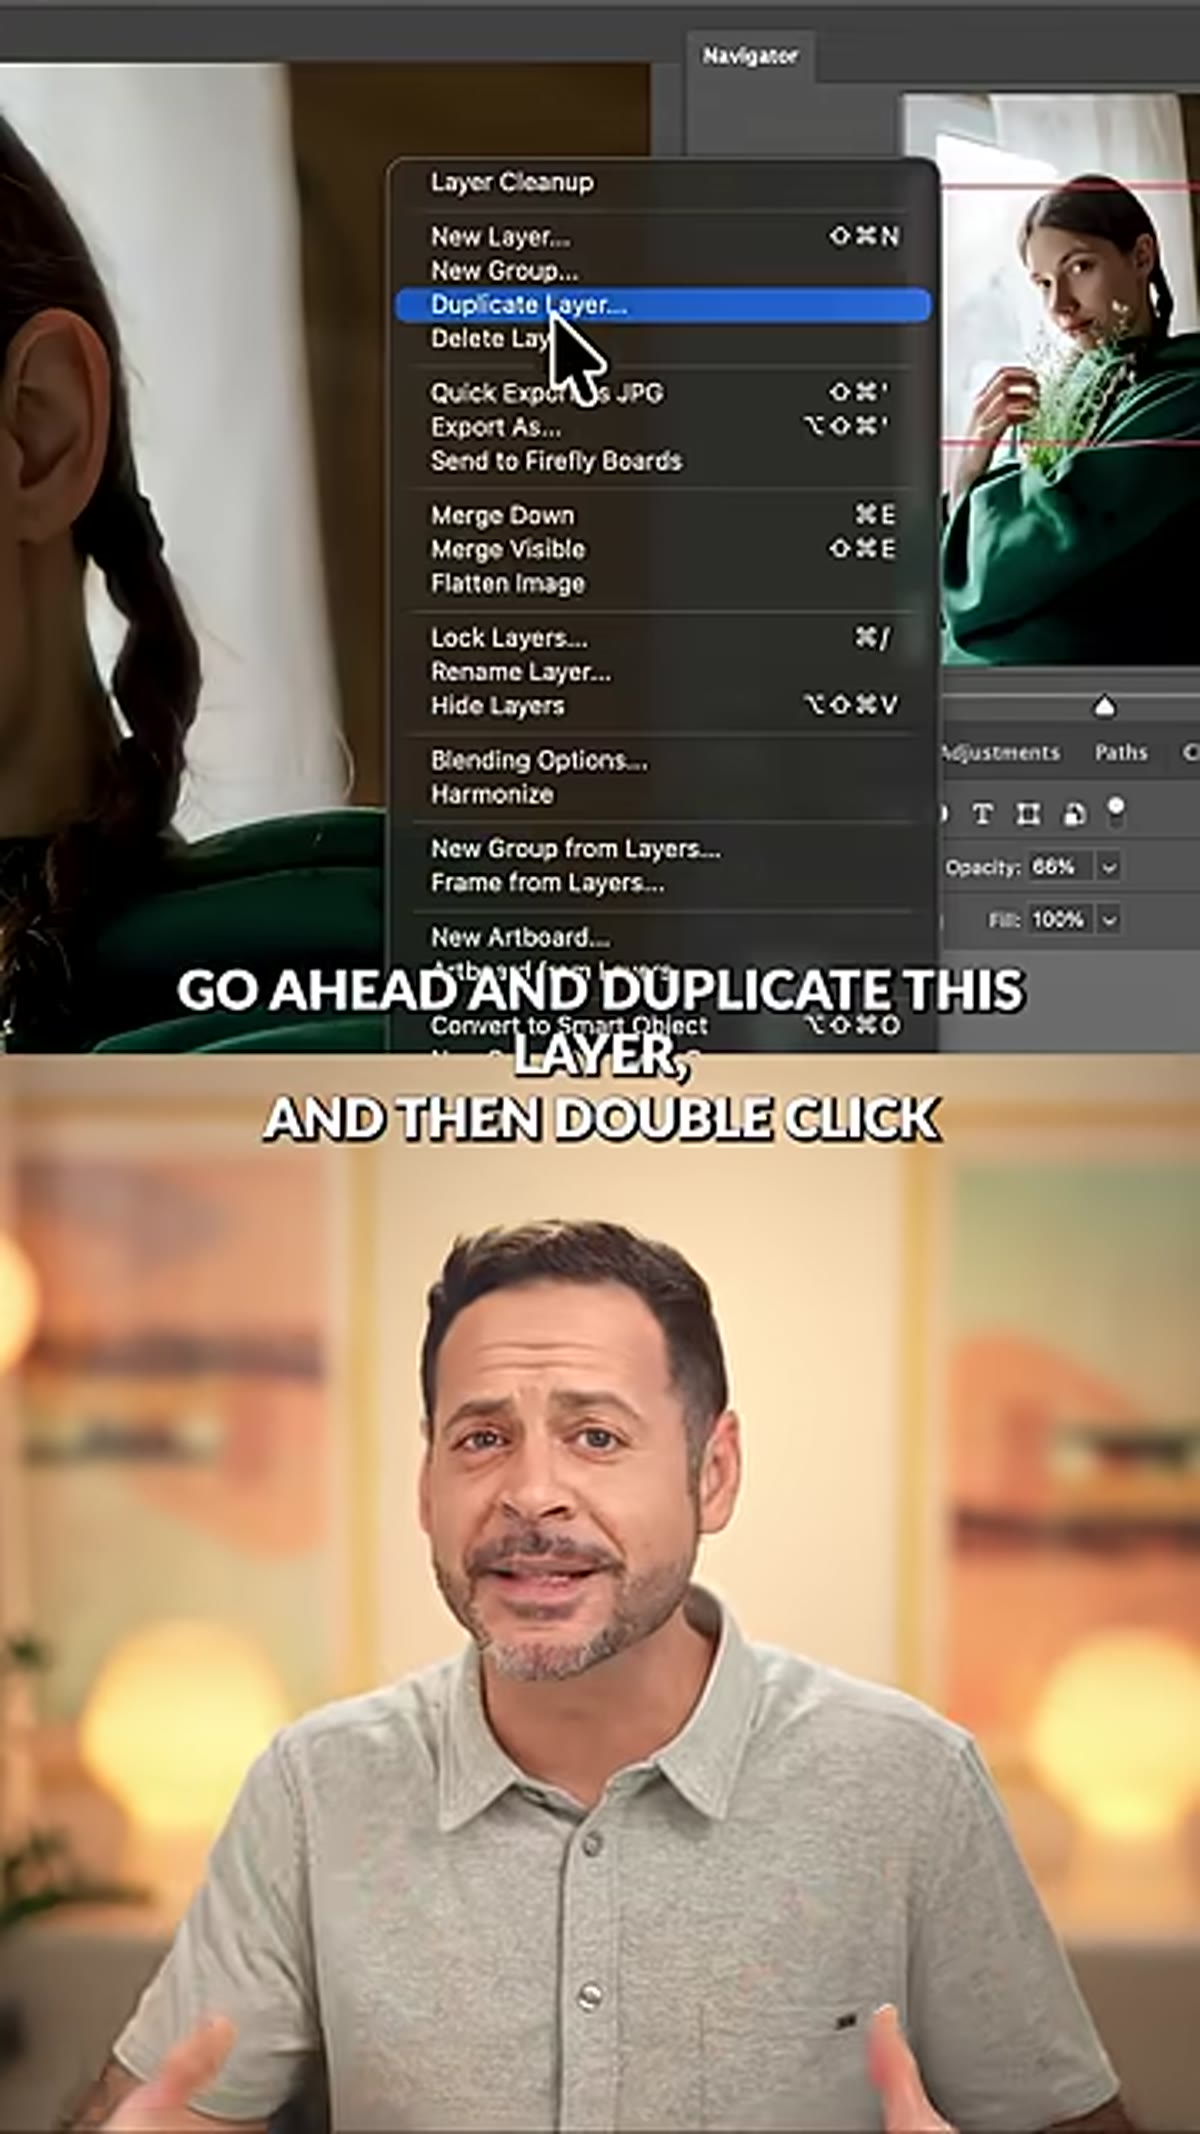 Two glow layers in Layers panel with different blur values
Duplicate your Smart Object layer (Ctrl+J or Cmd+J again). Double-click on the Gaussian Blur Smart Filter on this second copy and increase the radius significantly, roughly two to three times the original value. What you’re building is a glow with two distinct components: a tighter, more defined halo close to the light sources, and a wider, softer bloom that spreads into the surrounding tones. One layer alone looks like a blur. Two layers working together at different radii start to look like actual light behavior. This is the detail that separates the technique from a simple glow overlay.
Two glow layers in Layers panel with different blur values
Duplicate your Smart Object layer (Ctrl+J or Cmd+J again). Double-click on the Gaussian Blur Smart Filter on this second copy and increase the radius significantly, roughly two to three times the original value. What you’re building is a glow with two distinct components: a tighter, more defined halo close to the light sources, and a wider, softer bloom that spreads into the surrounding tones. One layer alone looks like a blur. Two layers working together at different radii start to look like actual light behavior. This is the detail that separates the technique from a simple glow overlay.
Step 6: Color Grade and Add Grain in Camera Raw
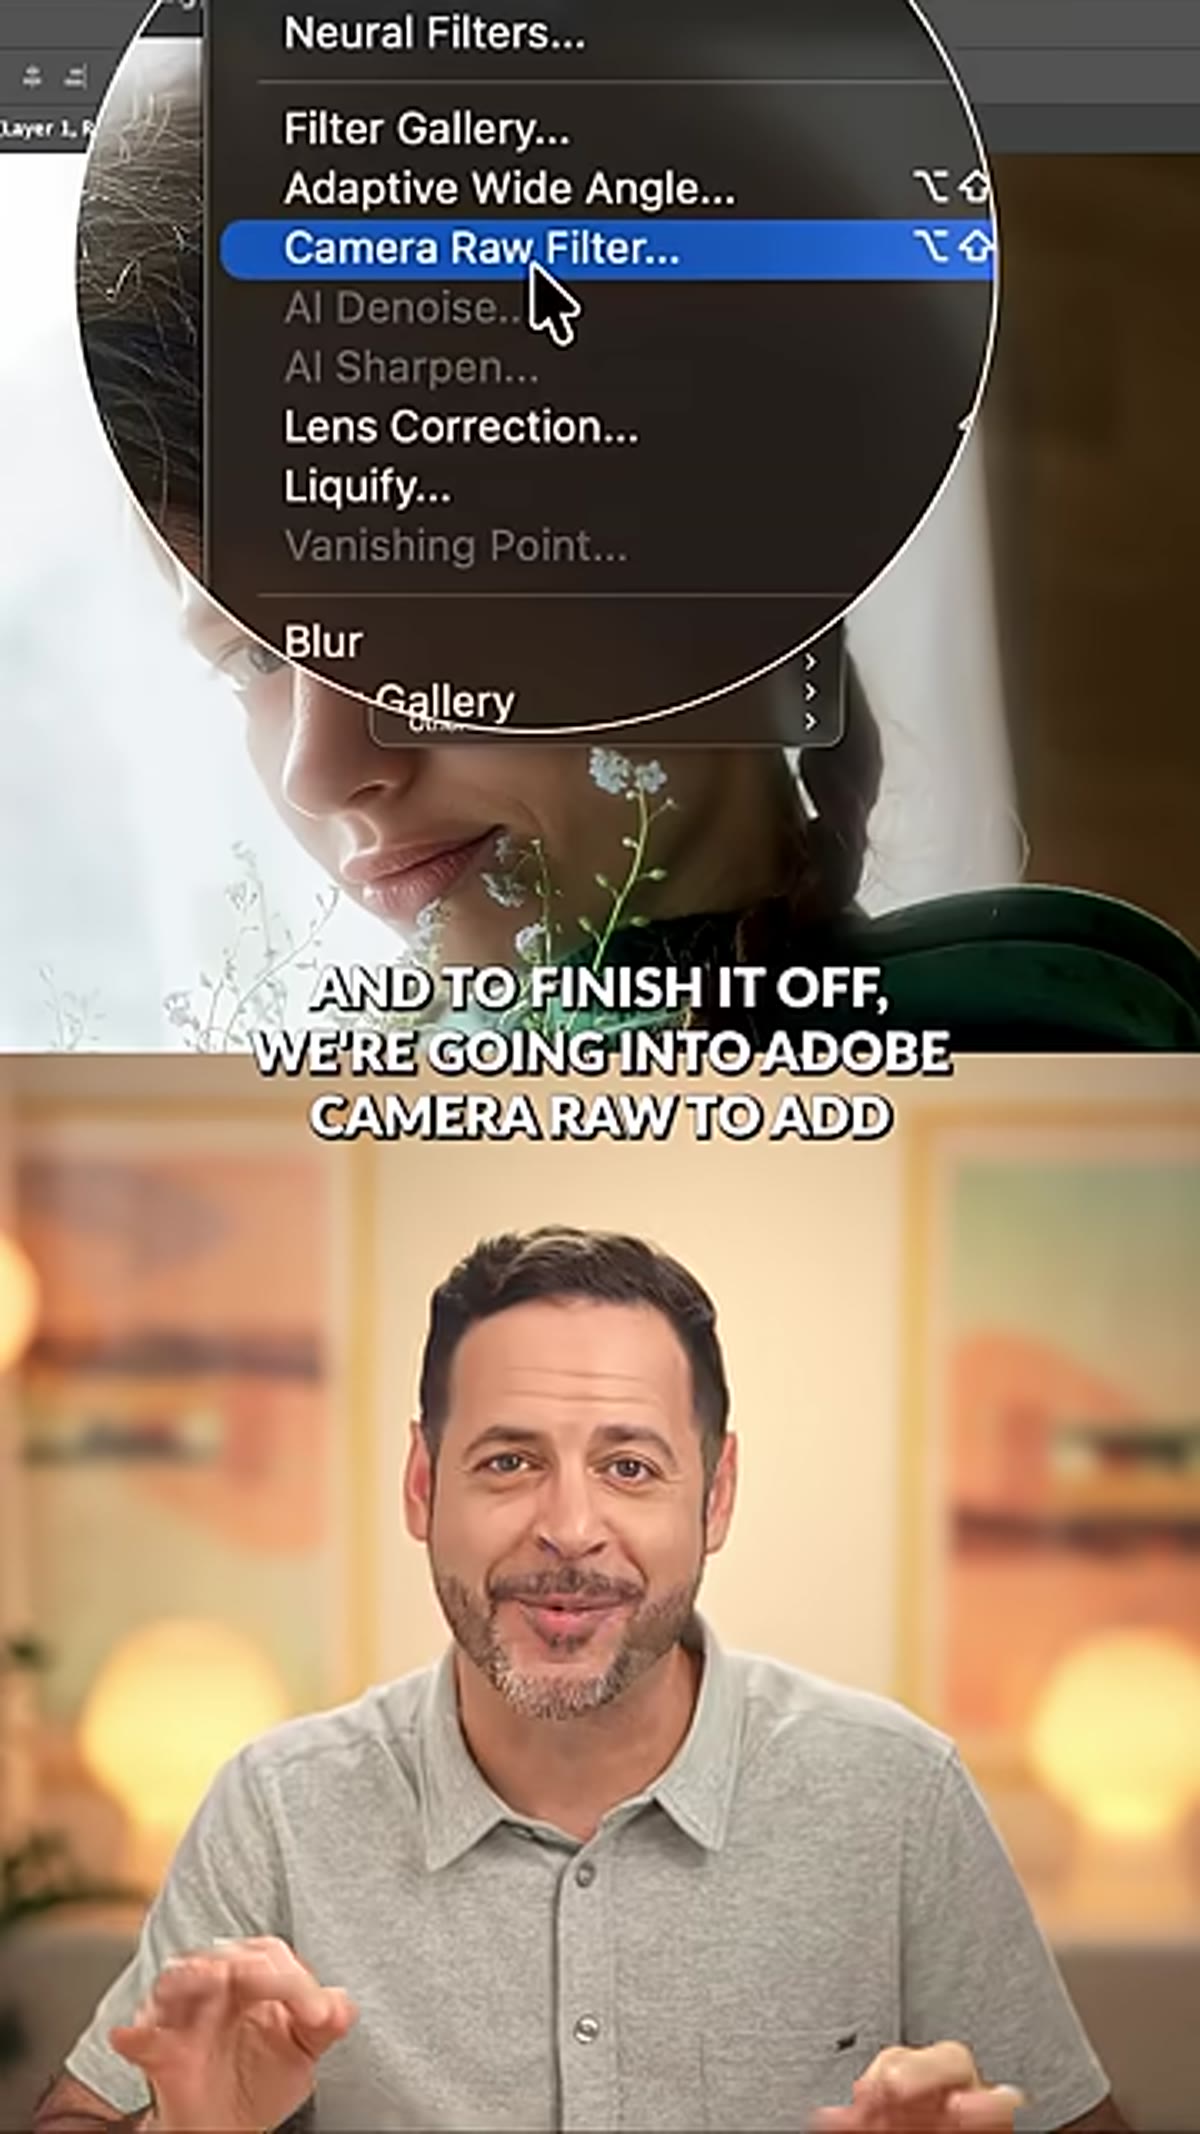 Camera Raw filter open showing Color Grading and Grain panels
Merge your glow layers and original into a stamped composite (Ctrl+Alt+Shift+E or Cmd+Option+Shift+E), convert it to a Smart Object, then go to Filter > Camera Raw Filter. Inside Camera Raw, head to the Color Grading section to push your shadows and highlights toward complementary hues. A warm highlight tone with a cooler shadow counterpart is a classic pairing for this dreamy aesthetic. Then open the Grain controls and add a moderate amount of grain with a natural size and roughness. This is the step that grounds the whole effect. Without grain, the glow can look digital and over-smooth. A little texture makes it feel photographic.
Camera Raw filter open showing Color Grading and Grain panels
Merge your glow layers and original into a stamped composite (Ctrl+Alt+Shift+E or Cmd+Option+Shift+E), convert it to a Smart Object, then go to Filter > Camera Raw Filter. Inside Camera Raw, head to the Color Grading section to push your shadows and highlights toward complementary hues. A warm highlight tone with a cooler shadow counterpart is a classic pairing for this dreamy aesthetic. Then open the Grain controls and add a moderate amount of grain with a natural size and roughness. This is the step that grounds the whole effect. Without grain, the glow can look digital and over-smooth. A little texture makes it feel photographic.
How I’d Automate This for Volume Work
The six steps above run maybe eight minutes end to end once you know the sequence. That’s acceptable for a single hero image. For a set of twenty or thirty images from the same shoot, you want an Action. I’d record this entire workflow as a Photoshop Action with one caveat: the Color Range selection will behave differently across images with different exposure levels, so I’d flag that step with a stop in the Action that prompts you to review and adjust the sliders before proceeding. Everything else, the layer duplication, Smart Object conversion, blend mode, the two blur passes, and Camera Raw, can run unattended. You could also save your Camera Raw color grading settings as a preset and apply it in the last step of the Action, which is what I do for any job with a consistent visual treatment across the set.
The single most transferable idea from Nace’s technique is the stacked blur approach. Using two layers at different radii gives the glow a physical quality that a single blur radius simply cannot produce on its own. It’s a small structural choice that makes a large perceptual difference, and it’s the kind of thing you’ll start seeing everywhere once you know to look for it.
Watch the full tutorial on YouTube and follow along with your own image. Nace moves fast in the short version, but the logic is clear enough to pause and replicate at each step.
Comments (8)
Wow, I had no idea you could do this. Mind blown.
Quality content like this is rare. Keep it up.
This saved me so much time on my last edit. Wish I'd found this sooner.
The tip about the manual glow effect that st was the missing piece for me. Thank you.
This should be required reading for anyone starting out.
This is fantastic. I've been recommending this approach to my readers too.
The before and after really sells it. Incredible difference.
My workflow just got 10x faster. Not even kidding.
Leave a Comment