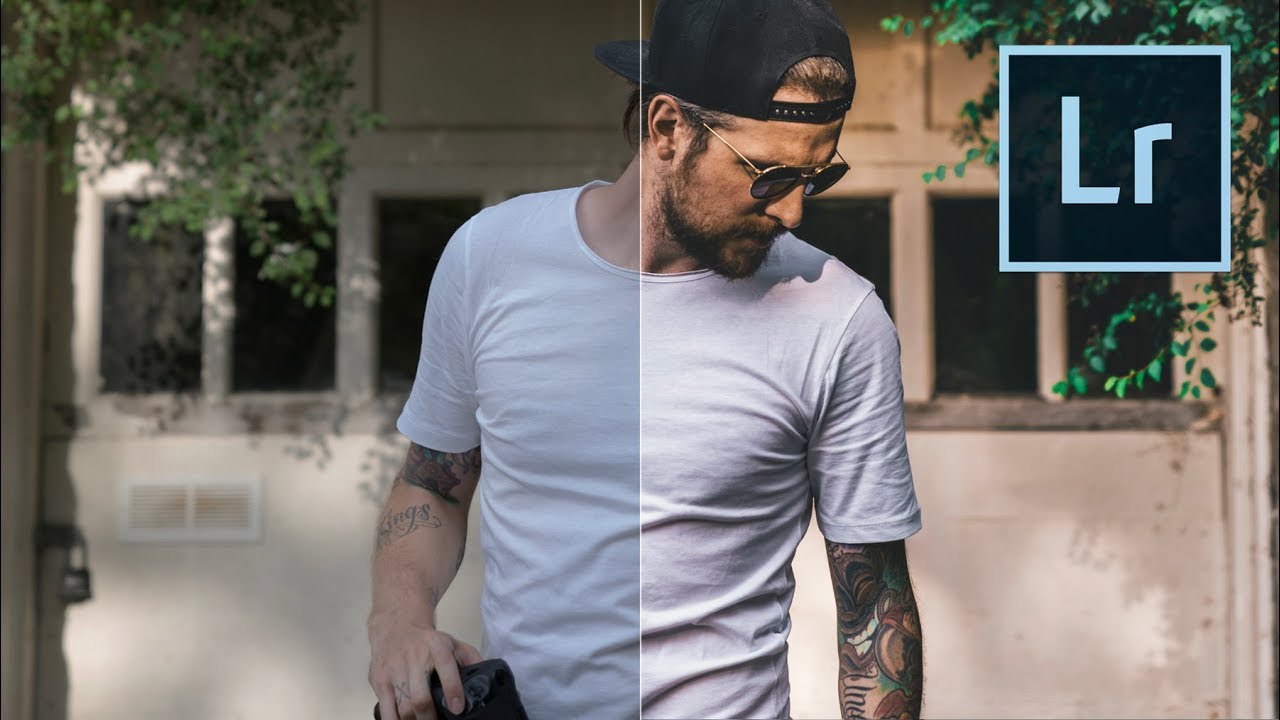
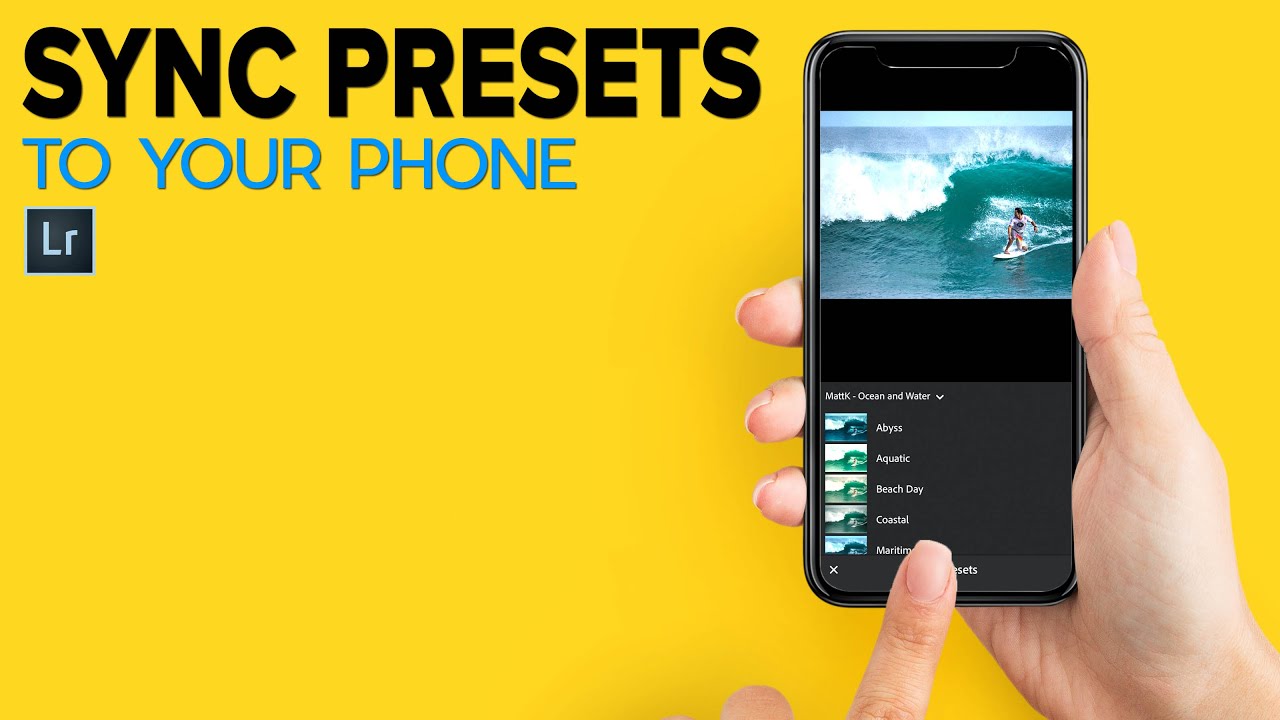
Blending Photos and Graphics in Photoshop: What Aaron Nace's Workflow Taught Me About Working Smarter

Blending Photos and Graphics in Photoshop: What Aaron Nace's Workflow Taught Me About Working Smarter

Last month I was three days into a campaign for a Chicago ad agency that wanted product shots with an illustrated, graphic-novel-esque feel. Clean photography married to hand-drawn-style overlays, vintage textures, dramatic shadows that didn’t exist on set. My compositing workflow handled the heavy lifting, but I kept hitting friction at the illustration integration stage. The blending felt mechanical. The lighting lied. I knew the gap between what I was producing and what the client was imagining, and I didn’t love that gap.

How AI Depth Masking in Photoshop Finally Solved My Portrait Background Problem

How AI Depth Masking in Photoshop Finally Solved My Portrait Background Problem

I’ve been doing post-production work for commercial clients for fifteen years. Portrait compositing, product retouching, ad-ready skin work. And there’s one problem that has eaten more of my billable hours than almost anything else: isolating a portrait subject from a busy background when the original shot has mediocre depth of field. You know the scenario. The photographer shot on a crop sensor, or the client approved a frame where the background separation is just… fine.

How Photoshop's Dynamic Text Tool Finally Solves the Text-Behind-Subject Problem

How Photoshop's Dynamic Text Tool Finally Solves the Text-Behind-Subject Problem

I’ve been doing text-behind-subject composites for clients since it became the default language of lifestyle advertising. You know the look: a model or product sits in front of a headline, the text tucks naturally behind them, and the whole thing reads as designed rather than pasted together. For years, my workflow involved manually painting masks, nudging layer order, and quietly cursing whenever the client sent a revised headline at the last minute and I had to rebuild the whole thing from scratch.

Photoshop's Updated Remove Tool Is the Closest Thing to Magic I've Added to My Workflow

Photoshop's Updated Remove Tool Is the Closest Thing to Magic I've Added to My Workflow

Last month I was working through a product shoot for a Chicago-based furniture client. Clean studio setup, nice light, solid images. But every single frame had the same problem: a small utility hook on the back wall that the art director had missed during the shoot. Forty-seven images. A hook that sat right at the edge of a gradient background, with just enough tonal variation around it to make the Healing Brush throw fits.

Blending Photography with Graphics in Photoshop: What Aaron Nace's Workflow Taught Me About Working Smarter

Blending Photography with Graphics in Photoshop: What Aaron Nace's Workflow Taught Me About Working Smarter

A client brief landed in my inbox last month asking for a product campaign that felt “editorial but illustrated.” You know the type: photography that reads like a poster, with graphic elements woven into the image rather than dropped on top of it. I’ve been doing commercial post-production for fifteen years, and requests like that still make me pause. Not because the work is beyond reach, but because the margin for getting it wrong is thin.

Depth Masking in Camera Raw Is the Portrait Separation Trick I Wish I'd Had Years Ago

Depth Masking in Camera Raw Is the Portrait Separation Trick I Wish I'd Had Years Ago

I’ve been doing post-production for ad agencies long enough to remember when separating a subject from their background meant either a careful pen tool path or a lot of hoping the photographer nailed the depth of field in camera. Neither option was fast. Neither was particularly forgiving if the client came back three rounds later wanting changes. Recently I was working through a batch of corporate headshots where the photographer had shot everything on a relatively tight 85mm at f/2.

Stop Treating ISO Like a Setting You Choose — Let It Work For You

Stop Treating ISO Like a Setting You Choose — Let It Work For You

Last spring I was on a commercial shoot for an outdoor furniture brand, golden hour, clouds moving fast, and I kept breaking my rhythm to chase the histogram. ISO up, shutter adjustment, recheck the exposure. By the time I locked in my settings the light had already shifted. I got the shots, but I also got frustrated, which is not something I enjoy admitting after fifteen years doing this professionally.

Master the Light Blur Effect: A Non-Destructive Workflow in Photoshop

Master the Light Blur Effect: A Non-Destructive Workflow in Photoshop

In this excellent tutorial, Aaron Nace (PHLEARN) walks through one of my favorite composite techniques: creating a high-end light blur effect that seamlessly integrates a subject with a background while maintaining professional focus control. What I love about this approach is how it demonstrates non-destructive editing principles throughout—meaning you can adjust nearly every element without permanently altering your work. I’ve used variations of this technique in countless portrait and composite projects, and it never gets old.

Master Non-Destructive Texture Layering in Photoshop: A Complete Breakdown

Master Non-Destructive Texture Layering in Photoshop: A Complete Breakdown

Why Textures Matter in Modern Photography I’ve spent years watching photographers struggle with the “digital look” problem. You know the one—images that feel too clean, too sterile, lacking that tactile quality that draws viewers in. In this excellent tutorial, Aaron Nace (PHLEARN) demonstrates a game-changing approach to texture application that transformed how I approach post-processing. The beauty of textures isn’t just aesthetic. They add visual interest, create depth, and give your work that professional, editorial quality that clients notice.

Restoring Blurry Vintage Photos with Photoshop's Generative Upscale (One-Click Method)

Restoring Blurry Vintage Photos with Photoshop's Generative Upscale (One-Click Method)

I’ve spent the last few years watching AI integration transform Photoshop from a static tool into something genuinely intelligent. And honestly? The new Generative Upscale feature might be one of the most practical implementations I’ve seen yet. In this excellent tutorial, Aaron Nace (PHLEARN) walks through exactly how to take a blurry vintage photo and restore it to crisp, magazine-quality clarity in literally one click. Let me break down what you’re about to learn and why it matters for anyone sitting on a collection of old family photos or soft-focus film scans.

Remove Distractions in Photoshop in Minutes: Aaron Nace's Game-Changing Generative Fill Workflow

Remove Distractions in Photoshop in Minutes: Aaron Nace's Game-Changing Generative Fill Workflow

The Game-Changer for Photo Cleanup I’ve spent years testing different Photoshop retouching workflows, and I can tell you without hesitation: the method Aaron Nace demonstrates in this tutorial is genuinely one of the fastest ways to remove distractions from your images. What used to take 15-20 minutes of careful cloning and healing now takes just a couple of clicks. In this excellent tutorial, Aaron Nace (PHLEARN) reveals exactly how to leverage Photoshop’s Generative Fill with the Selection Brush tool to eliminate unwanted elements in seconds.

Photoshop 2026's Game-Changing Adjustment Layers: A Complete Breakdown

Photoshop 2026's Game-Changing Adjustment Layers: A Complete Breakdown

When Photoshop 2026 dropped, I immediately noticed something that made me genuinely excited: three adjustment layers that had been living in Lightroom finally made their way into Photoshop as native adjustment layers. This isn’t just a convenience update—it’s a legitimate workflow game-changer for anyone who edits photos seriously. In this excellent tutorial, Aaron Nace (PHLEARN) breaks down exactly how to use Photoshop’s newest adjustment layers: Color & Vibrance, Clarity & Dehaze, and Grain.