Presets Aren't Shortcuts — They're a Thinking Tool (Here's How to Use Them That Way)

Presets Aren't Shortcuts — They're a Thinking Tool (Here's How to Use Them That Way)

I’ll be honest with you. Early in my commercial work, I treated presets the way a lot of people do: click, hope, move on. I bought packs, applied them wholesale to client images, and wondered why the results felt borrowed rather than intentional. It took a few years of production pressure, and eventually watching people who actually knew what they were doing, to understand that presets are a diagnostic tool first and a finishing tool second.

Three Photoshop Tools That Finally Make Product Compositing Look Real

Three Photoshop Tools That Finally Make Product Compositing Look Real

Perspective has always been the thing that gives product composites away. You can nail the cutout, match the color grade, even add a convincing shadow, and the image still looks wrong because the object is sitting at an angle that nothing else in the scene shares. In commercial post-production, I’ve spent more hours than I care to count nudging Free Transform handles, eyeballing vanishing points, and making judgment calls that my clients’ art directors would later second-guess.

Three Variables That Actually Freeze Action with Strobes (No High-Speed Sync Required)

Three Variables That Actually Freeze Action with Strobes (No High-Speed Sync Required)

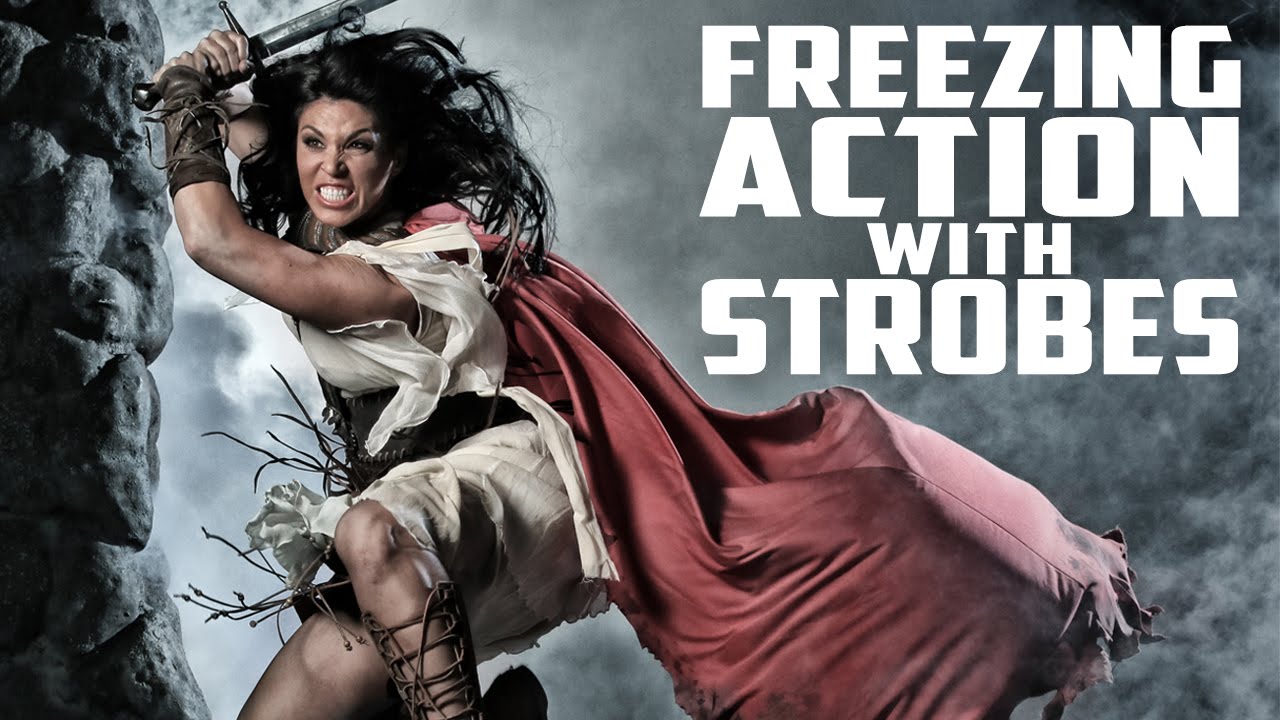
Most of the photographers I work with in commercial studios assume you need high-speed sync to freeze a moving subject. It’s an understandable assumption. HSS is the obvious tool, it’s what the gear manufacturers push, and it sounds technically correct. But HSS comes with a real cost: it cuts your effective flash power significantly, which means you’re fighting for exposure before you’ve even started solving the motion problem. There’s a cleaner approach, and Jay P.

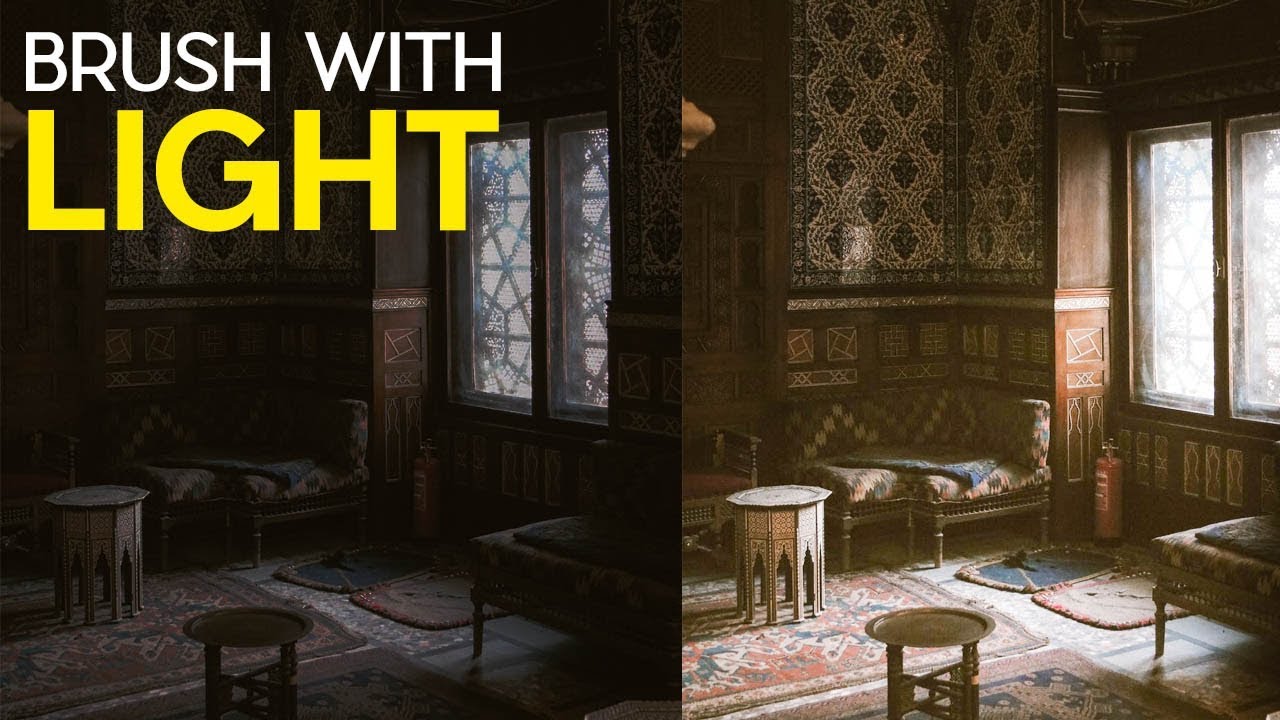
Work Smarter With Lightroom's Adjustment Brush: The Auto Mask Shortcut That Changes Everything

Work Smarter With Lightroom's Adjustment Brush: The Auto Mask Shortcut That Changes Everything

If you shoot anything that requires selective exposure adjustments — portraits, architecture, product work, anything with a foreground subject you want to separate from a background — you already know the adjustment brush is one of the most powerful tools in Lightroom and Camera Raw. You probably also know the frustration of painting too far, blowing past an edge, and having to redo a mask you spent five minutes building. That specific pain is what pulled me into Watch the full tutorial on YouTube from Matt Kloskowski, a photographer and educator whose approach to Lightroom workflow I’ve respected for years.

A Focused Lightroom Landscape Workflow That Respects Your Time

A Focused Lightroom Landscape Workflow That Respects Your Time

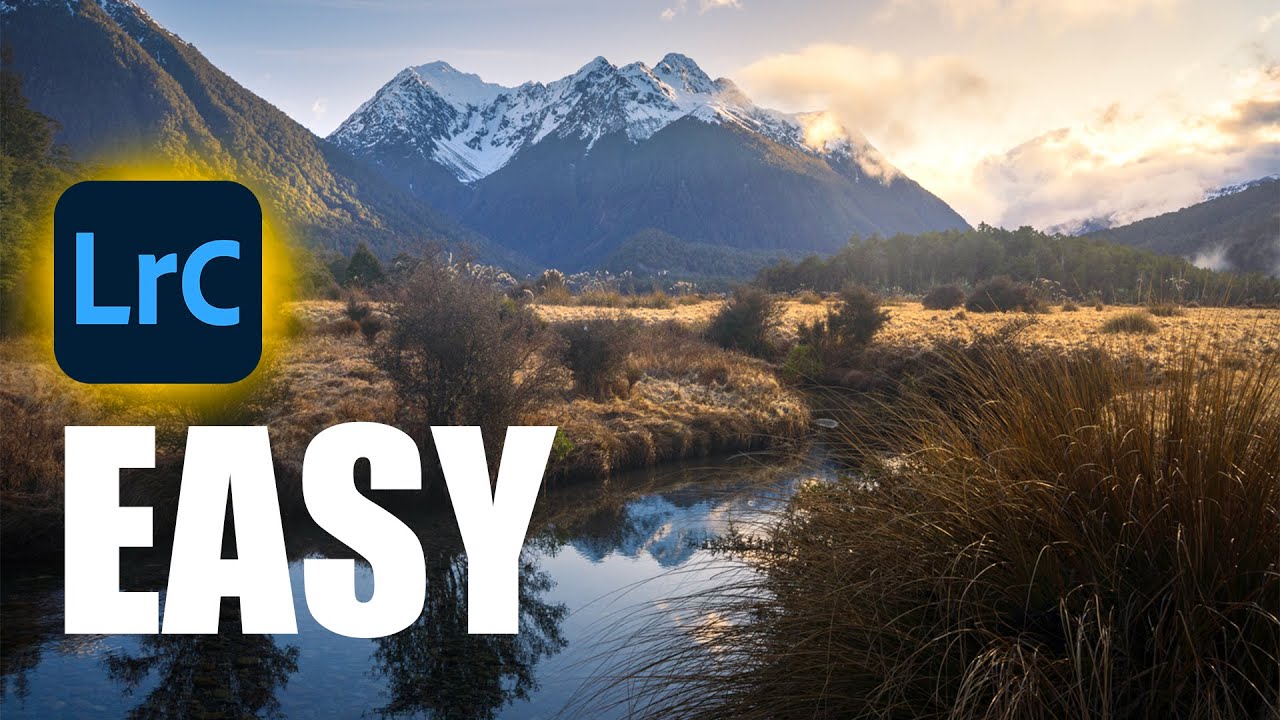
I have a bad habit of over-engineering things. Fifteen years in commercial studios will do that to you. I’ve built Photoshop action sets with 40 steps, color-coded folder structures across four backup drives, and batch pipelines that could process half a year’s worth of product shots before lunch. So when I come across a landscape photographer who strips a complex editing process down to only what actually matters, I pay attention.

Kill the Post-Processing Paralysis: A Landscape Editor's Minimal Workflow That Actually Works

Kill the Post-Processing Paralysis: A Landscape Editor's Minimal Workflow That Actually Works

There’s a specific kind of discouragement that hits landscape photographers and I’ve watched it happen to clients of mine for years. You nail the shot in the field, drive home buzzing, load the RAWs onto the computer, and then just… stall. The files look flat. The shadows are a mess. The sky is blown or the foreground is a muddy void. And because you don’t have a clear entry point into the edit, you close the application and tell yourself you’ll come back to it.

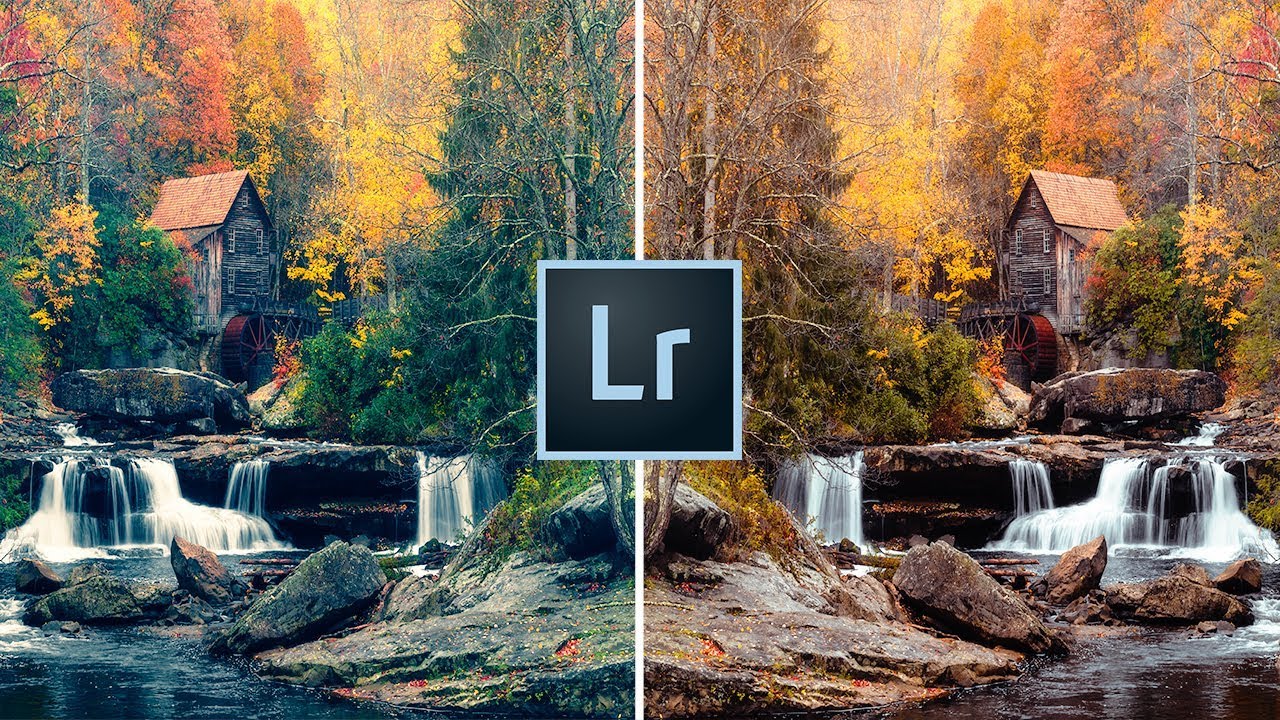
Stop Applying the Same Edits Manually: How Custom Lightroom Presets Fix Your Starting Point Problem

Stop Applying the Same Edits Manually: How Custom Lightroom Presets Fix Your Starting Point Problem

Every editor has a version of this problem. You open a raw file, and before you even really look at it, your hands are already moving. Lens correction. Remove chromatic aberration. Enable profile corrections. Slight vignette. Bump vibrance, pull back saturation a touch. Add sharpening. Clip the highlights. Lift the shadows. You do it so automatically it barely registers as thinking anymore. For me, working through large product shot batches for e-commerce clients, that kind of robotic repetition used to eat 20 to 30 minutes per session before I’d even made a single creative decision.

What Peter McKinnon's Workflow Update Video Actually Teaches You About Sustainable Creative Systems

What Peter McKinnon's Workflow Update Video Actually Teaches You About Sustainable Creative Systems

There’s a category of video that looks like a vlog but functions like a masterclass. Peter McKinnon’s update video, Watch the full tutorial on YouTube, falls squarely into that category. On the surface it’s a catch-up: drone giveaway results, fan mail, life updates after a two-week trip to Kenya with World Vision. Underneath, it’s a working demonstration of how a high-output creative keeps multiple project threads alive simultaneously without letting any of them collapse.

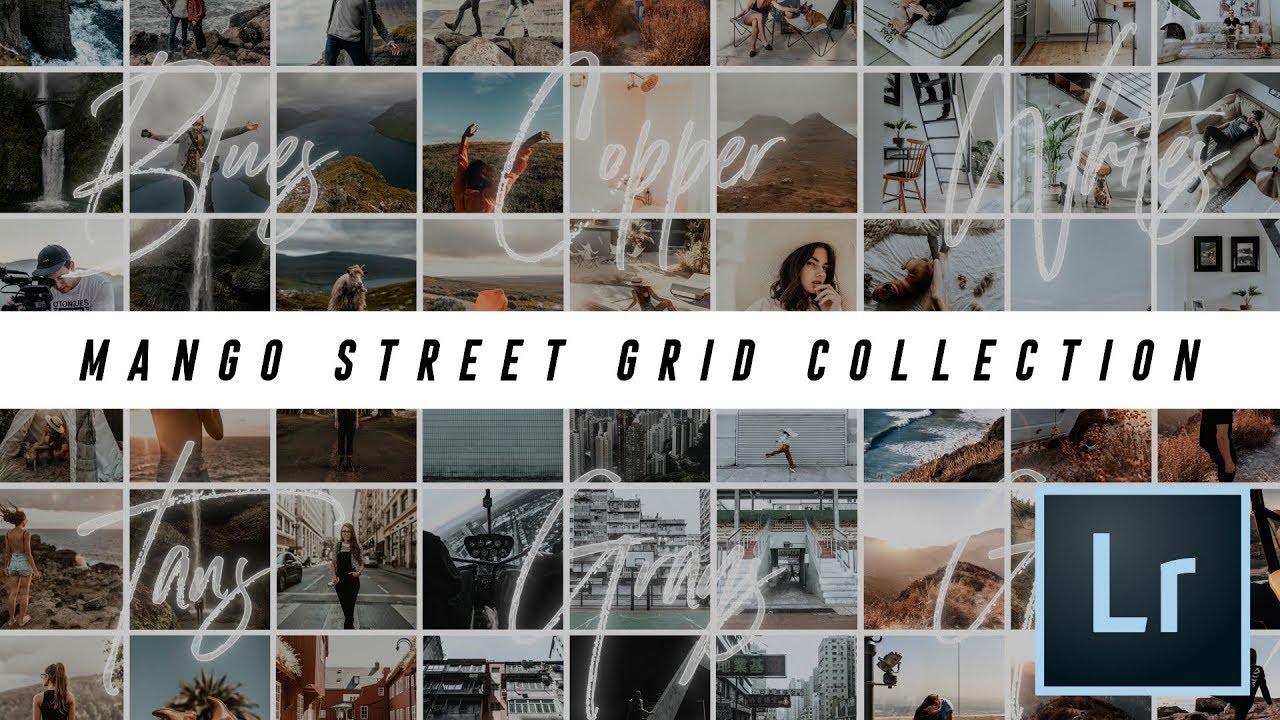
How to Build a Consistent Instagram Grid with Lightroom Presets (Mango Street's 6-Style System)

How to Build a Consistent Instagram Grid with Lightroom Presets (Mango Street's 6-Style System)

Consistency is the thing clients never mention until it’s missing. I’ve spent 15 years in commercial photography, and the single most common editorial note I get from art directors isn’t about sharpness or composition. It’s about color coherence across a campaign. The same problem shows up at a smaller scale for anyone building an Instagram portfolio: shoot a landscape one weekend, a portrait session the next, and suddenly your grid looks like three different photographers live in your phone.

Browse, Comp, and Buy Stock Photos Without Leaving Photoshop: The iStock Plugin Workflow

Browse, Comp, and Buy Stock Photos Without Leaving Photoshop: The iStock Plugin Workflow

Stock photo hunting has always been one of those invisible time thieves in my workflow. You’re deep in a comp, you need a hero image, and suddenly you’ve got six browser tabs open, three watermarked downloads cluttering your desktop, and you’ve completely lost your train of thought on the actual design work. Over the years I’ve built systems to compress almost every repetitive task in Photoshop down to keystrokes and actions, but the stock image sourcing step always seemed immune to optimization.

The Field Backup Workflow That Saved My Footage (And Will Save Yours)

The Field Backup Workflow That Saved My Footage (And Will Save Yours)

I have backup drives for my backup drives. My kids think this is insane. My clients think it’s why they keep hiring me. After fifteen years in commercial photography, I’ve learned that the photographers who stay in business aren’t always the most talented ones. They’re the ones who never show up to a client meeting and say “I lost the files.” That conversation ends careers. So when I came across Watch the full tutorial on YouTube from Pierre T.

Stop Drowning in Raw Files: A Pro's Breakdown of Mango Street's Photography Editing Workflow

Stop Drowning in Raw Files: A Pro's Breakdown of Mango Street's Photography Editing Workflow

There is a specific kind of dread that hits when you get back from a shoot with 800 raw files, a client deadline in two days, and a folder structure that looks like a crime scene. I spent the first few years of my career editing that way, and it cost me hours I’ll never get back. The photographers who scale their work, whether they’re shooting for ad agencies or editorial clients, are not necessarily faster at editing.