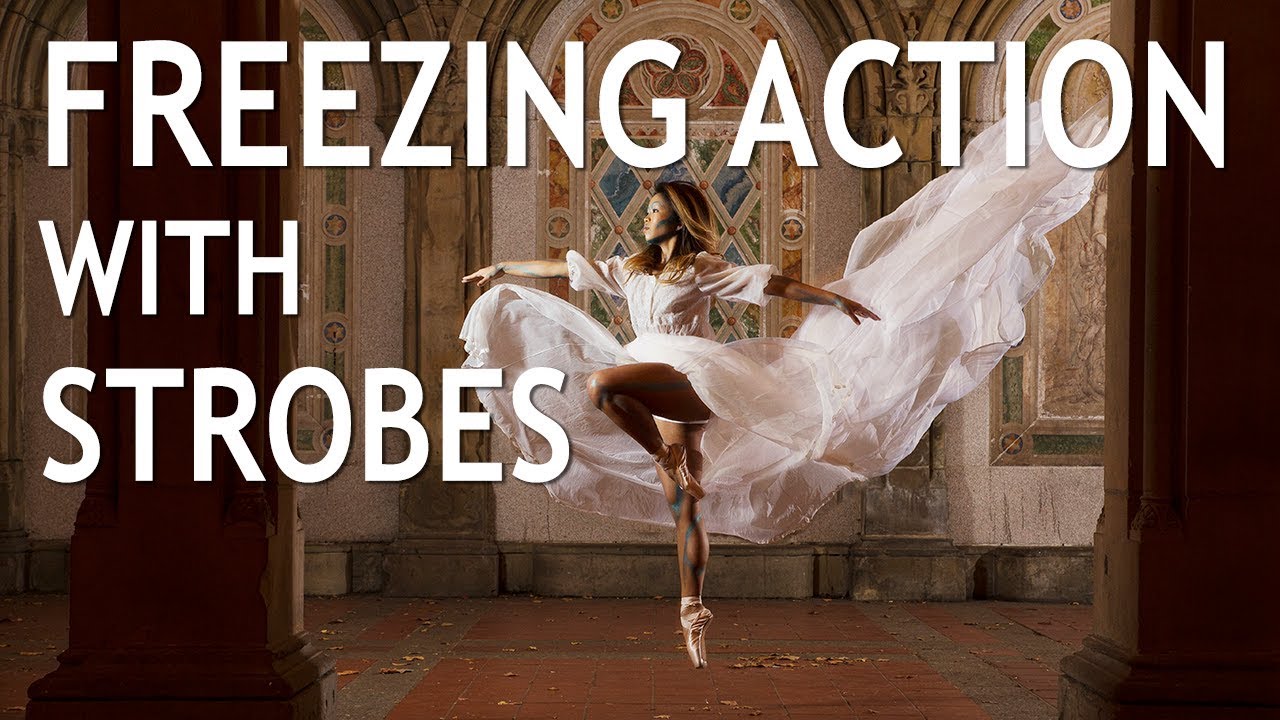
Action photography on location has a way of exposing every gap in your lighting knowledge. I’ve spent fifteen years in commercial studios where we had the luxury of controlling nearly every variable, but the moment a client wants something kinetic, something with real movement and energy, the comfortable math of a controlled environment goes sideways fast. Freezing motion with strobes sounds simple until you’re watching your subject blur against a background you actually want to see, and you realize your shutter speed and your flash are working against each other instead of together.
Watch the full tutorial on YouTube
In this The Slanted Lens tutorial, photographer JP Morgan takes his crew to Central Park to photograph a Juilliard-trained dancer mid-jump. The challenge he walks through, balancing flash duration against ambient exposure while keeping a subject sharp, is one I’ve run into repeatedly when shooting lifestyle campaigns for ad agencies that want energy without motion blur destroying the hero shot. What makes this tutorial worth your time is that Morgan doesn’t just show you what worked. He explains every compromise he made and why, which is exactly the kind of real-world reasoning that most gear-focused tutorials skip.
Step 1: Understand the Two Tools for Freezing Motion
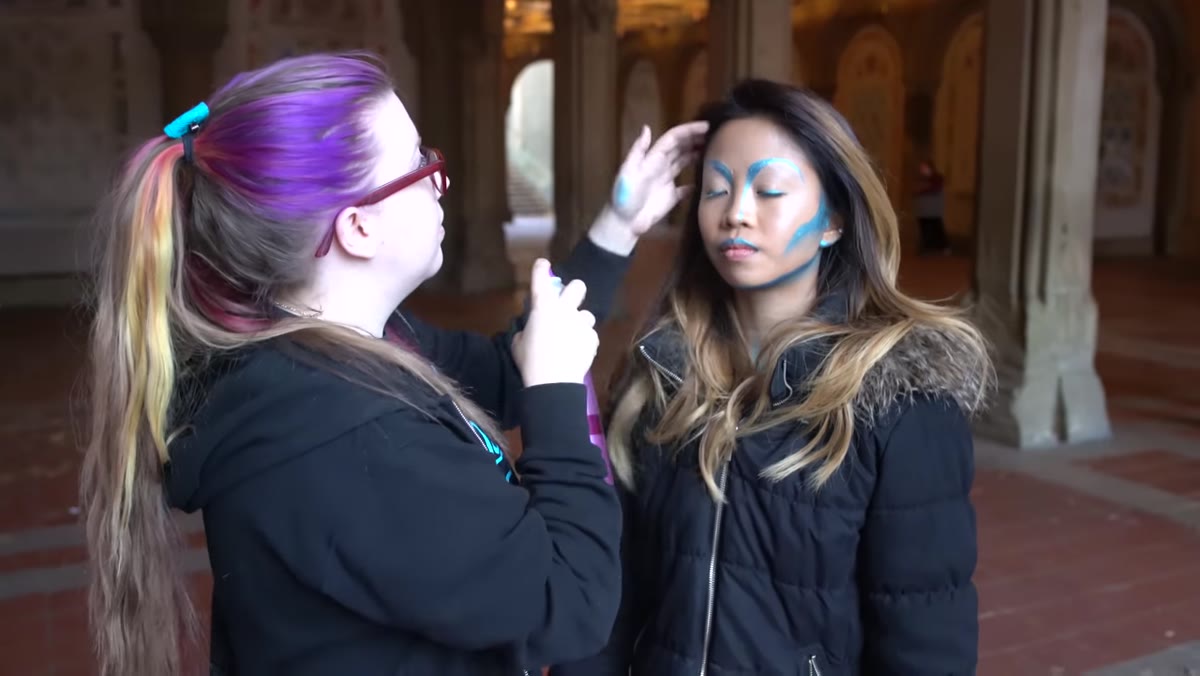 Explaining the two motion-freezing methods: shutter speed and flash duration
Before you touch a single dial, you need to understand that freezing motion is not just a shutter speed problem. You have two tools available: shutter speed and flash duration. Shutter speed controls how long the sensor is exposed to any light in the scene, ambient or flash. Flash duration is the length of time the strobe itself is actually emitting light. A strobe that fires for a longer duration, even at high speed, will still blur a fast-moving subject because the light itself is painting motion onto the sensor.
Explaining the two motion-freezing methods: shutter speed and flash duration
Before you touch a single dial, you need to understand that freezing motion is not just a shutter speed problem. You have two tools available: shutter speed and flash duration. Shutter speed controls how long the sensor is exposed to any light in the scene, ambient or flash. Flash duration is the length of time the strobe itself is actually emitting light. A strobe that fires for a longer duration, even at high speed, will still blur a fast-moving subject because the light itself is painting motion onto the sensor.
Think of flash duration like a miniature exposure inside your main exposure. The faster that burst of light, the sharper your subject will appear from the strobe’s contribution alone. Most modern studio strobes have IGBT technology built in, which gives you direct control over how quickly the flash pulse is cut off.
Step 2: Enable T-Mode (Short Flash Duration Mode) on Your Strobe
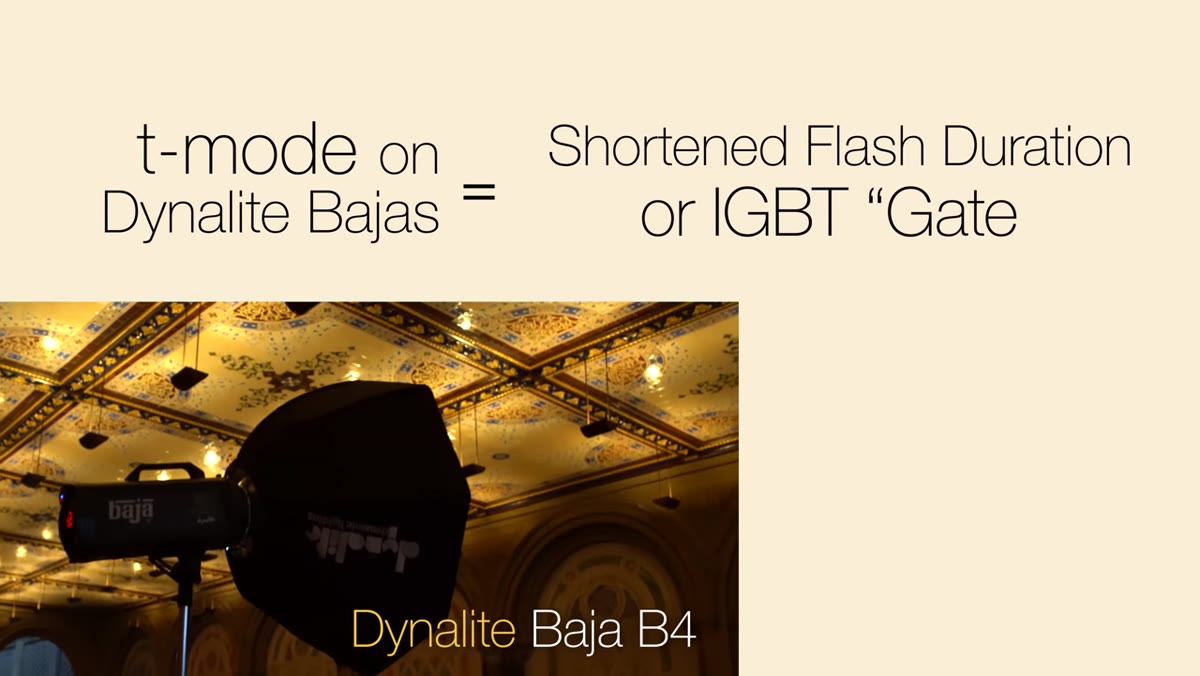 Strobe control panel showing T-mode setting selected
On Broncolor strobes, this setting is called T-mode, but the underlying IGBT technology is common across many professional strobe brands. If your strobe’s spec sheet mentions IGBT, you have the ability to shorten flash duration regardless of the brand name on the housing. When you enable T-mode or its equivalent, you are telling the strobe to cut the tail end of the flash pulse short rather than letting it decay naturally.
Strobe control panel showing T-mode setting selected
On Broncolor strobes, this setting is called T-mode, but the underlying IGBT technology is common across many professional strobe brands. If your strobe’s spec sheet mentions IGBT, you have the ability to shorten flash duration regardless of the brand name on the housing. When you enable T-mode or its equivalent, you are telling the strobe to cut the tail end of the flash pulse short rather than letting it decay naturally.
The tradeoff is real and you need to plan for it: a shorter flash duration means less total light output, sometimes as much as half the exposure value. So you are not getting something for nothing. You are trading power for speed, and you will need to compensate elsewhere in your exposure triangle.
Step 3: Set Your Starting Exposure for the Subject
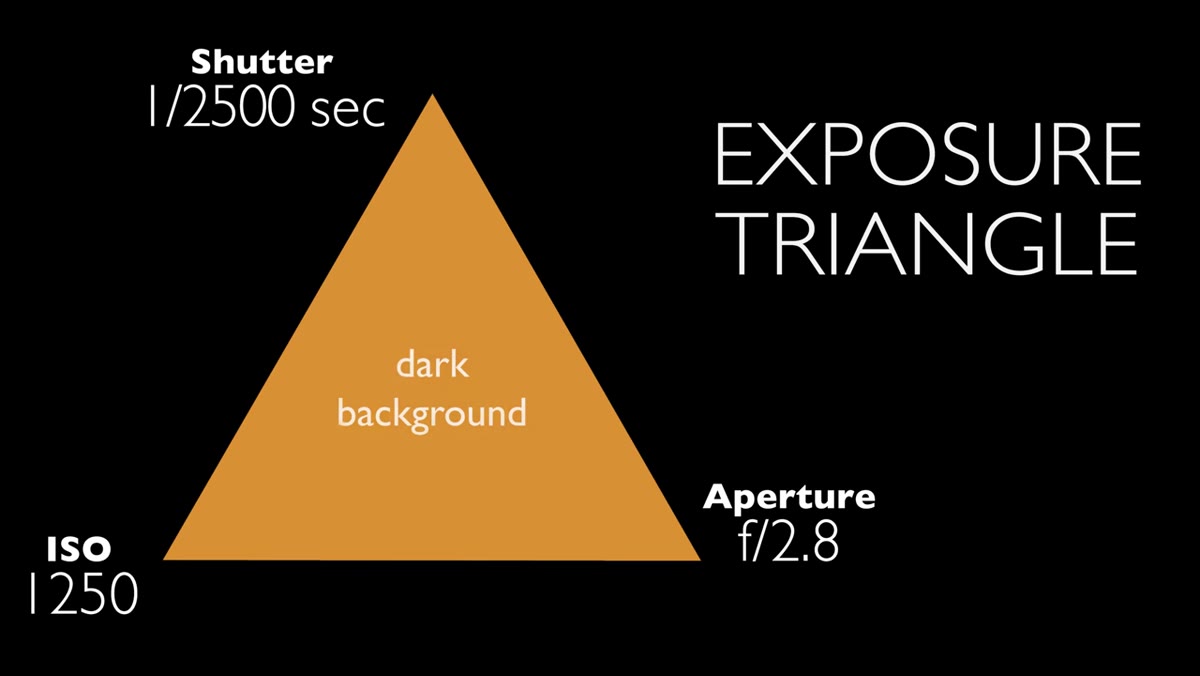 Camera settings shown: 1/6400s shutter, f/5.6 aperture
Morgan establishes a baseline exposure of 1/6400th of a second at f/5.6 for a sharp, clean look at the dancer’s face. That’s the strobe doing the heavy lifting. At that shutter speed with the flash duration tight, the face is crisp. This is your anchor point: get the strobe exposure right for your subject first, then figure out what the rest of the scene looks like.
Camera settings shown: 1/6400s shutter, f/5.6 aperture
Morgan establishes a baseline exposure of 1/6400th of a second at f/5.6 for a sharp, clean look at the dancer’s face. That’s the strobe doing the heavy lifting. At that shutter speed with the flash duration tight, the face is crisp. This is your anchor point: get the strobe exposure right for your subject first, then figure out what the rest of the scene looks like.
At this stage you are not trying to balance the background or the ambient light. You are just confirming that your flash, at its shortened duration and working power level, is giving you a proper exposure on the primary subject.
Step 4: Drag the Shutter to Recover Ambient Light
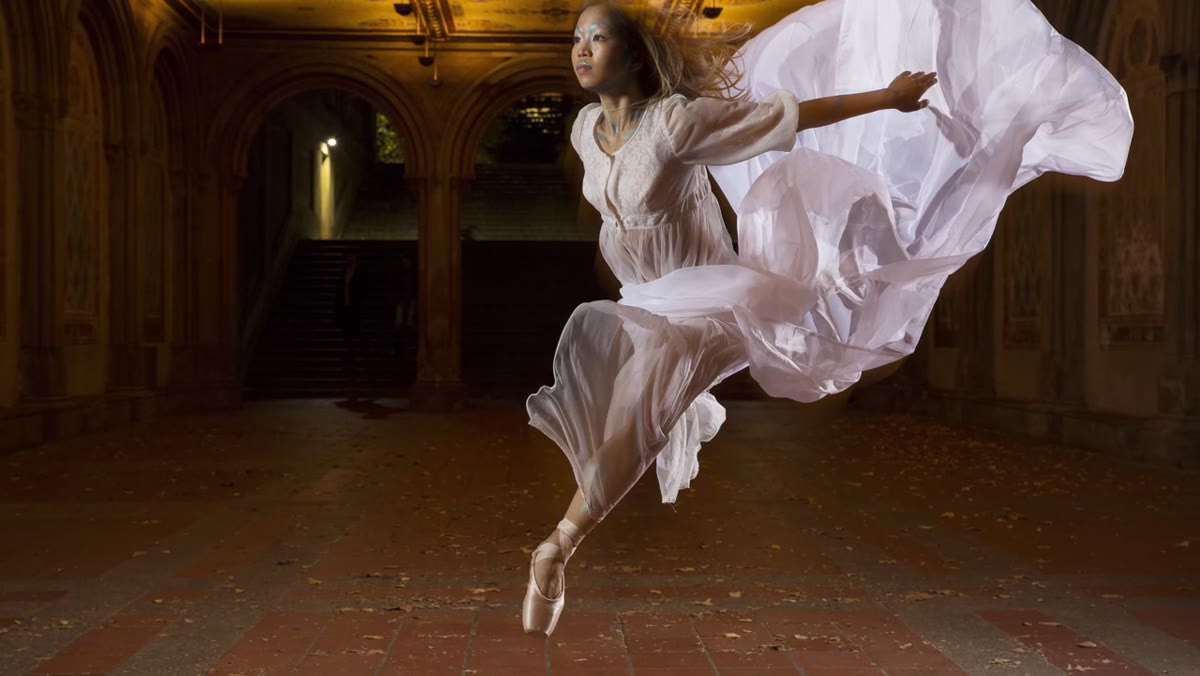 Shutter speed dragged down to 1/15s to reveal background ambient
Once your subject is properly exposed by the strobe, look at your background. In a fully dark environment that background will go black, which may or may not serve the image. If you want to see ambient light in the scene, you drag the shutter, meaning you slow it down significantly. Morgan moves from 1/6400th all the way to 1/15th of a second to pull in the available light around the dancer.
Shutter speed dragged down to 1/15s to reveal background ambient
Once your subject is properly exposed by the strobe, look at your background. In a fully dark environment that background will go black, which may or may not serve the image. If you want to see ambient light in the scene, you drag the shutter, meaning you slow it down significantly. Morgan moves from 1/6400th all the way to 1/15th of a second to pull in the available light around the dancer.
Here is the catch: any part of the subject that is still moving after the initial flash fires will blur during that longer ambient exposure. The face, which was frozen by the strobe, stays sharp. The arms and fabric, still in motion as the long shutter closes, pick up a trail. This is not a mistake. It is a choice, and in the right image it adds a sense of energy that pure freezing can actually flatten.
Step 5: Dial In ISO to Balance Ambient Without Overexposing
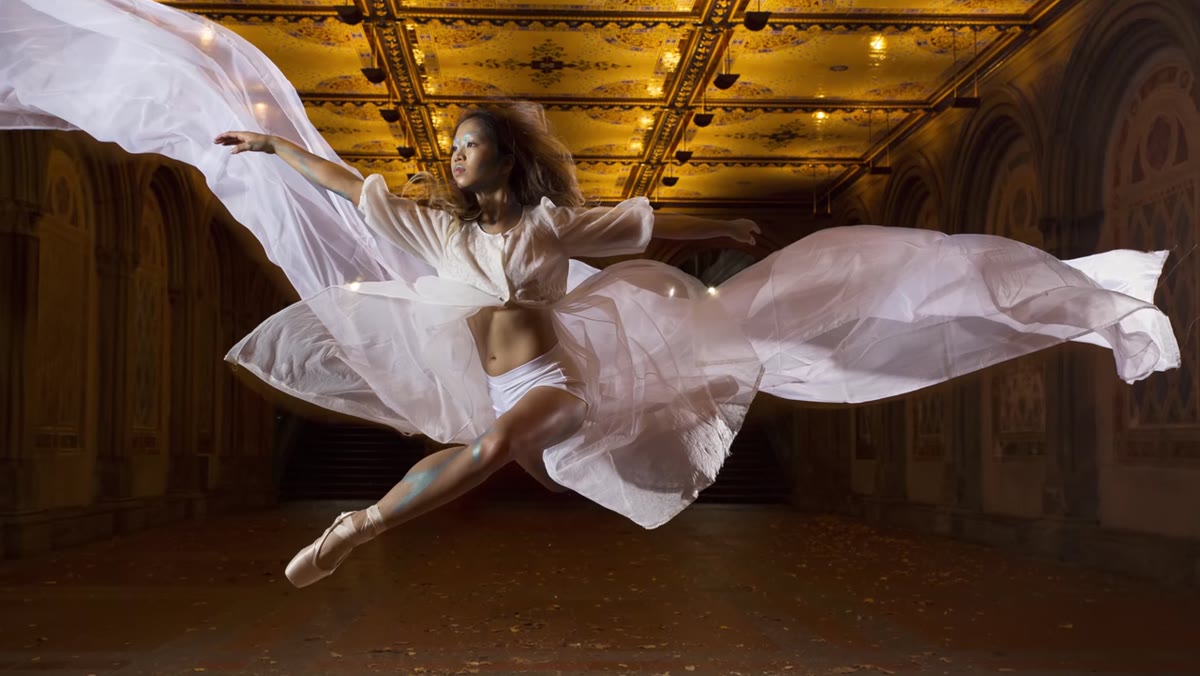 ISO set to 640 shown in camera display
ISO is the third lever in this system, and Morgan lands on ISO 640 as his working compromise. Pushing to 640 lets the ambient exposure contribute meaningfully at 1/15th of a second without requiring a shutter so slow that the entire image degrades into blur. He notes he could have pushed to ISO 1250 but chose not to, and I understand that instinct completely. On most cameras, the jump from 640 to 1250 is where noise starts costing you in skin tones, which matters a lot when the image is going to be retouched and enlarged.
ISO set to 640 shown in camera display
ISO is the third lever in this system, and Morgan lands on ISO 640 as his working compromise. Pushing to 640 lets the ambient exposure contribute meaningfully at 1/15th of a second without requiring a shutter so slow that the entire image degrades into blur. He notes he could have pushed to ISO 1250 but chose not to, and I understand that instinct completely. On most cameras, the jump from 640 to 1250 is where noise starts costing you in skin tones, which matters a lot when the image is going to be retouched and enlarged.
The goal is to find the ISO that gives your ambient exposure enough presence while keeping the strobe exposure clean and controlled.
Step 6: Adjust Shutter Speed and Light Direction for Final Refinement
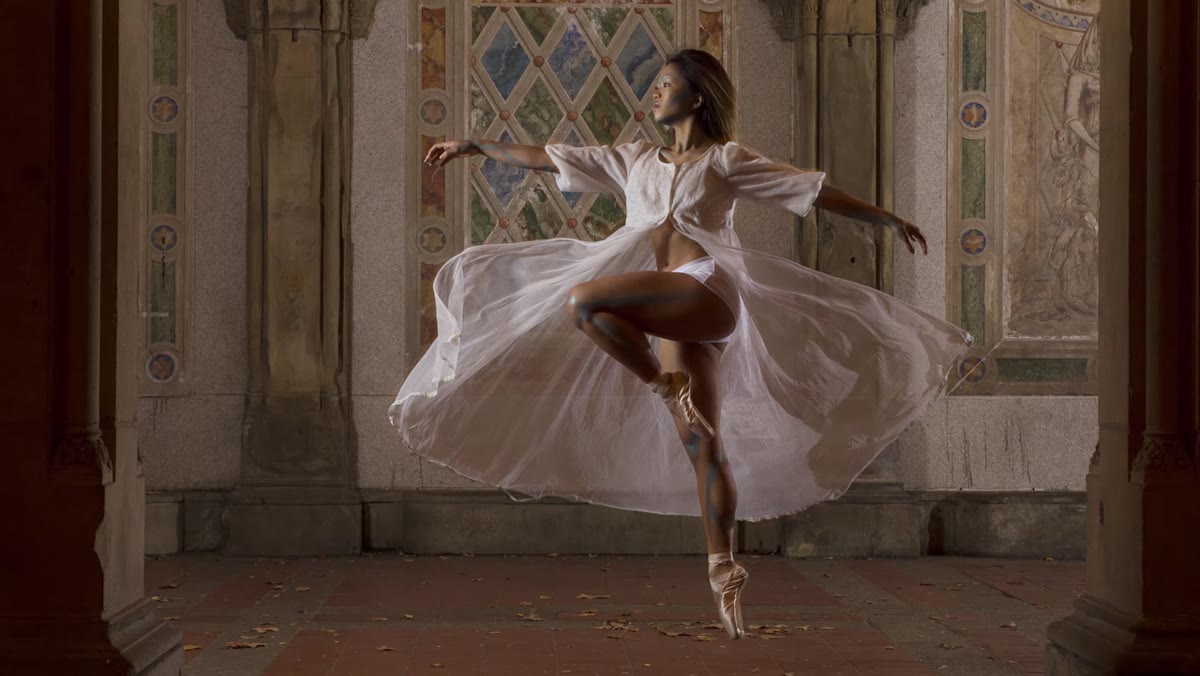 Light turned toward background, shutter adjusted to 1/30s
For the final round of jumps, Morgan redirects one of the strobes toward the background to throw some light there, and he tightens the shutter to 1/30th of a second. These two changes together reduce the ambient blur on the dancer’s body while keeping the background from going completely dark. Less ambient contribution means less trailing motion, and the direct strobe on the background fills in what the slower ambient would have done.
Light turned toward background, shutter adjusted to 1/30s
For the final round of jumps, Morgan redirects one of the strobes toward the background to throw some light there, and he tightens the shutter to 1/30th of a second. These two changes together reduce the ambient blur on the dancer’s body while keeping the background from going completely dark. Less ambient contribution means less trailing motion, and the direct strobe on the background fills in what the slower ambient would have done.
This is a good example of solving a problem with light direction instead of just pushing settings. When the numbers stop cooperating, move a head.
What I’d Add From My Own Workflow
The balance Morgan strikes here, frozen face, slightly blurred extremities, visible background, is a legitimate creative decision. But in post-production it creates a specific challenge: any retouching on the face has to respect the intentional softness elsewhere in the frame. I keep a layer-naming convention in my Photoshop files specifically for motion-blur shots, tagging which layers are meant to look sharp versus which are meant to carry motion. It sounds like overkill until you hand a file off to a retoucher at midnight before a deadline and they sharpen everything uniformly because they couldn’t tell what was intentional.
If you are batch-processing a sequence of action shots from a session like this, a Photoshop action that applies sharpening only within a luminosity mask targeting the face region can save you from that mistake at scale. Build it once, apply it every time.
The single most important thing this tutorial reinforces: flash duration and shutter speed are independent tools that solve related but different problems, and using them together with intention gives you creative control that neither one alone provides. Treating them as interchangeable is where most action photography goes soft.
Watch the full tutorial on YouTube and pay close attention to how Morgan talks through each compromise in real time. That problem-solving transparency is rarer than it should be.
Comments (1)
This saved me so much time on my last edit. Wish I'd found this sooner.
Leave a Comment