The 10-Second Field Checklist That Stops You Bringing Home Broken Shots

The 10-Second Field Checklist That Stops You Bringing Home Broken Shots

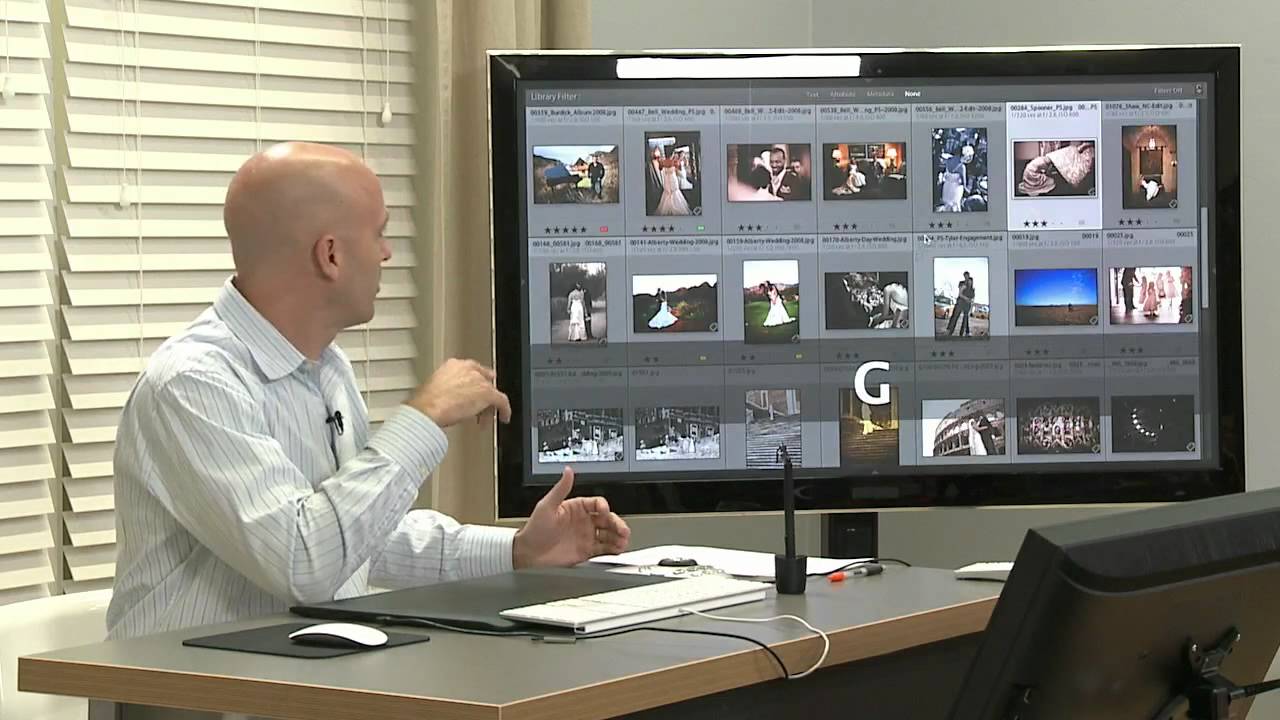
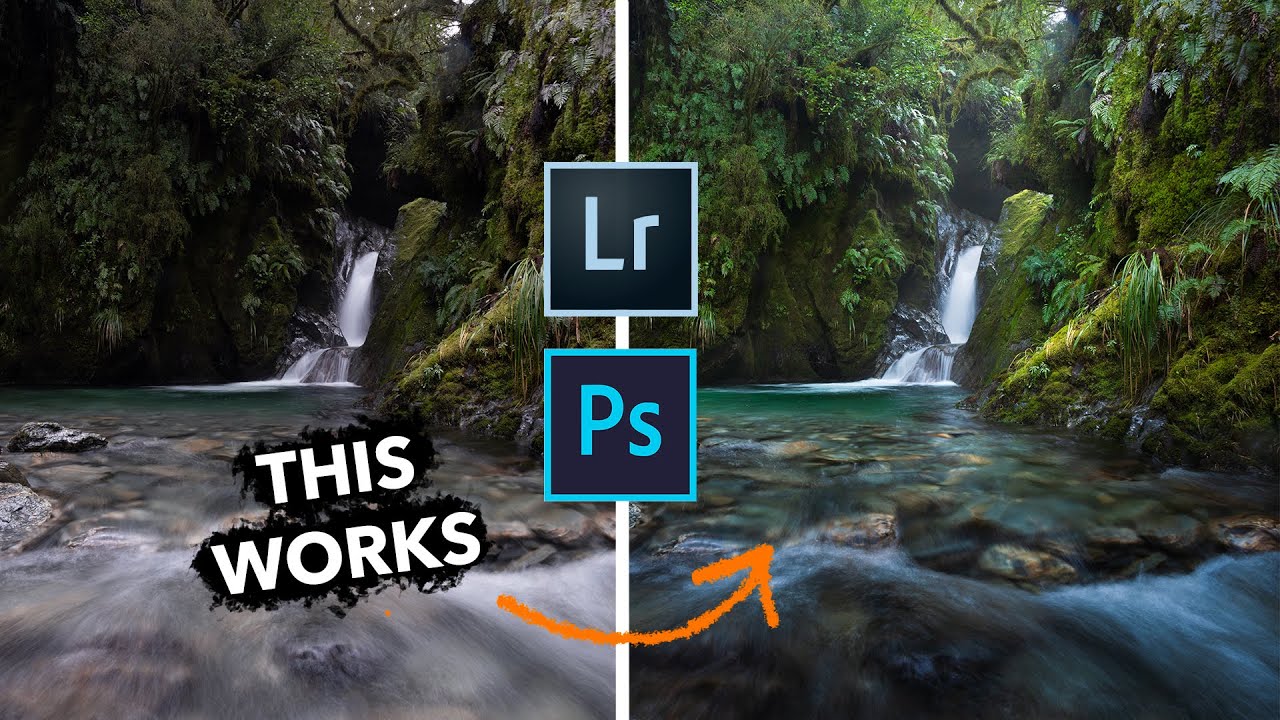
I’ve spent fifteen years in commercial studios where a missed detail isn’t a learning moment, it’s a reshoot budget. That particular pain has made me obsessive about checklists, whether I’m batching 500 product images or setting up a single hero shot. So when I came across a tutorial from landscape photographer Mark Denney, I expected the usual compositional theory. What I got instead was something closer to a pre-flight checklist, the kind of systematic field routine that prevents problems rather than fixing them in post.

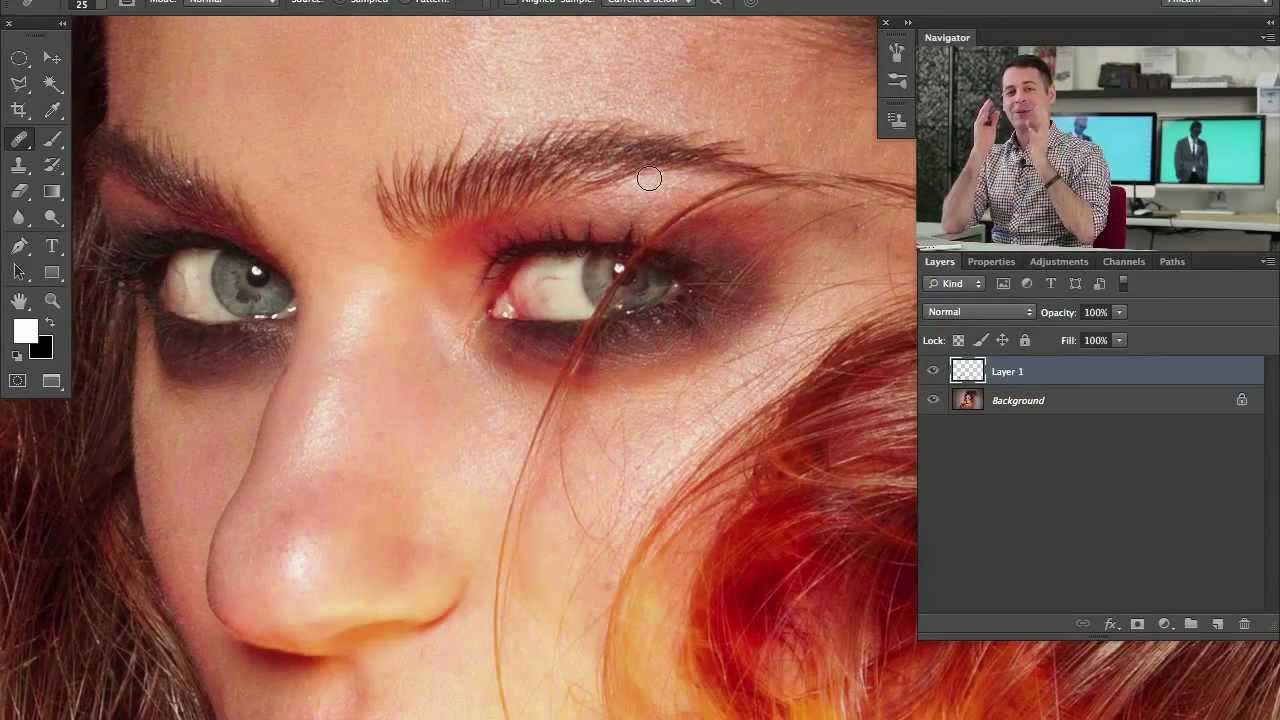
Four Photoshop Tools That Cut My Portrait Cleanup Time in Half

Four Photoshop Tools That Cut My Portrait Cleanup Time in Half

There’s a category of retouching work that never makes it into anyone’s portfolio but eats up a surprising chunk of billable hours. Background clutter. Stray wires. A parking cone that somehow wandered into the corner of a lifestyle shoot. For most of my career I handled these the same way everyone else did: Clone Stamp, Patch tool, Content-Aware Fill, rinse and repeat. It worked, but on a heavy e-commerce day it could chew through an hour before I’d even started the actual color work.

Firefly 5 Generative Fill Is Actually Useful Now — Here's How to Use It Without Making a Mess

Firefly 5 Generative Fill Is Actually Useful Now — Here's How to Use It Without Making a Mess

Client briefs change at the last minute. That’s not a complaint, just the reality of commercial work. An art director decides mid-shoot that the talent’s jacket should match the brand color, or a prop that looked fine on set reads completely wrong in post. For years, my answer to those situations was either a reshoot conversation nobody wanted to have or a painstaking manual composite that added two hours to a job that was already on a tight turnaround.

Blending Photos and Graphics in Photoshop: What Aaron Nace's Workflow Taught Me About Working Smarter

Blending Photos and Graphics in Photoshop: What Aaron Nace's Workflow Taught Me About Working Smarter

Client work has a way of pushing you into techniques you’d never have explored on your own. Ad agencies started asking me for portraits with a graphic, illustrated feel about two years ago, and I spent an embarrassing amount of time cobbling together workflows from scattered forum posts. So when PHLEARN released their Graphic Portrait Pro tutorial, hosted by Aaron Nace, I watched the whole thing twice before breakfast. Not because the concepts were brand new to me, but because seeing six complete workflows in one place, with all the source files included, is the kind of resource that would have saved me weeks of trial and error.

How Photoshop's Dynamic Text Tool Finally Solves the Text-Behind-Subject Problem

How Photoshop's Dynamic Text Tool Finally Solves the Text-Behind-Subject Problem

Every few months a client asks for that “text wrapping around a person” look — the kind you see on magazine covers and concert posters where the headline feels like it exists in the same physical space as the subject. For years I handled it with selection masks, layer clipping, and a level of manual fiddling that didn’t exactly scale when I had a deadline. So when I saw PHLEARN drop a one-minute tutorial on the new Dynamic Text Tool in Photoshop 2026, I stopped what I was doing and watched it twice.

Photoshop's Updated Remove Tool Is the Closest Thing to Magic I've Added to My Workflow

Photoshop's Updated Remove Tool Is the Closest Thing to Magic I've Added to My Workflow

I track time obsessively. Not in a vague, “I should be more productive” way, but in a literal spreadsheet-with-color-coded-columns way. So when a tool promises to save hours on a task I repeat constantly across client work, I pay attention immediately. The Remove Tool in Photoshop has always been solid, but the latest update pushes it into genuinely different territory. Instead of painting over distractions manually one by one, Photoshop can now scan your entire image, identify what doesn’t belong, and remove it all in a single operation.

Depth Masking in Camera Raw Is the Portrait Separation Trick I Wish I'd Had Years Ago

Depth Masking in Camera Raw Is the Portrait Separation Trick I Wish I'd Had Years Ago

Portrait work has a specific problem that product photography mostly avoids: the subject and background often share tones, colors, and edges that make clean separation genuinely painful. I’ve spent embarrassing amounts of time pushing luminosity masks and refining hair edges on location portraits where the background foliage was nearly the same brightness as the subject’s jacket. If you’ve been doing this work for any length of time, you know that the “select subject” button is great until it isn’t, and “isn’t” happens constantly with real-world portraits shot in natural environments.

Stop Treating ISO Like a Setting You Choose — Let It Work For You

Stop Treating ISO Like a Setting You Choose — Let It Work For You

I’ve spent fifteen years in commercial studios where the light is controlled, repeatable, and exactly where you put it. So when I started taking my camera outside, the constantly shifting light genuinely caught me off guard. Not because I didn’t understand exposure, but because I kept rebuilding it from scratch every few minutes like some kind of Groundhog Day nightmare. Adjust ISO, check the meter, tweak again. Meanwhile the shot I actually wanted had already moved on.

Master the Light Blur Effect: A Non-Destructive Workflow in Photoshop

Master the Light Blur Effect: A Non-Destructive Workflow in Photoshop

Composite portrait work makes up a significant chunk of what I do for ad agency clients, and the single biggest complaint I hear from art directors is that the subject looks “pasted in.” The background is sharp, the person is sharp, and nothing feels like it was shot together. What actually sells a composite is controlled imperfection: the right amount of blur, some light bleed, a little grain. Getting that to feel photographic rather than digital is the whole game.

Master Non-Destructive Texture Layering in Photoshop: A Complete Breakdown

Master Non-Destructive Texture Layering in Photoshop: A Complete Breakdown

Texture overlays are one of those techniques I resisted for years because I assumed they were a shortcut for photographers who didn’t know what they were doing. After about a decade and a half of commercial work, I’ll admit I was wrong. Done well, textures add atmospheric depth that’s nearly impossible to fake with adjustments alone, and they do it fast. For high-volume retouching work, that speed matters more than most tutorials acknowledge.

Restoring Blurry Vintage Photos with Photoshop's Generative Upscale (One-Click Method)

Restoring Blurry Vintage Photos with Photoshop's Generative Upscale (One-Click Method)

Client calls me last spring asking if I can restore a handful of old family photos for a campaign about heritage and legacy. The images are small, soft, and shot on film sometime in the 1970s. I’ve done this kind of work before, and historically it means a combination of sharpening passes, manual frequency separation, and a lot of squinting. It’s slow. It’s imperfect. And when the client wants a 24x36 print out of a 600-pixel scan, there’s only so much you can do before the physics of resolution just say no.

Remove Distractions in Photoshop in Minutes: Aaron Nace's Game-Changing Generative Fill Workflow

Remove Distractions in Photoshop in Minutes: Aaron Nace's Game-Changing Generative Fill Workflow

E-commerce clients don’t care about scaffolding. They don’t care about the stray tripod leg that crept into the corner of your shot, or the shadow a light stand threw across an otherwise clean background. They care about the product, the model, the scene. Everything else is noise, and removing that noise used to eat serious time. I’ve had jobs where cleanup work accounted for nearly a third of my total post-production hours.