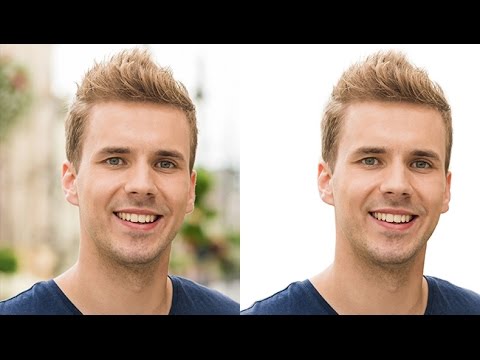
Hair is the thing that separates a rushed cutout from a professional one. I’ve been doing post-production work for ad agencies and e-commerce brands for fifteen years, and I still see retouchers either avoid difficult hair entirely or lean so hard on Select and Mask that the result looks like a watercolor painting around the subject’s head. Neither is acceptable when a client is paying for clean, believable composites.
In this Aaron Nace (PHLEARN) tutorial, he walks through a technique I hadn’t seen explained this clearly before: building a custom brush that mimics the shape and flow of a single strand of hair, then using it to manually cut hair from a background. It sounds more involved than it is. The core idea is elegant, and once you build the brush, the actual painting goes faster than you’d expect. Watch the full tutorial on YouTube
What I appreciate about this approach is that it forces you to think about a portrait cutout in two distinct phases: the body (hard edges, clean paths) and the hair (soft, chaotic edges that need a completely different tool). Treating them as the same problem is where most cutouts fall apart.
Step 1: Separate Your Thinking Before You Separate Your Subject
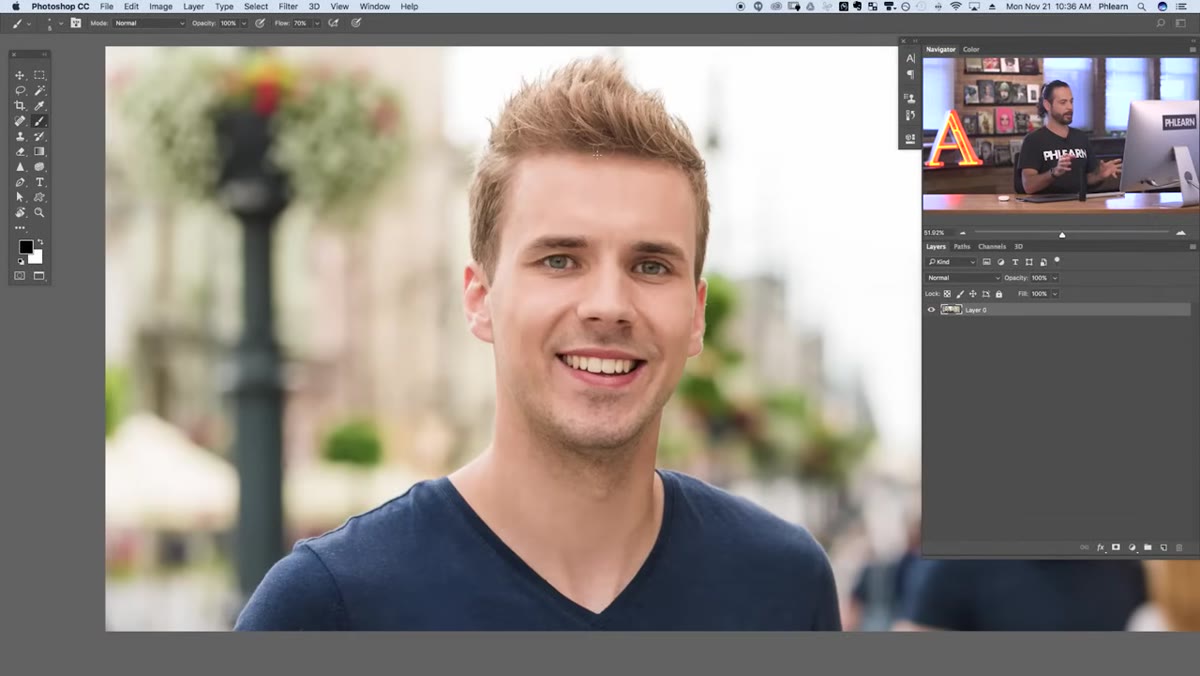 Subject photo open in Photoshop workspace
Before touching a single tool, look at the image and mentally draw a line between the subject’s body and their hair. The torso, arms, and any clothing edges are what Aaron calls “hard edges.” These respond well to the Pen Tool because the boundary is clean and predictable. The hair, especially where individual strands separate from the mass and blend into the background, is an entirely different problem. Resist the urge to use one method for both. Map out which areas you’ll handle with the Pen Tool first, and leave the hair region alone until you’ve built the right brush for it.
Subject photo open in Photoshop workspace
Before touching a single tool, look at the image and mentally draw a line between the subject’s body and their hair. The torso, arms, and any clothing edges are what Aaron calls “hard edges.” These respond well to the Pen Tool because the boundary is clean and predictable. The hair, especially where individual strands separate from the mass and blend into the background, is an entirely different problem. Resist the urge to use one method for both. Map out which areas you’ll handle with the Pen Tool first, and leave the hair region alone until you’ve built the right brush for it.
Step 2: Create a New Layer for Your Brush Test Area
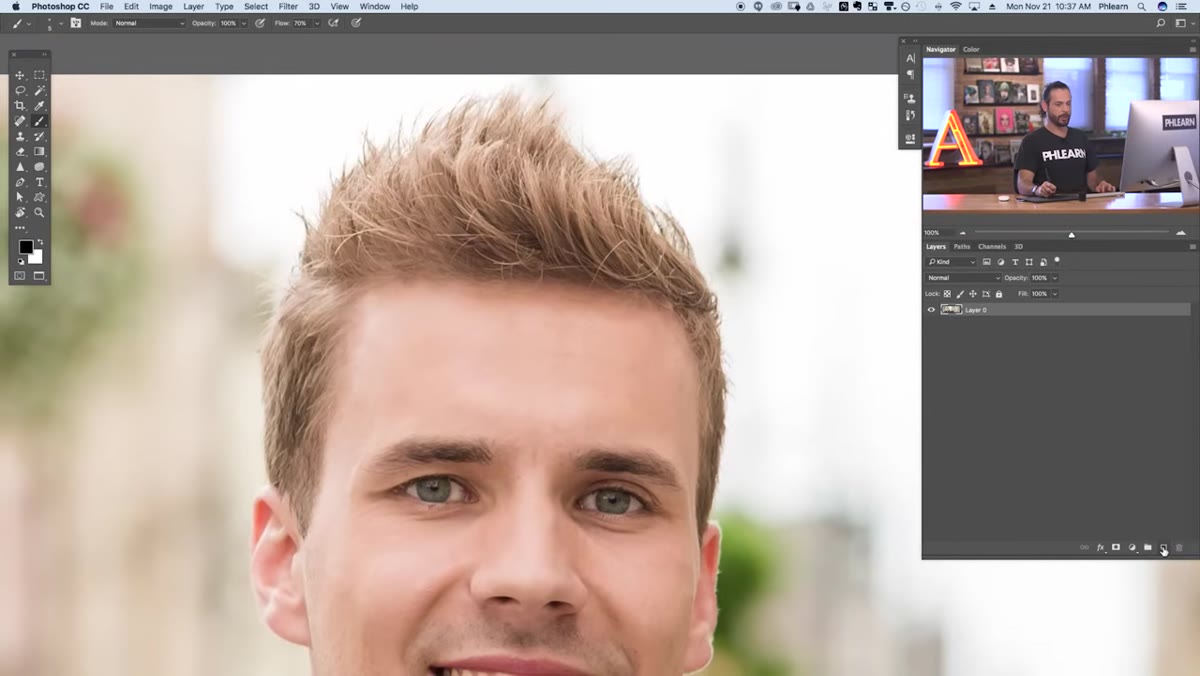 New layer added above subject in Layers panel
Add a new blank layer above your subject. This is where you’ll do your experimental brush strokes before defining the custom brush. Working on a dedicated layer means you can clear it and start over without touching anything underneath. Name it something obvious like “hair brush test” so you don’t accidentally flatten it later. This kind of layer hygiene is basic, but it matters when you’re moving fast on a deadline.
New layer added above subject in Layers panel
Add a new blank layer above your subject. This is where you’ll do your experimental brush strokes before defining the custom brush. Working on a dedicated layer means you can clear it and start over without touching anything underneath. Name it something obvious like “hair brush test” so you don’t accidentally flatten it later. This kind of layer hygiene is basic, but it matters when you’re moving fast on a deadline.
Step 3: Configure the Brush to Mimic a Single Hair Strand
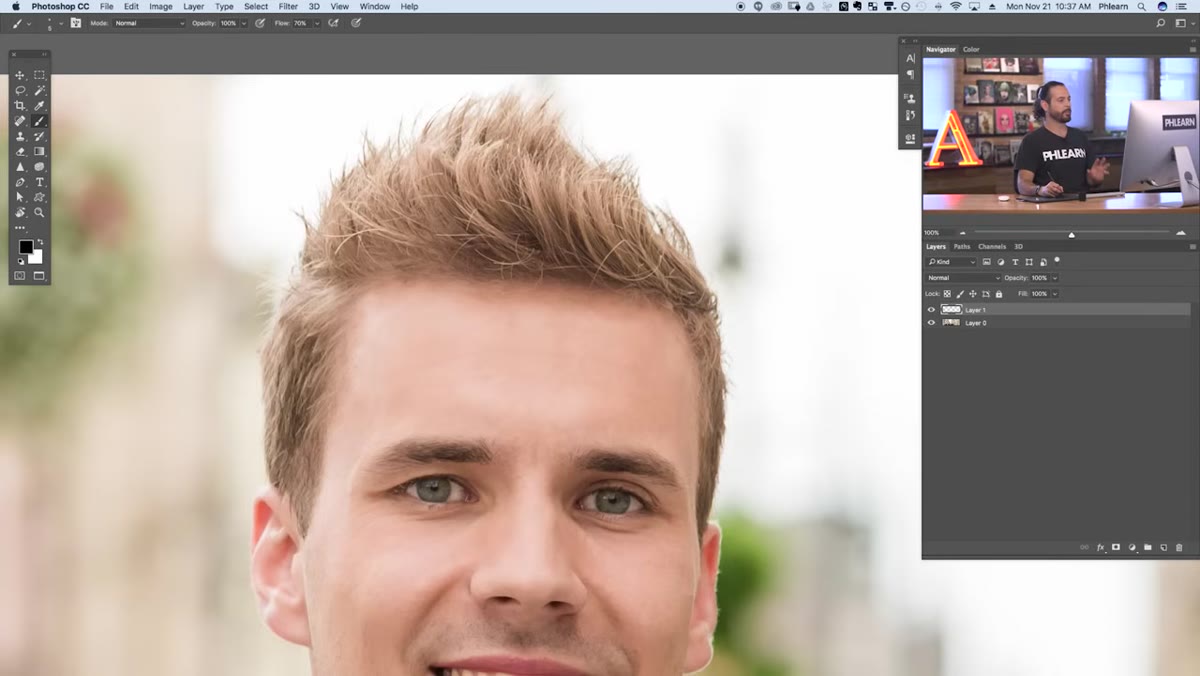 Brush settings panel showing size and hardness values
Hit B to activate the Brush Tool, then right-click on the canvas to open the brush settings panel. You’re looking for two specific values. First, bring the size down to roughly 4 pixels, which is approximately the diameter of a rendered hair strand at standard portrait resolutions. Second, and this is important, set the hardness to zero. A hard brush will look artificial. A fully soft brush at that small size gives you the tapered, organic quality that makes painted strands read as actual hair. Use the bracket keys (open bracket to shrink, close bracket to enlarge) to fine-tune size while you paint without interrupting your stroke flow.
Brush settings panel showing size and hardness values
Hit B to activate the Brush Tool, then right-click on the canvas to open the brush settings panel. You’re looking for two specific values. First, bring the size down to roughly 4 pixels, which is approximately the diameter of a rendered hair strand at standard portrait resolutions. Second, and this is important, set the hardness to zero. A hard brush will look artificial. A fully soft brush at that small size gives you the tapered, organic quality that makes painted strands read as actual hair. Use the bracket keys (open bracket to shrink, close bracket to enlarge) to fine-tune size while you paint without interrupting your stroke flow.
Step 4: Paint a Sample Stroke That Looks Like One Hair
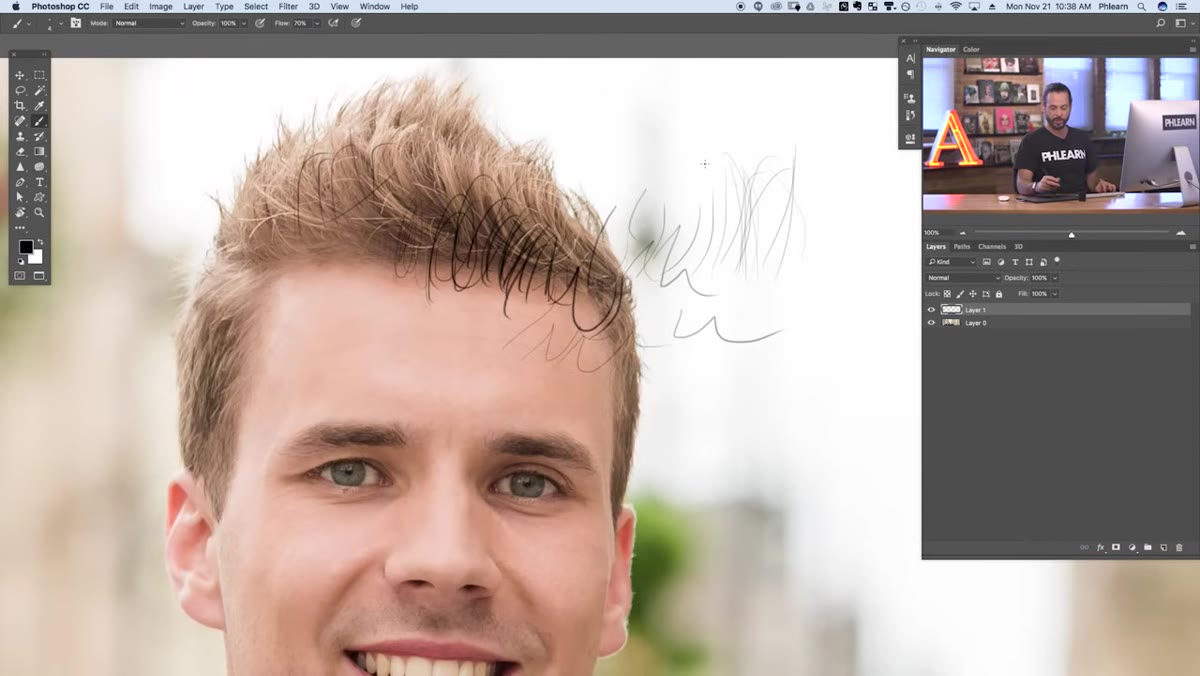 Single curved brush stroke painted on new layer
With the brush configured, paint a single curved stroke on your test layer. The goal is simple: make something that reads as one individual hair. Apply light pressure at the start and end of the stroke if you’re on a graphics tablet, which will taper the ends naturally. If you’re on a mouse, go slowly and let the soft brush edge do the work. Aaron demonstrates this with short, fluid strokes, and the result doesn’t need to be perfect because you’re going to be layering dozens of these. Think of each stroke as one thread in a fabric rather than one line in a drawing. Slight variation in curve and length across multiple strokes is what creates the convincing texture.
Single curved brush stroke painted on new layer
With the brush configured, paint a single curved stroke on your test layer. The goal is simple: make something that reads as one individual hair. Apply light pressure at the start and end of the stroke if you’re on a graphics tablet, which will taper the ends naturally. If you’re on a mouse, go slowly and let the soft brush edge do the work. Aaron demonstrates this with short, fluid strokes, and the result doesn’t need to be perfect because you’re going to be layering dozens of these. Think of each stroke as one thread in a fabric rather than one line in a drawing. Slight variation in curve and length across multiple strokes is what creates the convincing texture.
Step 5: Clear the Test Layer and Begin Painting on the Subject
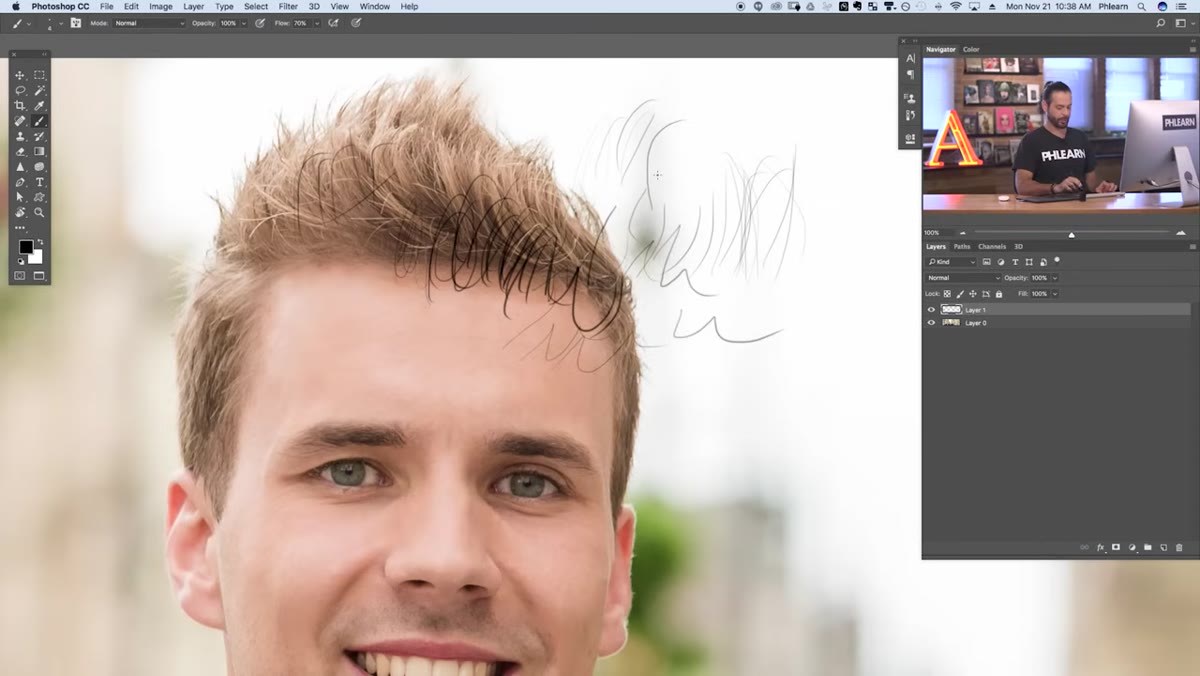 Layer cleared, brush ready to paint near subject’s hairline
Once you have a stroke that looks right, press Command+A (Mac) or Ctrl+A (Windows) to select everything on the test layer, then hit Delete to clear it. You’ve confirmed your brush settings work. Now start painting directly at the edges of the hair in your actual composition. Zoom in close, work in the areas where individual strands separate from the main mass, and paint strokes that follow the direction and curve of the existing hair. Don’t try to cover everything at once. Work outward from the existing hairline, one cluster of strands at a time, building density gradually.
Layer cleared, brush ready to paint near subject’s hairline
Once you have a stroke that looks right, press Command+A (Mac) or Ctrl+A (Windows) to select everything on the test layer, then hit Delete to clear it. You’ve confirmed your brush settings work. Now start painting directly at the edges of the hair in your actual composition. Zoom in close, work in the areas where individual strands separate from the main mass, and paint strokes that follow the direction and curve of the existing hair. Don’t try to cover everything at once. Work outward from the existing hairline, one cluster of strands at a time, building density gradually.
Step 6: Repeat the Stroke Pattern Across the Entire Hair Edge
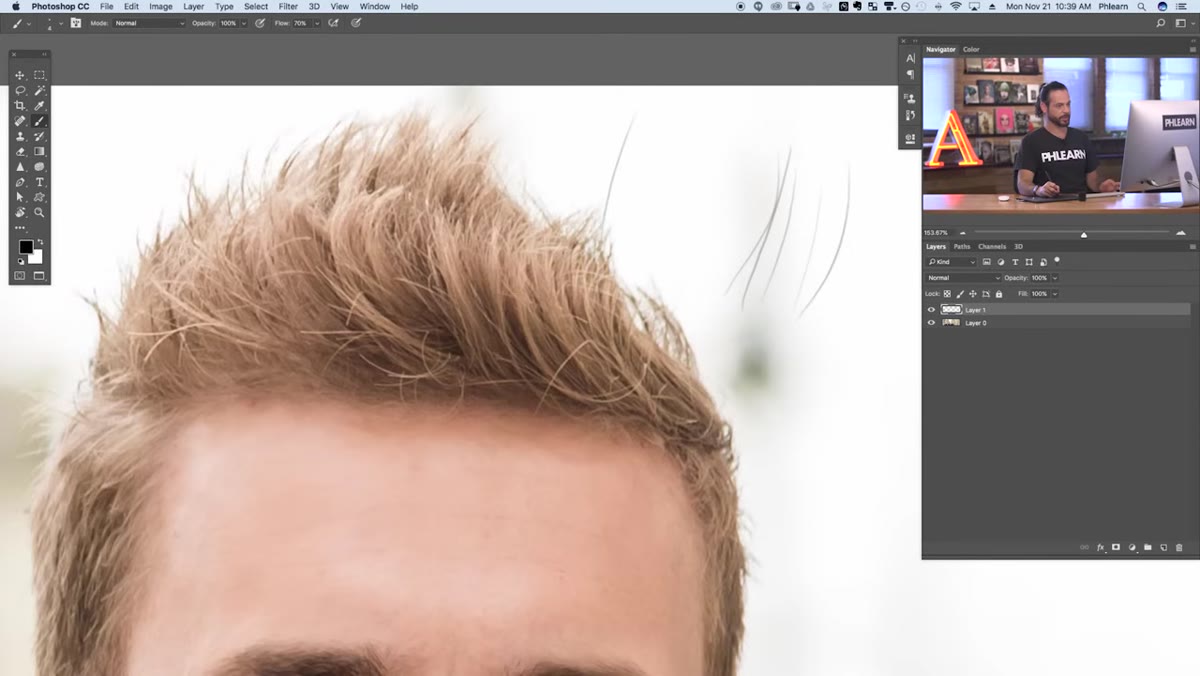 Multiple hair strokes painted across hairline edge
This is the part where patience pays off. You’re going to repeat those single-stroke movements across the entire hair boundary, varying the length, curve, and spacing just enough to avoid a mechanical look. Aaron is direct about this in the tutorial: it’s a repetitive process, but each stroke is fast once you have the muscle memory. On a portrait with medium-length hair, expect to spend ten to twenty minutes on this phase. On a windblown or curly style, budget more time. The payoff is a result that no automated selection tool reliably produces.
Multiple hair strokes painted across hairline edge
This is the part where patience pays off. You’re going to repeat those single-stroke movements across the entire hair boundary, varying the length, curve, and spacing just enough to avoid a mechanical look. Aaron is direct about this in the tutorial: it’s a repetitive process, but each stroke is fast once you have the muscle memory. On a portrait with medium-length hair, expect to spend ten to twenty minutes on this phase. On a windblown or curly style, budget more time. The payoff is a result that no automated selection tool reliably produces.
One Thing I’d Add From My Own Work
The tutorial covers the foundational technique cleanly, but if you’re doing this for commercial clients, consider saving your configured brush as a named preset immediately after you dial in the settings. I keep a small library of hair brushes at different pixel sizes (3px, 5px, 8px) for different hair textures and image resolutions. Product photography at 300 DPI with fine hair needs a different brush than a lifestyle shot at 72 DPI. Building that library once means you’re not reconfiguring from scratch every job. And if you find yourself doing multiple portrait cutouts in a batch, a saved brush preset drops setup time to near zero. My standing rule is: if I’ve configured something useful twice, I save it. That philosophy is essentially why I got into building Photoshop actions in the first place.
One more practical note: this method works best when the hair has decent contrast against the background. If you’re dealing with dark hair on a dark background, or a very busy background with similar tones to the hair, you’ll need to combine this technique with a luminosity or channel-based mask to separate the tones before you start painting. The brush method excels at the fine-detail edge work; it doesn’t solve problems that exist further back in your workflow.
The most important thing this tutorial hammers home is that hair cutouts reward manual attention. Automation has its place, and I use it constantly, but there are parts of this craft where hands-on control is simply faster and more reliable than fighting with an algorithm. Painting custom hair strokes with a purpose-built brush is one of those parts.
Watch the full tutorial on YouTube to see Aaron’s brush strokes in motion, which makes the pacing and pressure of each stroke much easier to understand than any screenshot can show.
Comments (2)
This should be required reading for anyone starting out.
Couldn't agree more. I've seen this make a huge difference in color grading work specifically.
Leave a Comment