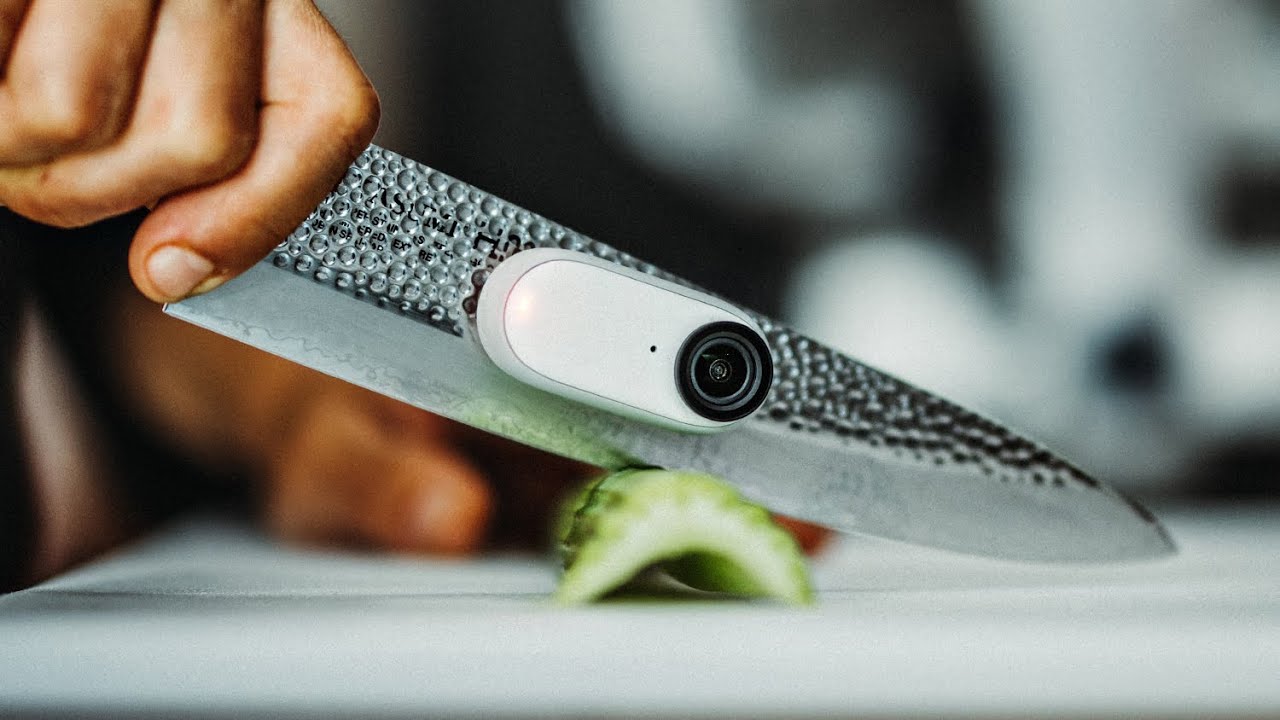
I have spent fifteen years in commercial photography studios where the default answer to every equipment question was “get the biggest, highest-quality tool you can afford.” Eight-megapixel became twenty-four, became fifty, became medium format. That instinct served me well for product catalogs and automotive composites. But it also calcified into a kind of snobbery that I’ve had to consciously unlearn. The real question is never “what has the highest specs?” It’s “what actually gets the shot I need?”
That’s why this Peter McKinnon tutorial on the Insta360 GO 3 landed differently than I expected. Watch the full tutorial on YouTube McKinnon is upfront that the video is sponsored, which I respect. He’s also upfront that he’s historically skeptical of action cameras, which made me trust his take more, not less. What he walks through isn’t just a gear review. It’s a practical demonstration of how the right capture tool for a specific workflow problem can completely change what’s possible in post.
For those of us building shoot-to-post pipelines, the GO 3’s relevance isn’t about replacing your mirrorless system. It’s about filling the gaps where that system physically cannot go, and understanding that footage shot in tight or unconventional positions often needs different post-processing treatment than your primary camera footage. Knowing what the camera can and can’t do before you ingest the files saves you from chasing quality that was never there to begin with.
Step 1: Understand the Camera’s Core Design Before You Shoot
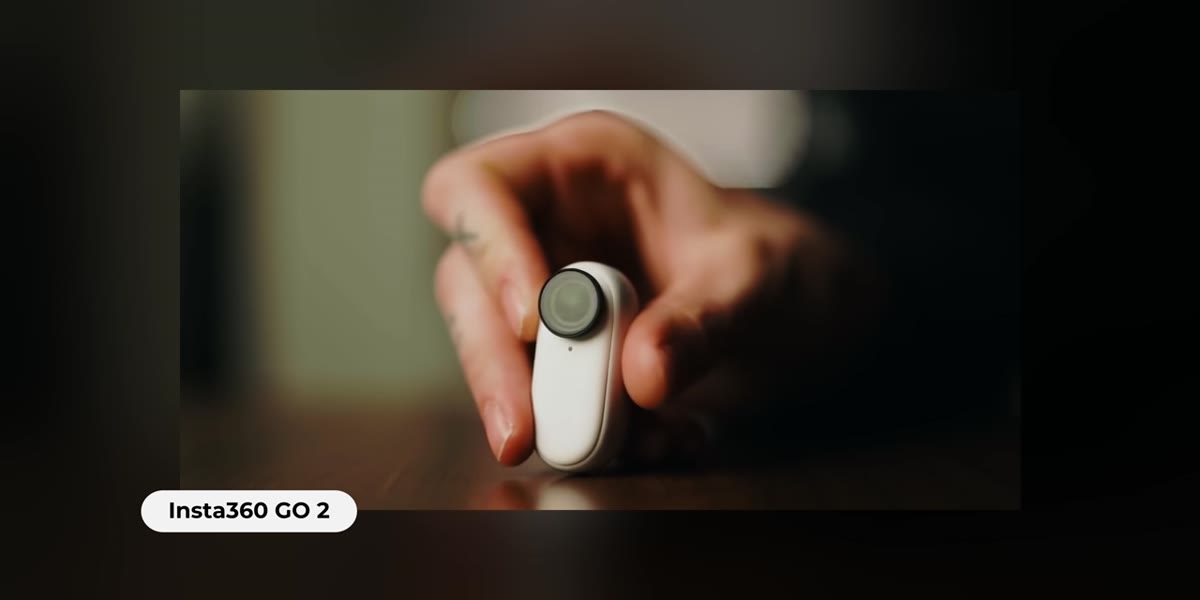 Tiny GO 3 camera body shown against hand for scale
The GO 3 is built around a magnetic attachment system. The camera itself is a small, self-contained unit that connects magnetically to a range of mounts. McKinnon demonstrates this early in the video, showing how the camera simply taps onto a hat clip and begins recording. For workflow purposes, this matters because the camera is designed for autonomous, hands-off operation. You’re not adjusting settings mid-shot. That means your exposure and color settings need to be locked in before placement, not during.
Tiny GO 3 camera body shown against hand for scale
The GO 3 is built around a magnetic attachment system. The camera itself is a small, self-contained unit that connects magnetically to a range of mounts. McKinnon demonstrates this early in the video, showing how the camera simply taps onto a hat clip and begins recording. For workflow purposes, this matters because the camera is designed for autonomous, hands-off operation. You’re not adjusting settings mid-shot. That means your exposure and color settings need to be locked in before placement, not during.
If you’re ingesting GO 3 footage alongside primary camera footage in a single project, flag it in your file-naming convention from the start. I use a location tag in my batch rename action that distinguishes “primary,” “secondary,” and “supplemental” clips. Supplemental footage from a camera like this often needs a separate LUT or adjustment layer stack rather than being forced through the same grade as your A-camera material.
Step 2: Leverage the Action Pod for Extended Autonomous Shooting
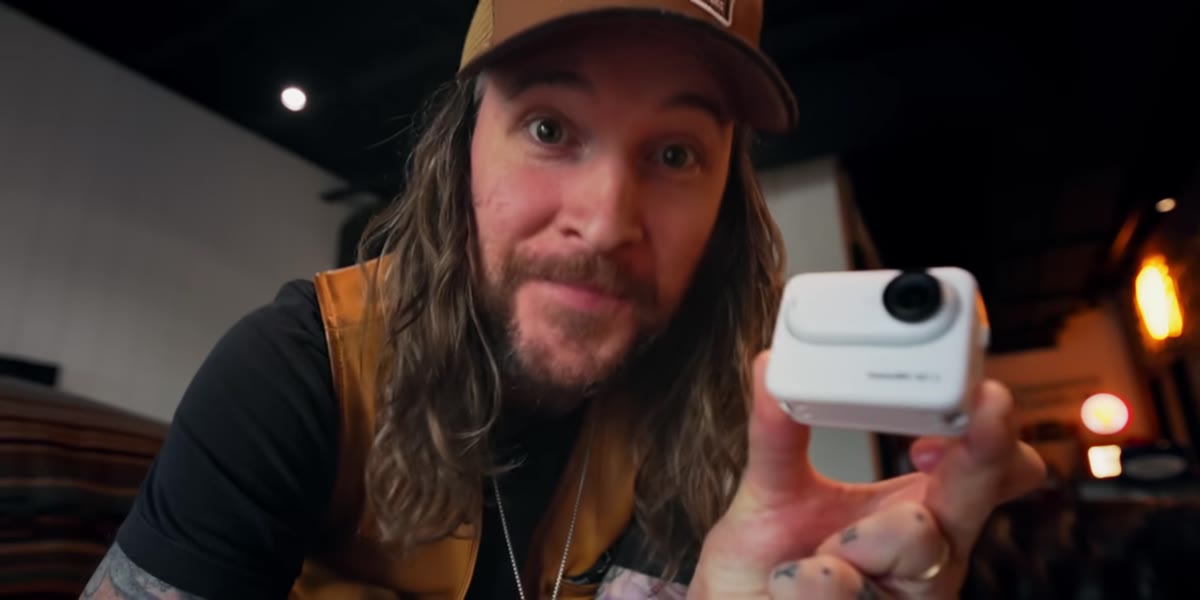 GO 3 snapping into the Action Pod housing unit
The Action Pod is the GO 3’s companion housing. McKinnon describes it as solving the original GO 2’s biggest limitation: short battery life. The camera clips into the pod, which extends power and adds a flip-out rear screen for remote monitoring. For a working shooter, this means you can place the camera somewhere inaccessible and leave it running without babysitting it.
GO 3 snapping into the Action Pod housing unit
The Action Pod is the GO 3’s companion housing. McKinnon describes it as solving the original GO 2’s biggest limitation: short battery life. The camera clips into the pod, which extends power and adds a flip-out rear screen for remote monitoring. For a working shooter, this means you can place the camera somewhere inaccessible and leave it running without babysitting it.
The workflow implication here is real. If you’re capturing behind-the-scenes content during a studio shoot, you can mount the GO 3 to a rig, an overhead track, or even the equipment itself, start it recording, and not touch it again until you wrap. When you pull that footage, expect longer clips with more dead time at the beginning and end. Build a rough-cut trim step into your post workflow specifically for supplemental sources. A simple Premiere or DaVinci action that strips the first and last thirty seconds of any clip tagged as GO 3 footage will save you time across a full day’s capture.
Step 3: Place the Camera Where No Other Camera Can Go
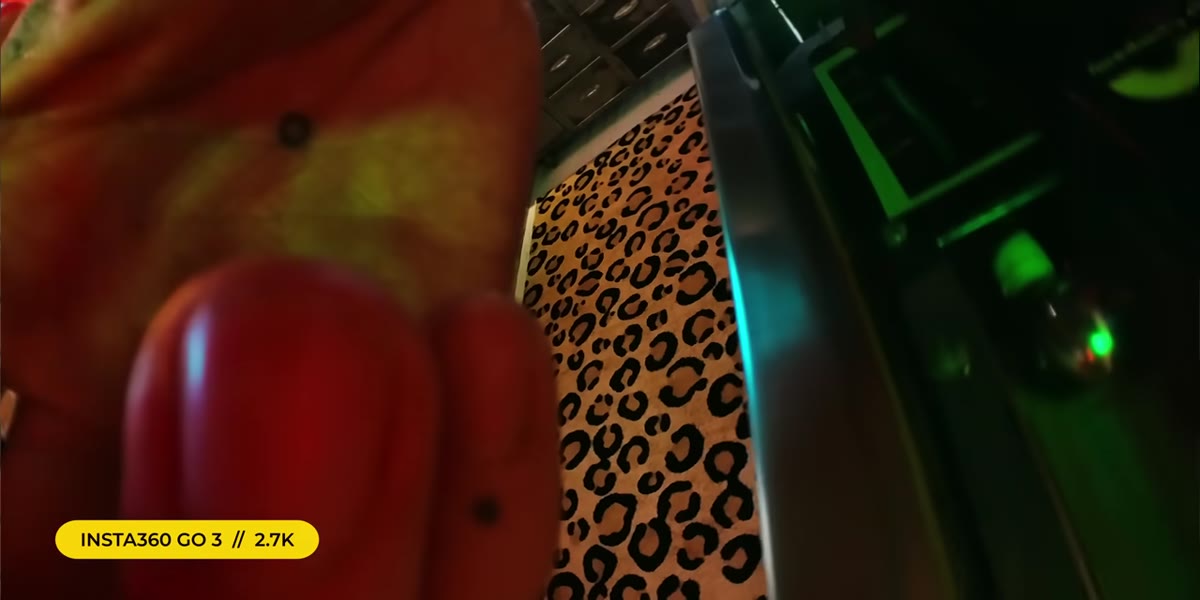 Camera being positioned behind espresso machine for tight-space shot
McKinnon makes a point here that I think gets undersold: the GO 3 isn’t competing with your mirrorless camera, it’s going places your mirrorless camera cannot physically enter. He demonstrates this by magnetizing the GO 3 behind an espresso machine to capture a POV that would be impossible with a fixed lens and a body of any significant size.
Camera being positioned behind espresso machine for tight-space shot
McKinnon makes a point here that I think gets undersold: the GO 3 isn’t competing with your mirrorless camera, it’s going places your mirrorless camera cannot physically enter. He demonstrates this by magnetizing the GO 3 behind an espresso machine to capture a POV that would be impossible with a fixed lens and a body of any significant size.
For commercial work, think about product shots where you want an inside-the-scene perspective. A camera inside a coffee setup, or mounted inside a retail fixture, or attached to machinery on a factory floor. These are B-roll angles that add production value to the final edit without requiring a second operator. The key post-processing note: footage from these tight placements will likely have uneven, practical lighting. Don’t fight it in post trying to match it to your key camera. Treat it as a mood shot and grade it separately.
Step 4: Calibrate Your Quality Expectations to the Distribution Channel
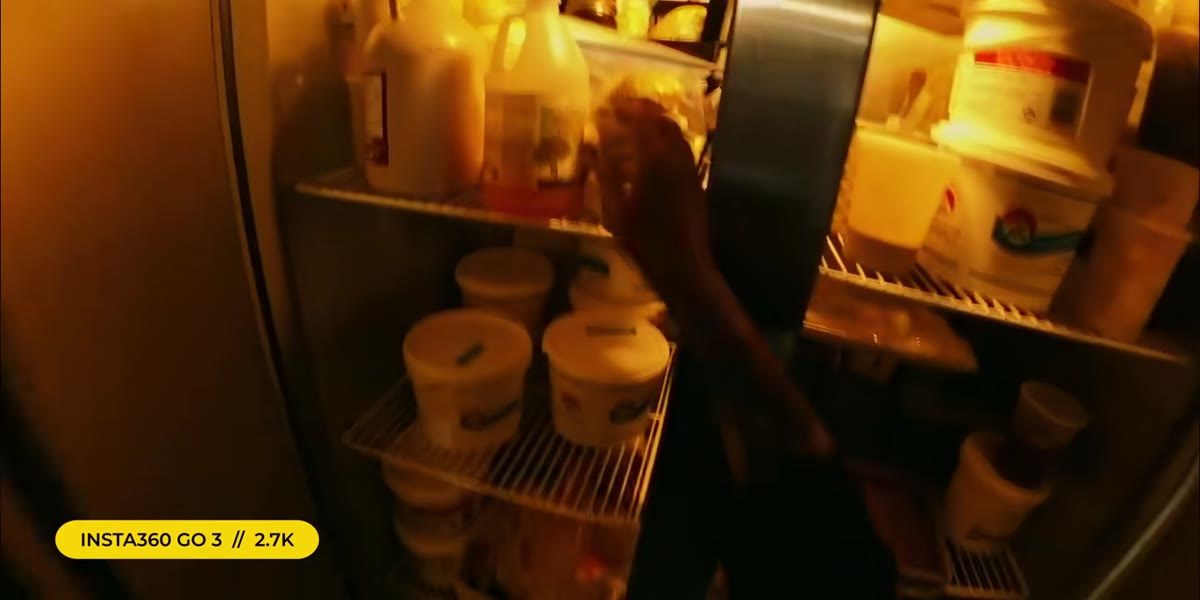 Social media reel footage playing back on screen
This is where McKinnon says something that I think every photographer and filmmaker who came up in the print-and-broadcast era needs to hear. He points out that in years of posting to social media, he has never once received a comment saying a video was great but they wished it was higher resolution. Not once.
Social media reel footage playing back on screen
This is where McKinnon says something that I think every photographer and filmmaker who came up in the print-and-broadcast era needs to hear. He points out that in years of posting to social media, he has never once received a comment saying a video was great but they wished it was higher resolution. Not once.
I’ve had the same experience. I once delivered a set of behind-the-scenes Instagram reels shot entirely on a phone, alongside a full commercial campaign shot on Phase One. The BTS content outperformed the campaign in engagement by a significant margin. The lesson isn’t that quality doesn’t matter. It’s that quality is channel-specific. For fast-paced social content, motion, perspective, and storytelling carry more weight than pixel count. Build your post-processing presets and export settings around the destination, not around abstract quality ideals.
Step 5: Use the Magnetic Accessory System to Plan Your Mount Points in Pre-Production
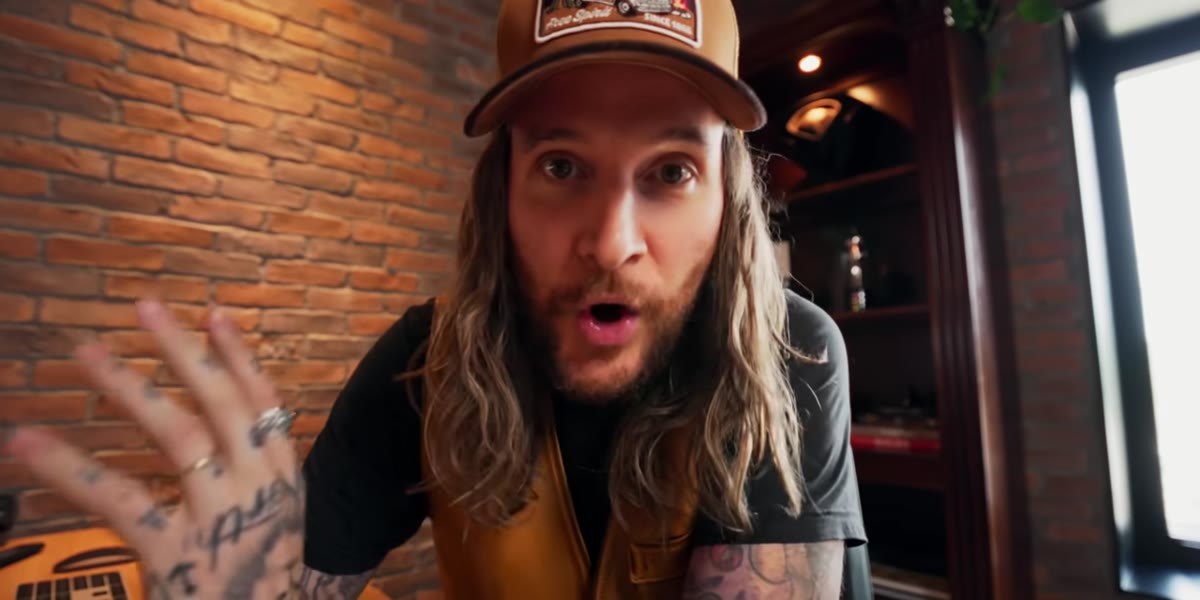 Range of magnetic clip accessories laid out and demonstrated
McKinnon walks through Insta360’s ecosystem of magnetic accessories, including hat clips, chest mounts, and clips with locking mechanisms that require pressing both sides to release, preventing accidental drops. The lock-release detail is worth noting for anyone doing run-and-gun or active shoots.
Range of magnetic clip accessories laid out and demonstrated
McKinnon walks through Insta360’s ecosystem of magnetic accessories, including hat clips, chest mounts, and clips with locking mechanisms that require pressing both sides to release, preventing accidental drops. The lock-release detail is worth noting for anyone doing run-and-gun or active shoots.
From a workflow standpoint, treat mount-point planning the same way you treat lighting diagrams. Decide in pre-production where the camera will live, what accessory it needs, and how you’ll label that angle in your project file. I add mount location to my clip metadata as a marker note during ingest. “Hat POV,” “machine interior,” “overhead static” – these labels make the edit and the color grade faster because you know immediately what you’re looking at and what treatment it needs.
From My Own Experience: Build a Dedicated GO 3 Post-Processing Preset
After watching McKinnon’s review, my immediate instinct was to build a dedicated Lightroom preset and a Photoshop action set specifically for still frames pulled from GO 3 footage. The camera’s indoor performance is solid but it has characteristic softness and a slight warm color cast under tungsten. Rather than correcting these on a clip-by-clip basis, a purpose-built preset that adds micro-contrast, pulls back the warmth slightly, and applies a gentle sharpening mask handles 80% of the work in one click.
This is the same logic I apply to any recurring footage source. If a tool shows up regularly in your workflow, it deserves its own processing recipe. The time you invest building that preset once pays back every single time you pull footage from that camera, across every future project.
The single most important takeaway from McKinnon’s tutorial is this: the best capture tool for any given situation is the one that can physically get the shot, and your post-processing workflow should be built around that reality rather than fighting it. Build presets for the tools you actually use, not the tools you wish you were using.
Watch the full tutorial on YouTube
Comments (2)
Bookmarked. Coming back to this one for sure.
Never thought of approaching it this way. Really creative.
Leave a Comment