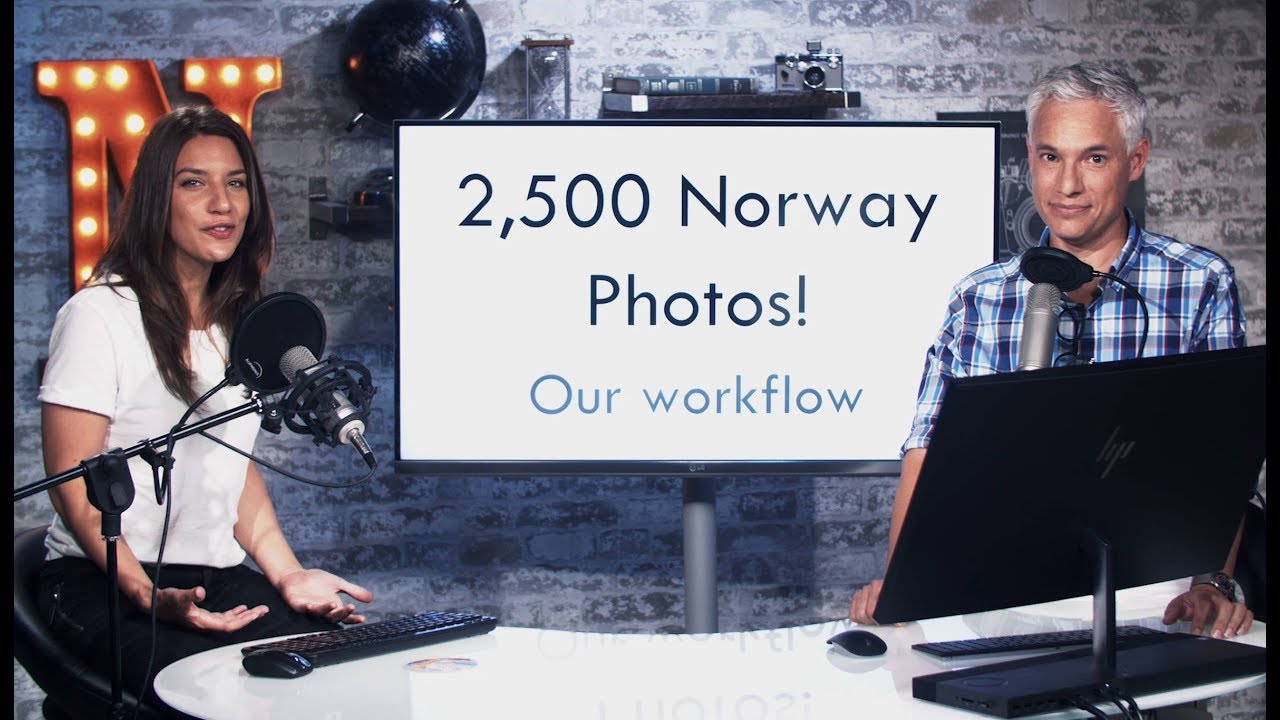
There’s a particular kind of dread that hits when you get home from a big shoot and the card reader is blinking at you. I’ve felt it after commercial jobs, after personal projects, and I’ve watched it paralyze photographers who simply don’t have a repeatable system. The question isn’t whether you have 300 photos or 2,500. The question is whether your workflow scales. After fifteen years running post-production for ad agencies and e-commerce clients, I can tell you the answer is almost always: your workflow doesn’t scale until you deliberately build one that does.
That’s why I keep coming back to tutorials from photographers who actually shoot at volume and have to live with the consequences. In this Tony & Chelsea Northrup tutorial, the two of them return from Norway with 2,500 images between them and walk through every stage of their process, from how they shoot in the field to how they cull, import, and organize before a single edit is made. It’s practical, it’s honest, and there are at least three decisions they make that I wish someone had explained to me earlier in my career.
Step 1: Shoot RAW to One Card, JPEG to the Other
 Camera card slot setup showing RAW and JPEG destinations
If your camera has dual card slots, this is the single most useful in-field decision you can make. Tony shoots RAW files to the primary card for full editing flexibility later, and JPEGs to the backup card for a completely different reason: speed. The JPEGs go straight to his phone over Wi-Fi so he can post to social media while still in the field. Meanwhile, the RAW files wait on the primary card to be edited properly on a calibrated monitor later.
Camera card slot setup showing RAW and JPEG destinations
If your camera has dual card slots, this is the single most useful in-field decision you can make. Tony shoots RAW files to the primary card for full editing flexibility later, and JPEGs to the backup card for a completely different reason: speed. The JPEGs go straight to his phone over Wi-Fi so he can post to social media while still in the field. Meanwhile, the RAW files wait on the primary card to be edited properly on a calibrated monitor later.
The redundancy is a bonus rather than the main point. If one card fails, you still have usable images on the other. JPEGs won’t give you the exposure latitude of a RAW file, but for a backup scenario they’re more than sufficient. Set this up once in your camera’s menu and it runs automatically on every shoot.
Step 2: Overshoot Deliberately and Without Guilt
 Review screen showing multiple similar frames from same scene
Both Tony and Chelsea describe intentionally capturing more frames than they expect to use. Verticals and horizontals of the same scene. Tight crops and wide establishing shots. Multiple focus points on the same composition. Chelsea added panoramas and focus-stacked sequences. Tony shot time lapses that generate dozens of frames per sequence.
Review screen showing multiple similar frames from same scene
Both Tony and Chelsea describe intentionally capturing more frames than they expect to use. Verticals and horizontals of the same scene. Tight crops and wide establishing shots. Multiple focus points on the same composition. Chelsea added panoramas and focus-stacked sequences. Tony shot time lapses that generate dozens of frames per sequence.
This sounds like it creates more work, but the logic flips when you have a fast culling system. Overshooting protects you from the one frame that was slightly soft or had a bird blink through the frame at the wrong moment. The goal isn’t to use every shot. The goal is to guarantee that the shot you want actually exists somewhere in the set.
Step 3: Import with Smart Previews and Keywords from the Start
 Lightroom import dialog with Smart Previews checkbox selected
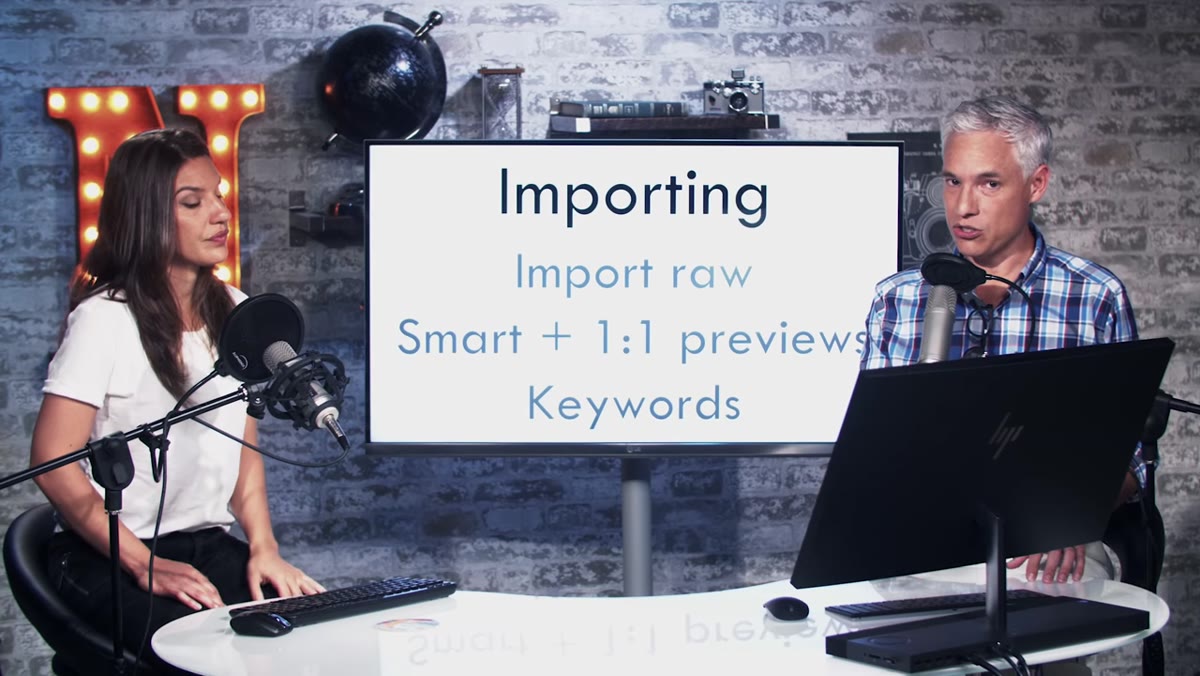
In Lightroom’s import dialog, Tony checks the option to build Smart Previews during import. Smart Previews are compressed, portable versions of your RAW files that let Lightroom keep working even if the original drive is disconnected. They also improve overall catalog performance, which matters when you’re browsing 2,500 thumbnails.
Lightroom import dialog with Smart Previews checkbox selected
In Lightroom’s import dialog, Tony checks the option to build Smart Previews during import. Smart Previews are compressed, portable versions of your RAW files that let Lightroom keep working even if the original drive is disconnected. They also improve overall catalog performance, which matters when you’re browsing 2,500 thumbnails.
If time allows, he selects 1:1 previews instead, which pre-renders full-resolution previews so that every image loads instantly during review. When he needs to get into the photos immediately, he drops down to Embedded and Sidecar, which uses whatever preview is already baked into the file. The tradeoff is speed now versus speed later. Decide based on your schedule. He also applies broad keywords at import, things like the location name and any recurring subjects, rather than trying to keyword each image individually afterward. It takes 30 seconds at import and saves 30 minutes later.
Step 4: Rate Every Image on a 1-to-5 Scale During the First Pass
 Lightroom library grid with star ratings visible on thumbnails
Tony uses the number keys during his first pass through the library. He is not stopping to edit. He is making fast binary-ish decisions about each image’s potential. A 1 means it’s going to be deleted. A 3 means there might be something usable there. A 5 means it stopped him cold, which he says is rare.
Lightroom library grid with star ratings visible on thumbnails
Tony uses the number keys during his first pass through the library. He is not stopping to edit. He is making fast binary-ish decisions about each image’s potential. A 1 means it’s going to be deleted. A 3 means there might be something usable there. A 5 means it stopped him cold, which he says is rare.
The important thing here is that he’s filtering his future work, not doing it. When he comes back to actually edit, he’s only opening the 3s, 4s, and 5s. The 1s and 2s disappear from his working view. I use a nearly identical system for product photography. I built an action years ago that exports only starred images to a review folder, which means my clients never see the frame where the product fell over mid-shot. Rate as you go. Don’t skip this step.
Step 5: Use the Thumbnail View as a Proxy for the Final Audience
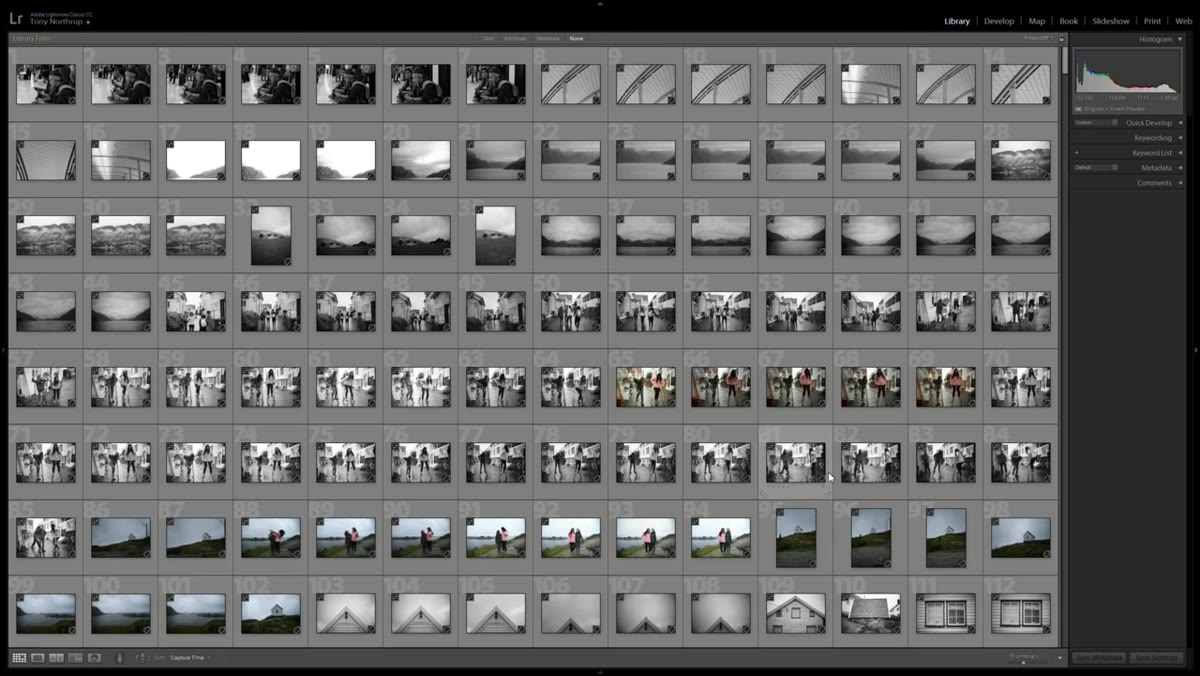 Lightroom library module showing small thumbnail grid view
Chelsea makes a point that I think gets undervalued: the thumbnail matters. When you’re reviewing in the Library module, you’re seeing your images roughly the way someone on Instagram or a photo grid will see them. A dramatic landscape that looks breathtaking at 100% crop might read as a muddy gray rectangle at thumbnail scale.
Lightroom library module showing small thumbnail grid view
Chelsea makes a point that I think gets undervalued: the thumbnail matters. When you’re reviewing in the Library module, you’re seeing your images roughly the way someone on Instagram or a photo grid will see them. A dramatic landscape that looks breathtaking at 100% crop might read as a muddy gray rectangle at thumbnail scale.
She treats the thumbnail pass as a design filter, not just a quality filter. Does the image have a clear subject? Does it have contrast and structure that read even when small? This is a different question from whether the focus is sharp or the exposure is correct, and it’s worth asking separately.
What I Do Differently (And Why It Might Work for You)
The Northrup workflow is clean and I’d recommend it without reservations. The one area where I’ve added a layer on top of their approach is in the rejection step. Rather than deleting 1-rated images immediately, I move them to a separate “rejected” folder and let them sit for 48 hours. Twice in the past year I’ve gone back in and pulled a frame that I’d dismissed too quickly because the composition turned out to be useful for a composite I hadn’t planned yet.
I also use a Lightroom preset on import that applies a neutral baseline correction: lens profile enabled, chromatic aberration corrected, and a slight highlight recovery. It doesn’t change the image creatively but it removes the worst of the RAW file’s out-of-camera flatness so that every image I’m rating looks closer to its actual potential. Culling against a flat RAW file means you’re sometimes rejecting images that would have looked completely different with two seconds of adjustment. Don’t let a technically correctable flaw kill a strong composition during the cull.
The single biggest thing I took from this tutorial is the separation of concerns: shoot for redundancy, import for speed, rate for future efficiency, and only then edit. Each stage has one job. When you conflate them, everything slows down.
Watch the full tutorial on YouTube to see Tony and Chelsea walk through the actual footage, the hardware setup they use, and how the catalog looks once the full 2,500-image import is complete.
Comments
Leave a Comment