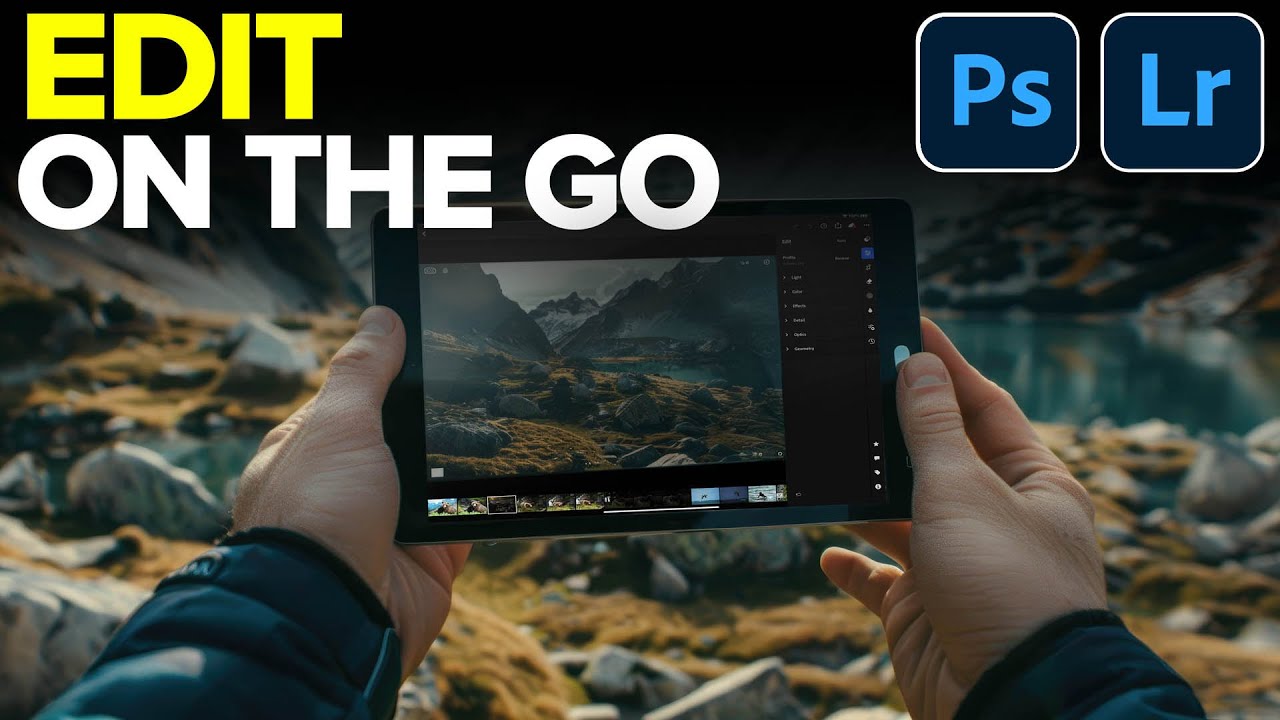
I’ll be honest: I was skeptical about tablet-based editing for a long time. My post-production work runs through carefully built systems, batch actions, and a desktop setup I’ve spent years tuning. The idea of doing serious Photoshop work on an iPad felt like a compromise. But client work doesn’t always happen at the desk, and when I started looking at what’s actually possible on the iPad with an Adobe subscription, I had to rethink that position.
In this Matt Kloskowski tutorial, Watch the full tutorial on YouTube, Matt walks through something that more Adobe subscribers have access to than they probably realize: a full round-trip editing workflow between Lightroom and Photoshop on the iPad, including Generative Fill. If you’re already paying for an Adobe plan, Photoshop for iPad is included. You just have to install it and know how the handoff between apps actually works. That handoff is what this guide is about.
The use case that clicked for me was distraction removal and AI compositing on location, or when traveling between shoots. Not everything needs to wait for the desktop. And once you see how Generative Fill performs in the iPad Photoshop interface, the argument for keeping this workflow in your back pocket gets a lot stronger.
Step 1: Make Your Base Edits in Lightroom on the iPad
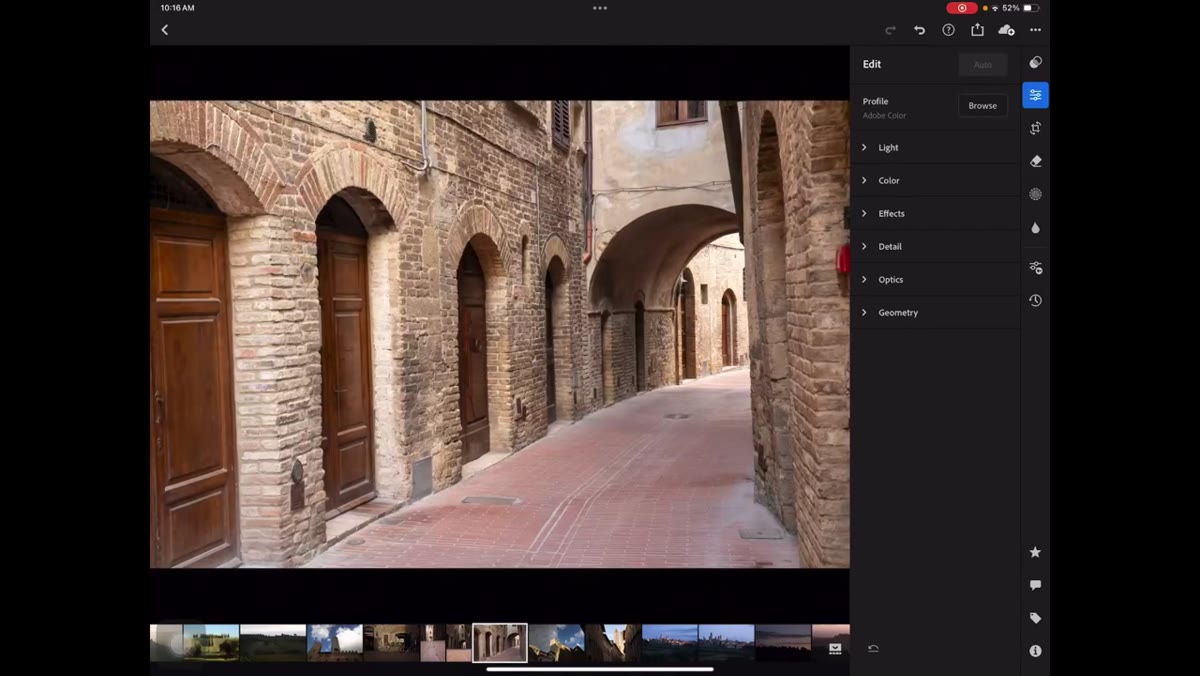 Lightroom auto-edit applied with exposure pulled back
Start in Lightroom on your iPad as you normally would. Apply your global adjustments first: auto tone as a starting point, then manually dial back exposure if the highlights are blowing out. Matt also goes into the Optics panel and uses the Upright correction to straighten the image geometry before sending it anywhere. The logic here is sound: do the non-destructive, reversible work in Lightroom before you touch Photoshop. Once you send the file over, you’re working on a flattened copy, so you want your foundational edit locked in first.
Lightroom auto-edit applied with exposure pulled back
Start in Lightroom on your iPad as you normally would. Apply your global adjustments first: auto tone as a starting point, then manually dial back exposure if the highlights are blowing out. Matt also goes into the Optics panel and uses the Upright correction to straighten the image geometry before sending it anywhere. The logic here is sound: do the non-destructive, reversible work in Lightroom before you touch Photoshop. Once you send the file over, you’re working on a flattened copy, so you want your foundational edit locked in first.
Don’t skip the lens corrections step. Straightening distortion in Lightroom before exporting to Photoshop means you’re working with a geometrically accurate image in Photoshop, which matters if you’re doing any kind of selection work or adding elements to the frame.
Step 2: Send the File to Photoshop Using the Share/Export Menu
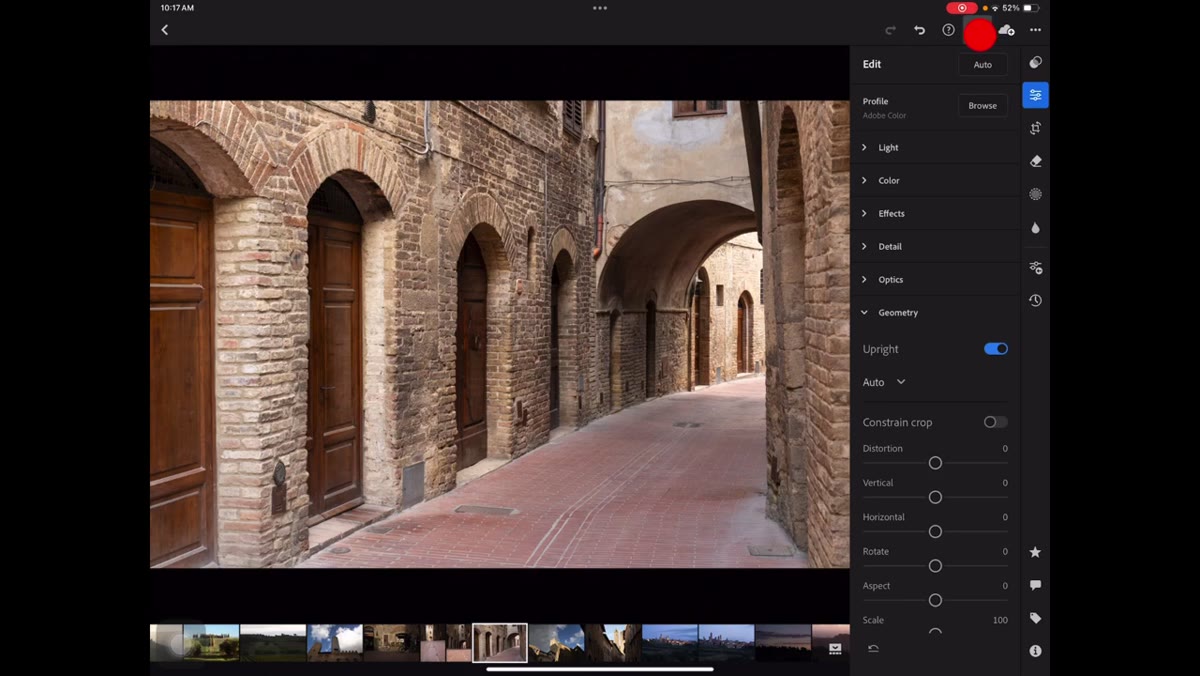 Export/share icon tapped in Lightroom top menu
Tap the export/share icon in the top bar of the Lightroom interface. In the list of options that appears, you’ll see “Edit in Photoshop.” Tap that. Lightroom will render the photo and hand it off to the Photoshop iPad app. This process is not instant, especially on older hardware. Matt mentions his iPad is about four years old and there’s a noticeable lag. Set the expectation appropriately. This isn’t a dealbreaker, it’s just a rendering pipeline running on mobile silicon rather than a workstation GPU.
Export/share icon tapped in Lightroom top menu
Tap the export/share icon in the top bar of the Lightroom interface. In the list of options that appears, you’ll see “Edit in Photoshop.” Tap that. Lightroom will render the photo and hand it off to the Photoshop iPad app. This process is not instant, especially on older hardware. Matt mentions his iPad is about four years old and there’s a noticeable lag. Set the expectation appropriately. This isn’t a dealbreaker, it’s just a rendering pipeline running on mobile silicon rather than a workstation GPU.
One important note: what gets sent to Photoshop is a copy of the photo, not the original Lightroom file. Your Lightroom catalog and original remain untouched. The copy is what you’ll edit destructively in Photoshop.
Step 3: Orient Yourself in the Photoshop iPad Interface
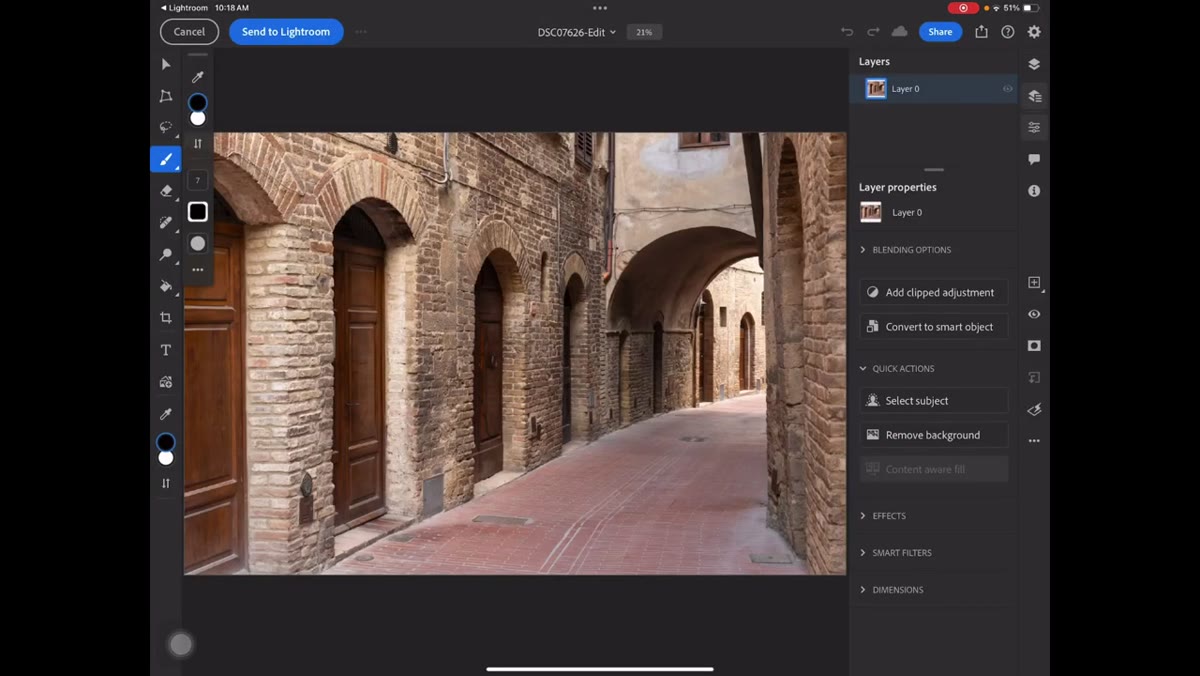 Photoshop iPad interface with photo loaded
When the photo opens in Photoshop for iPad, the interface is streamlined compared to the desktop version. The core toolset is there, including selection tools, the brush, and the contextual task bar that appears at the bottom of the screen when you make a selection. If you’re coming from desktop Photoshop, give yourself a few minutes to locate your tools. The layout prioritizes touch interactions, so panels and controls are positioned differently than what you’re used to.
Photoshop iPad interface with photo loaded
When the photo opens in Photoshop for iPad, the interface is streamlined compared to the desktop version. The core toolset is there, including selection tools, the brush, and the contextual task bar that appears at the bottom of the screen when you make a selection. If you’re coming from desktop Photoshop, give yourself a few minutes to locate your tools. The layout prioritizes touch interactions, so panels and controls are positioned differently than what you’re used to.
Matt’s goal in the tutorial isn’t to cover the full Photoshop iPad interface, and I’d follow his lead here. Treat this session as targeted. Know what you want to do before you open the app, and go straight to those tools. The interface rewards focused use more than it rewards exploration.
Step 4: Make a Selection With the Lasso Tool
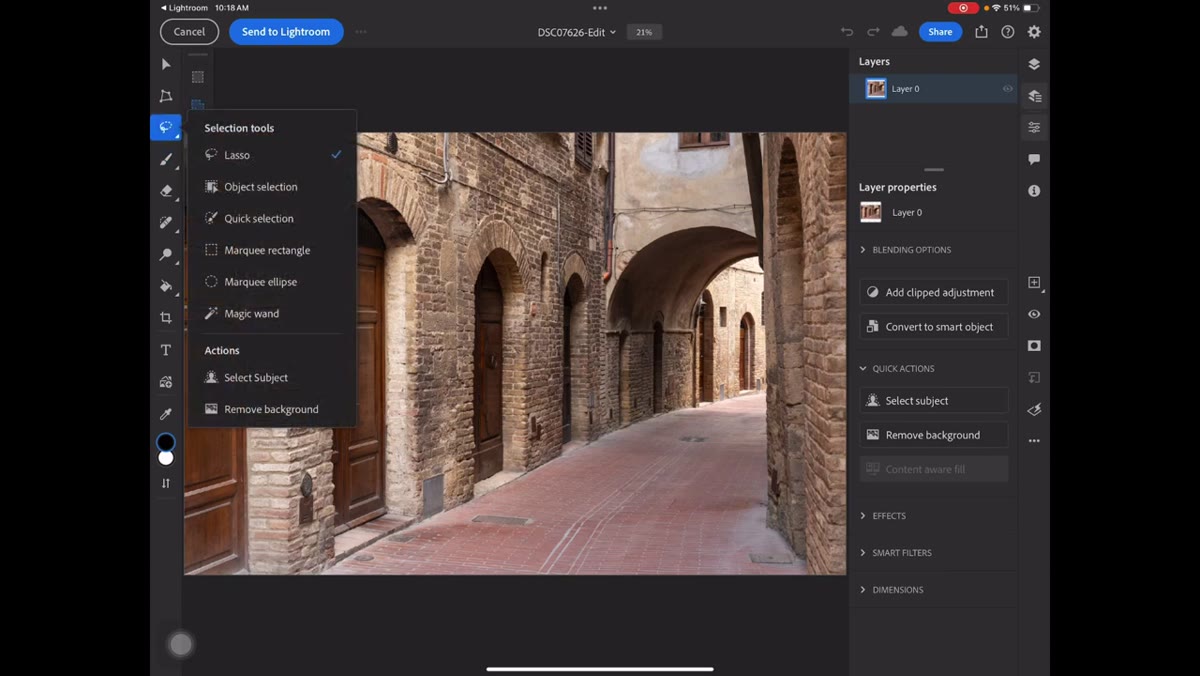 Lasso tool drawing selection in lower portion of image
Select the Lasso tool from the toolbar and draw a freehand selection around the area of the image you want to affect. For touch-based drawing, use a deliberate, slightly slow stroke rather than a quick gesture. The iPad recognizes the lasso as a drawing action, so controlled movement produces cleaner selections. If you’re using an Apple Pencil, the precision improves noticeably.
Lasso tool drawing selection in lower portion of image
Select the Lasso tool from the toolbar and draw a freehand selection around the area of the image you want to affect. For touch-based drawing, use a deliberate, slightly slow stroke rather than a quick gesture. The iPad recognizes the lasso as a drawing action, so controlled movement produces cleaner selections. If you’re using an Apple Pencil, the precision improves noticeably.
The selection doesn’t need to be surgical at this stage, particularly if you’re using Generative Fill, which does its own edge blending. Draw a selection that’s slightly generous around the subject area. Tight selections that clip the subject actually work against Generative Fill’s ability to blend convincingly.
Step 5: Apply Generative Fill to the Selection
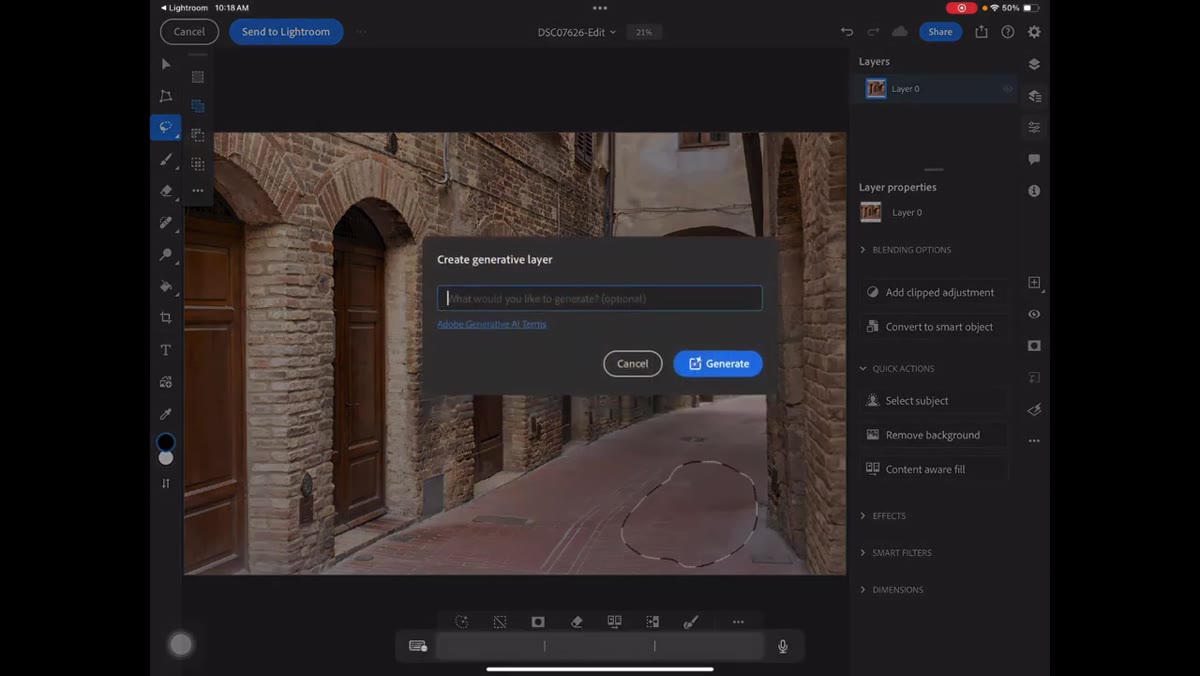 Generative Fill option visible in contextual task bar at bottom
Once your selection is active, the contextual task bar appears at the bottom of the screen. Tap “Generative Fill.” A text prompt field opens where you can describe what you want Photoshop to generate inside that selection. Matt types a simple descriptive phrase as his prompt and taps Generate. The important technical requirement here: Generative Fill on the iPad requires an active internet connection. The processing happens in Adobe’s cloud, not on the device itself.
Generative Fill option visible in contextual task bar at bottom
Once your selection is active, the contextual task bar appears at the bottom of the screen. Tap “Generative Fill.” A text prompt field opens where you can describe what you want Photoshop to generate inside that selection. Matt types a simple descriptive phrase as his prompt and taps Generate. The important technical requirement here: Generative Fill on the iPad requires an active internet connection. The processing happens in Adobe’s cloud, not on the device itself.
After generating, you’ll get multiple variations to choose from, same as the desktop version of Generative Fill. Swipe through the options in the properties panel and select the result that integrates best with your image. The AI does a reasonable job of matching lighting and perspective, though results vary depending on how complex the surrounding scene is.
Step 6: Save and Return the Edited File to Lightroom
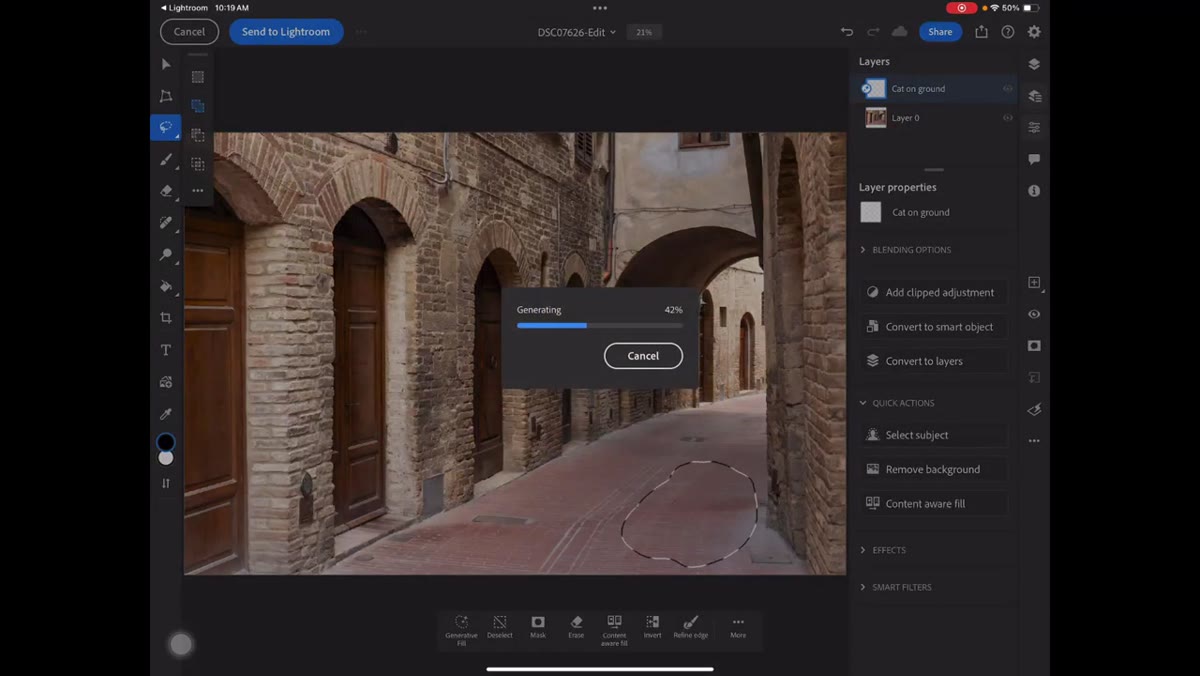 Generate button tapped, processing begins in Photoshop iPad
When you’re satisfied with your Photoshop edits, save the file from within Photoshop for iPad. Because this file originated from Lightroom via the “Edit in” workflow, saving it in Photoshop automatically routes the finished file back into your Lightroom catalog as a new stacked image alongside the original. You don’t have to manually export and reimport. The round-trip is handled by the Adobe ecosystem’s file management, same as the desktop round-trip workflow most Lightroom users are already familiar with.
Generate button tapped, processing begins in Photoshop iPad
When you’re satisfied with your Photoshop edits, save the file from within Photoshop for iPad. Because this file originated from Lightroom via the “Edit in” workflow, saving it in Photoshop automatically routes the finished file back into your Lightroom catalog as a new stacked image alongside the original. You don’t have to manually export and reimport. The round-trip is handled by the Adobe ecosystem’s file management, same as the desktop round-trip workflow most Lightroom users are already familiar with.
Back in Lightroom, you’ll see both your original edited raw and the Photoshop version sitting together. From there, you can continue with any Lightroom-native adjustments, add it to collections, or export for delivery.
One Thing I’d Add: Pre-Plan Your Photoshop Stops
The workflow Matt demonstrates is clean, but the variable that determines whether it’s actually useful on location is having a clear intention before you open Photoshop. On a desktop with fast hardware, you can afford to explore. On an iPad with cloud-dependent processing, every round-trip takes real time. I’d recommend treating the iPad Photoshop session the same way I treat a batch action: define the task before you start, execute it, and get out.
For distraction removal, sky replacements, or quick Generative Fill additions, this workflow is genuinely practical. For anything that requires heavy compositing, complex masking, or iterative experimentation, the desktop is still the right tool. Knowing which category your task falls into before you pick up the iPad is what makes this round-trip efficient rather than frustrating.
The core takeaway from Matt’s tutorial is that a fully capable editing round-trip between Lightroom and Photoshop exists on the iPad right now, and most Adobe subscribers already have access to it without paying anything extra. Generative Fill being available in that pipeline makes it considerably more useful than it would be otherwise. If you haven’t installed Photoshop for iPad yet, that’s the first step.
Watch the full tutorial on YouTube to see Matt walk through the complete workflow in real time, including how the Photoshop interface looks and behaves during the Generative Fill generation process.
Comments
Leave a Comment