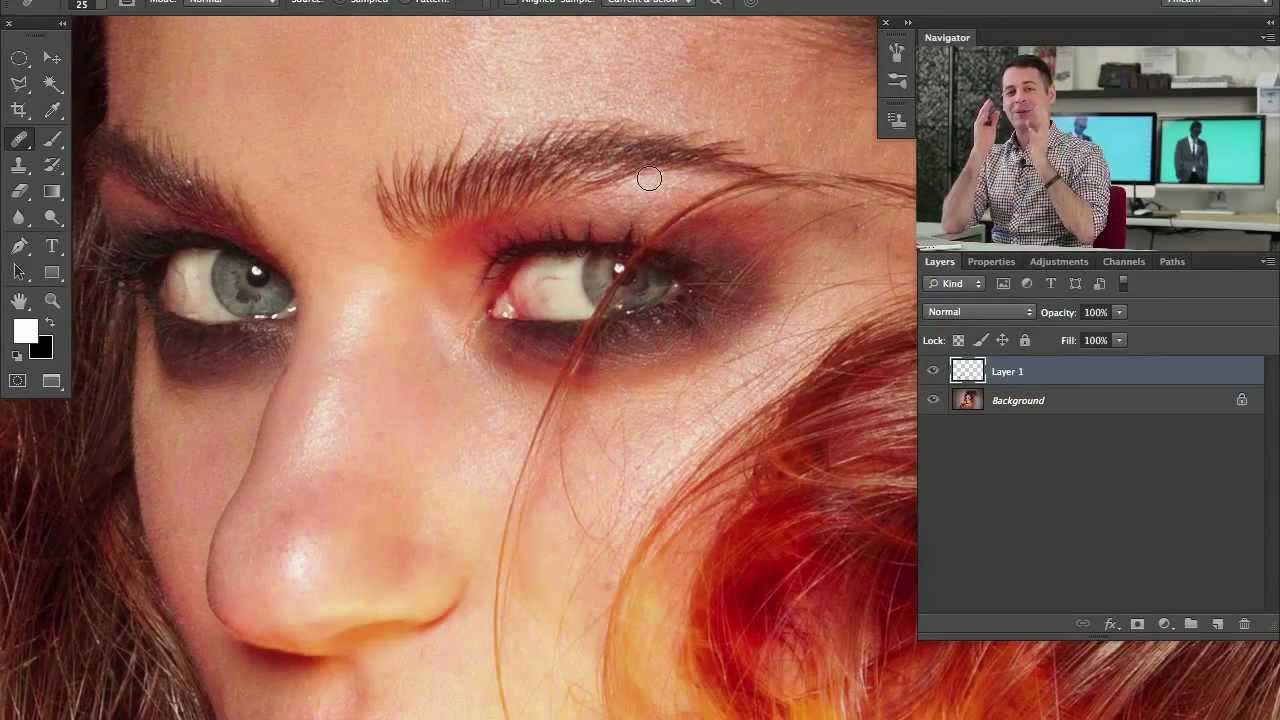
Fifteen years of production work will teach you things no tutorial ever explicitly states. One of them is this: the photographers who retouch slowly are almost never slow because they lack speed. They’re slow because they’re using the wrong tool and compensating with effort. I’ve watched junior retouchers spend forty minutes on a skin cleanup that should take eight, mostly because nobody ever sat them down and explained the actual mechanical difference between two tools that look, on the surface, like they do the same job.
In this Aaron Nace (PHLEARN) tutorial, that confusion gets sorted out cleanly. Watch the full tutorial on YouTube – it’s worth your time even if you think you already know this. Aaron works through a portrait retouching scenario and demonstrates exactly where each tool belongs in your workflow. What follows is my step-by-step breakdown, with the context a working retoucher actually needs.
The core insight is deceptively simple: the Healing Brush blends, and the Clone Stamp copies. Once you feel that difference in your hands, you stop second-guessing yourself mid-retouch.
Step 1: Create a New Empty Layer Before Touching Anything
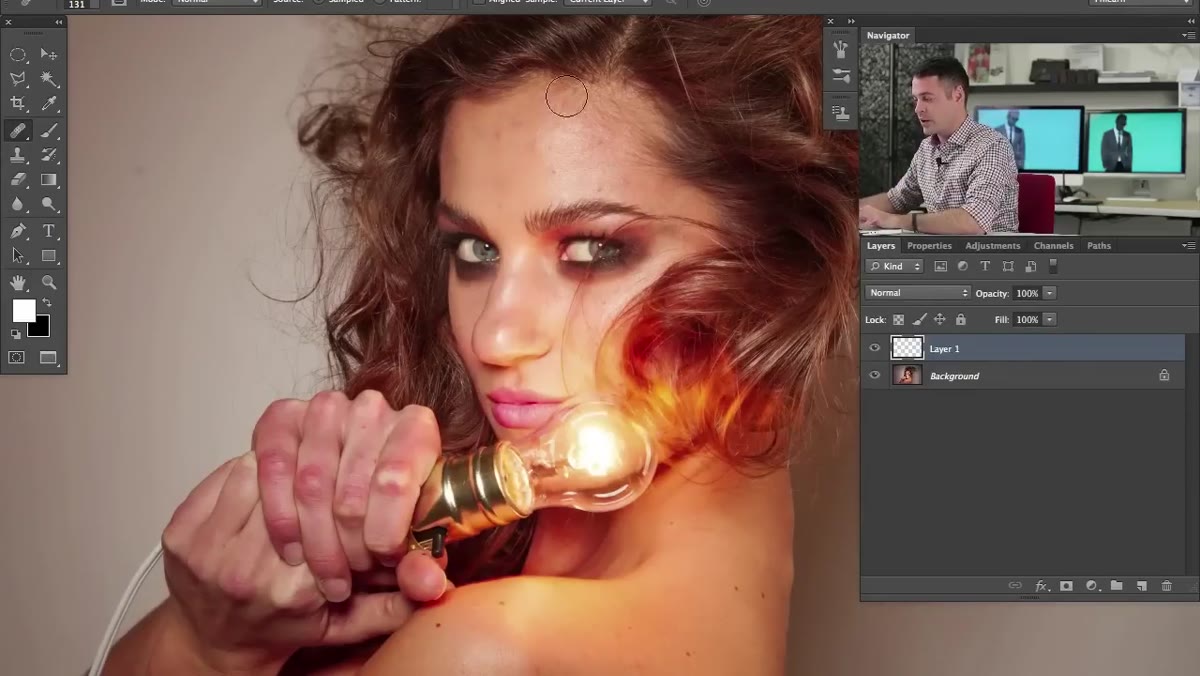 New layer created above portrait layer in Layers panel
Before either tool touches your image, create a new blank layer and work on that. This is non-negotiable if you care about a reversible workflow – which, after building systems that process hundreds of images at a time, I care about deeply. Both the Healing Brush and Clone Stamp support non-destructive editing when you set them to sample from the layers below, but only if you’ve given them a clean layer to paint onto.
New layer created above portrait layer in Layers panel
Before either tool touches your image, create a new blank layer and work on that. This is non-negotiable if you care about a reversible workflow – which, after building systems that process hundreds of images at a time, I care about deeply. Both the Healing Brush and Clone Stamp support non-destructive editing when you set them to sample from the layers below, but only if you’ve given them a clean layer to paint onto.
Name it something useful. “Healing” or “Retouch” beats “Layer 3” every time, especially when a client revision lands in your inbox at 10pm.
Step 2: Set the Sample Option to “Current and Below”
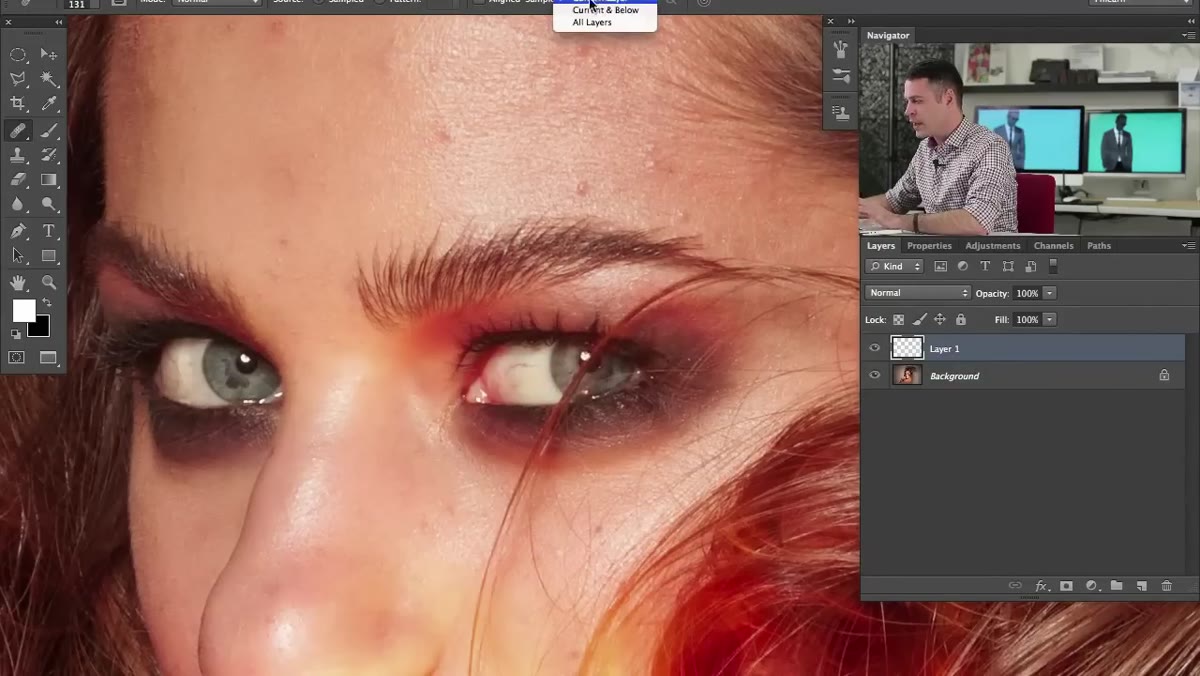 Sample dropdown in options bar showing “Current and Below” selected
With your new layer selected and either tool active, look at the options bar at the top of the screen. You’ll see a “Sample” dropdown that defaults to “Current Layer.” Change it to “Current and Below.” This tells Photoshop to read pixel data from the layers underneath while painting onto your empty retouch layer. If you leave it on “Current Layer,” the tool finds nothing to sample and produces no result – a confusing non-event that has derailed more than a few newer retouchers I’ve worked with.
Sample dropdown in options bar showing “Current and Below” selected
With your new layer selected and either tool active, look at the options bar at the top of the screen. You’ll see a “Sample” dropdown that defaults to “Current Layer.” Change it to “Current and Below.” This tells Photoshop to read pixel data from the layers underneath while painting onto your empty retouch layer. If you leave it on “Current Layer,” the tool finds nothing to sample and produces no result – a confusing non-event that has derailed more than a few newer retouchers I’ve worked with.
“All Layers” also works, but “Current and Below” is the safer choice when you have multiple retouch layers or adjustment layers in the stack that you don’t want interfering with the sample.
Step 3: Use the Healing Brush for Skin Blemishes and Tonal Corrections
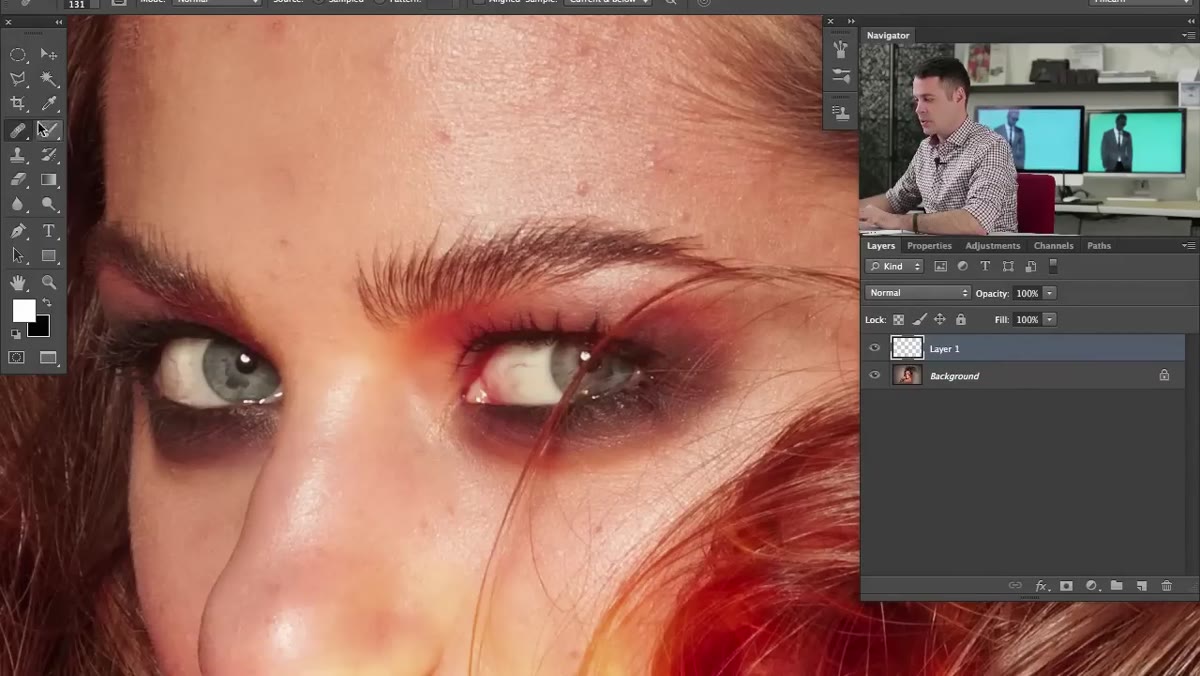 Healing brush tool active, sampling clean skin area on portrait
Activate the Healing Brush (keyboard shortcut J, or Shift+J to cycle through the spot healing variants). Hold Alt (Option on Mac) and click an area of clean, evenly-toned skin near the spot you want to correct. That sets your sample point. Then paint over the blemish with a brush sized just slightly larger than the spot itself – not much larger.
Healing brush tool active, sampling clean skin area on portrait
Activate the Healing Brush (keyboard shortcut J, or Shift+J to cycle through the spot healing variants). Hold Alt (Option on Mac) and click an area of clean, evenly-toned skin near the spot you want to correct. That sets your sample point. Then paint over the blemish with a brush sized just slightly larger than the spot itself – not much larger.
When you release the mouse, Photoshop does something clever: it takes the texture from your sample point and blends it with the color and luminosity values from the destination area. The result heals into the surrounding skin rather than replacing it outright. This is what makes it ideal for blemishes, minor discoloration, and small skin irregularities. The surrounding tones get respected automatically.
Step 4: Size Your Brush to Match the Problem Area
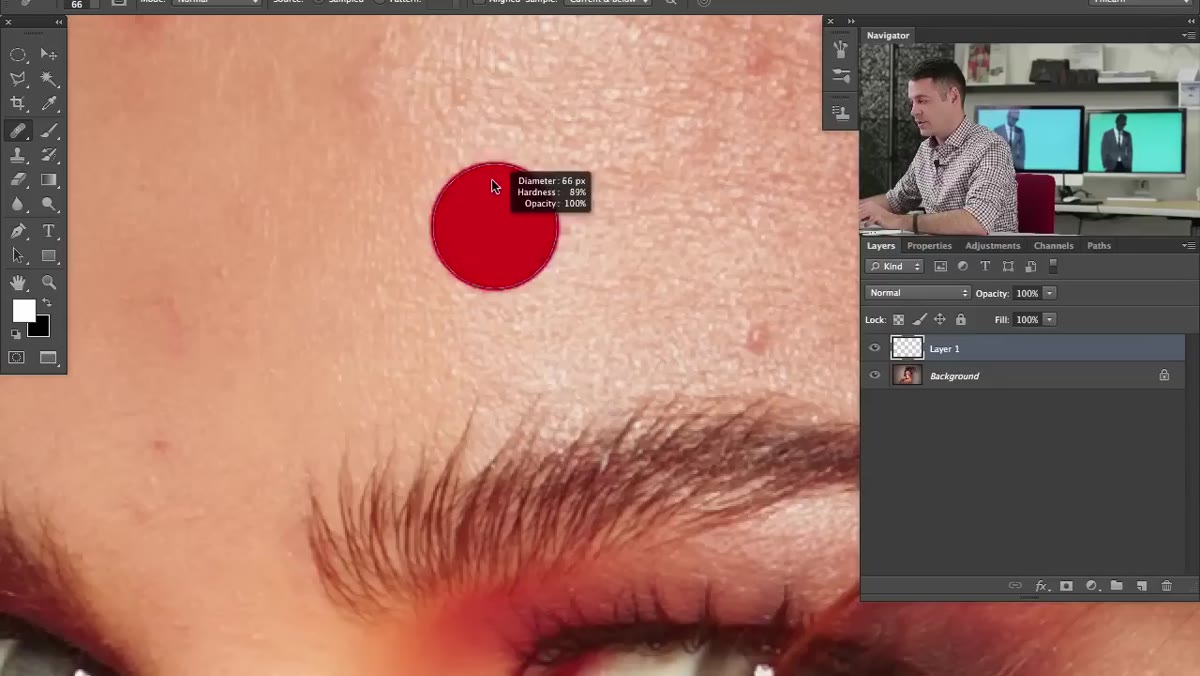 Brush size adjusted to match small blemish on skin
Brush size matters more than most people realize. Too large and the healing algorithm pulls in too much surrounding texture, which can create smearing or uneven blending. Too small and you end up making multiple passes that compound the artifacts. The target size is roughly the same diameter as the area you’re correcting, maybe a touch larger.
Brush size adjusted to match small blemish on skin
Brush size matters more than most people realize. Too large and the healing algorithm pulls in too much surrounding texture, which can create smearing or uneven blending. Too small and you end up making multiple passes that compound the artifacts. The target size is roughly the same diameter as the area you’re correcting, maybe a touch larger.
Use a soft-edged brush for skin work. Hard edges leave visible haloes where the heal bleeds into surrounding pixels unevenly. I keep a couple of preset brush sizes saved specifically for portrait retouching – 15px, 30px, and 60px soft – because standardizing small decisions like that is where you get time back across hundreds of images.
Step 5: Switch to Clone Stamp When You Need an Exact Copy
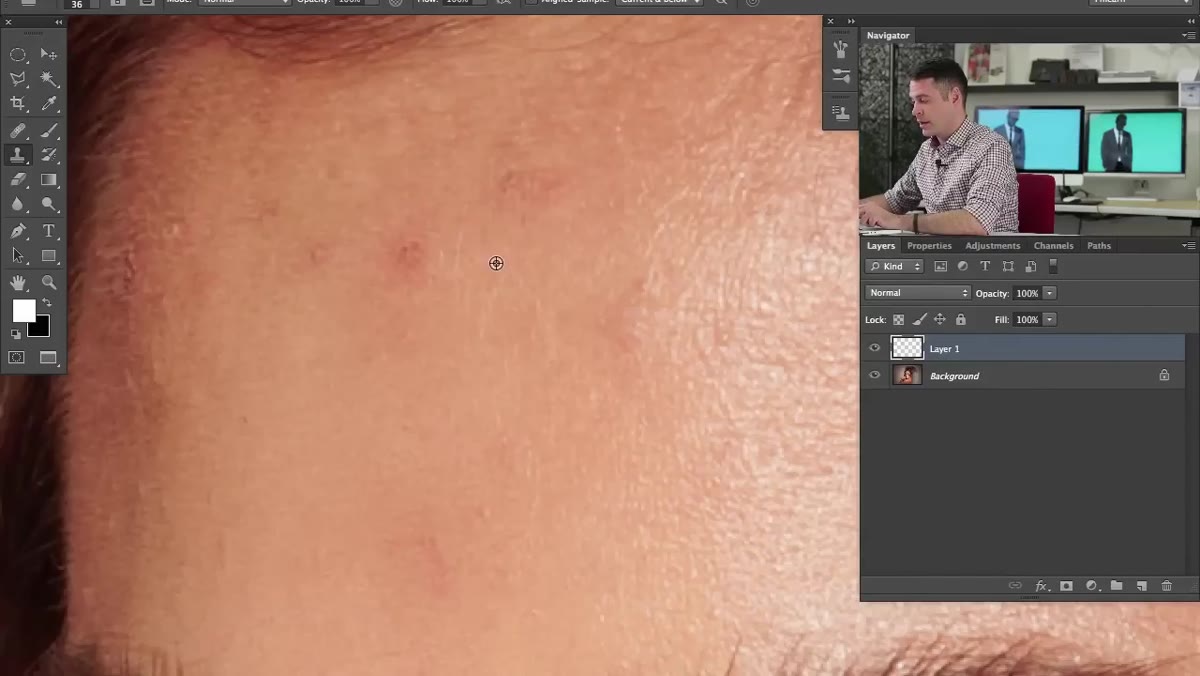 Clone stamp tool selected, sampling area with distinct texture
Here is where the decision tree splits. The Clone Stamp (keyboard shortcut S) does exactly what its name says: it copies pixels from one location and pastes them somewhere else, without blending into the destination. No color correction, no luminosity matching. What you sample is what you get.
Clone stamp tool selected, sampling area with distinct texture
Here is where the decision tree splits. The Clone Stamp (keyboard shortcut S) does exactly what its name says: it copies pixels from one location and pastes them somewhere else, without blending into the destination. No color correction, no luminosity matching. What you sample is what you get.
Hold Alt (Option) to set your sample point, then paint over the target area. The sampled pixels replace whatever was there. This sounds crude compared to the Healing Brush, but there are specific situations where you don’t want blending – you want precision. Edge work is the clearest example. If you’re retouching near a hard boundary, like the edge of a subject against a background, the Healing Brush will pull tones from both sides of that edge into your correction and create a muddy halo. The Clone Stamp respects the boundary and places clean pixels exactly where you put them.
Step 6: Know Which Situation Calls for Which Tool
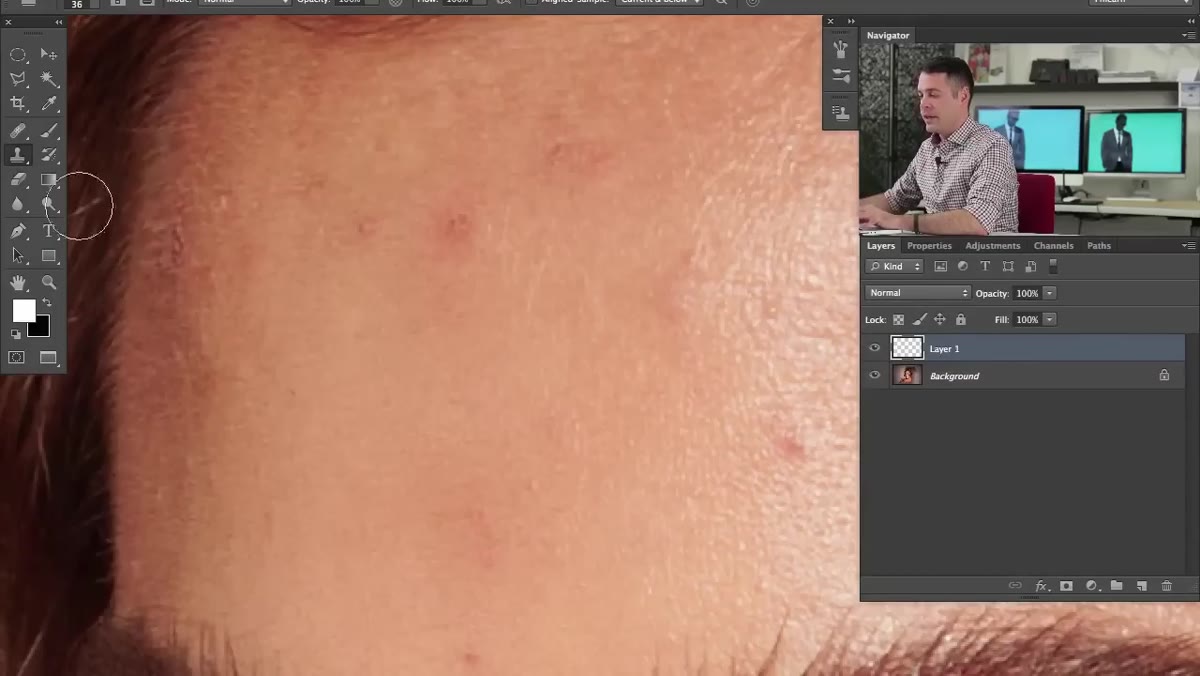 Side-by-side comparison showing healing blend vs. clone copy result
The practical decision rule: use the Healing Brush when your correction is surrounded by similar tones and textures on all sides. Use the Clone Stamp when you’re working near edges, strong contrast boundaries, or areas where any blending would make things worse rather than better.
Side-by-side comparison showing healing blend vs. clone copy result
The practical decision rule: use the Healing Brush when your correction is surrounded by similar tones and textures on all sides. Use the Clone Stamp when you’re working near edges, strong contrast boundaries, or areas where any blending would make things worse rather than better.
In portrait work, that usually means: Healing Brush for open skin areas, Clone Stamp for hairline edges, clothing boundaries, and detailed areas where the background color differs significantly from the subject. In product photography – where I spend a lot of my time – the Clone Stamp earns its keep on packaging edges and hard-cornered objects where the Healing Brush would smear the lines.
What I’d Add From My Own Workflow
After internalizing this distinction, I took it one step further by building separate Photoshop actions for portrait batch retouching that pre-create the named retouch layers and set default brush sizes on launch. It doesn’t automate the actual retouching – judgment calls don’t automate – but it removes the setup friction so I’m in the right state from the first stroke. The tool choice itself still requires a human eye. But arriving at that choice without wasted setup time compounds into real hours saved across a production run.
The other habit worth building: when a healing correction looks slightly off and you can’t identify why, zoom in and check whether you’re near an edge you didn’t notice. Nine times out of ten, that’s the culprit, and switching to Clone Stamp for that one stroke fixes it immediately.
The single most important takeaway here is that these tools are not interchangeable variations of the same idea. The Healing Brush negotiates with the destination. The Clone Stamp ignores it. Knowing which behavior you need at any given moment – before you make the stroke – is what separates a clean retouch from one that requires correcting the correction.
Watch the full tutorial on YouTube and follow along with Aaron’s demonstration. Seeing the blend happen in real time is the fastest way to lock in the intuition.
Comments
Leave a Comment