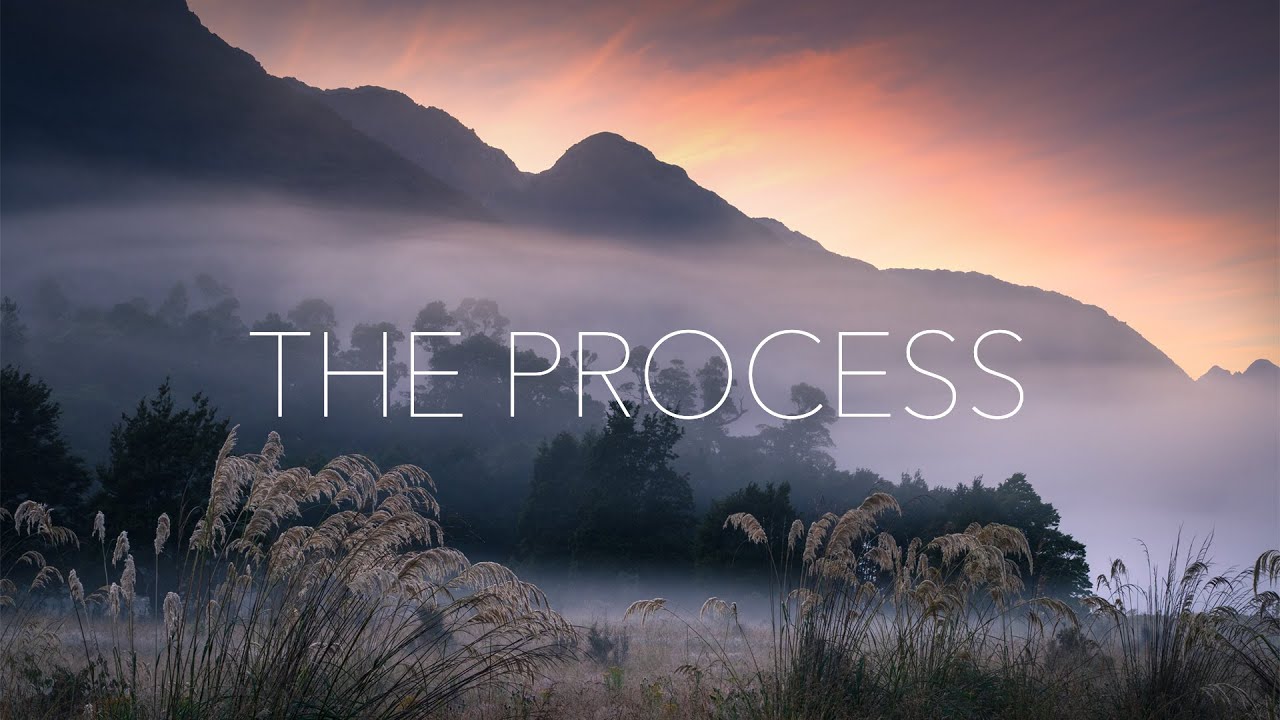
There’s a version of photography workflow that lives entirely inside a computer. Batch actions, export presets, color grading pipelines. That’s most of what I think about in my day job. But every so often I watch something that reminds me that the most important part of the workflow happens before you ever open Photoshop. In this William Patino tutorial filmed in Fiordland National Park, New Zealand, William walks through the complete end-to-end process of a serious landscape shoot: the map research, the multi-hour hike through boggy rainforest, the scouting decisions made on the fly when the terrain doesn’t match the map. Watch the full tutorial on YouTube
What struck me watching this is how cleanly it maps onto what I tell clients about post-production: garbage in, garbage out. If your capture workflow is chaotic, no amount of Photoshop automation saves you. William’s approach is methodical in a way that commercial photographers will recognize immediately, even though his subject is a remote New Zealand wilderness and mine is usually a flat-lay for an e-commerce brand. The discipline is the same. Plan the shot, control the variables, then execute.
This breakdown follows the video’s actual sequence. If you’re a landscape shooter looking to tighten up your field workflow, or a studio photographer who wants to think more deliberately about location pre-production, there’s real transferable value here.
Step 1: Start With the Topographic Map, Not Instagram
 William reviewing topo map with valley route marked
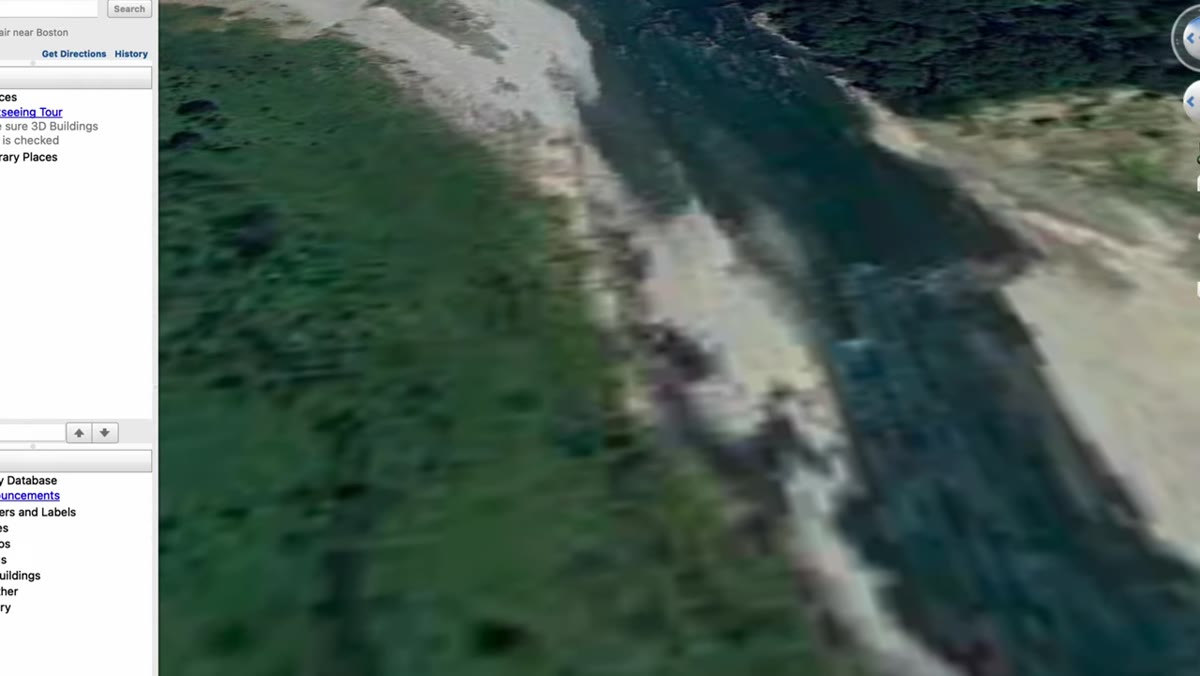
Before any gear gets packed, William pulls up topographic data and cross-references it with Google satellite view. He traces his intended route up the valley and identifies a specific section of beach that, based on the contour lines, should offer a clean view into the mountain face. The key move here is tilting the map view to simulate the angle of view he’ll have from ground level, which reveals the relationship between a waterfall, the peak, and the curve of the river below.
William reviewing topo map with valley route marked
Before any gear gets packed, William pulls up topographic data and cross-references it with Google satellite view. He traces his intended route up the valley and identifies a specific section of beach that, based on the contour lines, should offer a clean view into the mountain face. The key move here is tilting the map view to simulate the angle of view he’ll have from ground level, which reveals the relationship between a waterfall, the peak, and the curve of the river below.
This pre-visualization step is worth slowing down on. Most photographers scout with images, scrolling through location hashtags looking for compositions someone else already found. William uses contour data to predict geometry: where the ridgeline separates from the background, where the river bend creates a natural leading line, where the waterfall sits in the frame relative to the peak. You’re essentially doing your compositional thinking at your desk, which means you arrive on location with a specific shot in mind rather than wandering.
Step 2: Identify the Anchor Elements of Your Composition
 Topo view tilted showing waterfall, peak, and river bend alignment
Once William locks onto the beach location, he narrows down to four specific compositional elements he wants to work with: the waterfall, the angle of the peak, the curve of the river, and the adjacent rainforest. He notes these explicitly before leaving. This is a target list, not a wish list. It tells him where to position himself on arrival and what focal length range to prioritize packing.
Topo view tilted showing waterfall, peak, and river bend alignment
Once William locks onto the beach location, he narrows down to four specific compositional elements he wants to work with: the waterfall, the angle of the peak, the curve of the river, and the adjacent rainforest. He notes these explicitly before leaving. This is a target list, not a wish list. It tells him where to position himself on arrival and what focal length range to prioritize packing.
For anyone who shoots commercial work, this is just a shot list. Landscape photographers sometimes resist that kind of structure because it feels like it kills spontaneity, but the opposite is true. When you’re four hours into a muddy hike and the light is moving, having a clear primary composition means you can execute fast instead of still figuring out what you’re shooting.
Step 3: Accept That the Map Lies About Terrain
 William navigating boggy swamp terrain across the valley floor
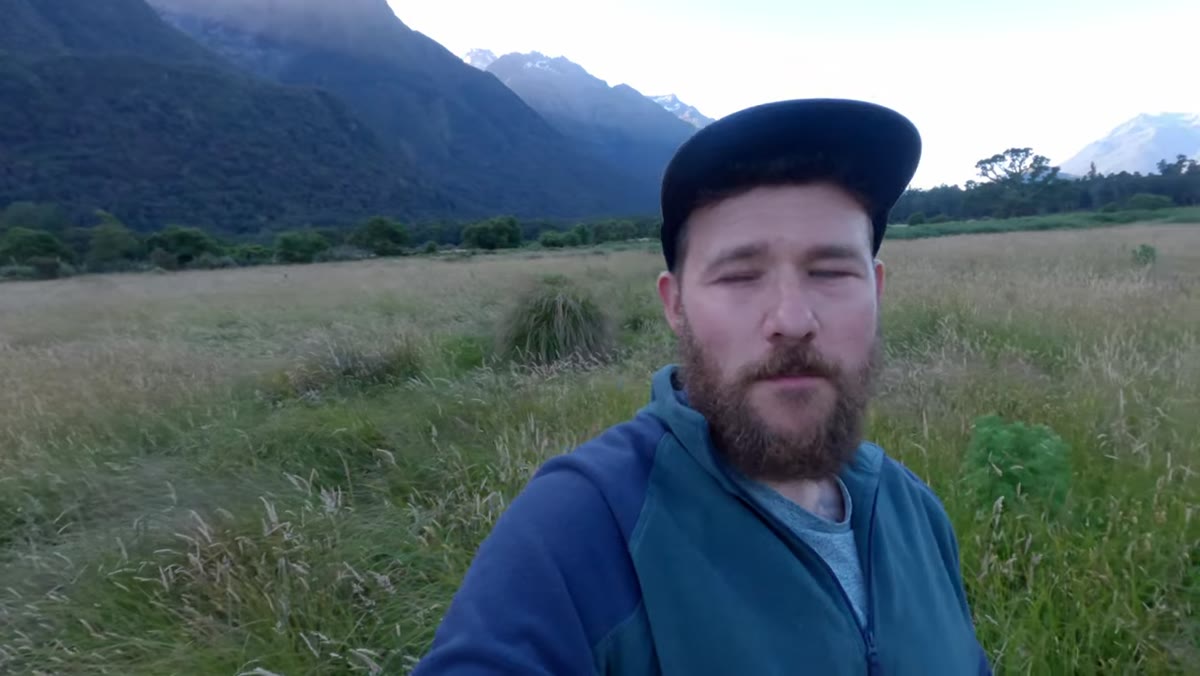
The valley floor that looked like a straightforward crossing on the topo turns out to be a series of boggy, swampy patches that require careful foot placement and constant route adjustments. William addresses this directly: knowing a location from map data doesn’t tell you what walking through it actually feels like. The practical implication is building in more time than you think you need, and not committing to a hard arrival window that puts you under pressure.
William navigating boggy swamp terrain across the valley floor
The valley floor that looked like a straightforward crossing on the topo turns out to be a series of boggy, swampy patches that require careful foot placement and constant route adjustments. William addresses this directly: knowing a location from map data doesn’t tell you what walking through it actually feels like. The practical implication is building in more time than you think you need, and not committing to a hard arrival window that puts you under pressure.
This matters for post-production planning too. I’ve had shoots where location conditions ate two hours of the day, which then compressed the editing window downstream. If you’re building a workflow that includes same-day turnaround or you’re shooting for a client with a tight delivery, the buffer you build into the field work has a direct effect on what happens at the computer later.
Step 4: Use the Physical Environment as a Navigation Checkpoint
 Dense bracken fern at head height, forest treeline visible ahead
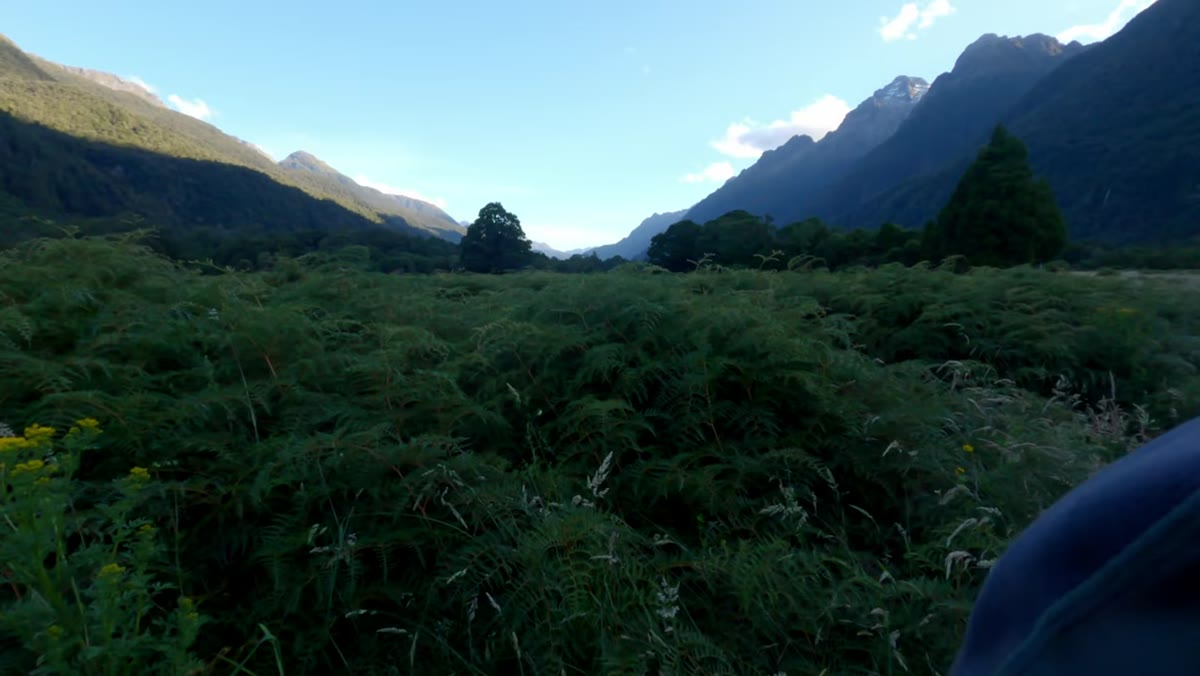
Moving through waist-high bracken fern with occasional deer trails, William uses the forest edge as his visual checkpoint. He knows that once he clears the tree line and gets through roughly 800 meters of forest, the view should open up. The forest is not an obstacle here, it’s a waypoint. He’s thinking about the shoot in segments, and each segment has a clear objective.
Dense bracken fern at head height, forest treeline visible ahead
Moving through waist-high bracken fern with occasional deer trails, William uses the forest edge as his visual checkpoint. He knows that once he clears the tree line and gets through roughly 800 meters of forest, the view should open up. The forest is not an obstacle here, it’s a waypoint. He’s thinking about the shoot in segments, and each segment has a clear objective.
Breaking a location into segments is useful compositional thinking. It prevents the mental overload of trying to evaluate the whole landscape at once. You’re moving through the environment systematically, and each transition zone, valley to swamp, swamp to forest, forest to clearing, gives you a new framing opportunity to assess.
Step 5: Evaluate the Scene the Moment It Opens Up
 Mountain face revealed after clearing the forest, waterfalls visible
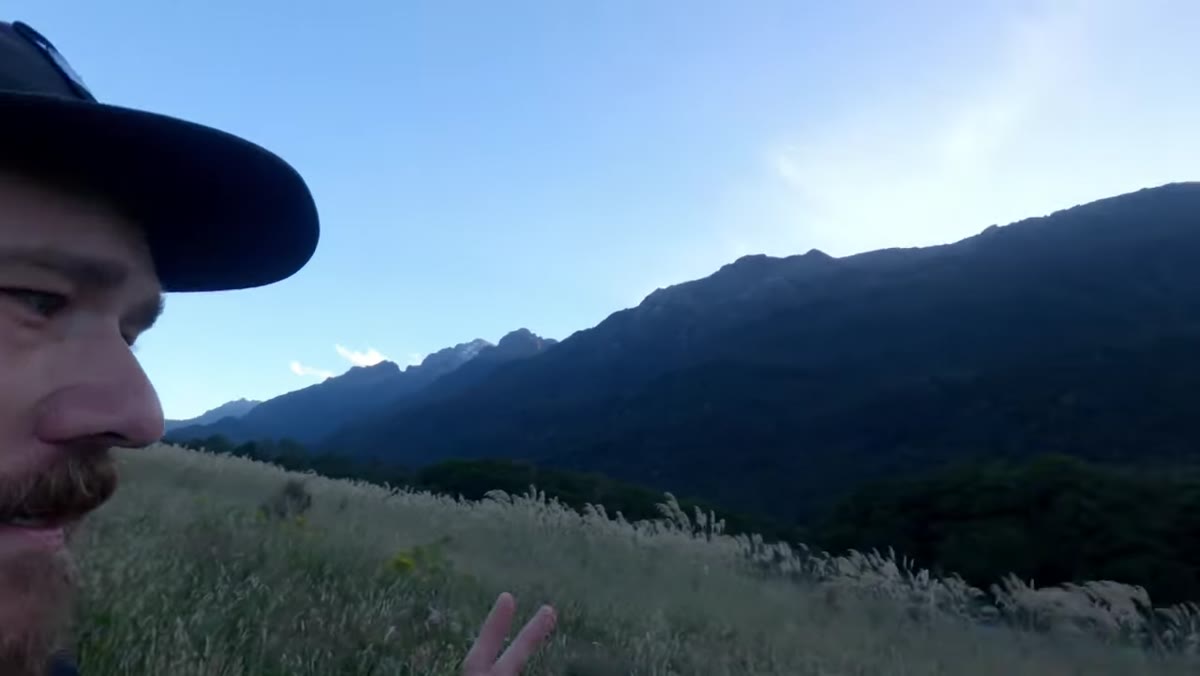
When William clears the forest, he immediately starts reading the mountain. He notes the separation between the main face and the southern ridge, which gives the peak definition and dimension. He spots multiple waterfall cascades coming down through the center of the frame. He checks whether the foreground forest can be incorporated as a framing element, and notes that the trees drop straight into the river, which limits his angle options.
Mountain face revealed after clearing the forest, waterfalls visible
When William clears the forest, he immediately starts reading the mountain. He notes the separation between the main face and the southern ridge, which gives the peak definition and dimension. He spots multiple waterfall cascades coming down through the center of the frame. He checks whether the foreground forest can be incorporated as a framing element, and notes that the trees drop straight into the river, which limits his angle options.
This is rapid compositional triage. You’re asking: does the scene deliver what the map suggested? What works better than expected? What doesn’t work at all? William finds that the forest-as-foreground idea he’d been holding onto isn’t viable given the terrain, so he pivots toward the beach and the open river bend. Knowing when to drop a pre-planned compositional idea is as important as having one.
What I’d Add: Document the Location Data While You’re Still There
I’ve consulted on enough post-production pipelines to know that the metadata problem starts in the field, not at the import stage. William’s video is focused on the physical and compositional workflow, which it handles brilliantly. What I’d layer on top is this: before you leave any location, drop a pin with notes attached. Record the time of day, the light direction, the focal lengths you used, and any composition ideas you didn’t execute. I use a simple voice memo and transcribe it later.
On a big commercial shoot I’ll have a location dossier built before the crew arrives. For solo landscape work, a two-minute voice note does the same job. When you’re back at the computer and trying to remember why you shot a particular angle, or whether that beach would be worth returning to at a different time of year, those field notes are worth more than any preset.
The single biggest takeaway from this video is that William treats the approach to the photograph with the same intentionality that most photographers reserve for post-processing. The scouting, the route planning, the compositional pre-visualization on a topographic map, all of it is workflow. The camera is almost the last thing that matters.
If your landscape shots feel like they’re missing something and you can’t fix it in Lightroom, the problem probably started before you left the car. Watch how William thinks through a location from first principles. Watch the full tutorial on YouTube
Comments (1)
Just subscribed. If the rest of your content is this good, I'm in.
Leave a Comment