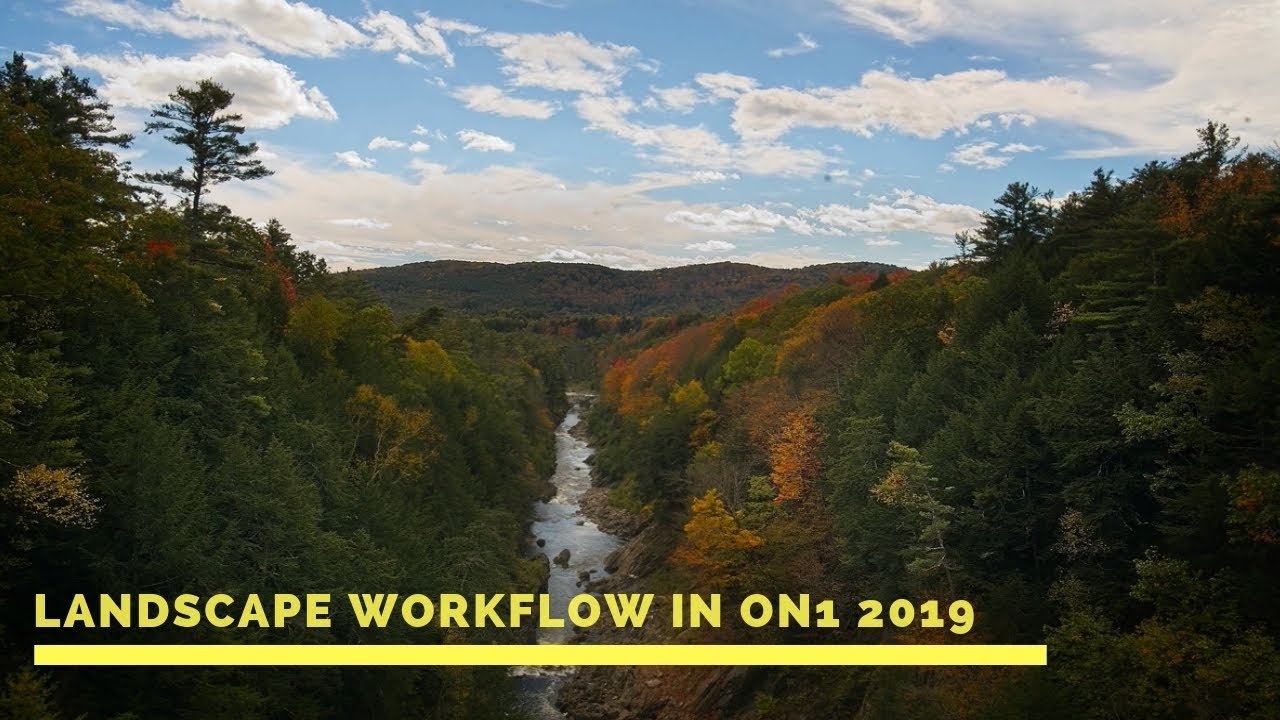
I have a spreadsheet that tracks every hour I’ve recovered through better workflow systems. It’s embarrassing how much of that time was lost not to bad tools, but to doing things in the wrong order. Sequence matters enormously in post-production, whether you’re batch-processing 500 product shots or sitting down with a single landscape file you actually care about. That’s why I keep coming back to tutorials from photographers who think systematically, not just creatively.
In this Matt Kloskowski tutorial on landscape workflow inside ON1 Photo RAW 2019, the central argument isn’t about a specific slider or a clever mask trick. It’s about understanding why ON1 reorganized its editing modules and how that new structure should change the sequence you follow. Watch the full tutorial on YouTube if you want to see it with a real landscape image in front of you. But if you want a walkthrough you can reference while you work, here’s how it breaks down.
Step 1: Understand the New Module Structure Before You Touch Anything
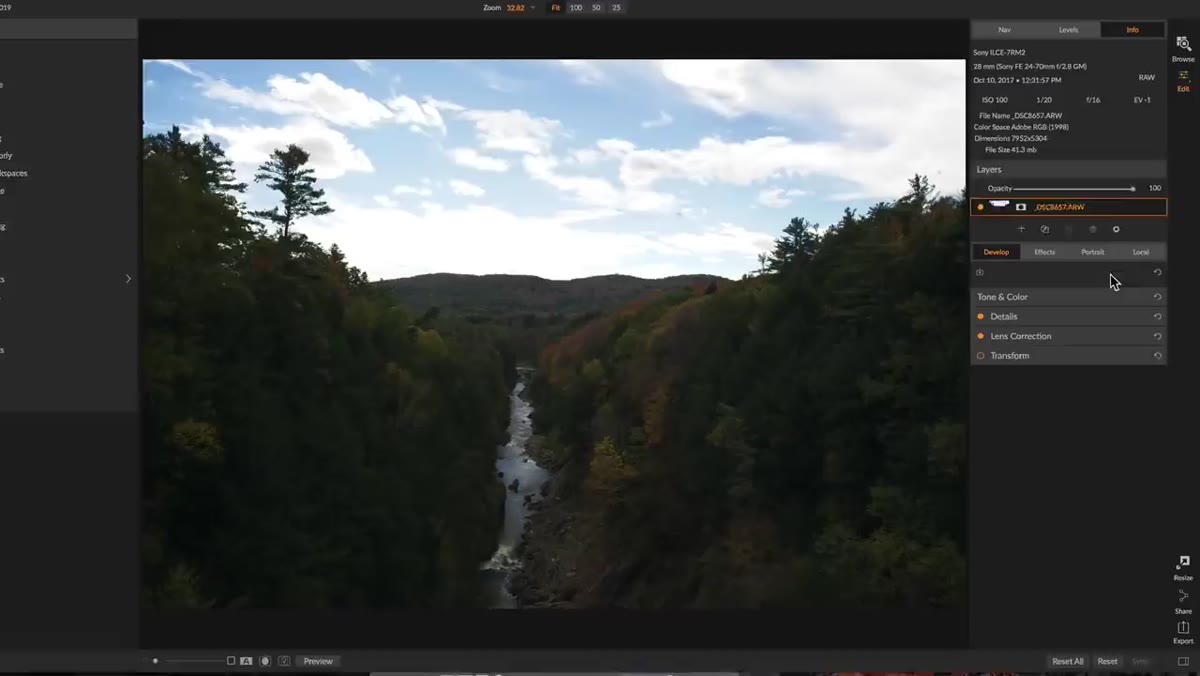
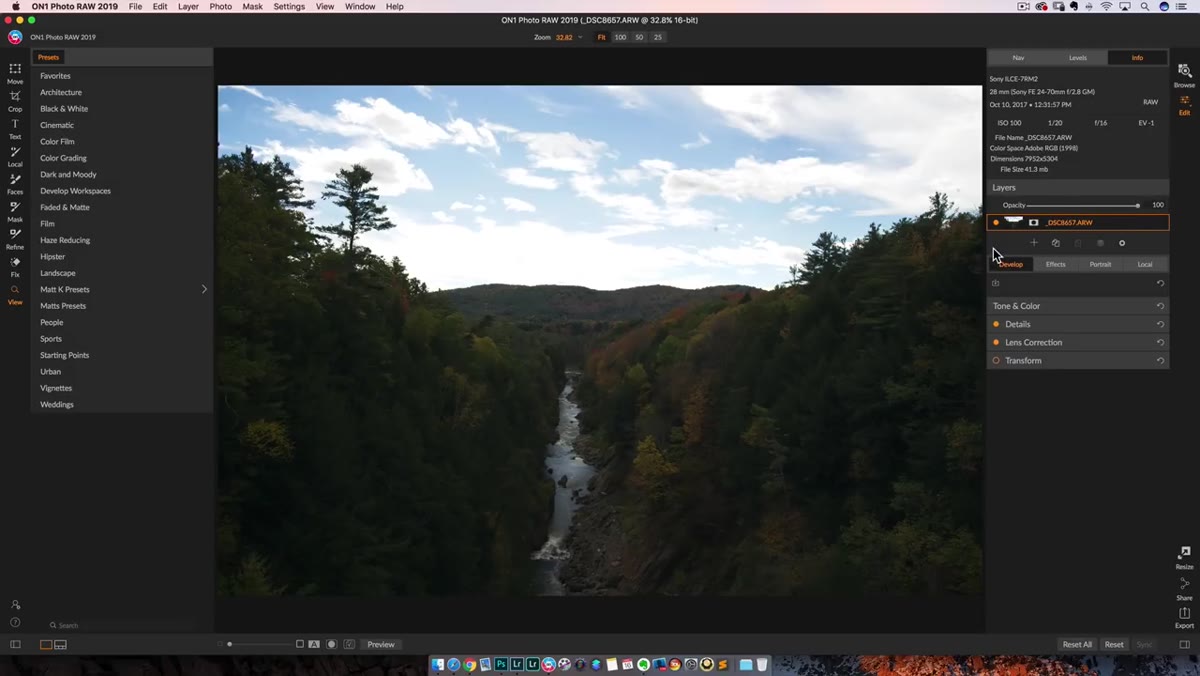
 ON1 2019 interface showing Develop, Effects, Portrait, Local tabs
The first thing Kloskowski does is orient you to what’s actually changed in the 2019 version. The old sidebar approach, where you’d jump between modules and sometimes lose track of what was applied where, has been replaced by a cleaner top-level navigation: Develop, Effects, Portrait, and Local. For landscape work, Portrait is largely irrelevant, so your focus is on the other three. The key insight here is that ON1 has deliberately separated technical corrections from creative adjustments. Develop is now for foundational, corrective work. Effects is where the creative decisions live. This isn’t just an interface reshuffle. It’s a philosophy about editing order, and if you ignore it, you’ll fight the software the whole way through.
ON1 2019 interface showing Develop, Effects, Portrait, Local tabs
The first thing Kloskowski does is orient you to what’s actually changed in the 2019 version. The old sidebar approach, where you’d jump between modules and sometimes lose track of what was applied where, has been replaced by a cleaner top-level navigation: Develop, Effects, Portrait, and Local. For landscape work, Portrait is largely irrelevant, so your focus is on the other three. The key insight here is that ON1 has deliberately separated technical corrections from creative adjustments. Develop is now for foundational, corrective work. Effects is where the creative decisions live. This isn’t just an interface reshuffle. It’s a philosophy about editing order, and if you ignore it, you’ll fight the software the whole way through.
Step 2: Start in Develop for Technical Corrections Only
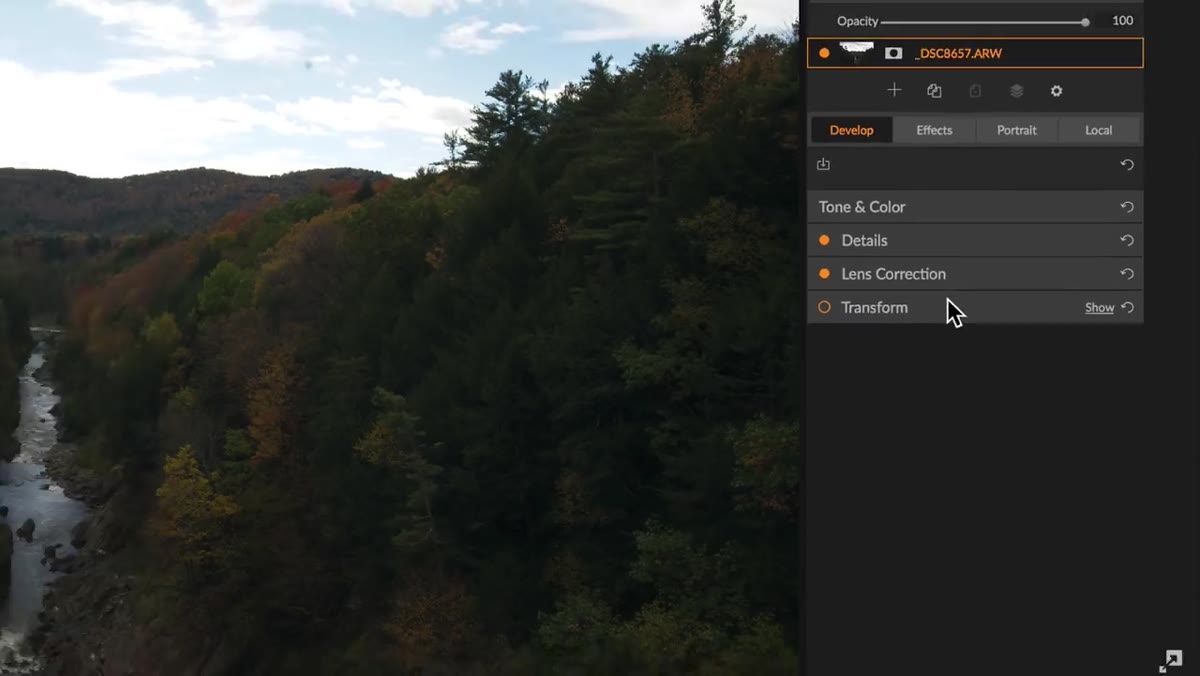
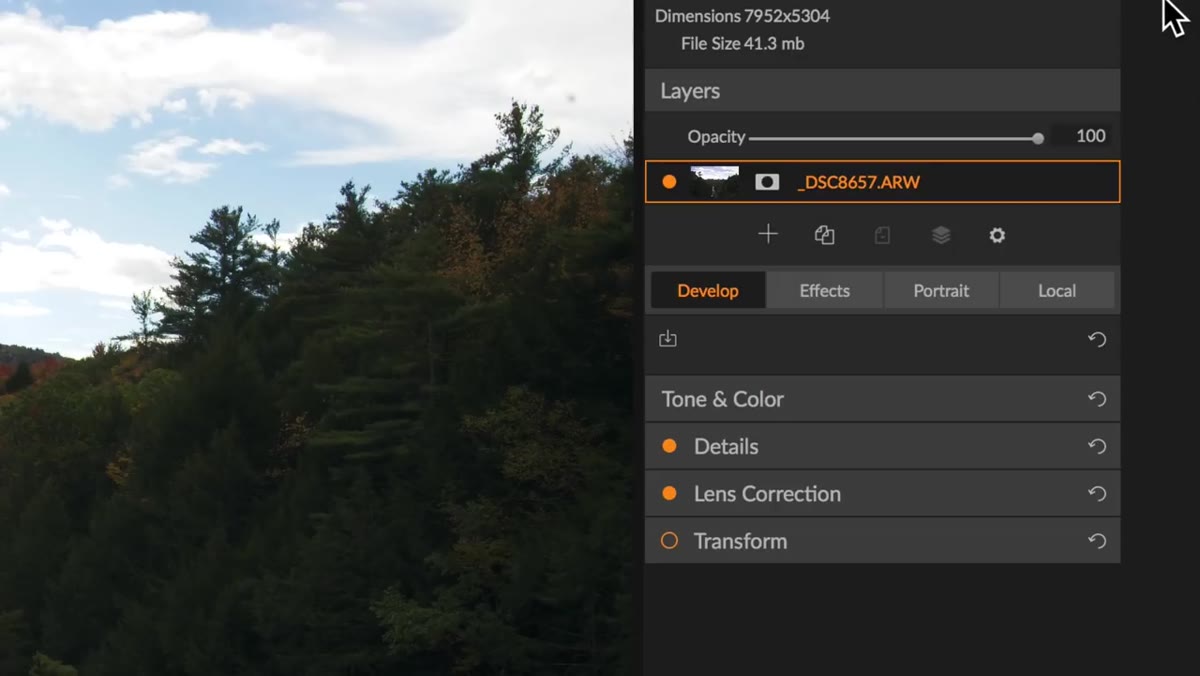
 Develop panel open showing Tone and Color, Details, Lens Correction sections
Inside the Develop module, you’ll notice fewer settings than previous versions of ON1 offered. That’s intentional. What remains is Tone and Color, Details, Lens Correction, and Transform. Kloskowski is explicit about treating this panel as the technical foundation of your edit, not the place where you make the photo look interesting. Think of it the way you’d think about camera calibration or lens profile correction in Lightroom: necessary groundwork, not creative expression. Before moving on, ask yourself whether the image needs any structural fixes - distortion, chromatic aberration, or framing adjustments. Handle those here and nowhere else.
Develop panel open showing Tone and Color, Details, Lens Correction sections
Inside the Develop module, you’ll notice fewer settings than previous versions of ON1 offered. That’s intentional. What remains is Tone and Color, Details, Lens Correction, and Transform. Kloskowski is explicit about treating this panel as the technical foundation of your edit, not the place where you make the photo look interesting. Think of it the way you’d think about camera calibration or lens profile correction in Lightroom: necessary groundwork, not creative expression. Before moving on, ask yourself whether the image needs any structural fixes - distortion, chromatic aberration, or framing adjustments. Handle those here and nowhere else.
Step 3: Make Conservative Tone Adjustments in Develop
 Tone and Color panel with highlights pulled down, mid-tones and shadows opened up
Within Tone and Color, Kloskowski pulls down highlights to recover detail in the brighter areas of the landscape, then lifts mid-tones and nudges shadows open slightly. He adds a touch of structure and blacks to give the image some initial contrast. The critical discipline here is restraint. He makes a point that many photographers find counterintuitive: don’t try to finish the image in Develop. If you know your Effects workflow is going to add contrast and depth later, don’t over-correct for contrast now. You’ll double up on adjustments and lose control of the tonal range. Make the image technically sound, not visually complete.
Tone and Color panel with highlights pulled down, mid-tones and shadows opened up
Within Tone and Color, Kloskowski pulls down highlights to recover detail in the brighter areas of the landscape, then lifts mid-tones and nudges shadows open slightly. He adds a touch of structure and blacks to give the image some initial contrast. The critical discipline here is restraint. He makes a point that many photographers find counterintuitive: don’t try to finish the image in Develop. If you know your Effects workflow is going to add contrast and depth later, don’t over-correct for contrast now. You’ll double up on adjustments and lose control of the tonal range. Make the image technically sound, not visually complete.
Step 4: Move to Effects for All Creative Adjustments
 Effects tab selected in top navigation bar
This is where the 2019 workflow makes its biggest departure from earlier versions. Tools that used to live in Develop, things like color grading, vignettes, black-and-white conversion, and stylistic treatments, have moved to Effects. Kloskowski frames this as a genuinely good change, and from a workflow-systems perspective, I agree with him. Keeping technical and creative operations in separate spaces reduces the cognitive load of editing. You’re not making a dozen micro-decisions about whether a slider is corrective or stylistic. Develop is corrective. Effects is stylistic. That clarity alone is worth building a habit around.
Effects tab selected in top navigation bar
This is where the 2019 workflow makes its biggest departure from earlier versions. Tools that used to live in Develop, things like color grading, vignettes, black-and-white conversion, and stylistic treatments, have moved to Effects. Kloskowski frames this as a genuinely good change, and from a workflow-systems perspective, I agree with him. Keeping technical and creative operations in separate spaces reduces the cognitive load of editing. You’re not making a dozen micro-decisions about whether a slider is corrective or stylistic. Develop is corrective. Effects is stylistic. That clarity alone is worth building a habit around.
Step 5: Use Local Adjustments After Global Work Is Finalized
 Local tab in navigation, used for targeted regional edits
Local adjustments come last in the sequence, and Kloskowski is clear that this ordering matters. Once your global tone corrections are in place and your creative Effects layers are established, Local is where you go to address specific regions of the image that need individual attention. For landscapes, this typically means dodging and burning areas like a foreground that needs to feel grounded, or a sky that needs to stay dramatic without blowing out. Doing local work before your global adjustments are finalized means you may end up correcting against a target that keeps moving. Set the foundation first, refine regionally second.
Local tab in navigation, used for targeted regional edits
Local adjustments come last in the sequence, and Kloskowski is clear that this ordering matters. Once your global tone corrections are in place and your creative Effects layers are established, Local is where you go to address specific regions of the image that need individual attention. For landscapes, this typically means dodging and burning areas like a foreground that needs to feel grounded, or a sky that needs to stay dramatic without blowing out. Doing local work before your global adjustments are finalized means you may end up correcting against a target that keeps moving. Set the foundation first, refine regionally second.
Step 6: Factor Layers Into the Sequence (But Separately)
 Layers panel mentioned as a major workflow change in ON1 2019
Kloskowski flags Layers as a separate conversation within the broader workflow, but worth acknowledging here. In 2019, the relationship between Layers and the rest of the editing pipeline changed significantly. In previous versions, edits made in Layers weren’t always visible or reflected consistently when you returned to the Develop panel. The new version addresses that integration problem. For landscape photographers, layers become most relevant when you’re blending exposures or compositing sky replacements. The principle is the same as with local adjustments: get your foundational Develop work done first, then bring in layer-based operations as a refinement step, not a starting point.
Layers panel mentioned as a major workflow change in ON1 2019
Kloskowski flags Layers as a separate conversation within the broader workflow, but worth acknowledging here. In 2019, the relationship between Layers and the rest of the editing pipeline changed significantly. In previous versions, edits made in Layers weren’t always visible or reflected consistently when you returned to the Develop panel. The new version addresses that integration problem. For landscape photographers, layers become most relevant when you’re blending exposures or compositing sky replacements. The principle is the same as with local adjustments: get your foundational Develop work done first, then bring in layer-based operations as a refinement step, not a starting point.
What I’d Add From My Own Experience
The workflow Kloskowski describes maps cleanly onto how I think about any multi-step editing process: separate concerns into distinct phases and don’t let them bleed into each other. Where I’d push further is in building this sequence into an actual repeatable system. If you’re working in ON1 regularly on landscape files, build a preset that gets you to a consistent neutral starting point in Develop before you make any image-specific decisions. Think of it as your zero point, a known baseline that accounts for your typical shooting conditions, lens profiles, and noise reduction settings. From a consistent zero point, every creative decision you make in Effects has more meaning because you’re not compensating for inconsistency underneath it.
I’ve seen photographers spend enormous amounts of time in Effects chasing a look that’s actually being undermined by sloppy foundational work in Develop. Standardizing the first phase makes the creative phase faster and more predictable. That’s where the real time savings compound over hundreds of files.
The single most important idea in this tutorial is that editing order is a workflow decision, not just a personal preference. ON1 Photo RAW 2019 was built around a specific philosophy - technical corrections first, creative work second, regional refinements last - and working with that structure rather than against it makes the whole process faster and the results more consistent.
Watch the full tutorial on YouTube to see Kloskowski walk through this on an actual landscape file, where the sequencing decisions become much more concrete.
Comments (2)
This is the kind of content that keeps me coming back.
I've been looking for exactly this kind of tutorial. Perfect timing.
Leave a Comment