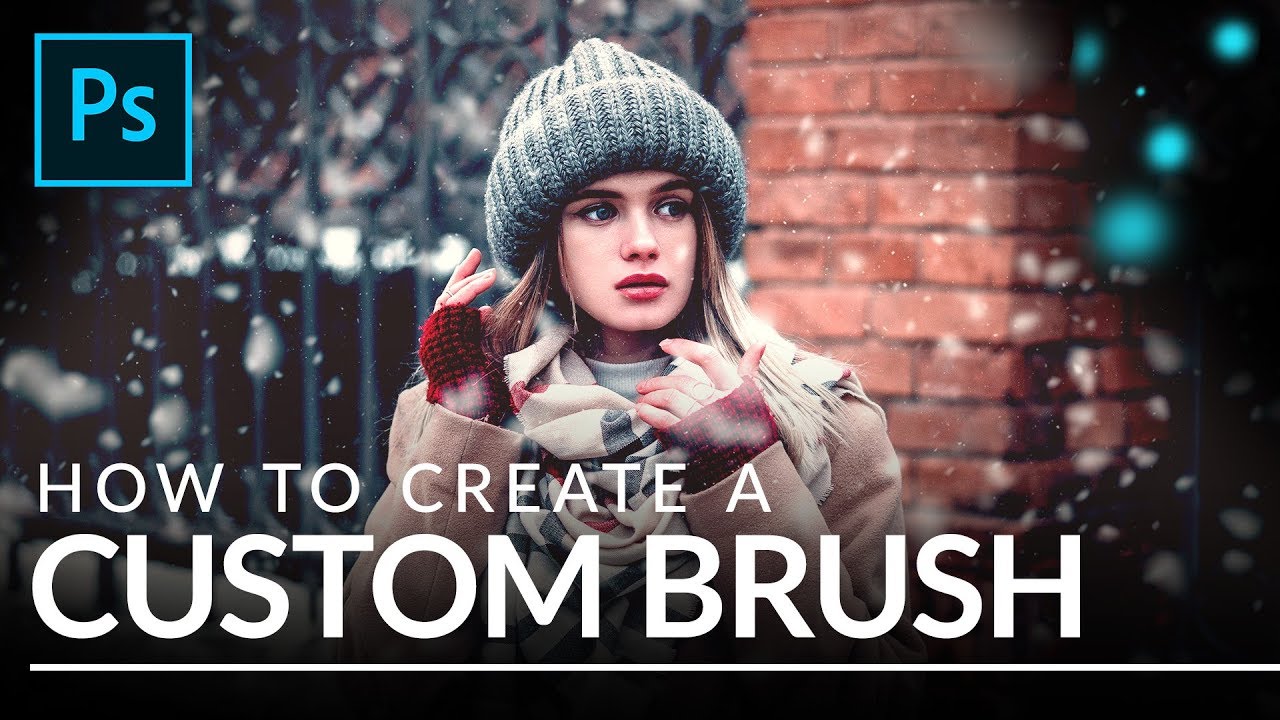
Every December, at least one client asks me to add snow to a product shot or lifestyle image that was photographed in July. For years I licensed stock snow overlays, and they were fine, right up until they weren’t. The wrong flake size, the wrong density, a pattern that tiled visibly if you looked closely. The overlay approach is a patch, not a solution.
What I actually needed was a brush I could resize, rescatter, and repaint non-destructively depending on the image. In this Aaron Nace (PHLEARN) tutorial, Watch the full tutorial on YouTube, Aaron walks through building a snow brush entirely from scratch in Photoshop. No plugins, no stock assets. The technique takes maybe ten minutes to set up, and once you understand the logic behind it, you can use the same process to build rain, dust, bokeh bubbles, or any other particle-based effect your clients will eventually ask for.
What I want to do here is walk through each step with the kind of detail that lets you follow along without pausing the video every thirty seconds.
Step 1: Create a White Background Layer for Your Brush Source
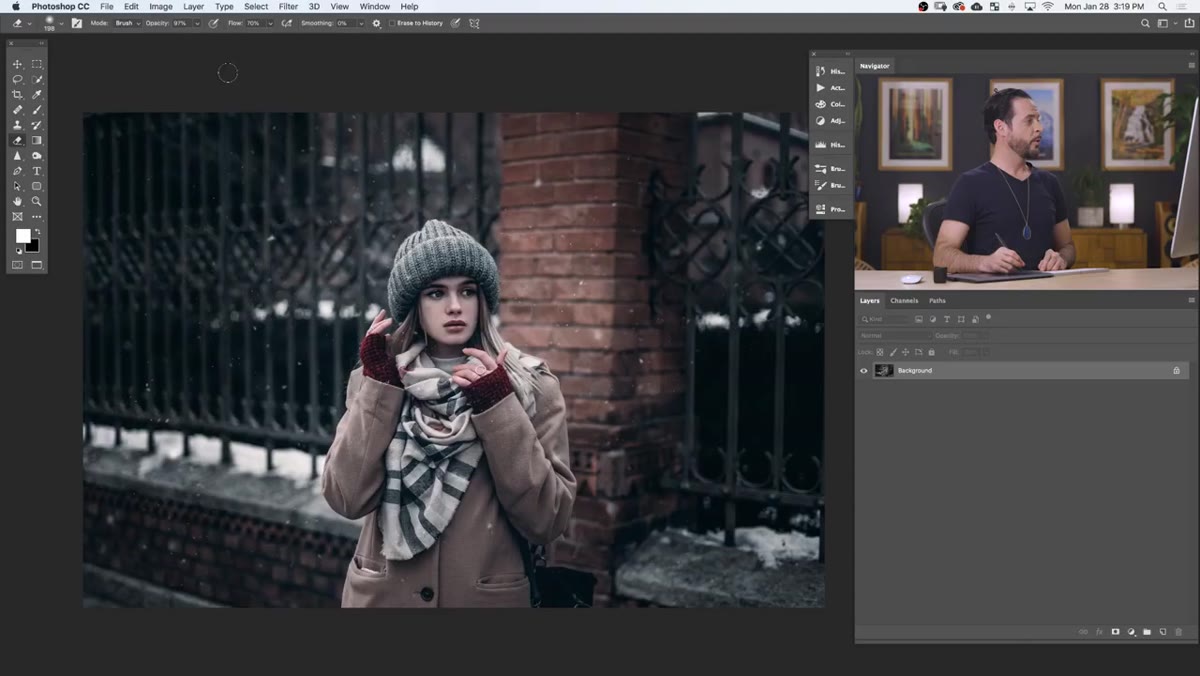 Setting up a white solid color fill layer as background
Photoshop defines brushes based on grayscale values: black becomes fully opaque, white becomes fully transparent. To build your brush shape correctly, you need to work on a white background so you can see what you’re actually painting and so Photoshop reads your shapes correctly when you define the preset.
Setting up a white solid color fill layer as background
Photoshop defines brushes based on grayscale values: black becomes fully opaque, white becomes fully transparent. To build your brush shape correctly, you need to work on a white background so you can see what you’re actually painting and so Photoshop reads your shapes correctly when you define the preset.
Go to Layer > New Fill Layer > Solid Color, and set the color to pure white (hex ffffff). This becomes your working canvas. Everything you paint in black on a layer above this will become the opaque portion of your brush tip.
Step 2: Paint the Brush Shape Using Two Soft-Edged Dots
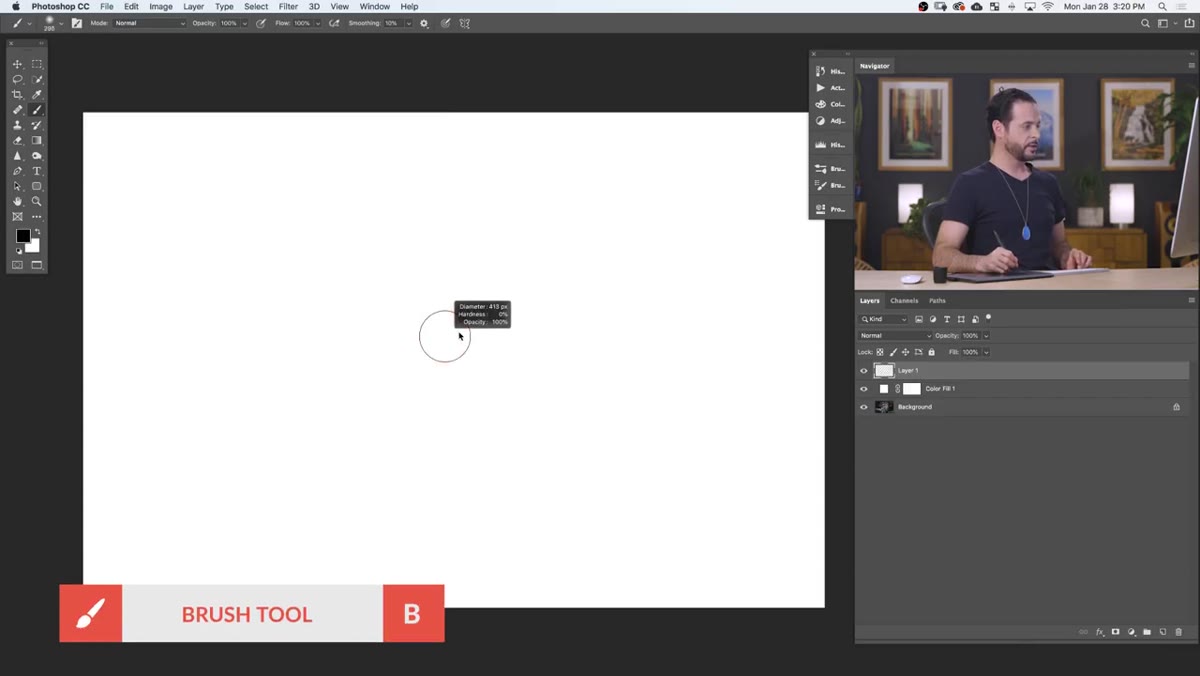 Painting two black soft-edged dots on a new layer
Create a new empty layer above the white fill. Select the Brush tool (B), choose a soft round brush, and set your foreground color to black. Paint one larger soft dot, something in the 80-100px range at full opacity. This is your primary snowflake shape. Then reduce your brush size significantly and drop your opacity to around 50%, and paint a smaller, fainter dot nearby.
Painting two black soft-edged dots on a new layer
Create a new empty layer above the white fill. Select the Brush tool (B), choose a soft round brush, and set your foreground color to black. Paint one larger soft dot, something in the 80-100px range at full opacity. This is your primary snowflake shape. Then reduce your brush size significantly and drop your opacity to around 50%, and paint a smaller, fainter dot nearby.
That second smaller dot matters more than it might seem. When Photoshop scatters this brush tip, you end up with variation in how “solid” individual flakes appear across the canvas. The combination of a crisp flake and a softer, slightly transparent flake gives the scatter result a sense of depth, as if some snow is closer to the lens and some is further away. Two simple shapes, one with a lot of work baked into the logic.
Step 3: Define the Brush Preset
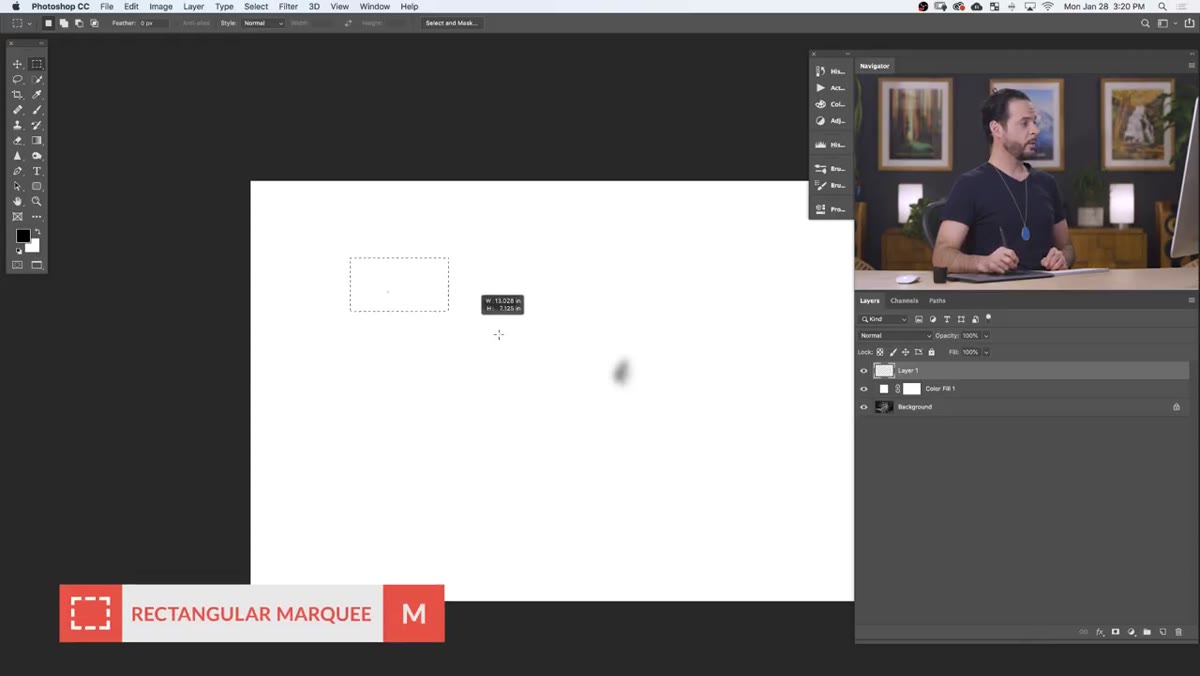 Using Edit > Define Brush Preset with the snow template name
With the Rectangular Marquee tool, draw a selection around both of your painted dots. Make sure both shapes are fully inside the selection. Then go to Edit > Define Brush Preset and give it a descriptive name. Aaron uses “snow template,” and that naming convention is worth copying. If you build a library of custom brushes over time, clear naming saves you from scrolling through a sea of unlabeled thumbnails later.
Using Edit > Define Brush Preset with the snow template name
With the Rectangular Marquee tool, draw a selection around both of your painted dots. Make sure both shapes are fully inside the selection. Then go to Edit > Define Brush Preset and give it a descriptive name. Aaron uses “snow template,” and that naming convention is worth copying. If you build a library of custom brushes over time, clear naming saves you from scrolling through a sea of unlabeled thumbnails later.
At this point you have a brush shape, but it paints like a stamp. Click and drag and you get a rigid, repeating imprint of your two dots. The settings in the next steps are what transform that stamp into something that looks like actual falling snow.
Step 4: Dial In Spacing in Brush Settings
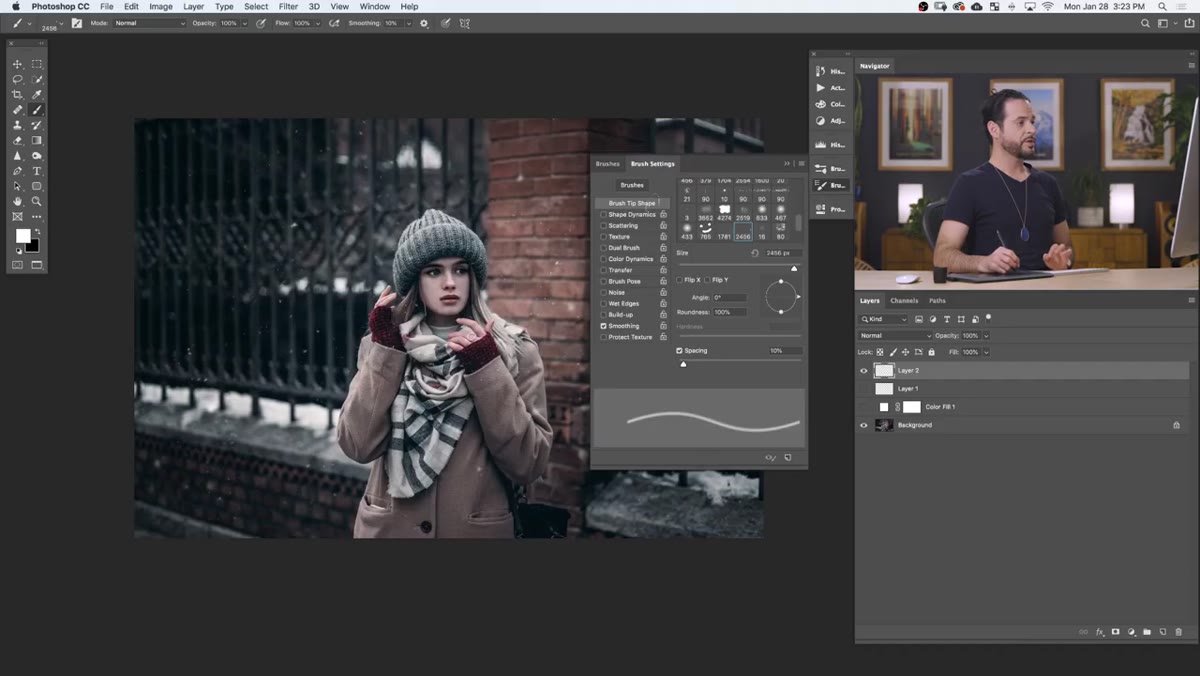 Increasing brush spacing in the Brush Settings panel
Open the Brush Settings panel via Window > Brush Settings. The first thing to adjust is Spacing, found in the main Brush Tip Shape section. By default, Photoshop sets spacing low, which means the brush tip repeats so frequently that strokes look like a solid smear. For particle effects, you want the individual tip instances to be distinct and separate.
Increasing brush spacing in the Brush Settings panel
Open the Brush Settings panel via Window > Brush Settings. The first thing to adjust is Spacing, found in the main Brush Tip Shape section. By default, Photoshop sets spacing low, which means the brush tip repeats so frequently that strokes look like a solid smear. For particle effects, you want the individual tip instances to be distinct and separate.
Pull Spacing up significantly, somewhere in the 150-300% range is a useful starting point for snow. You can always come back and adjust this after you test-paint, and Aaron does exactly that mid-tutorial when the first result looks too dense. Build the habit of treating Spacing as a dial you return to, not a set-and-forget value.
Step 5: Add Size Jitter and Angle Jitter via Shape Dynamics
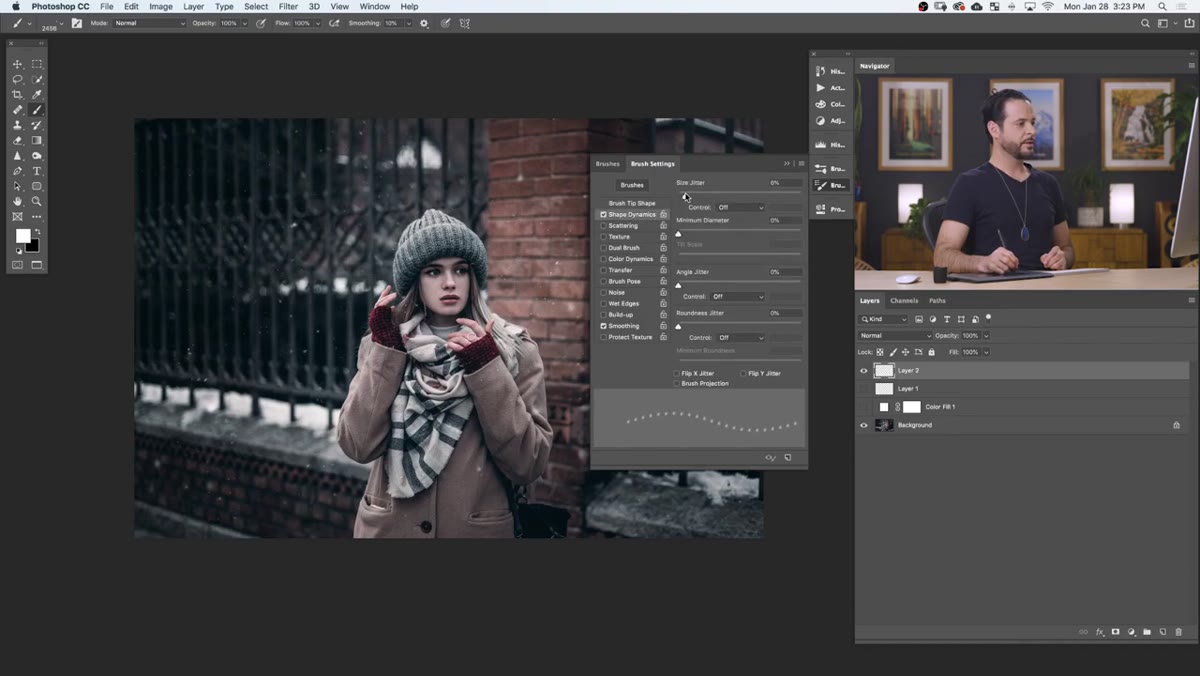 Shape Dynamics panel with Size Jitter and Angle Jitter at maximum
Click into Shape Dynamics in the left panel of Brush Settings. Set Size Jitter to 100%. This tells Photoshop to randomize the scale of each brush tip instance across the full range from tiny to the full brush diameter. Without this, every flake is the same size, which reads as artificial immediately.
Shape Dynamics panel with Size Jitter and Angle Jitter at maximum
Click into Shape Dynamics in the left panel of Brush Settings. Set Size Jitter to 100%. This tells Photoshop to randomize the scale of each brush tip instance across the full range from tiny to the full brush diameter. Without this, every flake is the same size, which reads as artificial immediately.
Also crank Angle Jitter to 100%. Because the brush shape is a soft circle, angle jitter has a more subtle effect here than it would on an asymmetrical shape, but it does contribute to the overall randomness of how each flake renders, particularly the smaller secondary dot. Add a small amount of Roundness Jitter as well, maybe 20-30%, to introduce slight elliptical variation in the flake shapes.
Step 6: Enable Scattering on Both Axes
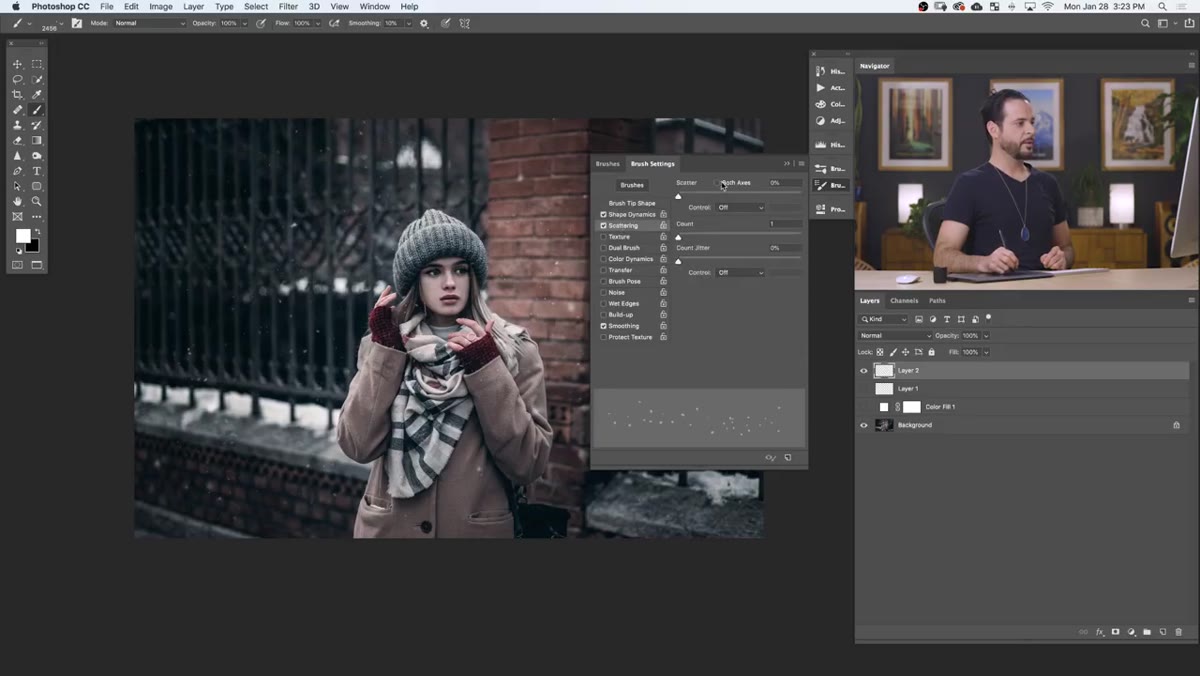 Scattering panel with Both Axes enabled and Scatter value increased
Click into Scattering. Enable the “Both Axes” checkbox. This allows Photoshop to scatter the brush tip perpendicular to your stroke direction, not just along it. Without this, your snow will line up in a ribbon that follows your mouse movement. With it, flakes spread outward in all directions, which is how actual snow distributes across a scene.
Scattering panel with Both Axes enabled and Scatter value increased
Click into Scattering. Enable the “Both Axes” checkbox. This allows Photoshop to scatter the brush tip perpendicular to your stroke direction, not just along it. Without this, your snow will line up in a ribbon that follows your mouse movement. With it, flakes spread outward in all directions, which is how actual snow distributes across a scene.
Increase the Scatter value until the distribution looks genuinely random across your canvas. Aaron paints test strokes and evaluates the result, which is the right approach. There’s no universal correct value here because it depends entirely on your brush size relative to your image dimensions.
Step 7: Test, Resize, and Paint Across Your Image
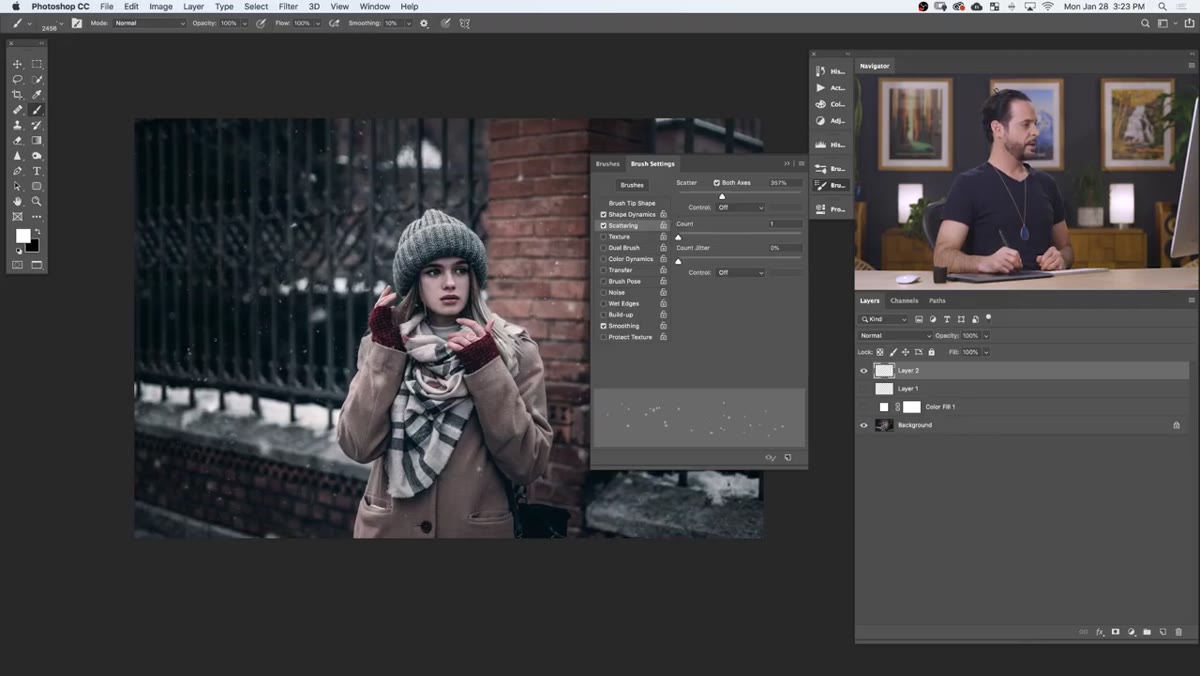 Painting white snow particles on a dark background layer
Create a new layer above your image, set your foreground color to white, and start painting. Use the bracket keys (left bracket to decrease, right bracket to increase) to quickly shift brush size as you work. Paint larger flakes in the foreground areas of your image and smaller ones toward the background to reinforce the sense of depth.
Painting white snow particles on a dark background layer
Create a new layer above your image, set your foreground color to white, and start painting. Use the bracket keys (left bracket to decrease, right bracket to increase) to quickly shift brush size as you work. Paint larger flakes in the foreground areas of your image and smaller ones toward the background to reinforce the sense of depth.
If the density still feels off after your first pass, go back to Window > Brush Settings and nudge Spacing upward. Clear the layer and repaint. This iterative loop takes maybe two minutes and gets you to a result that would take an hour to fake convincingly with overlays.
A Note on Saving This Brush for Future Projects
I keep a dedicated Photoshop library of every custom brush I build, organized by category and saved as a .ABR file backed up in three places. Yes, three. Once you have a brush this useful, losing it to a system migration or a crash is genuinely painful, and I’ve learned that lesson more than once.
After you finish tuning the brush settings, go to the Brush Settings panel flyout menu and choose “New Brush Preset.” Make sure to check “Capture Brush Settings in Preset” so that all your Shape Dynamics and Scattering values are saved with the brush, not just the tip shape. Then export your brush library via the Preset Manager so you have a portable file. The next time a client emails you in November asking for snow on a beach photo from August, you’ll have this ready in under a minute.
The single most important thing this tutorial teaches isn’t the snow brush itself. It’s that Photoshop brush behavior is fully programmable through its settings, and that any repeating particle or texture effect you want to paint can be engineered from a simple shape. Once you internalize that, your toolset expands considerably.
Watch the full tutorial on YouTube and follow along with Aaron’s original demonstration to see the result come together in real time.
Comments (2)
Clear and practical. No fluff. Appreciate that.
Never thought of approaching it this way. Really creative.
Leave a Comment