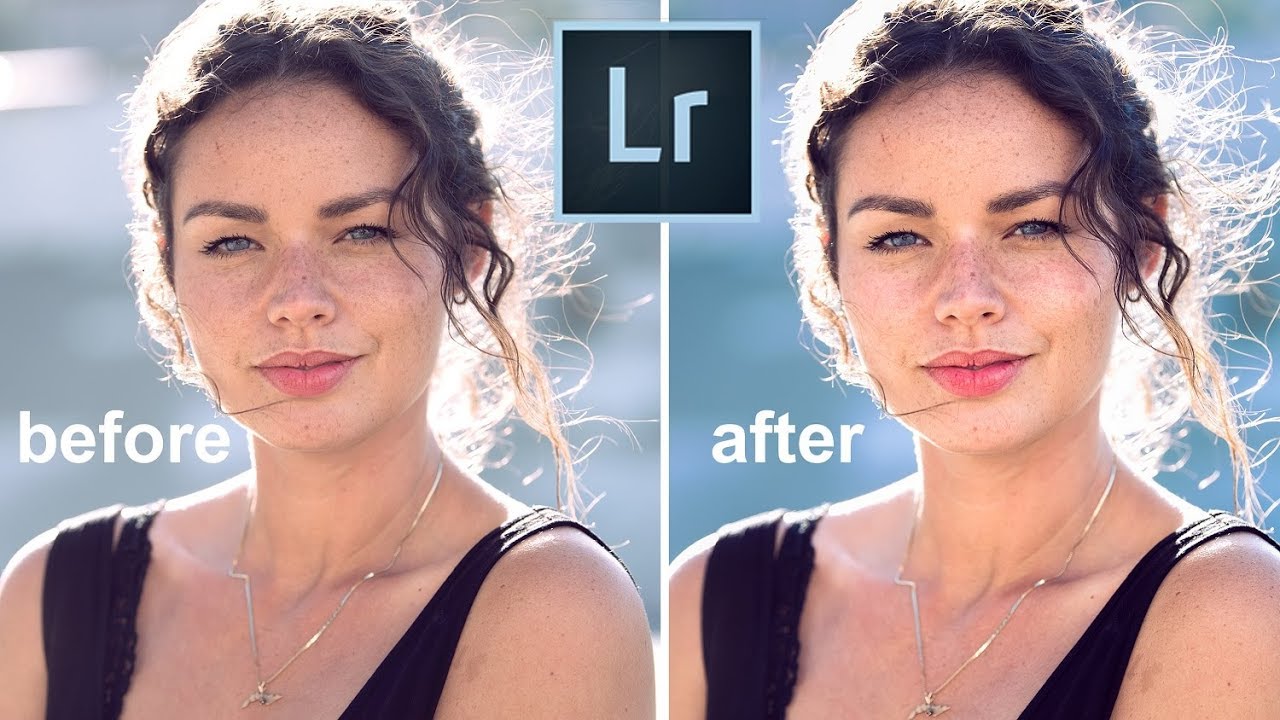
I have a spreadsheet that tracks every hour I’ve recovered through smarter post-production workflows. After fifteen years of processing images for ad agencies and e-commerce brands, I know exactly what bad preset design costs: blown exposures, wrecked color grades, and a growing sense of dread every time a client sends a folder of 800 RAW files. The specific problem I keep running into with off-the-shelf Lightroom presets is that they fight your exposure instead of working with it. You dial in a careful base, apply a look, and suddenly the image is two stops brighter than you intended because the preset baked in its own exposure adjustment. It’s a mess.
That’s exactly the problem this system is built to solve. In this Tony & Chelsea Northrup tutorial, Tony and Chelsea walk through a preset pack that separates the technical groundwork from the creative finishing touches - using Lightroom’s profile system to handle exposure and dynamic range before any preset touches the image. Chelsea then layers on portrait and landscape creative looks that don’t interfere with what Tony set up underneath. The division of labor between them mirrors something I’d actually recommend as a solo shooter: build your technical foundation first, then apply style. Here’s how the whole system works.
Step 1: Understand Why Profiles and Presets Are Different Tools
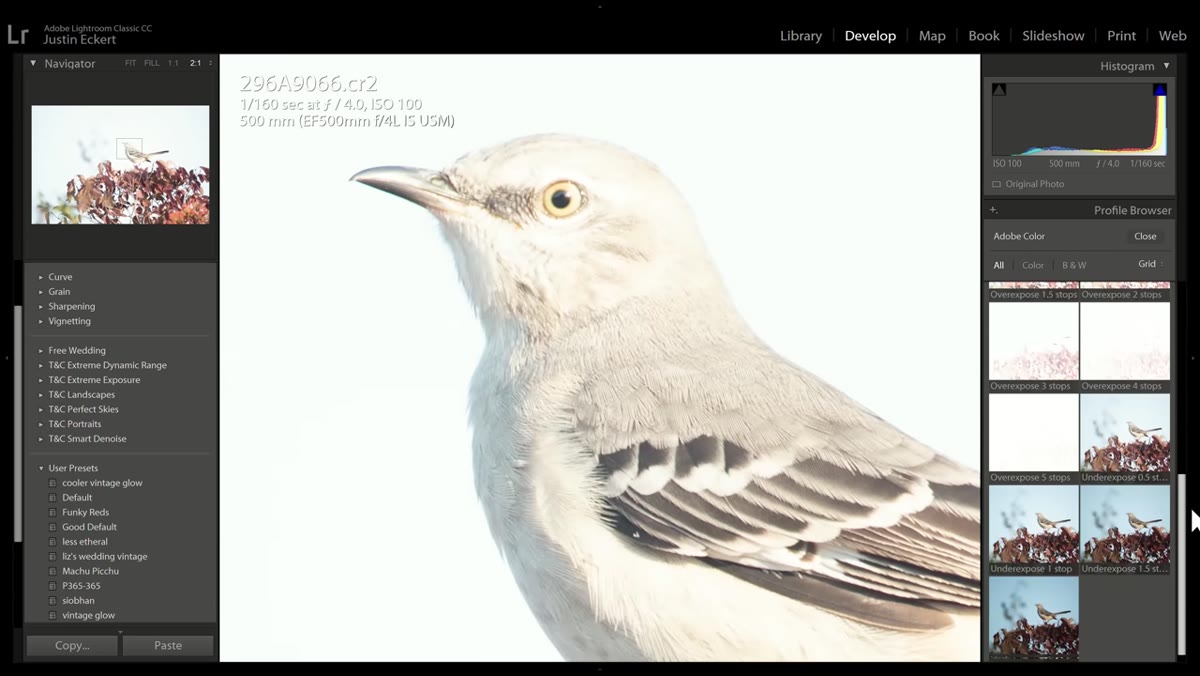 Lightroom profile panel open showing thumbnail previews
Most photographers treat Lightroom profiles as a curiosity tucked away above the Basic panel. Tony’s approach makes them the foundation of the entire workflow. Profiles operate before Lightroom’s sliders - they reshape the RAW data itself rather than applying parametric adjustments on top of it. That distinction matters enormously. When you later apply a preset that nudges exposure, it’s adjusting from whatever slider value you’ve set. But if your exposure baseline was established at the profile level, the sliders stay clean, and the preset has nothing to accidentally override.
Lightroom profile panel open showing thumbnail previews
Most photographers treat Lightroom profiles as a curiosity tucked away above the Basic panel. Tony’s approach makes them the foundation of the entire workflow. Profiles operate before Lightroom’s sliders - they reshape the RAW data itself rather than applying parametric adjustments on top of it. That distinction matters enormously. When you later apply a preset that nudges exposure, it’s adjusting from whatever slider value you’ve set. But if your exposure baseline was established at the profile level, the sliders stay clean, and the preset has nothing to accidentally override.
Think of it this way: the profile is the floor of your edit, and everything else is furniture. You can rearrange the furniture without tearing up the floor.
Step 2: Use ETTR Profiles to Fix Exposure Before Touching Any Slider
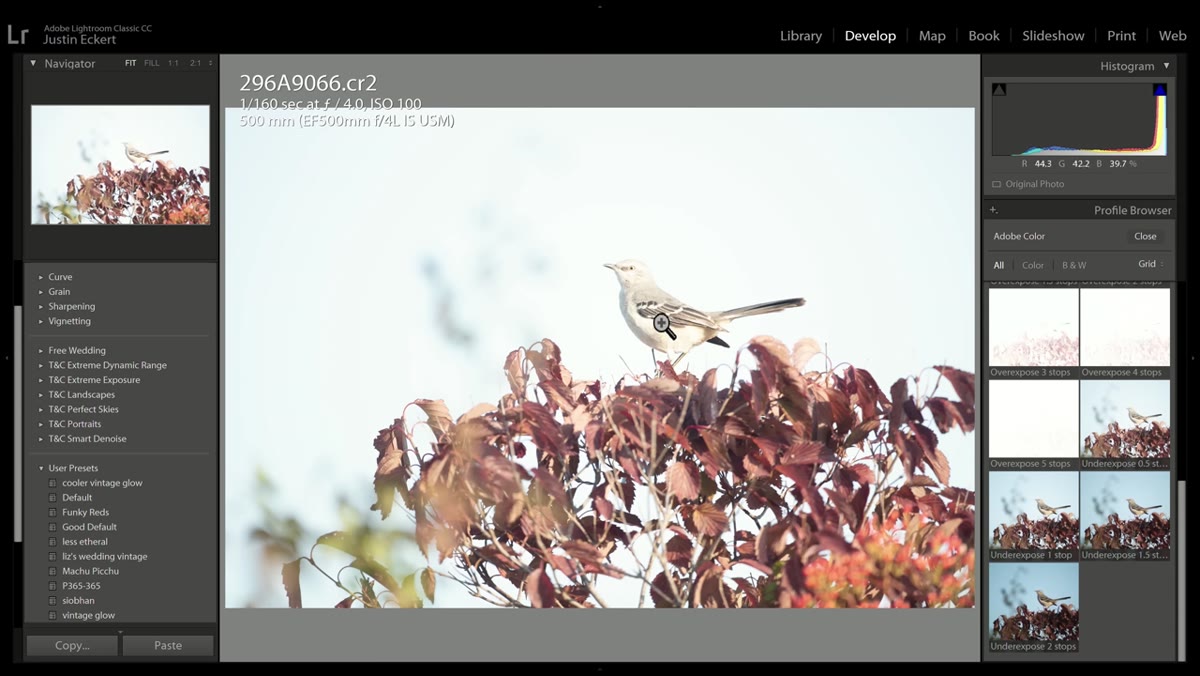 Profile browser showing ETTR exposure correction thumbnails
Expose to the right - ETTR - is a noise-reduction technique where you intentionally overexpose at capture to push pixel data away from the noisy shadow region of your sensor. Modern cameras with 14 or 15 stops of dynamic range reward this approach with noticeably cleaner images, especially in out-of-focus areas and dark backgrounds. The catch is that your RAW files land in Lightroom looking bright, and if you correct that with the Exposure slider, you’ve now set yourself up for exactly the preset conflict described above.
Profile browser showing ETTR exposure correction thumbnails
Expose to the right - ETTR - is a noise-reduction technique where you intentionally overexpose at capture to push pixel data away from the noisy shadow region of your sensor. Modern cameras with 14 or 15 stops of dynamic range reward this approach with noticeably cleaner images, especially in out-of-focus areas and dark backgrounds. The catch is that your RAW files land in Lightroom looking bright, and if you correct that with the Exposure slider, you’ve now set yourself up for exactly the preset conflict described above.
The solution here is a set of profiles designed specifically for ETTR correction. You browse them visually using the thumbnail previews in the profile browser, pick the one that brings your overexposed file back to the right brightness, and select it - without moving a single slider. Your Exposure slider stays at zero. Every preset you apply afterward inherits a clean starting point.
Step 3: Compress Dynamic Range at the Profile Level
 Before and after of high-contrast scene with dynamic range profile applied
High-contrast scenes - bright sky, dark foreground - are where Lightroom’s default tone curve often leaves you choosing between a blown sky and a crushed subject. Tony includes a set of dynamic range profiles that compress the tonal spread of the image before you touch Highlights or Shadows. The before-and-after he demonstrates is genuinely striking: one click produces a balanced exposure across the entire frame that would otherwise require careful masking or a multi-image bracket merge.
Before and after of high-contrast scene with dynamic range profile applied
High-contrast scenes - bright sky, dark foreground - are where Lightroom’s default tone curve often leaves you choosing between a blown sky and a crushed subject. Tony includes a set of dynamic range profiles that compress the tonal spread of the image before you touch Highlights or Shadows. The before-and-after he demonstrates is genuinely striking: one click produces a balanced exposure across the entire frame that would otherwise require careful masking or a multi-image bracket merge.
This is particularly useful for landscape and outdoor work, but I’d apply the same logic to e-commerce product shots on high-key backgrounds. Getting the tonal range right at the profile stage means your color grading presets see a balanced image from the start, rather than trying to compensate for an image that’s already fighting itself.
Step 4: Apply Smart Denoise to Backgrounds Without Destroying Subject Detail
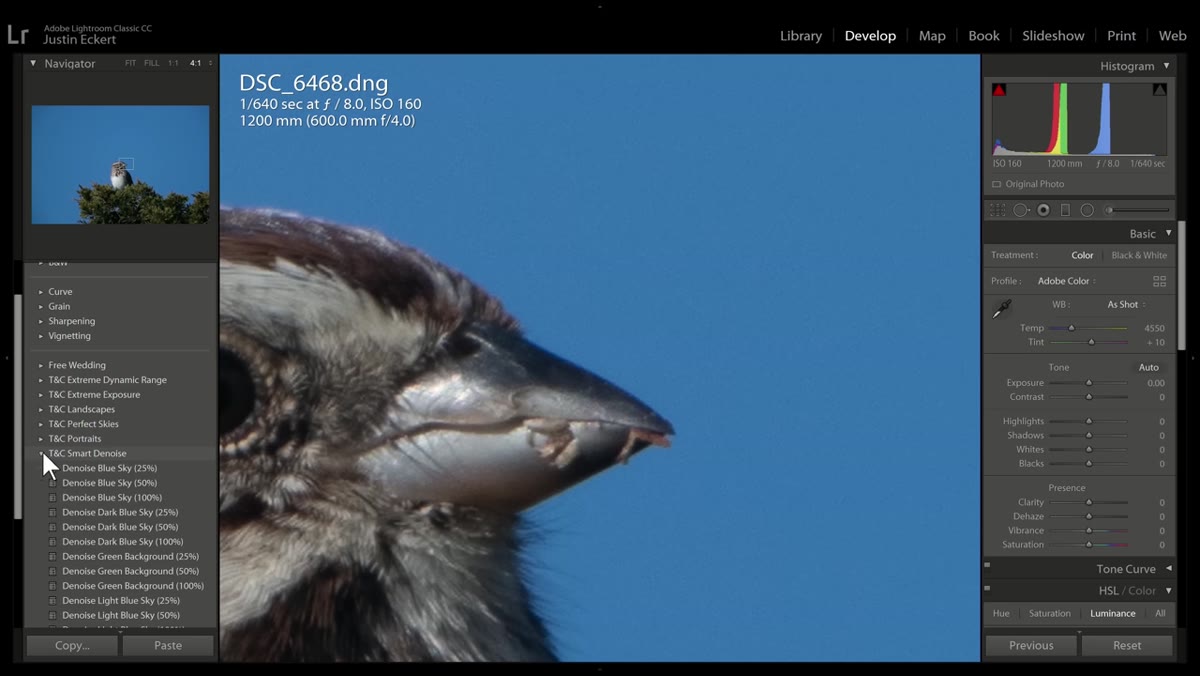 Wildlife photo showing noisy background before and after denoise preset
Noise in out-of-focus backgrounds is one of those problems that looks fine at thumbnail size and then ruins a print. Tony demonstrates a denoise preset that specifically targets background areas while preserving fine detail in the subject - in his example, a bird with intricate feather texture. The sky cleans up dramatically; the feathers stay sharp.
Wildlife photo showing noisy background before and after denoise preset
Noise in out-of-focus backgrounds is one of those problems that looks fine at thumbnail size and then ruins a print. Tony demonstrates a denoise preset that specifically targets background areas while preserving fine detail in the subject - in his example, a bird with intricate feather texture. The sky cleans up dramatically; the feathers stay sharp.
Historically, this kind of selective denoise meant a round-trip to Photoshop, a manual mask, and fifteen minutes of cleanup per image. A preset that handles it in one click, even approximately, changes the math on how many images you can realistically polish in an editing session. I’d still check the mask on any hero image, but for a batch of 200 wildlife selects, the time savings stack up fast.
Step 5: Replace Overcast Skies With a Targeted Preset Stack
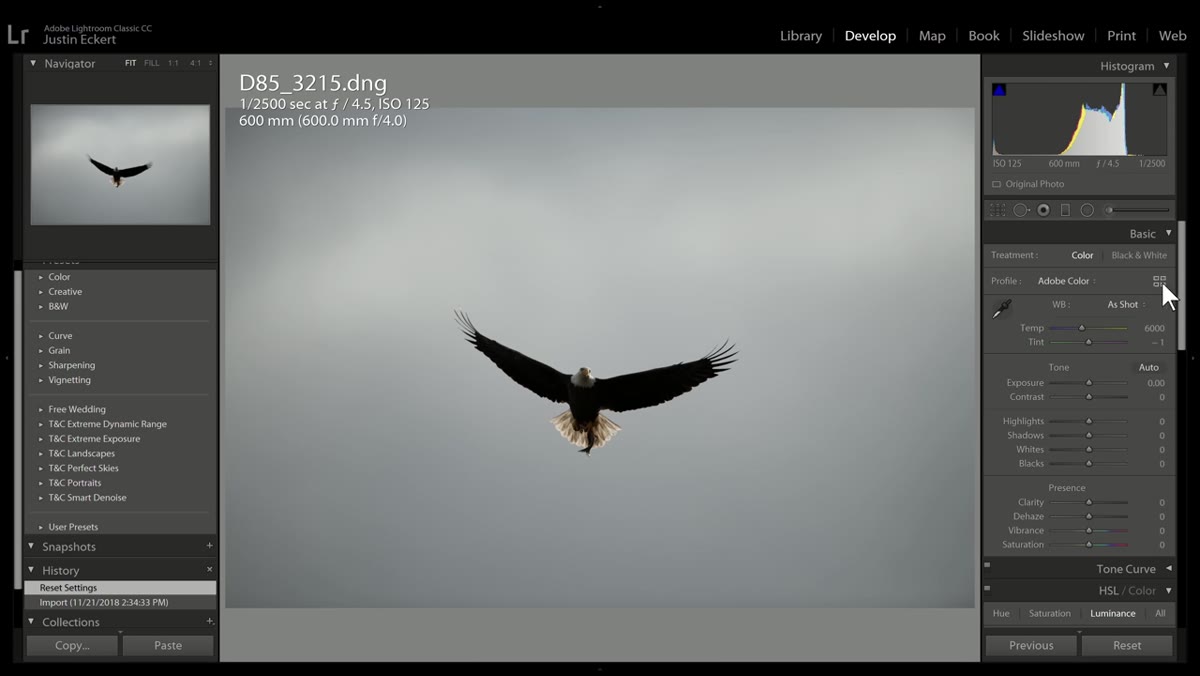 Overcast sky image with blue sky preset applied at varying intensities
Chelsea and Tony show a two-step approach to gray sky days: first establish your exposure and dynamic range correctly using the profile tools from Steps 2 and 3, then apply one of three “blue sky from overcast” presets at different intensity levels. The result is a convincing sky shift without touching Photoshop’s sky replacement tool, and because your exposure foundation is already set, the preset’s color adjustments don’t create a tonal mismatch between sky and foreground.
Overcast sky image with blue sky preset applied at varying intensities
Chelsea and Tony show a two-step approach to gray sky days: first establish your exposure and dynamic range correctly using the profile tools from Steps 2 and 3, then apply one of three “blue sky from overcast” presets at different intensity levels. The result is a convincing sky shift without touching Photoshop’s sky replacement tool, and because your exposure foundation is already set, the preset’s color adjustments don’t create a tonal mismatch between sky and foreground.
Three intensity options is a smart design choice. A single heavy-handed preset always looks fake on certain lighting conditions. Having a subtle, medium, and strong version means you can match the look to the ambient light your subject was actually photographed in.
Step 6: Layer Chelsea’s Creative Presets Over the Technical Foundation
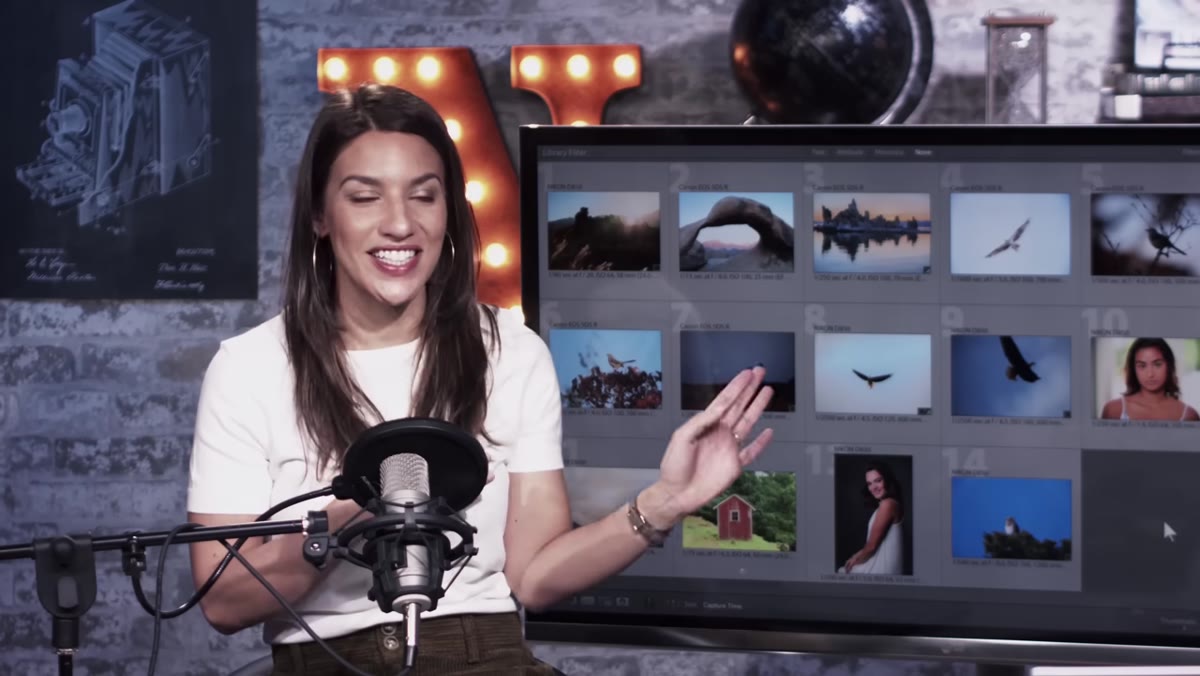 Portrait of Emily with creative portrait preset panel open
Once the technical work is handled, Chelsea’s creative presets come in cleanly because they’re not fighting any of the underlying exposure decisions. Her portrait presets are tuned specifically for skin tone rendering - the color science matters here, not just the look. She also notes that landscape presets, particularly a teal and gold grade, can work well on portraits when the warm tones align with skin tones. The advice to check landscape presets on portraits is something I’d endorse from my own experience with commercial work: the category labels on presets are a starting point, not a rule.
Portrait of Emily with creative portrait preset panel open
Once the technical work is handled, Chelsea’s creative presets come in cleanly because they’re not fighting any of the underlying exposure decisions. Her portrait presets are tuned specifically for skin tone rendering - the color science matters here, not just the look. She also notes that landscape presets, particularly a teal and gold grade, can work well on portraits when the warm tones align with skin tones. The advice to check landscape presets on portraits is something I’d endorse from my own experience with commercial work: the category labels on presets are a starting point, not a rule.
She also includes custom local adjustment brushes for portrait retouching, which is where the creative system extends beyond simple one-click looks into actual targeted editing. That’s a level of preset design that goes beyond most packs.
How I’d Integrate This Into a High-Volume Commercial Workflow
The profile-first approach Tony uses maps cleanly onto batch processing scenarios. In Lightroom, you can sync a profile selection across an entire shoot the same way you’d sync any other setting - which means your ETTR correction or dynamic range compression can be applied to 400 images in seconds, before you’ve touched a single creative preset. I’d build a standard set of profile sync conditions into my import workflow for each camera and shooting scenario: ETTR files get one profile synced automatically, standard-exposure files get another. The creative presets then become the only variable layer, which is exactly where you want the creative decisions to live.
The one thing I’d add from my own practice: document which profile you’re using in your file-naming or metadata workflow. When you revisit a shoot six months later, knowing why an image looks the way it does at the profile level saves real time.
The core idea here - separate your technical baseline from your creative adjustments using Lightroom’s profile system - is the single most workflow-improving concept I’ve seen applied to Lightroom presets. Most preset packs ignore it entirely. This one is built around it.
Watch the full tutorial on YouTube to see Tony and Chelsea demonstrate every step live, including the profile thumbnail browser and the before-and-after comparisons that really sell how much difference the right profile makes before a single slider moves.
Comments
Leave a Comment