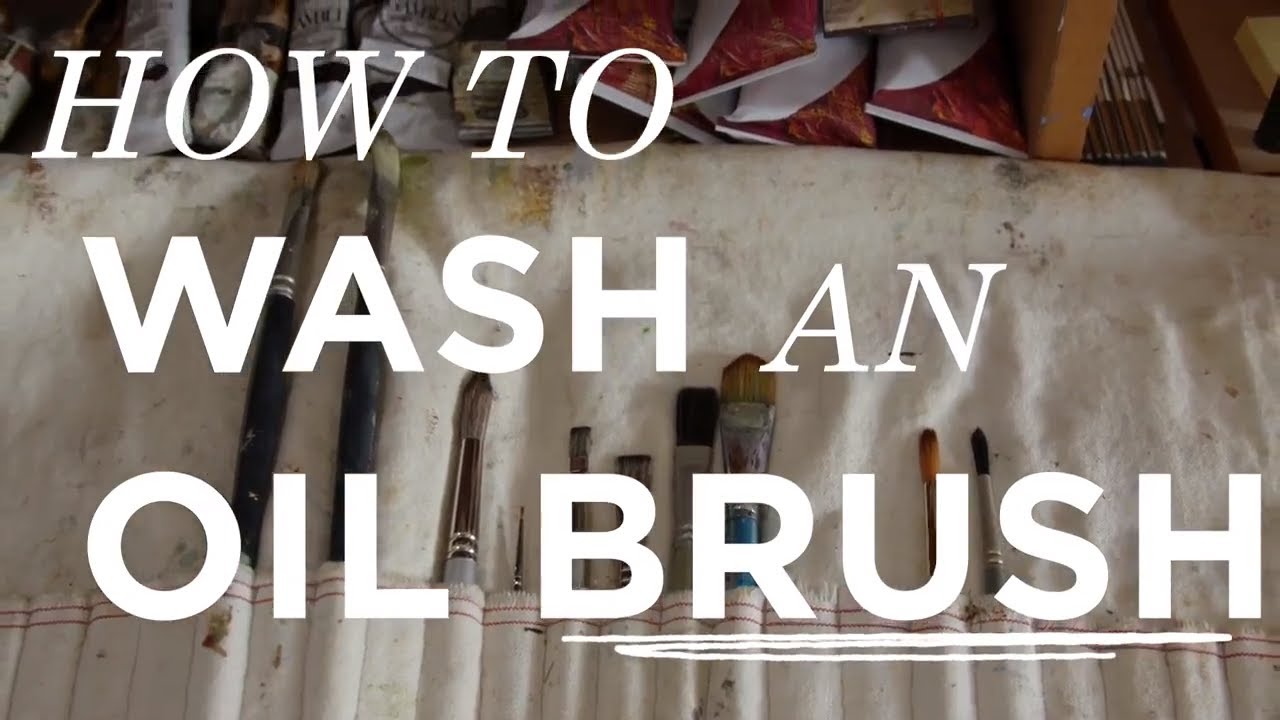
I spend most of my working life thinking about digital workflows, but I’ve been painting on weekends for about three years now, and I’ll admit I destroyed two perfectly good oil brushes in my first month simply by not knowing how to clean them properly. Oil paint is not watercolor. You cannot rinse a loaded bristle brush under the tap and call it done. The paint hardens, the bristles splay, and what was a precise filbert becomes something that looks like it lost a fight with a ceiling fan.
Watch the full tutorial on YouTube
In this CreativeLive tutorial, painter Amy Wynne walks through her complete brush-washing routine from her studio in Pawtucket, Rhode Island. It runs just over three minutes, but it packs in a surprising amount of practical detail. What I appreciated most is that she treats brush care as a craft skill in itself, not an afterthought. That framing clicked for me immediately. I track the hours my Photoshop actions save me down to the minute. Taking two minutes to properly clean a brush that costs thirty dollars is exactly the same kind of investment thinking.
Step 1: Remove Excess Wet Paint with a Rag First
 Artist pressing loaded brush into clean cloth rag
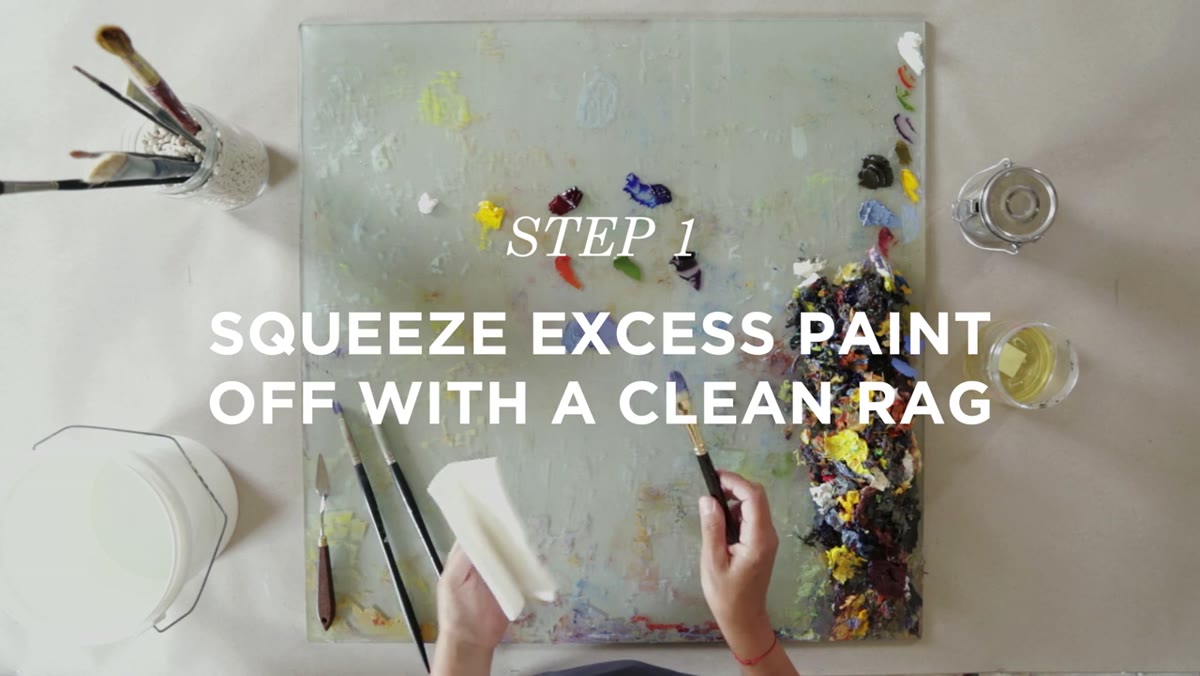
Before any solvent or soap touches the brush, get the bulk of the wet paint out mechanically. Wynne folds a clean rag and presses the loaded brush into it, squeezing and wiping to pull as much pigment out of the bristles as possible. Do this several times, rotating to a clean section of the rag each pass. This matters because you are reducing the workload for your solvent. The less paint the solvent has to dissolve, the longer your solvent stays usable and the faster the whole process goes.
Artist pressing loaded brush into clean cloth rag
Before any solvent or soap touches the brush, get the bulk of the wet paint out mechanically. Wynne folds a clean rag and presses the loaded brush into it, squeezing and wiping to pull as much pigment out of the bristles as possible. Do this several times, rotating to a clean section of the rag each pass. This matters because you are reducing the workload for your solvent. The less paint the solvent has to dissolve, the longer your solvent stays usable and the faster the whole process goes.
Do not skip this step because it feels tedious. If you go straight to the solvent jar with a brush that is still heavily loaded, you contaminate your solvent faster and you are not actually cleaning the brush, you are just moving paint around in a liquid.
Step 2: Use a Solvent Container with a Built-In Sediment Trap
 Specialized solvent container with interior mesh screen shown open
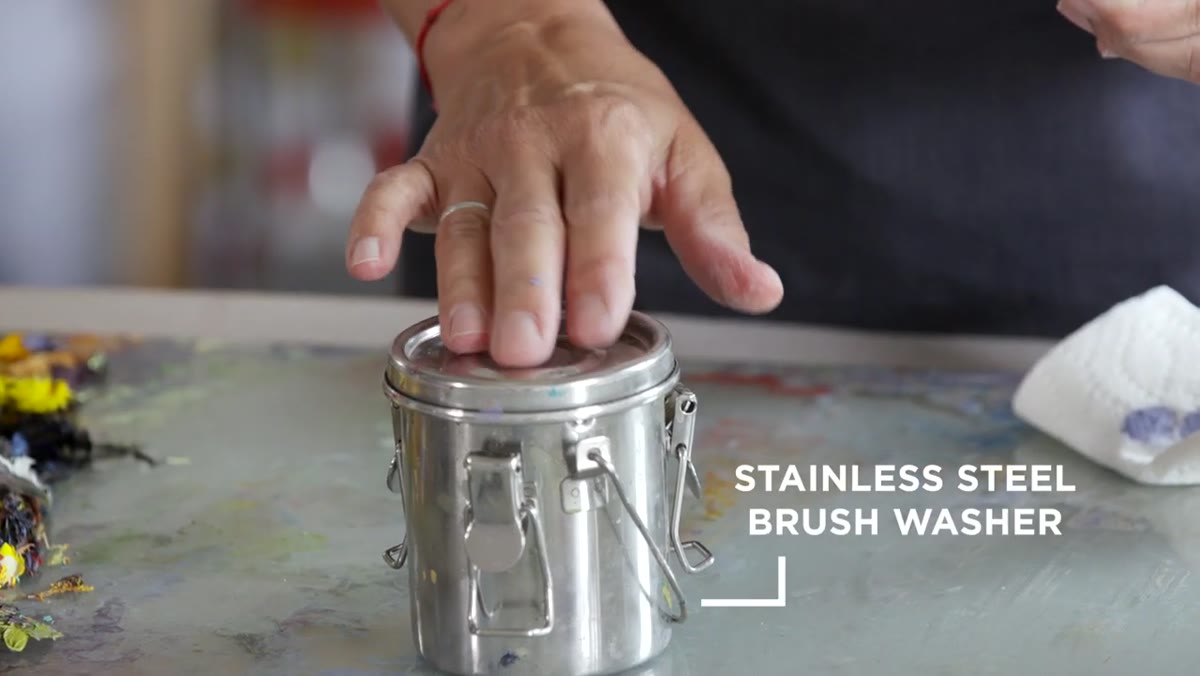
Wynne uses a solvent container that has a small interior basket or screen that sits slightly raised above the bottom of the jar. The solvent she uses is odorless mineral spirits. The design of the container is the key detail here: you rake the brush across the mesh screen rather than swirling it freely in the liquid. As the pigment dissolves off the bristles, the paint particles fall through the screen and settle at the bottom of the jar, below the clean solvent layer above. That means every time you dip the brush, you are working in relatively clean solvent rather than a murky soup.
Specialized solvent container with interior mesh screen shown open
Wynne uses a solvent container that has a small interior basket or screen that sits slightly raised above the bottom of the jar. The solvent she uses is odorless mineral spirits. The design of the container is the key detail here: you rake the brush across the mesh screen rather than swirling it freely in the liquid. As the pigment dissolves off the bristles, the paint particles fall through the screen and settle at the bottom of the jar, below the clean solvent layer above. That means every time you dip the brush, you are working in relatively clean solvent rather than a murky soup.
She also makes a practical point about keeping the lid on the container while you are actually painting, only opening it for brush washing. Odorless mineral spirits are still mineral spirits. Limiting your exposure over a long session is a sensible habit.
Step 3: Rake the Brush Across the Mesh and Wipe Between Passes
 Brush being raked back and forth across interior mesh screen
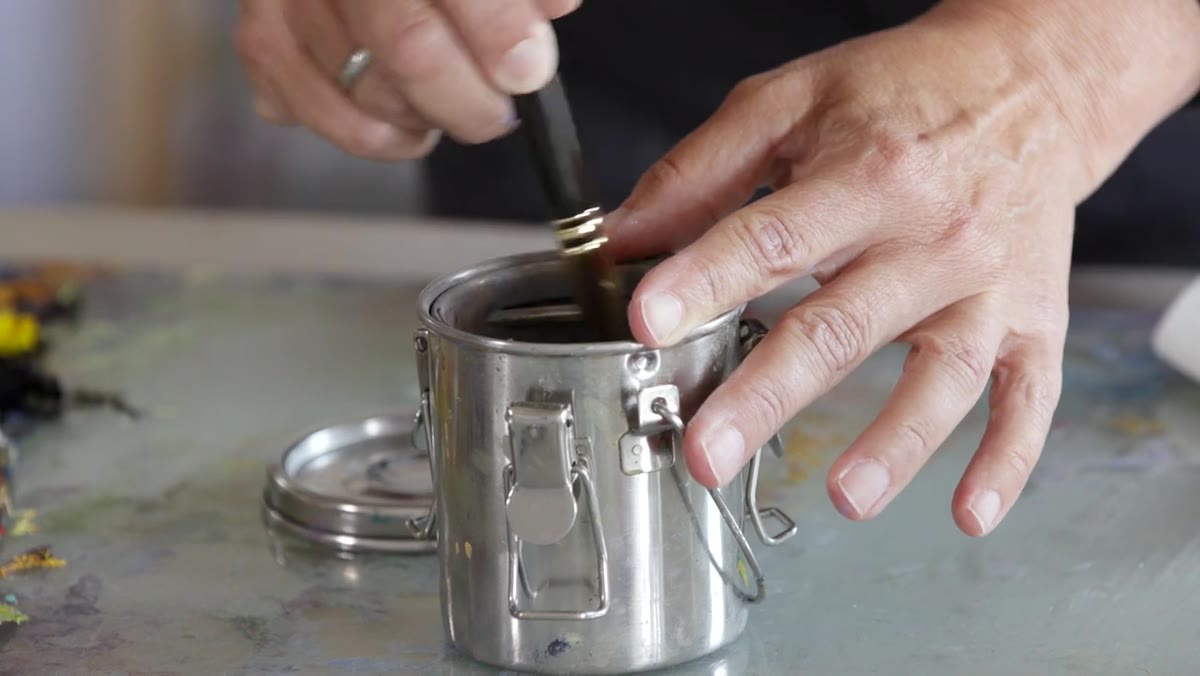
With the brush in the solvent, use a back-and-forth raking motion across the screen rather than a circular scrub. The friction against the mesh helps work the solvent into the bristles near the ferrule, which is where paint tends to build up and harden over time. After a few passes, lift the brush out and wipe it on the side of the container or on your rag again. You will see the paint coming off in the wipe. Repeat this cycle two or three times until the wipe comes away mostly clean.
Brush being raked back and forth across interior mesh screen
With the brush in the solvent, use a back-and-forth raking motion across the screen rather than a circular scrub. The friction against the mesh helps work the solvent into the bristles near the ferrule, which is where paint tends to build up and harden over time. After a few passes, lift the brush out and wipe it on the side of the container or on your rag again. You will see the paint coming off in the wipe. Repeat this cycle two or three times until the wipe comes away mostly clean.
The goal at this stage is to get most of the pigment out, not every last trace. The soap handles that final pass.
Step 4: Work Murphy’s Oil Soap Through the Bristles
 Brush swirled into small container of Murphy’s Oil Soap
Here is the part that surprised me when I first saw it: no water yet. Wynne moves directly from the mineral spirits to Murphy’s Oil Soap, swirling the brush into the soap and working it through the bristles. The logic is straightforward. Oil and water do not mix, but oil is attracted to oil. Murphy’s Oil Soap is oil-based, which means it binds to the residual paint and pigment that the mineral spirits loosened but did not fully remove. You are essentially using a second solvent system to catch what the first one missed.
Brush swirled into small container of Murphy’s Oil Soap
Here is the part that surprised me when I first saw it: no water yet. Wynne moves directly from the mineral spirits to Murphy’s Oil Soap, swirling the brush into the soap and working it through the bristles. The logic is straightforward. Oil and water do not mix, but oil is attracted to oil. Murphy’s Oil Soap is oil-based, which means it binds to the residual paint and pigment that the mineral spirits loosened but did not fully remove. You are essentially using a second solvent system to catch what the first one missed.
Swirl the brush in the soap, wipe it on the container rim or a rag, and look at what comes off. Even after a thorough solvent wash, there is usually still some color in that wipe. The soap pulls it out cleanly.
Step 5: Rinse with Water as the Final Step
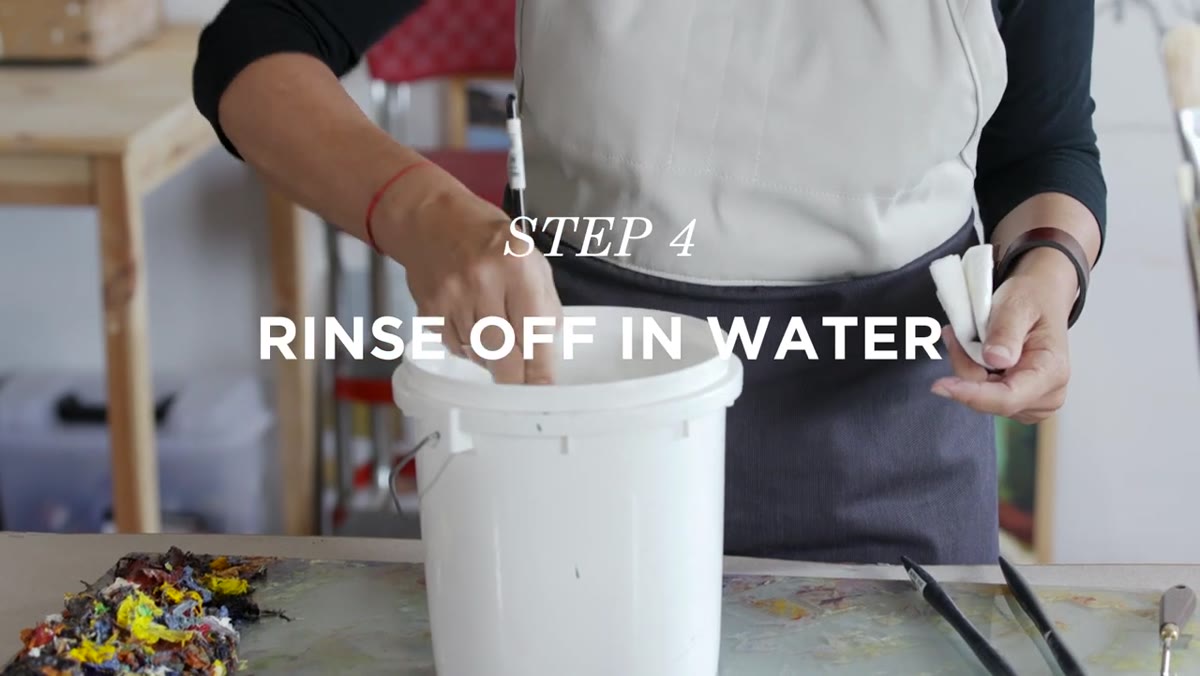 Brush rinsed under running water, clean bristles visible
Only after the soap pass does water come into the process. Rinse the brush under running water, working the bristles gently with your fingers to flush out the soap and any last traces of pigment. Because the oil soap has already lifted and surrounded the remaining paint particles, the water now has something it can actually interact with to carry everything away.
Brush rinsed under running water, clean bristles visible
Only after the soap pass does water come into the process. Rinse the brush under running water, working the bristles gently with your fingers to flush out the soap and any last traces of pigment. Because the oil soap has already lifted and surrounded the remaining paint particles, the water now has something it can actually interact with to carry everything away.
The brush Wynne holds up at the end of this step is visibly clean. The bristles lie flat and together, the way a brush looks when it is new. That is the standard you are aiming for.
Step 6: Store Bristles Up in a Stable Container
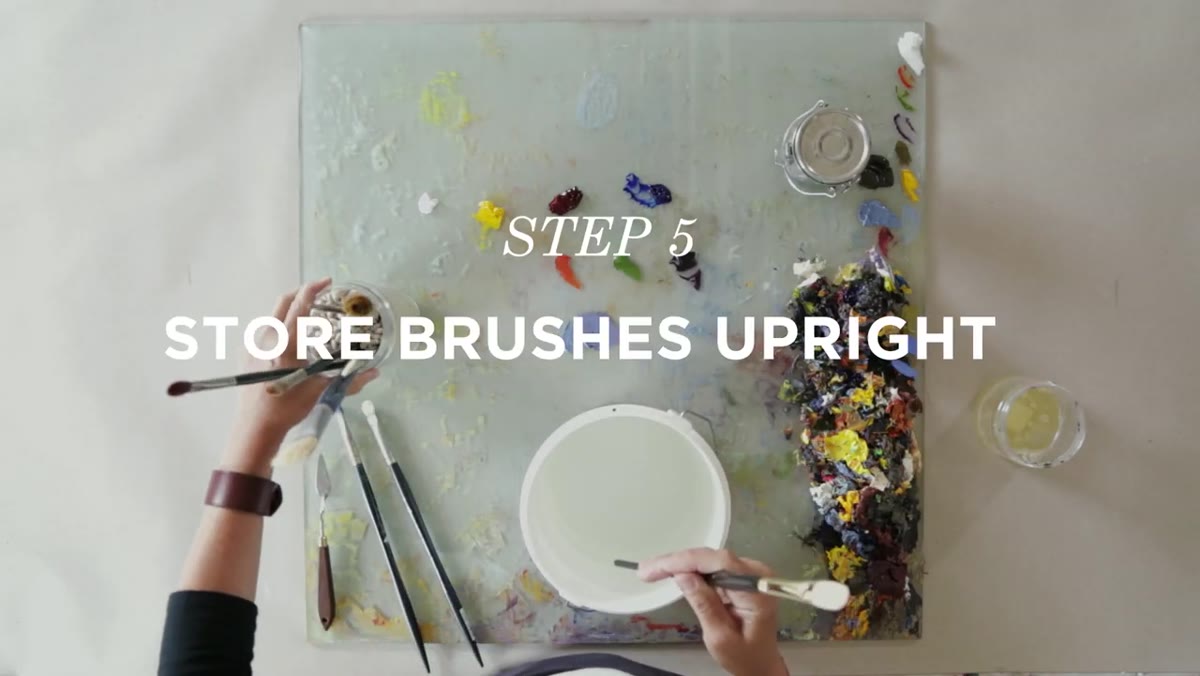 Clean brush stored upright in jar of dried white beans
The last step is storage, and Wynne’s solution is one I have since copied directly. She fills a container with dried white beans and stands her brushes upright in it, bristles facing up. This sounds almost too simple but it solves a real problem. Brushes stored bristles-down will bend and splay under their own weight. Brushes stored horizontally are fine for short periods but tend to get knocked around. Standing them upright in something that grips the handle, whether dried beans, rice, or a purpose-built brush holder, keeps the bristles in their proper shape between sessions.
Clean brush stored upright in jar of dried white beans
The last step is storage, and Wynne’s solution is one I have since copied directly. She fills a container with dried white beans and stands her brushes upright in it, bristles facing up. This sounds almost too simple but it solves a real problem. Brushes stored bristles-down will bend and splay under their own weight. Brushes stored horizontally are fine for short periods but tend to get knocked around. Standing them upright in something that grips the handle, whether dried beans, rice, or a purpose-built brush holder, keeps the bristles in their proper shape between sessions.
Never store a freshly washed brush in a closed container while it is still damp. Let it air dry in the upright position first.
One Thing I Would Add from My Own Experience
The sediment that collects at the bottom of the solvent jar over weeks of use is actually worth saving. Wynne mentions this briefly, and she is right. Once the jar has sat undisturbed for a while, the clean solvent floats above a layer of settled pigment sludge. You can carefully pour the clean solvent back into a fresh jar for reuse and keep the pigment paste. Some painters thin that sludge and use it as a dead-layer underpainting tone. I have used it to quickly block in shadow areas before going in with tube paint. It is essentially free paint made from what you would otherwise pour down the drain, which appeals to the same part of my brain that built a batch-processing system to avoid any wasted effort in post-production.
Proper brush care is not glamorous, but it is the difference between tools that last a decade and tools that last a season. The three minutes Wynne spends on this routine at the end of a painting session is the cheapest form of equipment maintenance I know of.
Watch the full tutorial on YouTube
Comments (1)
The tip about how to properly clean oil pain was the missing piece for me. Thank you.
Leave a Comment