
I’ll be honest: I didn’t get serious about my archive system until I almost lost an entire e-commerce shoot. One corrupted transfer, one drive that was “probably fine,” and suddenly I’m on the phone with a client explaining why I need to reschedule a product shoot that involved a rented space and a hired stylist. That was the last time I treated file management as an afterthought. Since then, I’ve spent more time than I’d like to admit refining how media moves from card to archive, and I track the hours that system saves me the same way I track everything else: in a spreadsheet.
So when I came across the studio workflow breakdown from JP Morgan over at The Slanted Lens, a lot of it rang immediately familiar, but there were specific structural choices he makes that I hadn’t fully codified myself. In this The Slanted Lens tutorial, JP walks through the exact process his team follows when returning from a shoot with cards and drives full of photos and video. Watch the full tutorial on YouTube if you want to see the drives and folder structure on screen. What I’m going to do here is pull out the steps that matter most and add the context that makes them actually stick.
The core argument JP is making is simple: the chaos compounds. When your archive is small, sloppy habits feel harmless. Once you’re managing years of commercial work across terabytes of drives, a bad naming convention or a missing redundancy doesn’t just inconvenience you, it costs you real money and real client trust.
Step 1: Travel With Your Media Separated
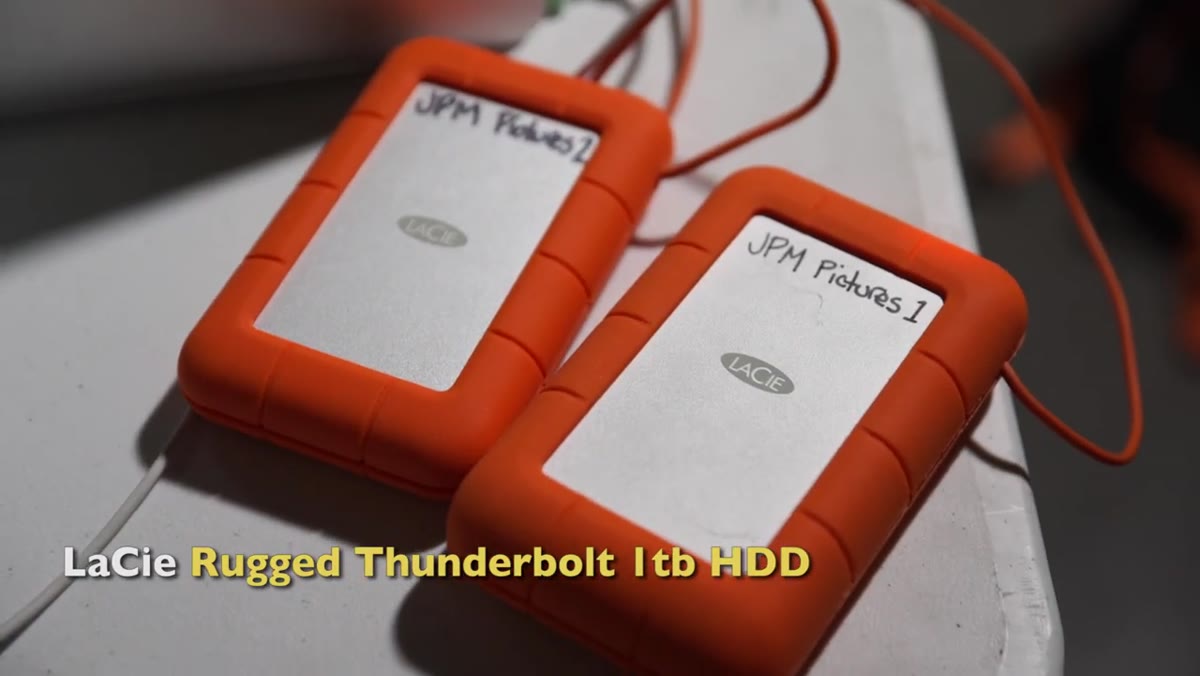 JP holding two LaCie drives before the download process
The workflow starts before you even sit down at your editing station. JP’s team carries multiple memory cards rather than reformatting on location whenever possible, and they physically separate their backup drives during travel. One drive goes with JP, another goes with a team member. If bags get lost or stolen, you never lose both copies at the same time.
JP holding two LaCie drives before the download process
The workflow starts before you even sit down at your editing station. JP’s team carries multiple memory cards rather than reformatting on location whenever possible, and they physically separate their backup drives during travel. One drive goes with JP, another goes with a team member. If bags get lost or stolen, you never lose both copies at the same time.
For solo shooters, this is worth thinking through differently. If you’re traveling alone, consider shipping one drive ahead or using a cloud upload at the hotel before you board. The principle is the same: physical separation protects against a single catastrophic event wiping out everything.
Step 2: Always Download From the Original Media When You Can
 Cards and LaCie drives laid out before the Lexar tower download
Even if you already backed up to an external drive on location, JP recommends going back to the original memory cards as the source for your studio download. The reason is straightforward: if something went wrong during that field transfer, a corrupted file or a dropped connection, you want a clean second attempt from the actual original data rather than copying a potentially flawed file a second time.
Cards and LaCie drives laid out before the Lexar tower download
Even if you already backed up to an external drive on location, JP recommends going back to the original memory cards as the source for your studio download. The reason is straightforward: if something went wrong during that field transfer, a corrupted file or a dropped connection, you want a clean second attempt from the actual original data rather than copying a potentially flawed file a second time.
This step adds maybe ten minutes to the process and has saved me from at least two bad transfers over the years. It’s one of those habits that feels unnecessary until the one time it isn’t.
Step 3: Use a Numbered Drive System With a Dedicated “Current” Drive
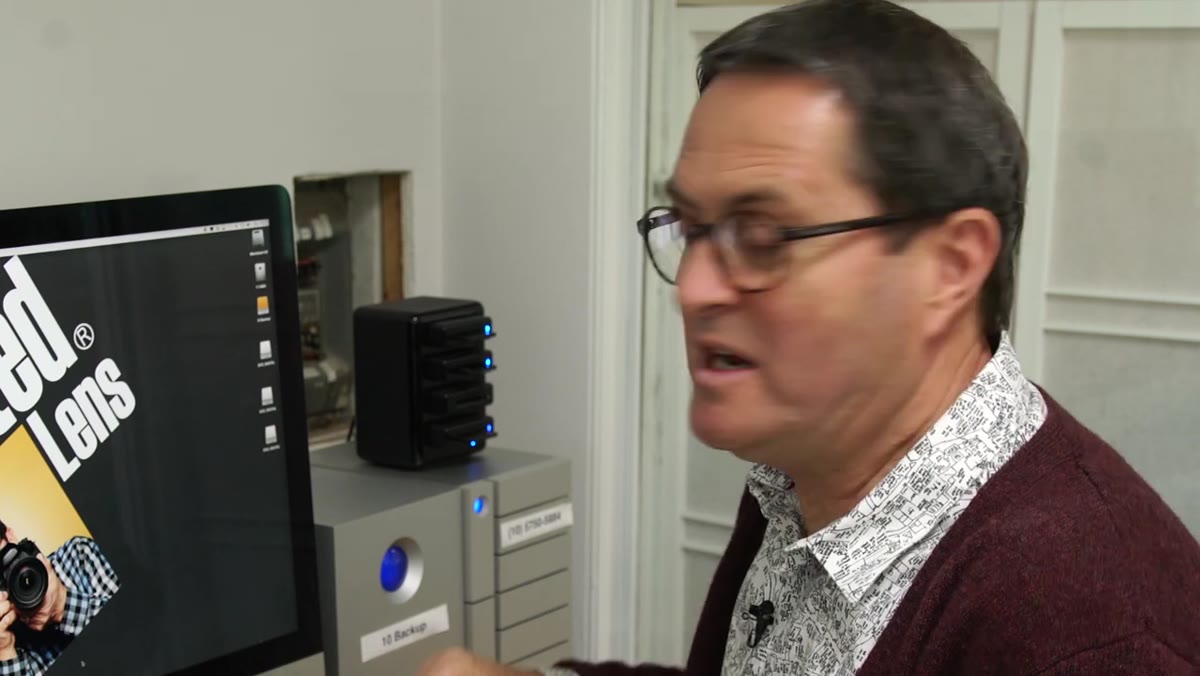 Row of numbered studio drives shown on the desk setup
JP’s studio numbers their drives sequentially, with the highest number always being the current working drive. This means the most recent work lives on a fast, dedicated drive optimized for editing speed, in his case a Thunderbolt 3 unit, while older numbered drives hold the archived history of the studio’s work.
Row of numbered studio drives shown on the desk setup
JP’s studio numbers their drives sequentially, with the highest number always being the current working drive. This means the most recent work lives on a fast, dedicated drive optimized for editing speed, in his case a Thunderbolt 3 unit, while older numbered drives hold the archived history of the studio’s work.
Each numbered drive also has a corresponding backup drive set to mirror it automatically overnight. So at any given time, the current project exists in at least two places in the studio, plus whatever was brought back from the field. That’s three copies minimum before the shoot is even fully processed. If you’re running a studio and you’re not at three copies, you’re one drive failure away from a conversation you don’t want to have.
Step 4: Create a New Job Folder With a Consistent Naming Convention
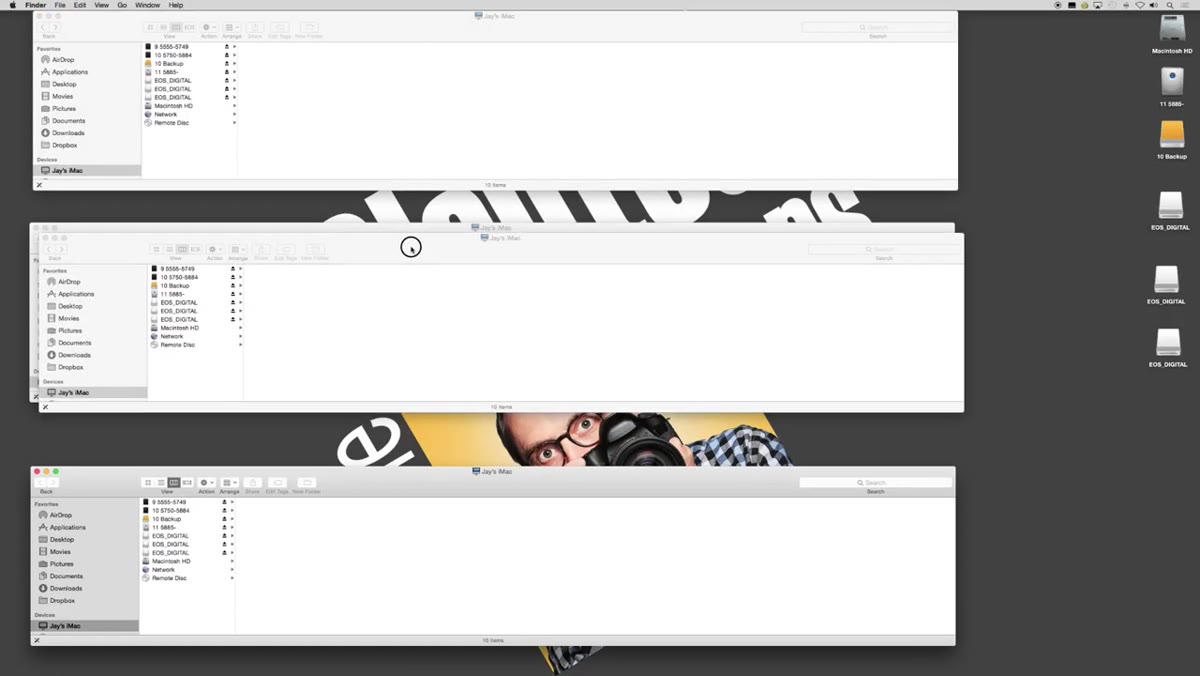 JP creating a new numbered job folder on screen
Inside the current drive, every job gets its own folder. JP uses a numbering system that ties each job folder to a sequential project number, followed by the photographer’s name abbreviation and a short description. Something like: 5885-MorganR-WorkflowDemo.
JP creating a new numbered job folder on screen
Inside the current drive, every job gets its own folder. JP uses a numbering system that ties each job folder to a sequential project number, followed by the photographer’s name abbreviation and a short description. Something like: 5885-MorganR-WorkflowDemo.
This isn’t glamorous, but it’s the part of the system that pays off three years later when a client comes back and needs a specific file. Consistent naming means you can search, sort, and hand off files to another person without a briefing. I color-code mine on top of this, using green for delivered jobs and yellow for anything still in progress, but the naming convention is the foundation everything else sits on.
Step 5: Pre-Populate Every Job Folder With the Same 10 Subfolders
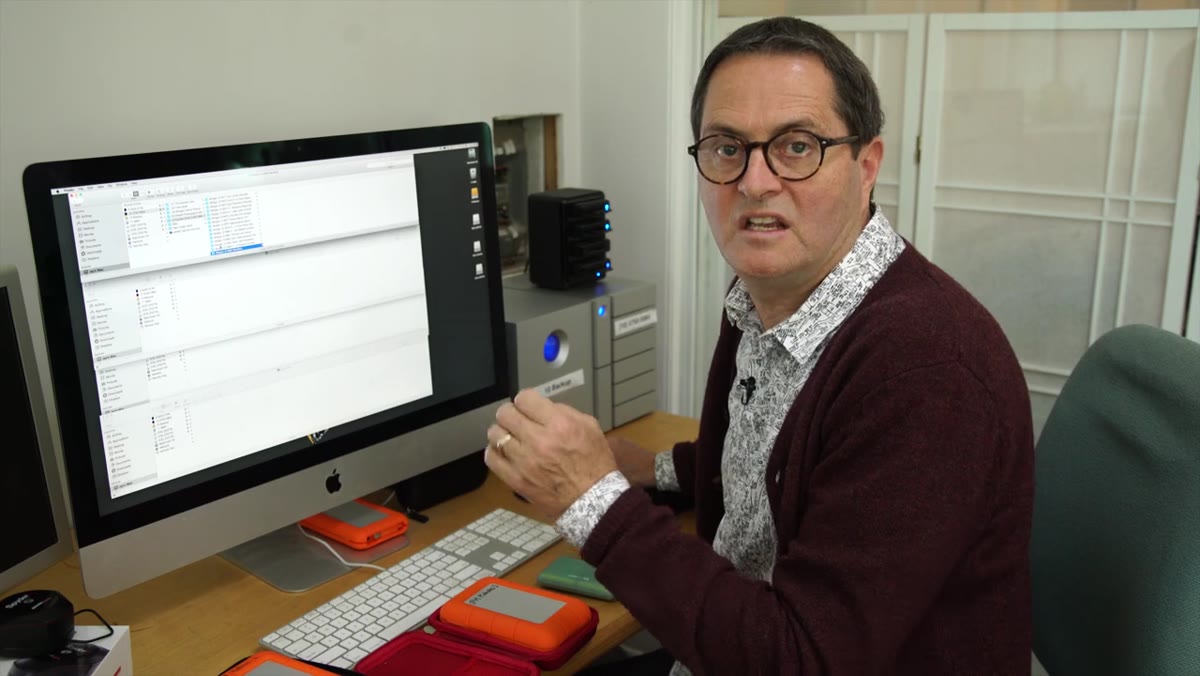 Ten subfolders being created inside the new job folder
Here’s the step I found most immediately useful: JP’s team puts ten subfolders inside every single job folder before a single file is moved in. Not every job will fill all ten folders, but having the structure in place means nothing falls through the cracks and nothing gets dumped in the root folder “just for now.”
Ten subfolders being created inside the new job folder
Here’s the step I found most immediately useful: JP’s team puts ten subfolders inside every single job folder before a single file is moved in. Not every job will fill all ten folders, but having the structure in place means nothing falls through the cracks and nothing gets dumped in the root folder “just for now.”
Think of it like mise en place in a kitchen. You set up the station before you start cooking, not while you’re mid-recipe. The subfolder labels cover things like raw files, selects, video, client deliverables, contracts, and so on. I’ll add that in my commercial work, I also include a subfolder for correspondence and one for invoices, because when a billing dispute comes up six months later, having everything in one place is worth its own hourly rate.
What I’d Add From My Own Experience
The system JP outlines is excellent for field-to-studio archiving, but it doesn’t address what happens when drives age out. Drive 1 through Drive 10 doesn’t last forever, and at some point you need a retirement strategy for old hardware.
In my studio, drives get moved to cold storage after three years of inactivity, catalogued in a spreadsheet with the drive number, date range of content, physical location, and a health check date. Every 18 months I spin them up and run a quick verification pass. It takes half a day once a year and has caught two drives showing early signs of failure before they died completely. If you’re building a long-term archive, plan for the drives themselves as hardware with a lifespan, not permanent storage vessels.
The single most important takeaway here isn’t the folder names or the drive numbers. It’s the mindset: treat archiving as part of the shoot, not the cleanup after. The best time to build this system is before you need it. Once you’ve lost something, the cost of the system feels obvious in hindsight but too late to matter.
Watch the full tutorial on YouTube to see JP walk through the actual drives and folder structure on screen. His delivery is relaxed and practical, and seeing the physical setup makes the drive-numbering logic click in a way that’s hard to convey in text alone.
Comments (1)
Great breakdown. The step-by-step approach really helps.
Leave a Comment