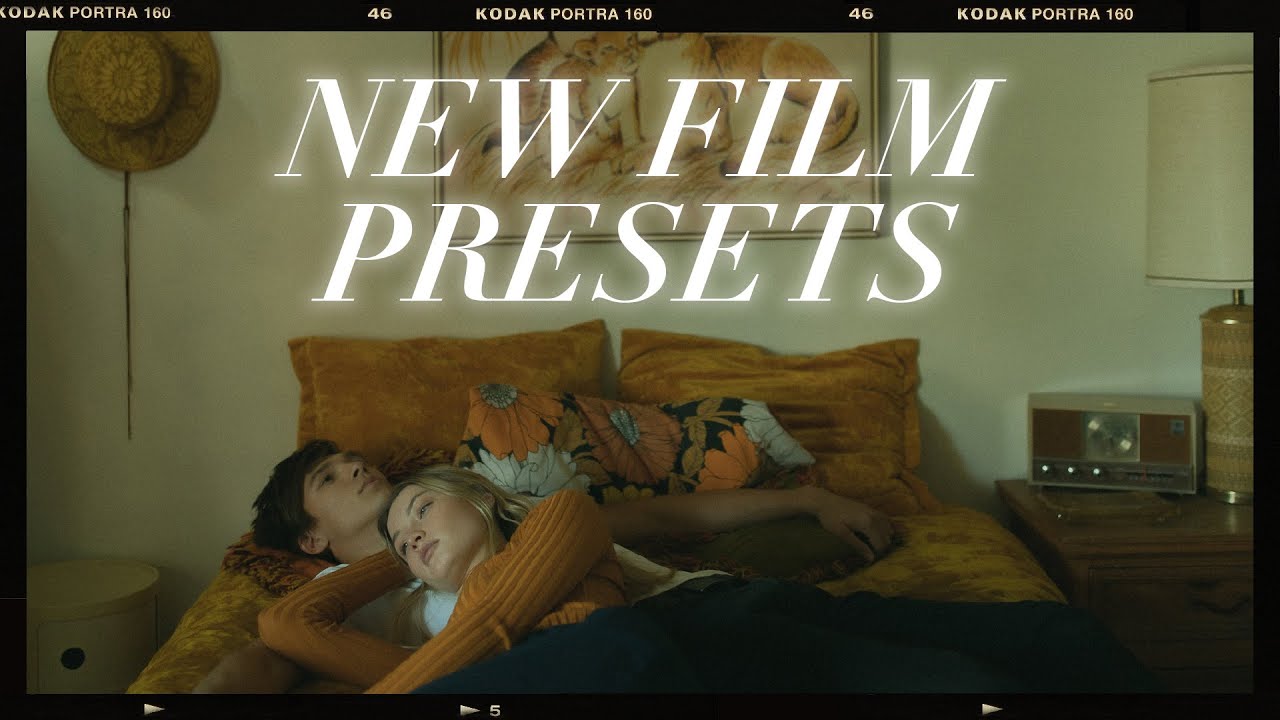
Most of my work is commercial. Ad agencies, e-commerce brands, product shoots where the goal is clean, accurate, and fast. But I still get briefs that ask for “something with a film feel,” and for years my answer was to dig through a folder of half-baked presets that each needed twenty minutes of manual correction before they looked right. That’s not a workflow. That’s wishful thinking.
What I actually want is a preset that lands close on the first click and only needs minor exposure or shadow adjustments to finish the job. That’s the specific problem this tutorial addresses. In this Mango Street tutorial, Rachel and Daniel walk through their Film Emulation Collection, a set of 16 presets built around seven real film stocks, designed to work across different lighting conditions, skin tones, and camera manufacturers. Watch the full tutorial on YouTube
This is worth your time whether you shoot portraits, weddings, street, or lifestyle work. Here is how it all breaks down.
Step 1: Understand What These Presets Do and Don’t Touch
 Lightroom basic adjustments panel shown with preset applied
The preset collection is built on a clear philosophy: presets should handle color grading and tone character, not your exposure decisions. These presets intentionally skip exposure and white balance adjustments. That means when you click apply, those two settings stay wherever you set them in-camera or during your initial import.
Lightroom basic adjustments panel shown with preset applied
The preset collection is built on a clear philosophy: presets should handle color grading and tone character, not your exposure decisions. These presets intentionally skip exposure and white balance adjustments. That means when you click apply, those two settings stay wherever you set them in-camera or during your initial import.
This is the right call. Exposure and white balance are too shot-specific to bake into a preset reliably. If your image is two-thirds of a stop underexposed, no preset should be compensating for that. Get those two values right first, then apply the preset and you are already most of the way there.
Step 2: Apply the CineStill 800T Portrait Preset for Soft, Versatile Results
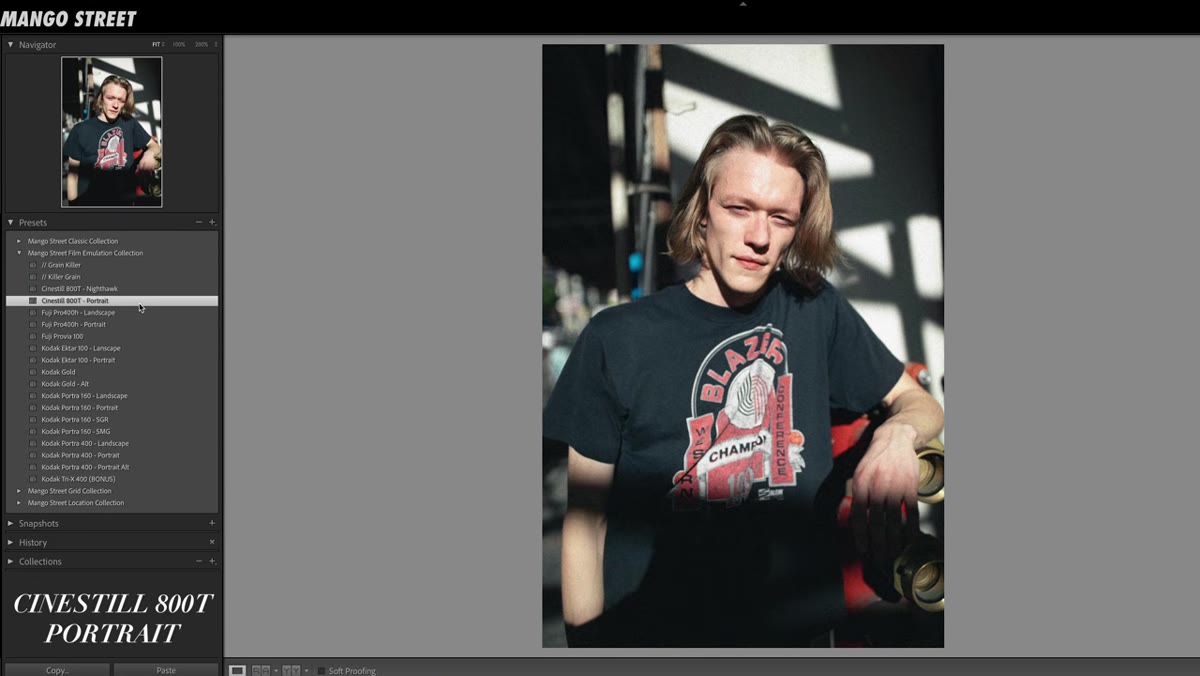 CineStill 800T portrait preset applied to a low-light portrait
CineStill 800T is a tungsten-balanced film stock designed for lower-light shooting. The real film version shifts cooler when shot in daylight, giving images a blue cast. The Mango Street interpretation brings in a subtle dose of that blue without fully committing to it, which keeps the preset useful across more situations.
CineStill 800T portrait preset applied to a low-light portrait
CineStill 800T is a tungsten-balanced film stock designed for lower-light shooting. The real film version shifts cooler when shot in daylight, giving images a blue cast. The Mango Street interpretation brings in a subtle dose of that blue without fully committing to it, which keeps the preset useful across more situations.
The Portrait version of this preset has a soft, diffused quality that flatters skin tones without making them look processed. Try it on anything with warm ambient light where you want to push the mood slightly cooler. It also holds up well on bright natural-light portraits if you nudge the white balance warmer after applying.
Step 3: Use the CineStill Nighthawk Preset Only When You Mean It
 Nighthawk preset applied to a nighttime gas station scene
The Nighthawk preset is the most stylized option in the collection, and the tutorial is upfront about that. It adds a strong blue cast and is designed specifically for night photography where you have interesting ambient light sources to play with. Street lights, neon signs, gas stations at dusk - that kind of thing.
Nighthawk preset applied to a nighttime gas station scene
The Nighthawk preset is the most stylized option in the collection, and the tutorial is upfront about that. It adds a strong blue cast and is designed specifically for night photography where you have interesting ambient light sources to play with. Street lights, neon signs, gas stations at dusk - that kind of thing.
If you apply Nighthawk to a daylight portrait and hate the result, that is not the preset failing. It is a tool being used out of context. That said, if a scene has mixed color temperatures or you want to push an overcast exterior shoot into something more cinematic, it is worth testing. If the blue reads as too heavy, a simple white balance pull toward warmer tones will dial it back without undoing the tonal character the preset builds.
Step 4: Add Film Halation in Photoshop for Nighthawk Shots
 Red halation effect added to a night scene in Photoshop
One of the more interesting details in the tutorial is the mention of a separate halation action that ships with the collection. Halation is the red-orange glow you see bleeding around light sources in some film photographs, caused by light scattering through the film base. It is one of those details that reads as authentically filmic even when viewers cannot name what they are responding to.
Red halation effect added to a night scene in Photoshop
One of the more interesting details in the tutorial is the mention of a separate halation action that ships with the collection. Halation is the red-orange glow you see bleeding around light sources in some film photographs, caused by light scattering through the film base. It is one of those details that reads as authentically filmic even when viewers cannot name what they are responding to.
The Nighthawk preset is designed to pair with this action applied afterward in Photoshop. The workflow is Lightroom preset first for the overall color grade, then the halation action in Photoshop for the optical effect around highlights. That separation makes sense because halation is a localized effect, not a global color shift, and Photoshop handles it better than a Lightroom adjustment ever could.
Step 5: Try the Fuji 400H Portrait Preset for Warm Subject Pop
 Fuji 400H portrait preset on a wedding or lifestyle portrait
The Fuji Pro 400H preset is the one the tutorial describes as a personal all-time favorite, and after testing it I understand why. The technical trick here is the split-tone approach: cooler shadows combined with warm midtones. The result is that your subject, which typically sits in the midtone range, lifts slightly warm while the background or shaded areas stay cool. It creates separation and depth without any masking or manual dodging.
Fuji 400H portrait preset on a wedding or lifestyle portrait
The Fuji Pro 400H preset is the one the tutorial describes as a personal all-time favorite, and after testing it I understand why. The technical trick here is the split-tone approach: cooler shadows combined with warm midtones. The result is that your subject, which typically sits in the midtone range, lifts slightly warm while the background or shaded areas stay cool. It creates separation and depth without any masking or manual dodging.
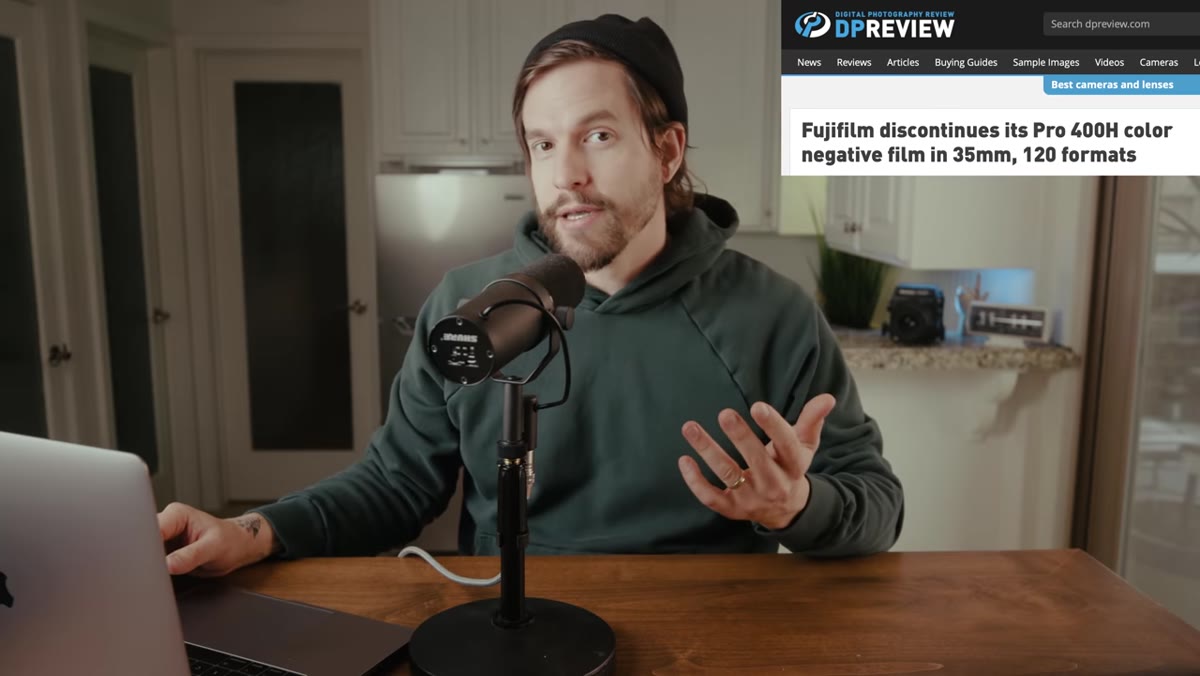
Fuji Pro 400H film was discontinued, which makes a solid emulation of it genuinely useful rather than just nostalgic. The preset handles weddings, lifestyle, fashion, and street photography without requiring major adjustments. It also holds up well across different camera manufacturers, which matters if you are processing work shot on a mix of bodies from different clients.
Step 6: Use the Fuji 400H Landscape Preset When You Want Restraint
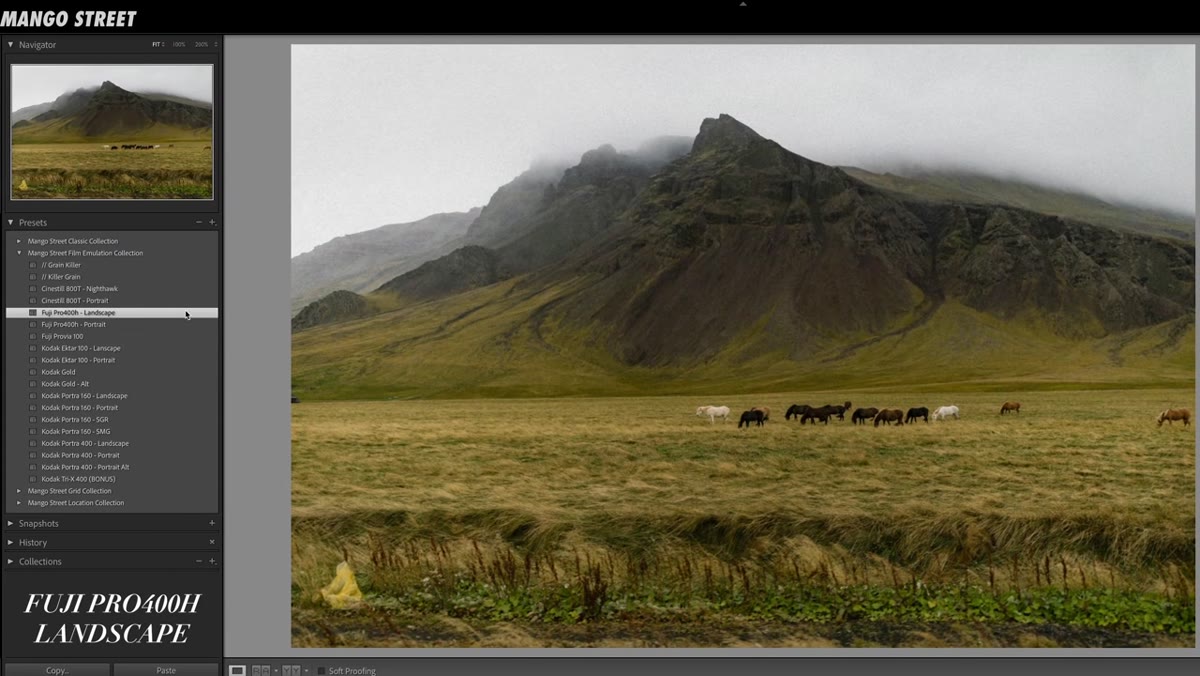 Fuji 400H landscape preset applied to an outdoor scene
Not every film emulation preset needs to be a statement. The Fuji 400H Landscape preset leans into rich contrast and natural color reproduction rather than heavy stylization. It is designed to stay neutral enough that it works across different lighting conditions and color palettes without fighting the original image.
Fuji 400H landscape preset applied to an outdoor scene
Not every film emulation preset needs to be a statement. The Fuji 400H Landscape preset leans into rich contrast and natural color reproduction rather than heavy stylization. It is designed to stay neutral enough that it works across different lighting conditions and color palettes without fighting the original image.
For commercial work, this is the kind of preset I reach for when a client wants “natural but elevated” rather than “editorial.” It adds character without telegraphing the grade, which is exactly what you want when the product or person in the frame needs to stay the focus.
What I Would Add to This Workflow
The tutorial keeps everything inside the Basic Adjustments panel intentionally, and that discipline is worth respecting. But on large batches, I would layer one more step on top: a quick Highlights and Shadows pass done as a sync operation across a series of similar shots before applying the preset. Clean up the exposure range first as a batch, then apply the preset as a second batch sync. On a 300-image portrait session, that two-pass approach cuts correction time significantly compared to applying the preset first and then chasing highlight or shadow problems image by image.
Also, if you are bringing these into Photoshop for the halation action, consider building a simple action that applies it at a consistent opacity with a screen blend mode, then adds a Gaussian blur layer at the same opacity. That gives you a reusable one-click version of the effect without opening the action panel every single time.
The most important takeaway from this tutorial is the structural one: separate your technical corrections from your creative grade. Exposure and white balance are technical. The film emulation is creative. Keep those two passes distinct and your preset workflow becomes dramatically more consistent and faster.
Watch the full tutorial on YouTube to see all 16 presets applied across a wide range of real-world photos, including subscriber submissions, and to catch the bonus preset Mango Street was giving away at the time of release.
Comments
Leave a Comment