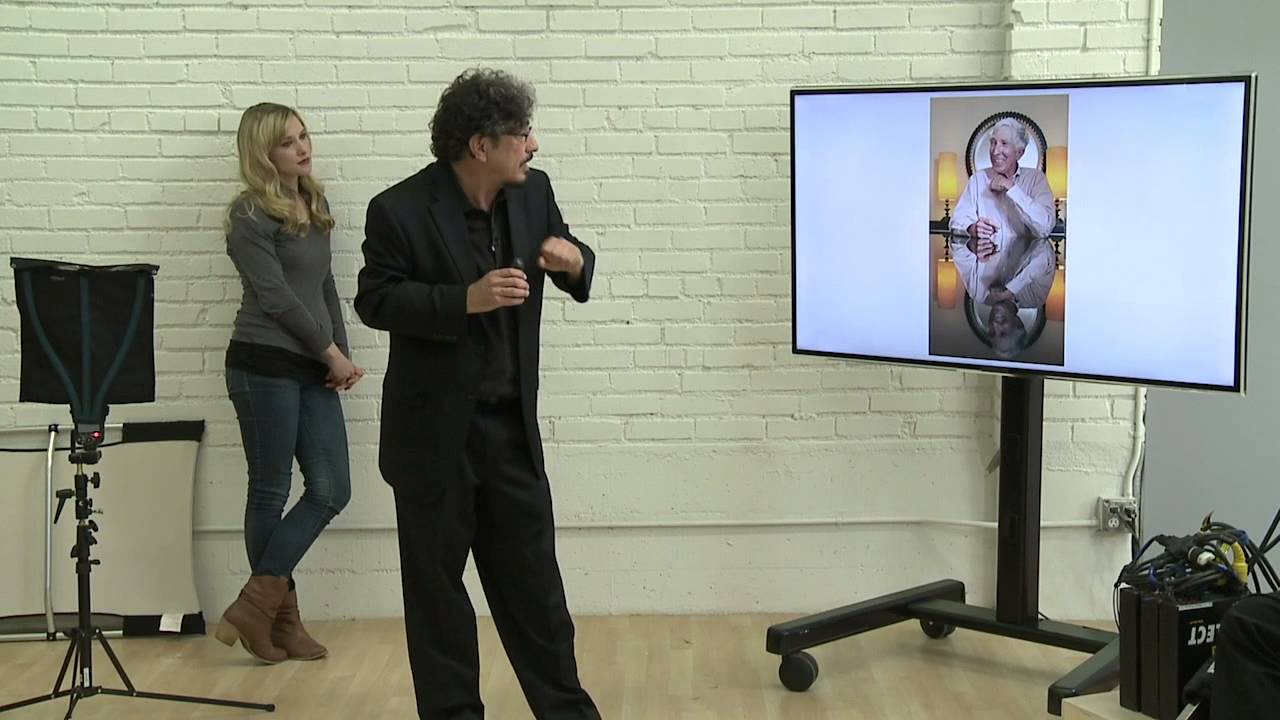
Most of my work lives in post. I’m the person who builds the batch actions, writes the droplets, and figures out why a color profile is blowing up a client’s print run. But the cleanest post-production workflow in the world can’t rescue a badly lit file. After fifteen years watching images come through commercial studios, I can tell you that the photographs that require the least retouching are almost always the ones where someone understood light before they pressed the shutter. That’s why I keep coming back to location lighting fundamentals, even though it’s not strictly “my lane.”
Watch the full tutorial on YouTube
In this CreativeLive tutorial, photographer Rick Smolan walks through a series of real editorial portraits he made on location, explaining exactly how each one was lit. What makes this valuable isn’t theory. It’s the specific, unglamorous decisions he made in rooms he didn’t control, shooting subjects he couldn’t reposition much, with assistants who were sometimes literally too short to hold the light where he needed it. That’s real location work. And the lighting principles he demonstrates map almost directly onto what I see separating clean files from difficult ones when images hit my retouching queue.
Step 1: Start With One Light and One Reflector
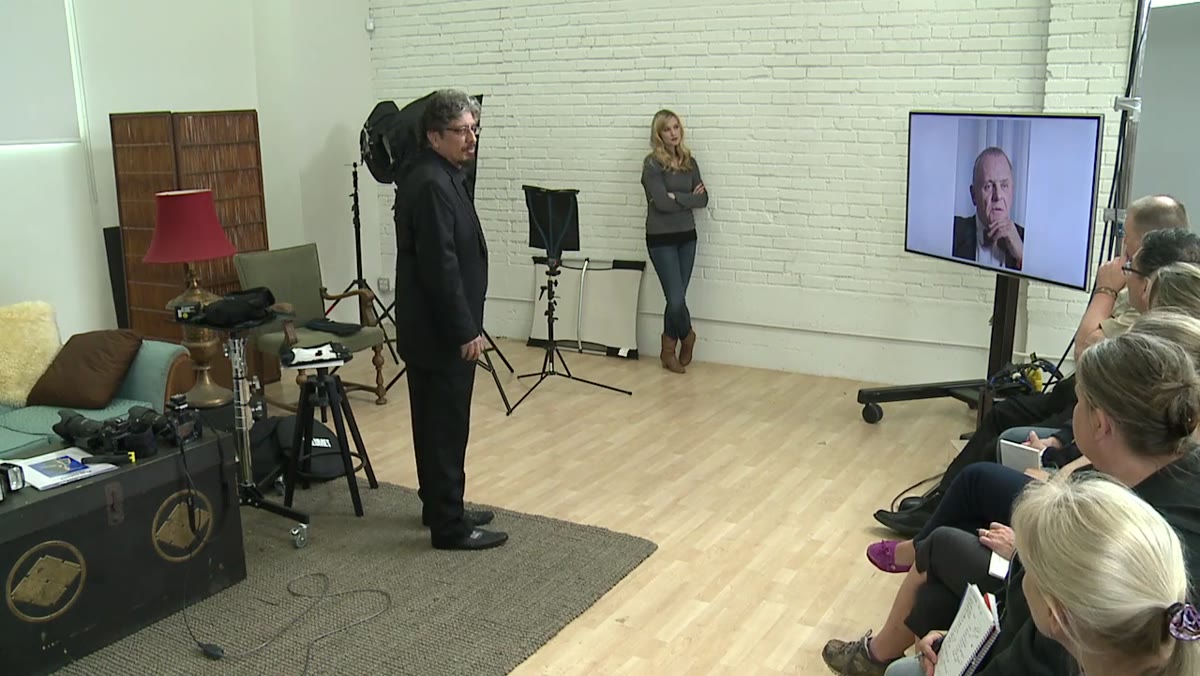 Single softbox and reflector setup for portrait
The foundational setup Smolan returns to throughout the tutorial is almost embarrassingly simple: one strobe or monolight through a softbox, and a reflector on the opposite side to bounce fill light back into the shadows. That’s it. No second light, no rim light, no hair light. When I first heard this described in the context of editorial portraits for major magazines, I assumed there had to be a catch. There isn’t.
Single softbox and reflector setup for portrait
The foundational setup Smolan returns to throughout the tutorial is almost embarrassingly simple: one strobe or monolight through a softbox, and a reflector on the opposite side to bounce fill light back into the shadows. That’s it. No second light, no rim light, no hair light. When I first heard this described in the context of editorial portraits for major magazines, I assumed there had to be a catch. There isn’t.
The softbox acts as your key light and controls the direction and quality of light falling on the subject. The reflector’s job is purely to reduce contrast on the shadow side, so you’re not fighting extreme dynamic range in post. If you’ve ever received a portrait file where one side of a face is three stops darker than the other and the client wants even skin tone, you know exactly what a missing reflector costs in retouching time.
Step 2: Use the Environment as a Natural Reflector When You Can
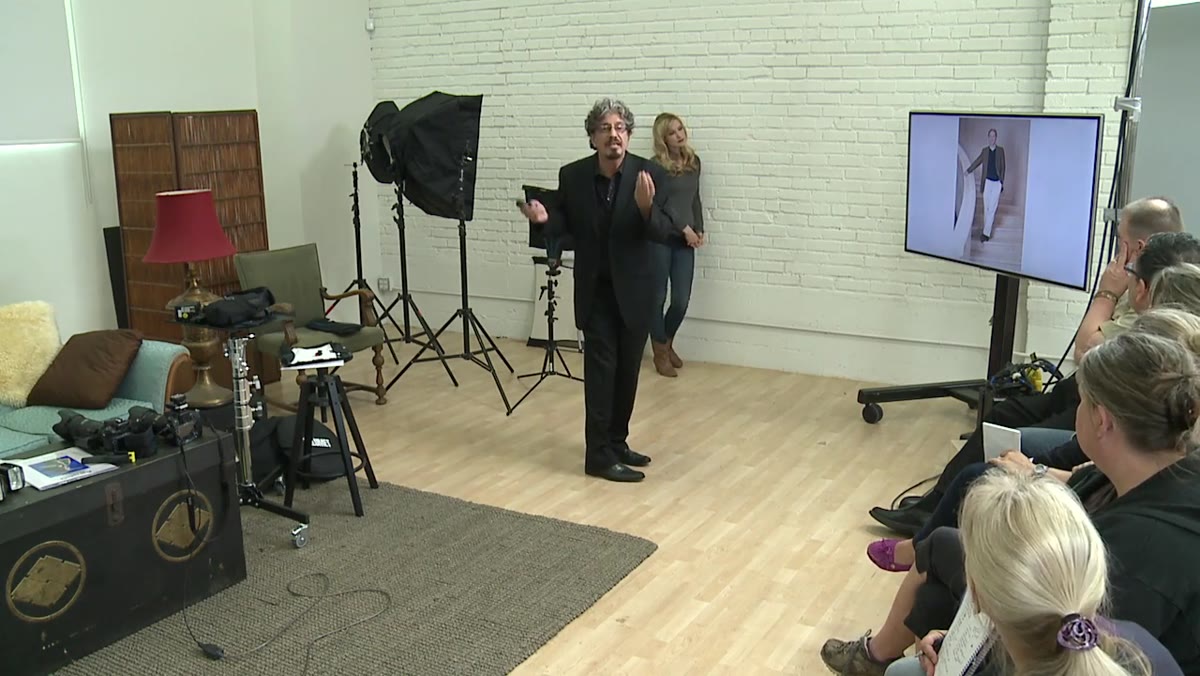 Subject on staircase beside curved white wall
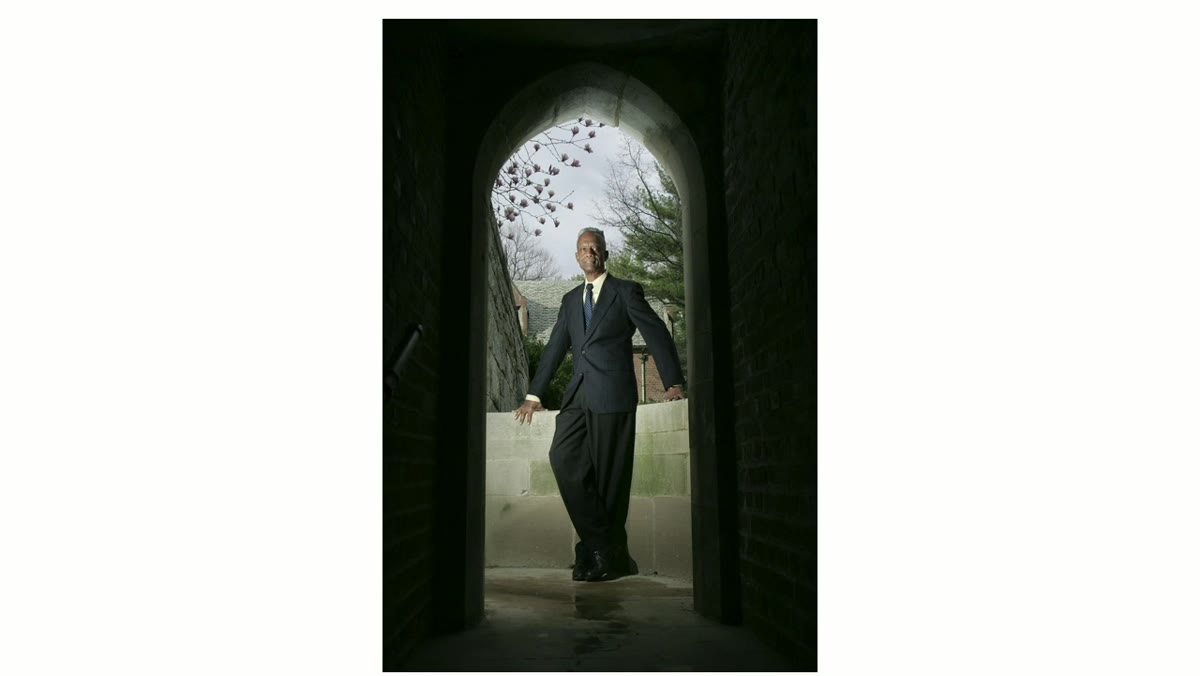
The smarter move, when the location allows it, is to let the room do the reflector’s job for you. Smolan describes photographing an author on a staircase with a curved white wall running alongside the frame. That wall acted as a natural bounce surface, filling the shadow side of the face without any additional gear. The setup effectively became a one-light shoot with environmental fill.
Subject on staircase beside curved white wall
The smarter move, when the location allows it, is to let the room do the reflector’s job for you. Smolan describes photographing an author on a staircase with a curved white wall running alongside the frame. That wall acted as a natural bounce surface, filling the shadow side of the face without any additional gear. The setup effectively became a one-light shoot with environmental fill.
When you’re scouting a location, or even just walking into a room for the first time, train yourself to look for large light-colored surfaces near where your subject will stand. White walls, light-colored curtains, pale floors, even a white tablecloth can function as passive fill. In post-production terms, this translates directly to less localized dodging, less shadow recovery pushing noise into the image, and faster retouching. It’s upstream problem-solving.
Step 3: Set Your Exposure to the Ambient Light You Cannot Control
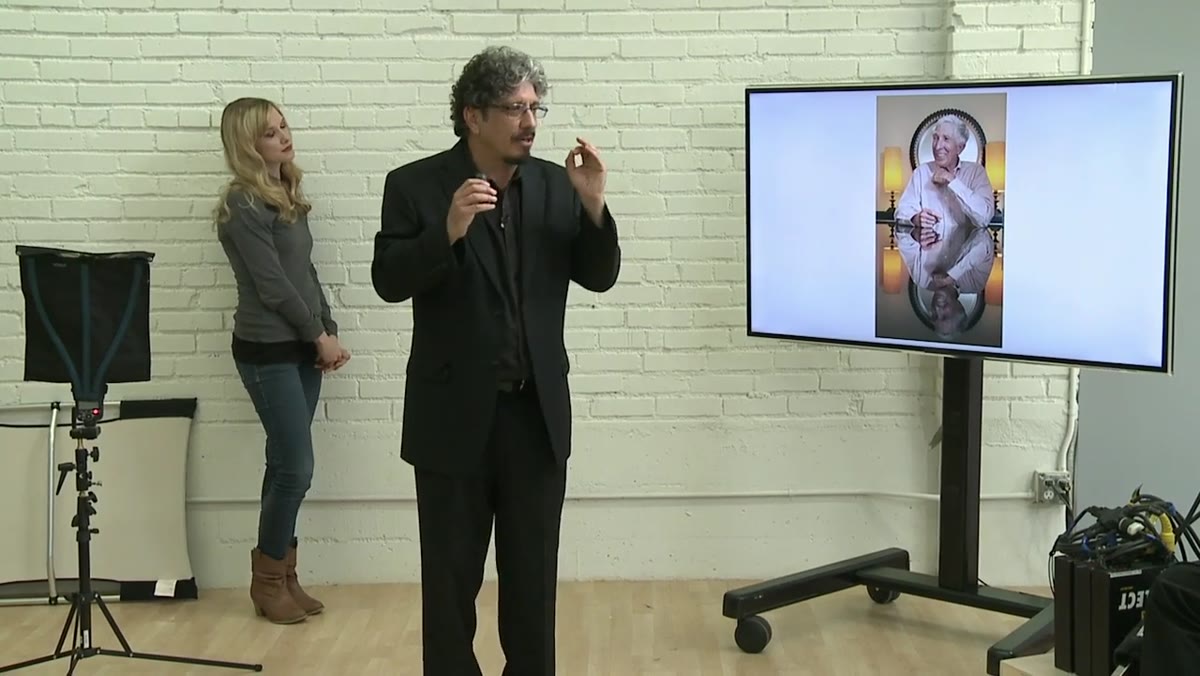 Photographer adjusting exposure during live interview shoot
This is the step that trips up photographers who learned in studios. On location, you’re almost always working with existing light that you can’t switch off. Smolan’s method is to start by metering and setting exposure for the ambient light in the scene, the window, the practical lamp, the overhead fluorescent you’re stuck with. Then you balance your artificial light to that baseline rather than trying to overpower everything.
Photographer adjusting exposure during live interview shoot
This is the step that trips up photographers who learned in studios. On location, you’re almost always working with existing light that you can’t switch off. Smolan’s method is to start by metering and setting exposure for the ambient light in the scene, the window, the practical lamp, the overhead fluorescent you’re stuck with. Then you balance your artificial light to that baseline rather than trying to overpower everything.
In practical terms: get your shutter speed and ISO dialed in so the ambient exposure is where you want it, usually slightly underexposed to give your key light room to work. Then bring in your softbox and adjust its power until it’s sitting one to one and a half stops above the ambient on the subject’s face. This keeps the background from going black and dead, which always looks wrong in editorial work and creates more compositing headaches than it solves.
Step 4: Position Your Assistant as a “Voice-Activated Light Stand”
 Assistant holding softbox during portrait session
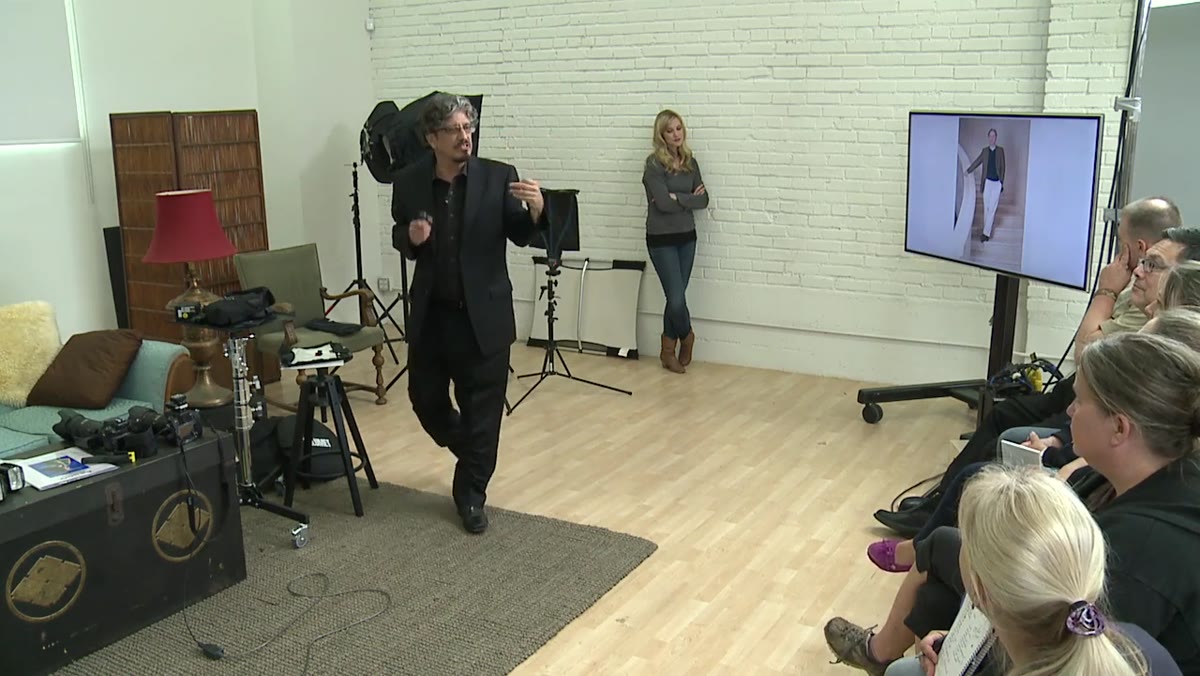
Smolan uses the term “voice-activated light stand” for a human assistant holding the softbox, and while it’s a joke, the technique is genuinely useful. A light stand is fixed. A person can tilt, lower, raise, and reposition a softbox in real time as the subject moves, which is exactly what you need when you’re photographing someone during a live interview and can’t stop to adjust gear.
Assistant holding softbox during portrait session
Smolan uses the term “voice-activated light stand” for a human assistant holding the softbox, and while it’s a joke, the technique is genuinely useful. A light stand is fixed. A person can tilt, lower, raise, and reposition a softbox in real time as the subject moves, which is exactly what you need when you’re photographing someone during a live interview and can’t stop to adjust gear.
The practical constraint he runs into here is real: the person holding the light has a maximum reach, and sometimes the ideal position for the softbox is higher than a person of average height can comfortably hold it. Know this before the shoot. If you need the light overhead at a steep angle, either hire someone tall, use a boom arm, or adjust your plan. Discovering it mid-session while a celebrity journalist is watching you problem-solve is not the move.
Step 5: Solve Remote Triggering Problems With the Materials You Have
 White foam core taped to stone wall for IR signal bounce
Before wireless radio triggers like Pocket Wizards became standard, infrared triggering signals required line of sight. Smolan describes a shoot in a stone building where his speedlights were positioned around a corner, completely out of the camera’s infrared line of sight. His solution: tape white foam core to the wall at an angle that redirected the IR signal around the corner and back to the lights.
White foam core taped to stone wall for IR signal bounce
Before wireless radio triggers like Pocket Wizards became standard, infrared triggering signals required line of sight. Smolan describes a shoot in a stone building where his speedlights were positioned around a corner, completely out of the camera’s infrared line of sight. His solution: tape white foam core to the wall at an angle that redirected the IR signal around the corner and back to the lights.
It’s a niche problem now that radio triggers are cheap and reliable. But the underlying thinking matters: when a technical constraint appears on location, look for what’s already in the room before you decide something isn’t possible. Foam core, white cards, even a phone screen can bounce a signal or redirect light. The more solutions you can improvise from nothing, the less gear you need to carry, and the faster you can set up and break down.
What I’d Add From My Own Experience
The thing nobody mentions about minimal lighting setups is how much they accelerate retouching, not just for skin, but for everything around the subject. When you’re not fighting multiple light sources creating competing shadows on a background or spill from a poorly placed rim light hitting a shoulder at a weird angle, the cleanup work shrinks dramatically. I’ve tracked time savings from my own workflow for years now, and the files that come in from photographers who understand one-light discipline consistently take thirty to forty percent less time to finish than files from photographers who over-light.
If you’re building batch retouching actions or presets for portrait work, I’d actually recommend testing them specifically on one-light setups. The consistency of the shadow side, the predictability of the highlight rolloff. These files behave well with automated tools in a way that complicated multi-light setups don’t. Clean light on the front end makes everything on the back end more predictable.
The single most important idea in this tutorial is also the simplest: you do not need complexity to make a professional portrait. One softbox, one reflector, and a solid understanding of how to balance your artificial light against the ambient in the room. That’s the whole system. Everything else is optional.
Watch the full tutorial on YouTube
Comments (2)
Clear and practical. No fluff. Appreciate that.
This is fantastic. I've been recommending this approach to my readers too.
Leave a Comment