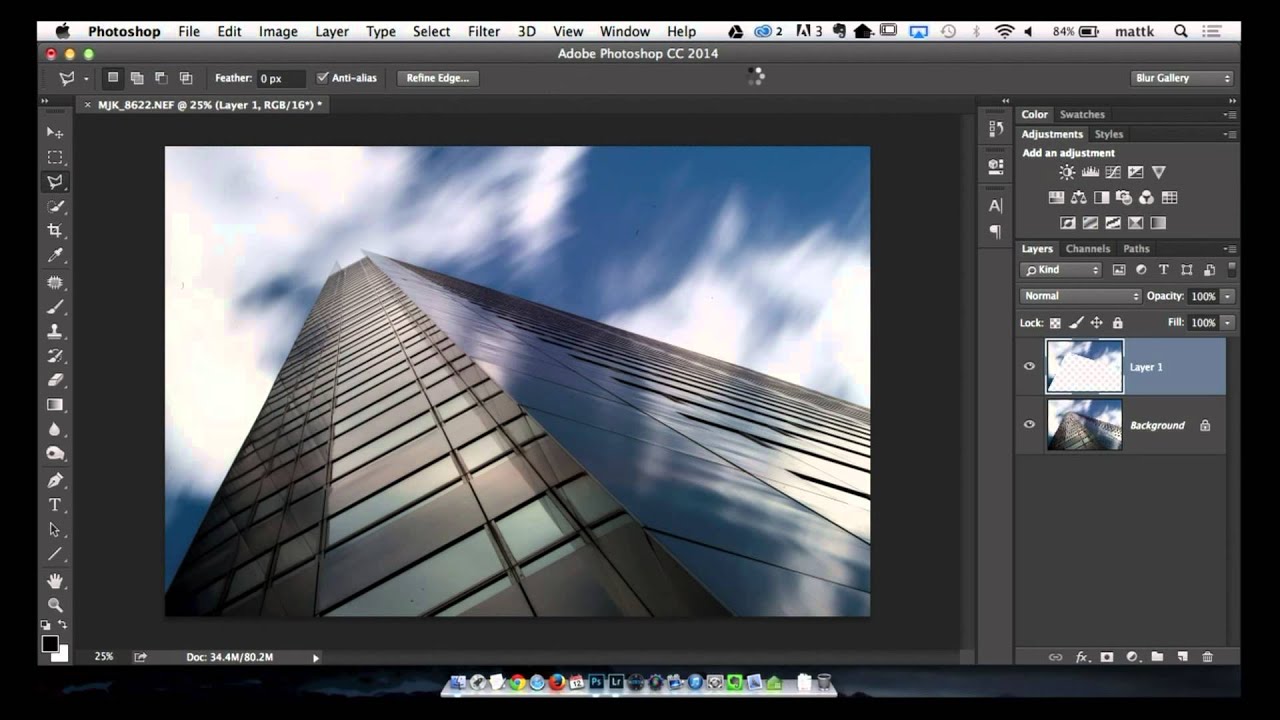
There’s a specific kind of cityscape photo I see constantly in commercial work and it always stops me cold: a rooftop perspective, dramatic black-and-white conversion, and clouds that look like they’ve been dragged across the sky by the wind during a long exposure. The effect reads as effortful and cinematic. The reality, at least in post-production, is that you can fake most of it convincingly in Photoshop without ever mounting a camera to a tripod or screwing on an ND filter. That’s worth knowing when a client sends you a clean blue-sky shot and asks for “something more dramatic.”
In this KelbyOne tutorial from episode 390 of Photoshop User TV, instructor Matt K walks through two connected techniques: a pan blur effect that simulates long-exposure motion, and a method for adding and manipulating cloud brushes to build a sky that looks like it was shot under perfect moody conditions. I pulled a few things from this one that I’ve already folded into my own compositing workflow, and I want to walk through it step by step so you can do the same. Watch the full tutorial on YouTube
Step 1: Understand the Effect You’re Simulating
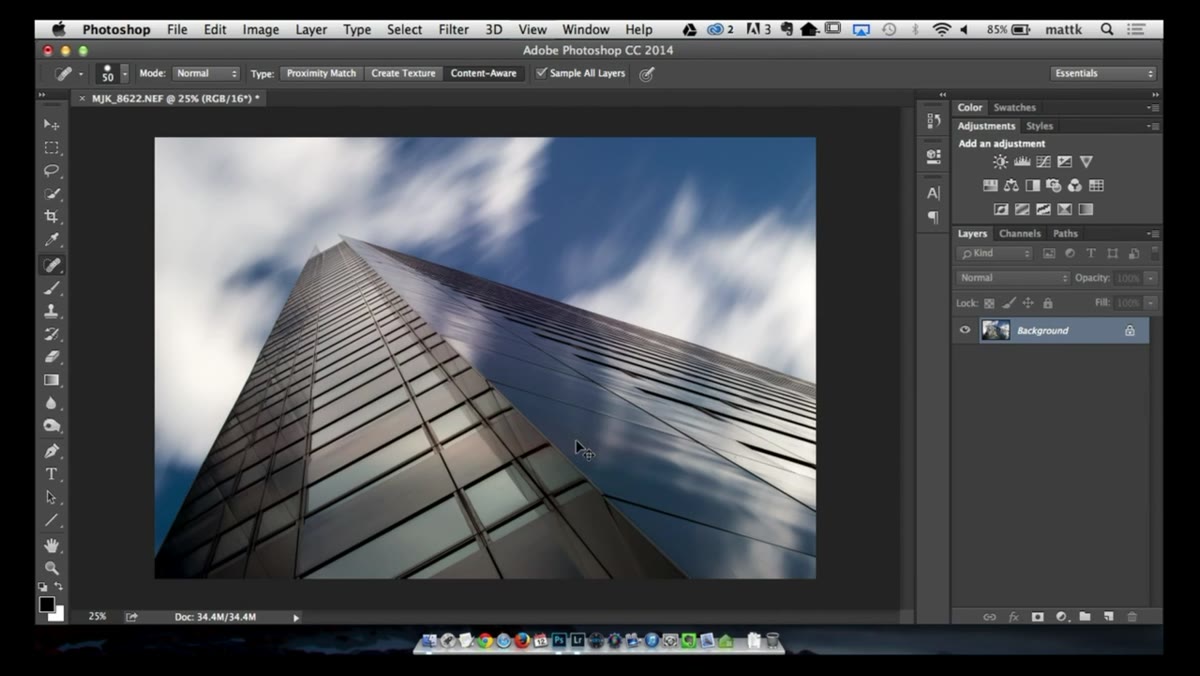
 Wide cityscape photo open in Photoshop workspace
Before touching any sliders, Matt spends a moment explaining the visual logic behind the technique. When photographers shoot cityscapes with a very long exposure using a neutral density filter, clouds in motion blur into long horizontal or diagonal streaks. The result is a sky that has directionality and tension. Knowing that is what you’re chasing helps you make better decisions about which direction to apply blur and how strong to push it. If your source image already has some cloud texture, even better. If not, that’s what the cloud brushes are for.
Wide cityscape photo open in Photoshop workspace
Before touching any sliders, Matt spends a moment explaining the visual logic behind the technique. When photographers shoot cityscapes with a very long exposure using a neutral density filter, clouds in motion blur into long horizontal or diagonal streaks. The result is a sky that has directionality and tension. Knowing that is what you’re chasing helps you make better decisions about which direction to apply blur and how strong to push it. If your source image already has some cloud texture, even better. If not, that’s what the cloud brushes are for.
Step 2: Apply a Radial or Motion Blur to the Sky Layer
 Filter menu open with Blur Gallery options visible
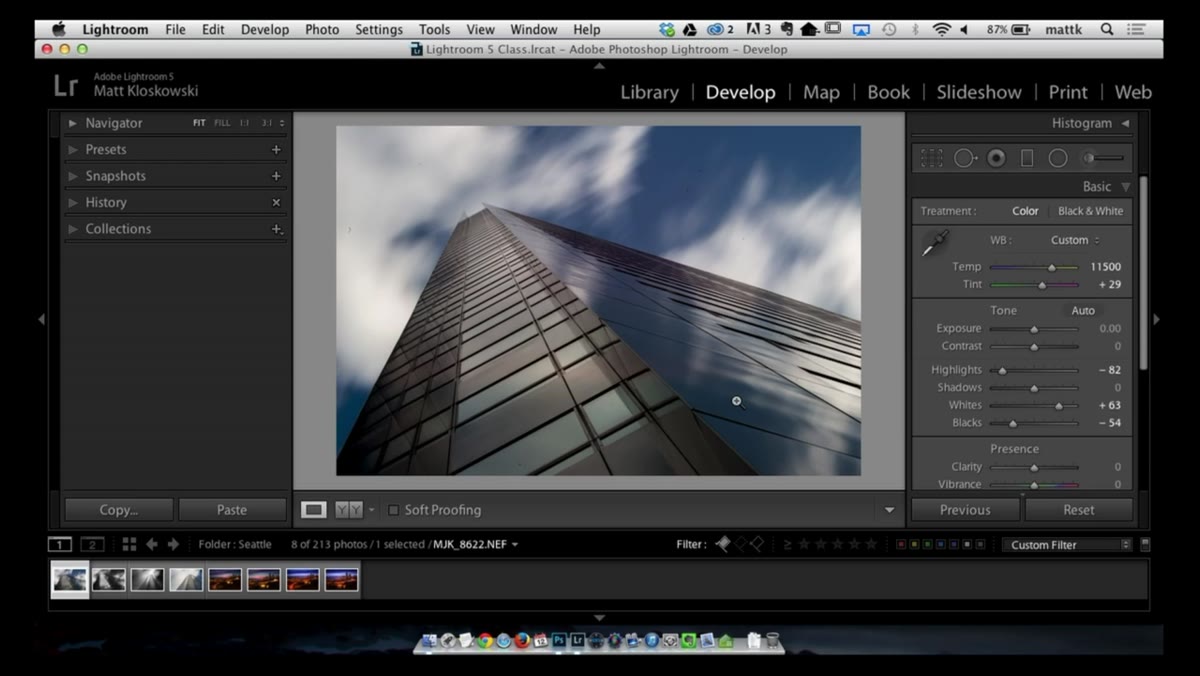
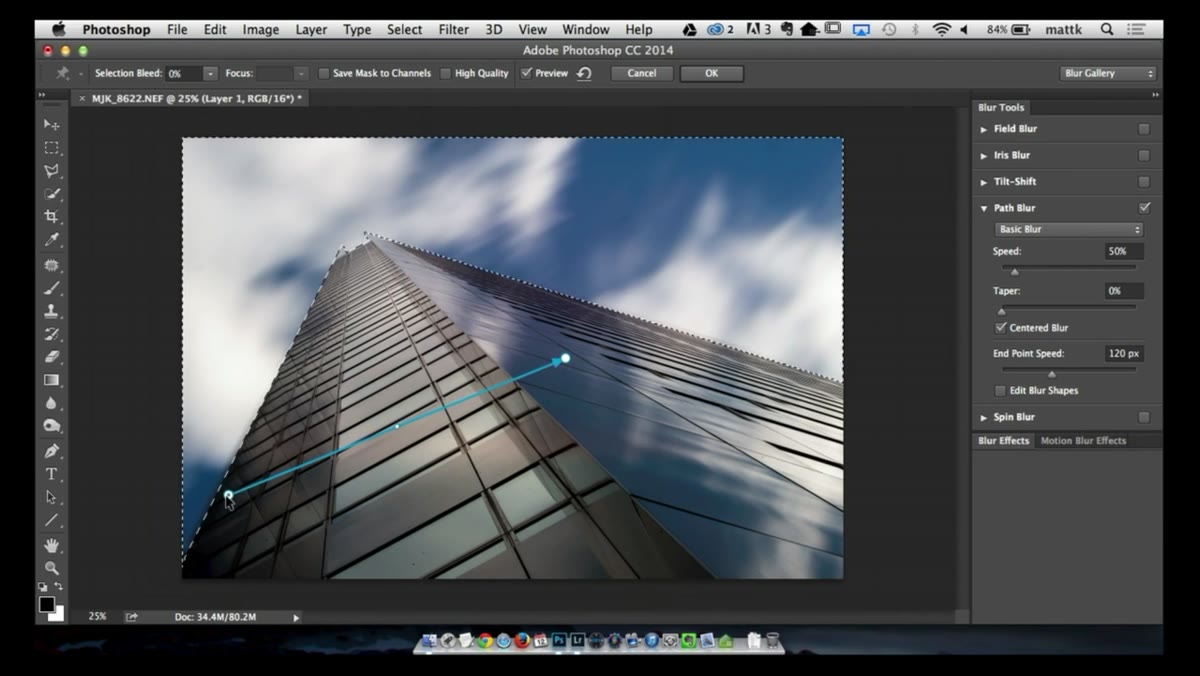
Separate your sky from the rest of the image using whatever selection method fits the photo. A quick Select Subject followed by inverting the selection usually gets you there fast. Once the sky is on its own layer, go to Filter, then Blur Gallery, and work with either Path Blur or Motion Blur depending on the direction you want the streaks to travel. For a classic long-exposure look, a horizontal Motion Blur works well. Matt uses a fairly aggressive blur radius here, something in the range of 150 to 200 pixels, because subtlety defeats the purpose of the effect. You want it to read immediately as motion.
Filter menu open with Blur Gallery options visible
Separate your sky from the rest of the image using whatever selection method fits the photo. A quick Select Subject followed by inverting the selection usually gets you there fast. Once the sky is on its own layer, go to Filter, then Blur Gallery, and work with either Path Blur or Motion Blur depending on the direction you want the streaks to travel. For a classic long-exposure look, a horizontal Motion Blur works well. Matt uses a fairly aggressive blur radius here, something in the range of 150 to 200 pixels, because subtlety defeats the purpose of the effect. You want it to read immediately as motion.
Step 3: Add Cloud Brushes to Build Sky Texture
 Brush preset picker open showing cloud brush options
This is where the workflow gets interesting. If your original sky is too plain or too clear to respond well to the blur, Matt recommends painting in cloud texture using dedicated cloud brushes before applying the blur effect. Load your cloud brushes into the Brush Preset Picker, drop a new layer above the background, and paint loosely across the upper portion of the frame. Work in white or a very light grey against a darker sky layer. The key is not to be precious about it. These strokes are going to get blurred, so rough and gestural is exactly right. Tight, careful cloud painting will just look like you painted clouds.
Brush preset picker open showing cloud brush options
This is where the workflow gets interesting. If your original sky is too plain or too clear to respond well to the blur, Matt recommends painting in cloud texture using dedicated cloud brushes before applying the blur effect. Load your cloud brushes into the Brush Preset Picker, drop a new layer above the background, and paint loosely across the upper portion of the frame. Work in white or a very light grey against a darker sky layer. The key is not to be precious about it. These strokes are going to get blurred, so rough and gestural is exactly right. Tight, careful cloud painting will just look like you painted clouds.
Step 4: Merge and Blur the Cloud Layer Together
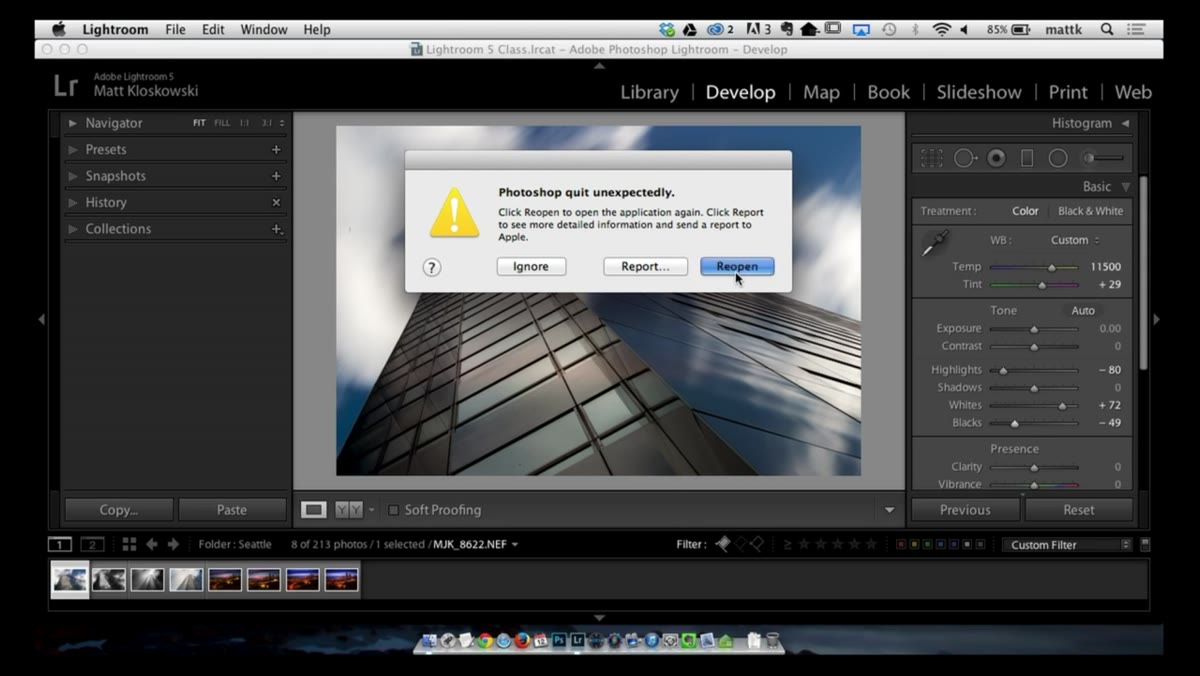 Cloud brush strokes visible on separate layer above background
Once you have enough cloud mass painted in, merge that cloud layer with your sky or stamp it visibly, then apply the same Motion Blur you used in Step 2. This is what makes the painted clouds and the original sky read as one continuous element rather than a composite. Matching the blur direction and intensity across both layers is what sells the illusion. If anything, push the blur slightly harder on your painted clouds than on the original sky texture, because the painted edges need to dissolve more completely to feel real.
Cloud brush strokes visible on separate layer above background
Once you have enough cloud mass painted in, merge that cloud layer with your sky or stamp it visibly, then apply the same Motion Blur you used in Step 2. This is what makes the painted clouds and the original sky read as one continuous element rather than a composite. Matching the blur direction and intensity across both layers is what sells the illusion. If anything, push the blur slightly harder on your painted clouds than on the original sky texture, because the painted edges need to dissolve more completely to feel real.
Step 5: Convert to Black and White to Sell the Drama
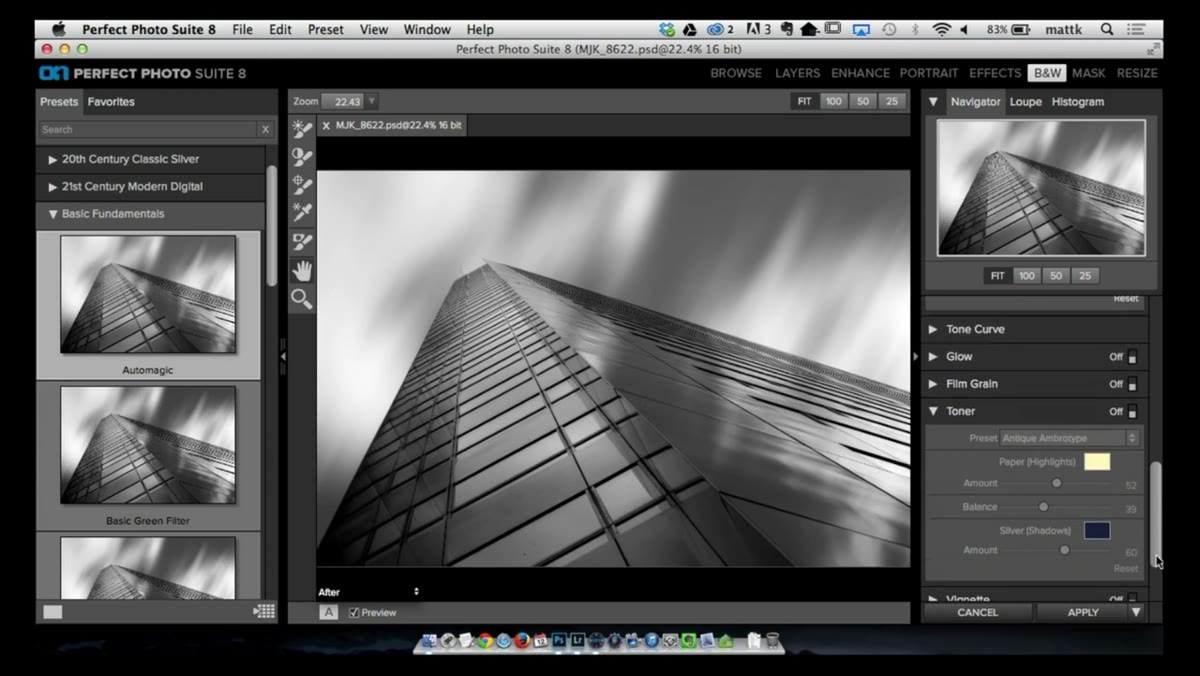
 Black and White adjustment layer applied with contrast boosted
Matt converts the image to black and white using a Black and White adjustment layer, and this step does a lot of heavy lifting. The conversion removes color inconsistencies between your original sky and your painted clouds, and it lets you dial in contrast channel by channel. Pulling the blues down and the whites up creates the high-contrast sky tones that make this genre so recognizable. Add a Curves adjustment layer on top and push the contrast hard. S-curve, steeper than you’d normally use for a portrait or product shot. This is a stylized effect and it should look like one.
Black and White adjustment layer applied with contrast boosted
Matt converts the image to black and white using a Black and White adjustment layer, and this step does a lot of heavy lifting. The conversion removes color inconsistencies between your original sky and your painted clouds, and it lets you dial in contrast channel by channel. Pulling the blues down and the whites up creates the high-contrast sky tones that make this genre so recognizable. Add a Curves adjustment layer on top and push the contrast hard. S-curve, steeper than you’d normally use for a portrait or product shot. This is a stylized effect and it should look like one.
Step 6: Refine with Masking to Protect the Foreground
 Layer mask applied to blur effect protecting building foreground
The blur and contrast work you’ve done on the sky will bleed into your foreground buildings or streetscape if you aren’t careful. Go back through your adjustment layers and blur effects and check that your masks are clean along the horizon line. A soft brush at low opacity along the transition edge usually cleans up any haloing or blur spill without creating a hard, cut-out look. This is the step most tutorials skip and it’s the one that separates a polished result from something that reads as obviously composited.
Layer mask applied to blur effect protecting building foreground
The blur and contrast work you’ve done on the sky will bleed into your foreground buildings or streetscape if you aren’t careful. Go back through your adjustment layers and blur effects and check that your masks are clean along the horizon line. A soft brush at low opacity along the transition edge usually cleans up any haloing or blur spill without creating a hard, cut-out look. This is the step most tutorials skip and it’s the one that separates a polished result from something that reads as obviously composited.
How I’d Extend This for Batch Workflows
The technique Matt covers is manual and image-specific, which makes sense for a tutorial. But if you shoot regular cityscape or architectural work, there’s a version of this you can semi-automate. I’ve built an action set that handles the Black and White conversion, the Curves boost, and the Motion Blur application in a single button press, with a pause inserted before the blur step so I can check blur direction per image. What used to take me six or seven minutes of setup per shot now takes under two. I log my time savings compulsively, and this one action cluster has already recovered about four hours across a single client project. If you find yourself running this effect more than a handful of times, it’s worth recording those repeated steps.
The single most transferable idea from this tutorial is the sequencing: paint texture first, blur second, convert to black and white third. Most people try to work with whatever sky they already have and force the blur to carry all the weight. Giving yourself painted cloud mass to blur is what makes the motion feel earned rather than applied. Matt K’s walkthrough is worth watching in full because he makes small decisions visible in real time in ways that are hard to capture in text alone.
Watch the full tutorial on YouTube
Comments (1)
I've been looking for exactly this kind of tutorial. Perfect timing.
Leave a Comment