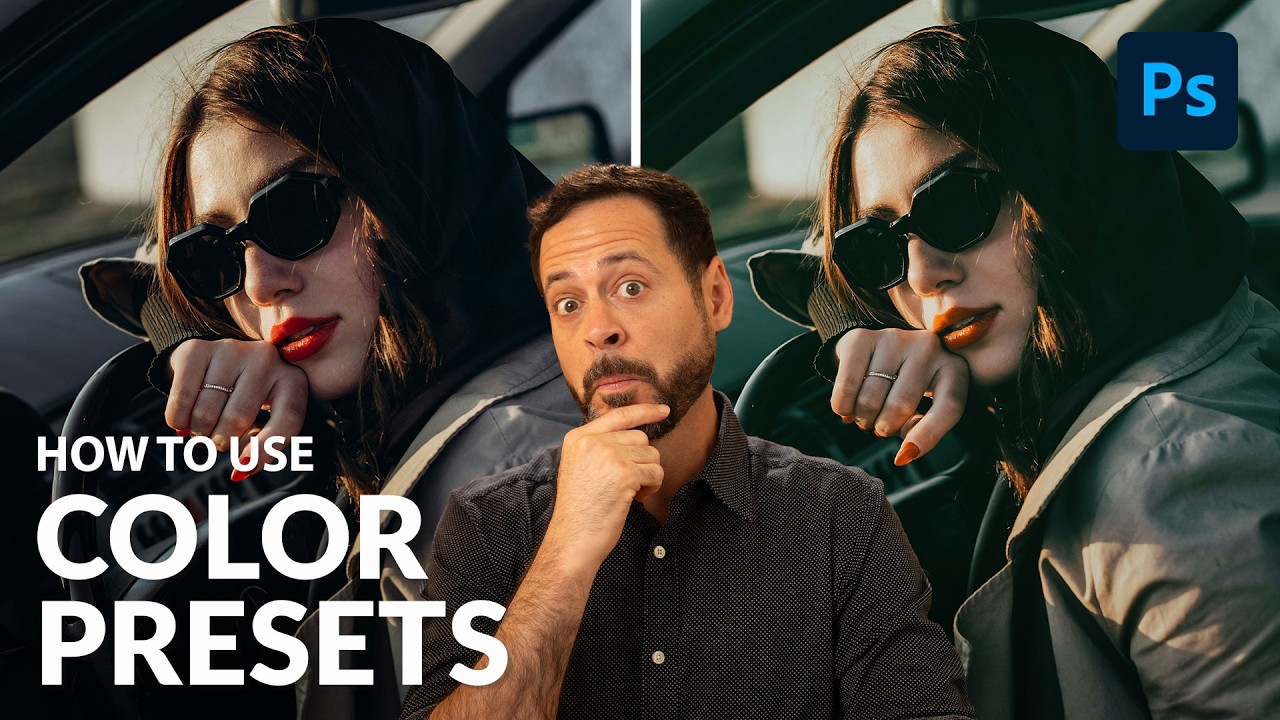
Color grading is one of those tasks that can swallow an afternoon if you let it. I know because I’ve let it. Early in my commercial work, I’d spend an hour tweaking HSL sliders on a single hero image, trying to land a cinematic look that matched a client’s mood board, only to have them request something warmer in the next round of feedback. Multiply that by a full product campaign and you start to understand why I became obsessed with building reversible, repeatable workflows. So when I came across this tutorial from Aaron Nace over at PHLEARN, I paid attention. Not because it introduces some obscure feature, but because it connects a few tools I already use into a sequence I hadn’t fully thought through. Watch the full tutorial on YouTube before or after reading through the breakdown below.
The core idea is simple: use Adobe Camera Raw as a Smart Filter inside Photoshop, then browse the built-in preset library to find a color grade you like. What makes this worth writing about is the combination of flexibility and speed. You get a live preview as you hover over presets, you can dial the intensity up or down with a single drag, and because the whole thing lives on a Smart Object, you can revisit and revise without touching the original pixel data. For anyone billing by the hour, that last part alone is worth the three minutes this takes to learn.
Step 1: Convert Your Layer to a Smart Object
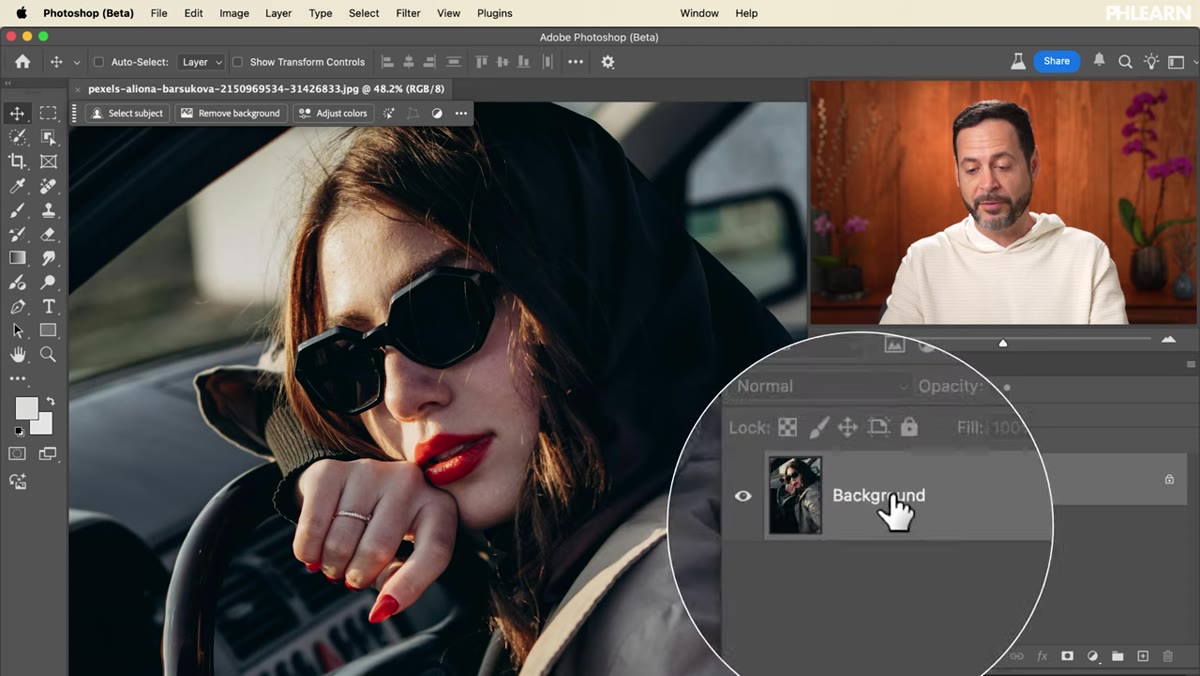 Converting background layer to Smart Object via Layer menu
Before anything else, select your background layer in the Layers panel and convert it to a Smart Object. You do this through the Layer menu at the top, navigating to Smart Objects and then Convert to Smart Object. You’ll see a small badge icon appear on the layer thumbnail confirming the conversion. This step is not optional if you want the workflow to stay editable. A Smart Object lets Camera Raw write its adjustments as a filter rather than baking them into the pixels, which means every decision you make today can be changed tomorrow with a double-click.
Converting background layer to Smart Object via Layer menu
Before anything else, select your background layer in the Layers panel and convert it to a Smart Object. You do this through the Layer menu at the top, navigating to Smart Objects and then Convert to Smart Object. You’ll see a small badge icon appear on the layer thumbnail confirming the conversion. This step is not optional if you want the workflow to stay editable. A Smart Object lets Camera Raw write its adjustments as a filter rather than baking them into the pixels, which means every decision you make today can be changed tomorrow with a double-click.
If you’re working on a flattened file or a layer that’s already been destructively edited, duplicate it first and convert the copy. I typically keep the original locked at the bottom of my stack out of habit. Paranoia built over 15 years of studio work.
Step 2: Open the Camera Raw Filter
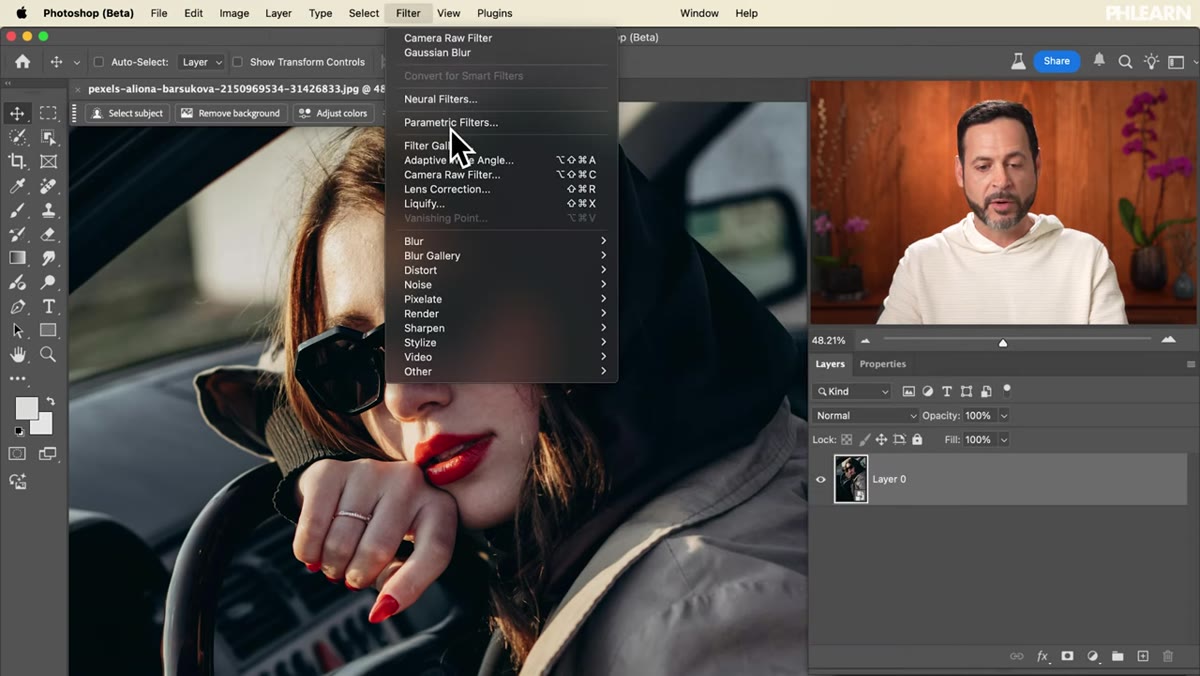 Navigating to Camera Raw Filter in the Filter menu
With the Smart Object layer active, go to the Filter menu and select Camera Raw Filter. This opens the full Camera Raw interface as an overlay on top of your Photoshop workspace. What most people miss is that this is not a stripped-down version of the Lightroom panel. It has access to the same preset ecosystem, the same masking tools, and the same tone controls you’d find in Lightroom or Adobe Bridge. The difference is that here, when you hit OK, those adjustments attach to the layer as a Smart Filter and inherit all the flexibility that comes with it.
Navigating to Camera Raw Filter in the Filter menu
With the Smart Object layer active, go to the Filter menu and select Camera Raw Filter. This opens the full Camera Raw interface as an overlay on top of your Photoshop workspace. What most people miss is that this is not a stripped-down version of the Lightroom panel. It has access to the same preset ecosystem, the same masking tools, and the same tone controls you’d find in Lightroom or Adobe Bridge. The difference is that here, when you hit OK, those adjustments attach to the layer as a Smart Filter and inherit all the flexibility that comes with it.
Step 3: Navigate to the Presets Panel
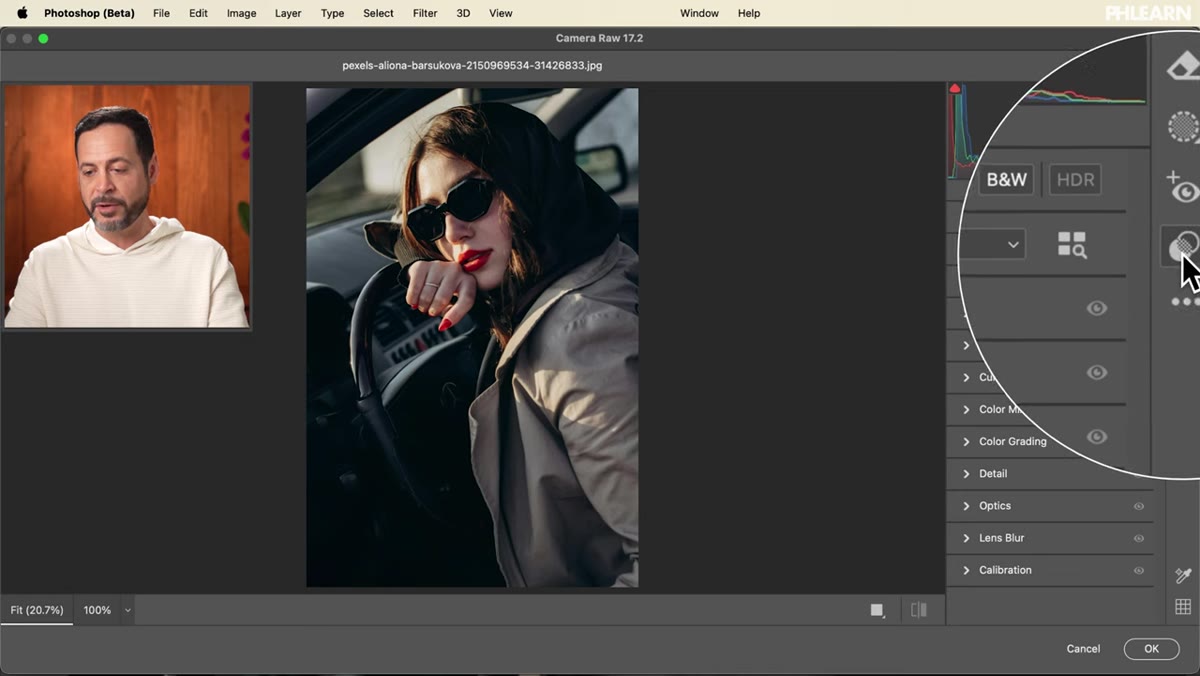 Presets panel open on the right side of Camera Raw
Inside the Camera Raw interface, look to the right-hand panel. There’s a Presets section that opens into a categorized library of options. Aaron points out that this is actually the largest collection of presets available anywhere inside Photoshop, which tracks with my experience. The categories are organized logically: you’ll see portrait-specific options near the top, and further down you’ll find the ones relevant to color grading work, including Cinematic, Seasons, and Styles groupings.
Presets panel open on the right side of Camera Raw
Inside the Camera Raw interface, look to the right-hand panel. There’s a Presets section that opens into a categorized library of options. Aaron points out that this is actually the largest collection of presets available anywhere inside Photoshop, which tracks with my experience. The categories are organized logically: you’ll see portrait-specific options near the top, and further down you’ll find the ones relevant to color grading work, including Cinematic, Seasons, and Styles groupings.
Expand the categories that fit your project. For product and commercial work, I usually head straight to Cinematic or the cooler-toned Style options. Portrait retouchers will find the portrait-aware presets genuinely useful since they use subject detection to apply targeted adjustments.
Step 4: Preview Presets by Hovering
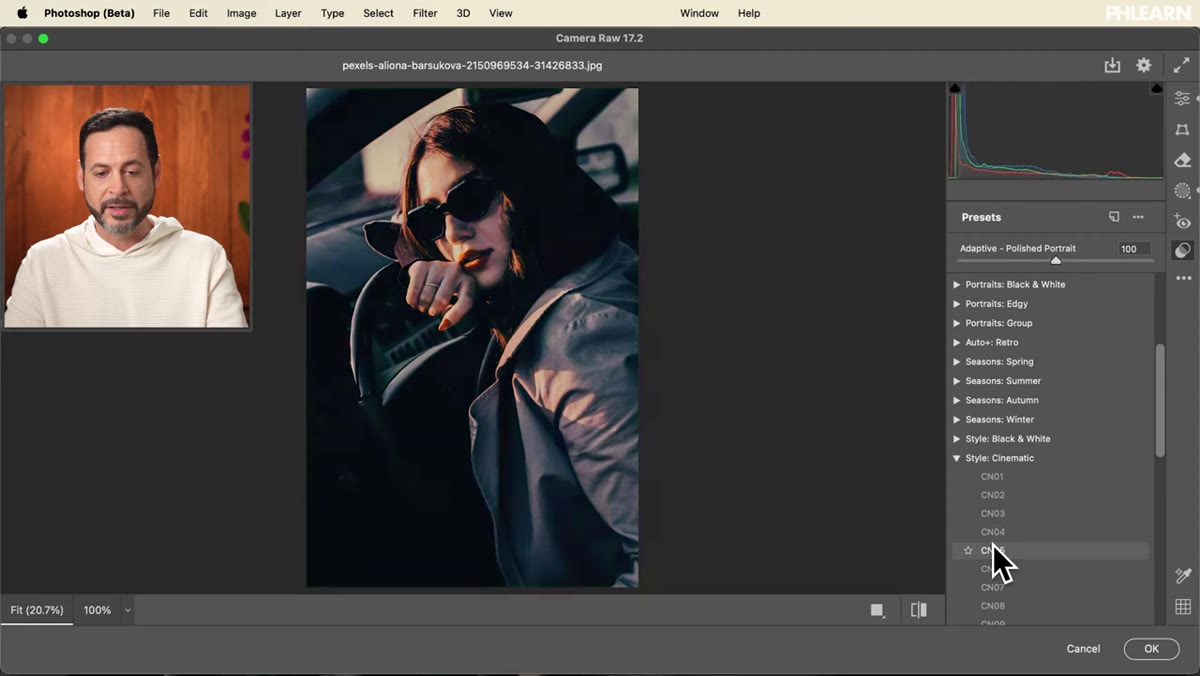 Hovering over a preset showing live preview on portrait image
This is the part that actually saves time. You don’t have to click to audition a preset. Simply hover your cursor over any preset name and Camera Raw renders a live preview on your image. This is fast enough to be genuinely useful for browsing. You can move through an entire category in under a minute, pausing on anything that catches your eye.
Hovering over a preset showing live preview on portrait image
This is the part that actually saves time. You don’t have to click to audition a preset. Simply hover your cursor over any preset name and Camera Raw renders a live preview on your image. This is fast enough to be genuinely useful for browsing. You can move through an entire category in under a minute, pausing on anything that catches your eye.
Don’t overthink it at this stage. You’re looking for a direction, not a finished grade. I usually hover through a full category once without stopping, then go back through more slowly for the two or three that felt right. That two-pass approach keeps me from settling on the first option that looks decent.
Step 5: Apply and Adjust Preset Intensity
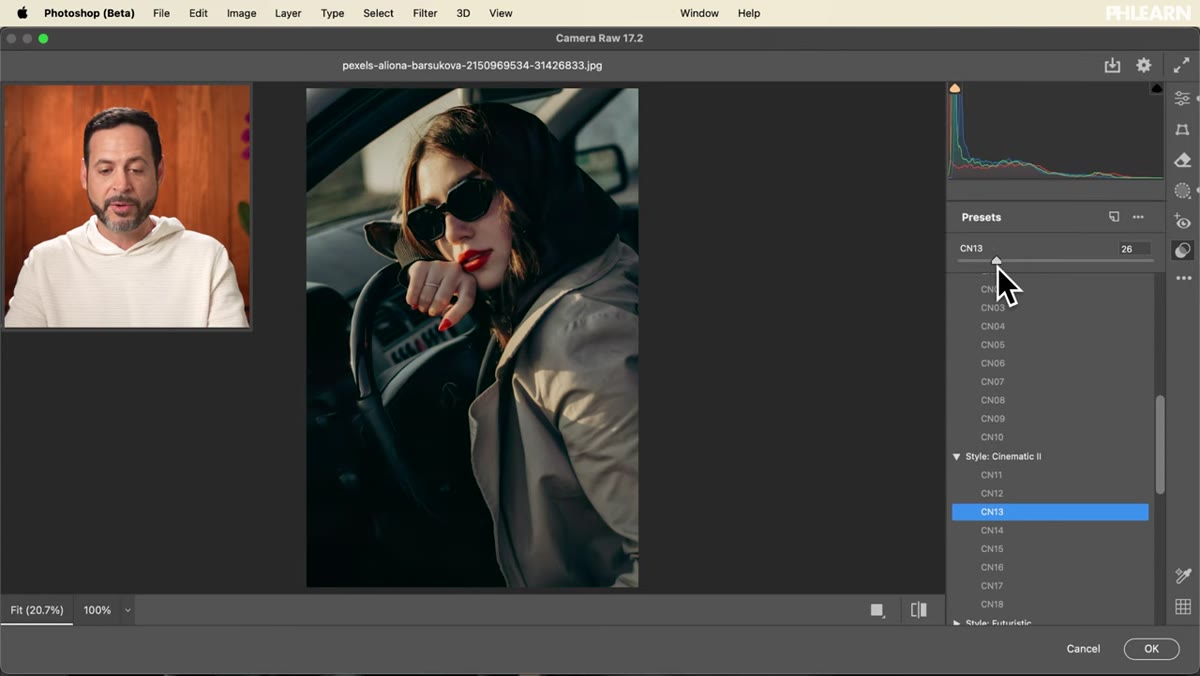 Dragging preset intensity slider at top of Camera Raw panel
Once you click on a preset to apply it, look at the top of the Camera Raw panel. There’s a slider tied to the preset amount that lets you scale the effect between zero and 100. Dragging left reduces the intensity, dragging right pushes it further. This single control solves the most common complaint about LUT-style color grading: that the results look heavy-handed. A cinematic preset at 40 percent reads as polish rather than Instagram filter, which is usually exactly where clients want to land.
Dragging preset intensity slider at top of Camera Raw panel
Once you click on a preset to apply it, look at the top of the Camera Raw panel. There’s a slider tied to the preset amount that lets you scale the effect between zero and 100. Dragging left reduces the intensity, dragging right pushes it further. This single control solves the most common complaint about LUT-style color grading: that the results look heavy-handed. A cinematic preset at 40 percent reads as polish rather than Instagram filter, which is usually exactly where clients want to land.
Spend a moment here. The image should look intentional but not processed. If you’re second-guessing it, pull the slider back further. Subtlety almost always wins on a final deliverable.
Step 6: Confirm and Re-edit at Any Time
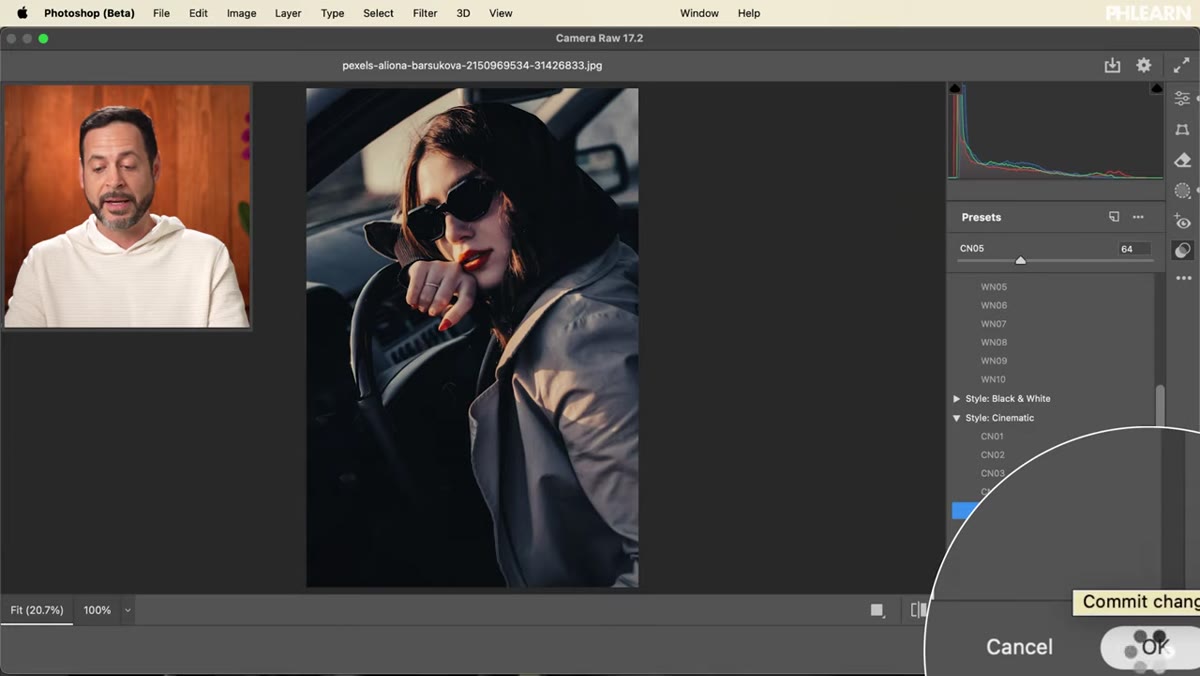 Camera Raw Smart Filter visible in Photoshop Layers panel
Hit OK in the bottom-right corner of the Camera Raw window. Back in Photoshop, you’ll see the Camera Raw Filter listed as a Smart Filter underneath your Smart Object layer. You can toggle it off entirely by clicking the visibility eye next to it, or double-click the filter name to reopen the full Camera Raw interface and swap to a completely different preset. Nothing is permanent. Nothing is destructive. If a client requests a warmer grade two weeks after delivery, you open the file, double-click the filter, hover through a few options, adjust the slider, and done.
Camera Raw Smart Filter visible in Photoshop Layers panel
Hit OK in the bottom-right corner of the Camera Raw window. Back in Photoshop, you’ll see the Camera Raw Filter listed as a Smart Filter underneath your Smart Object layer. You can toggle it off entirely by clicking the visibility eye next to it, or double-click the filter name to reopen the full Camera Raw interface and swap to a completely different preset. Nothing is permanent. Nothing is destructive. If a client requests a warmer grade two weeks after delivery, you open the file, double-click the filter, hover through a few options, adjust the slider, and done.
One Thing I’d Add: Stack It With an Adjustment Layer for Color Control
Aaron’s workflow gets you 90 percent of the way there on its own. Where I extend it is by adding a Hue/Saturation or Color Balance adjustment layer clipped to the Smart Object after the Camera Raw grade is in place. This gives me a second, independent layer of control for fine-tuning specific hue ranges without reopening Camera Raw. On a recent e-commerce shoot with a lot of product color-matching across a catalog, this combination let me apply a consistent cinematic base across every image while still nudging individual product colors to match reference swatches. Two layers, both fully reversible, total setup time under five minutes.
The single biggest takeaway from this workflow: Smart Objects are the foundation. Every flexible, revisable Photoshop technique I use depends on converting layers before applying filters or adjustments. It’s the one habit that separates a file you can edit tomorrow from one you have to rebuild from scratch.
Watch the full tutorial on YouTube to see Aaron walk through the whole process in real time, including the preset library browsing that’s genuinely easier to follow in motion.
Comments (5)
Shared this with my photography group. Everyone loved it.
Well explained. I think my audience would really benefit from this — mind if I link to it?
This is the kind of content that keeps me coming back.
This should be required reading for anyone starting out.
Great article! I actually covered something related on my site — the photography angle is really complementary to this.
Leave a Comment