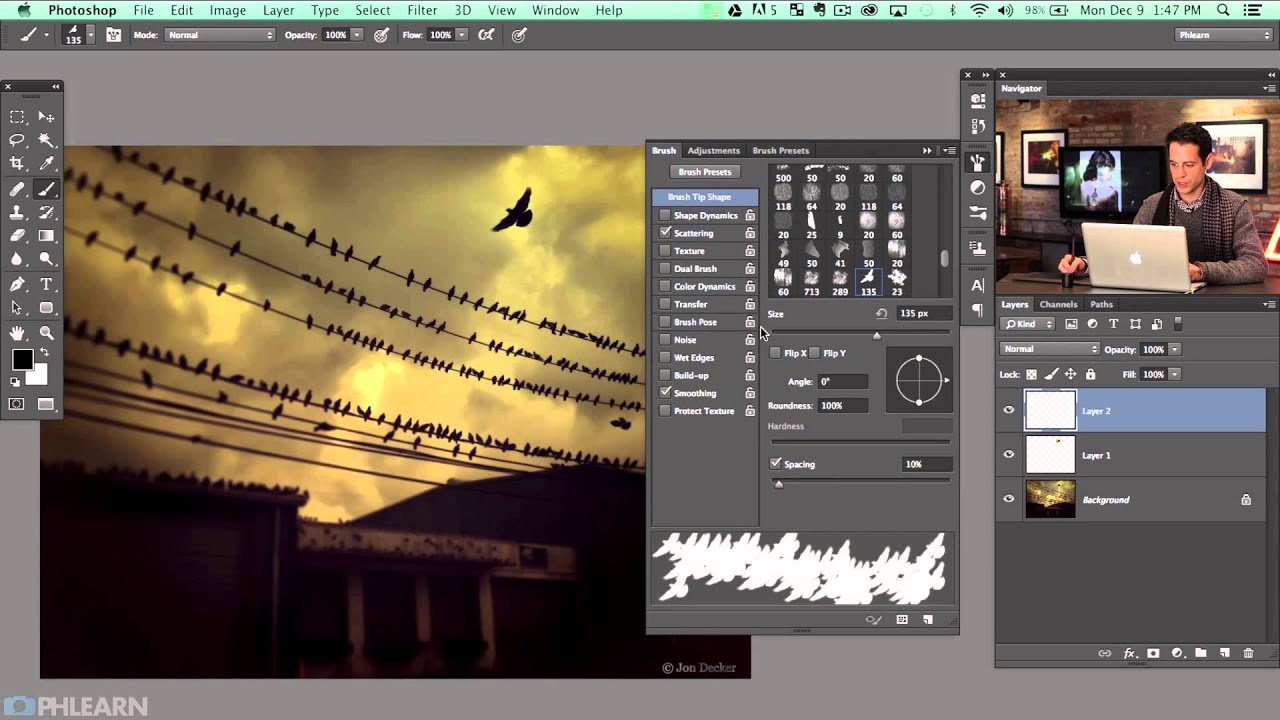
Custom brushes are one of those Photoshop capabilities that look like a novelty until you actually need them on a deadline. I’ve been doing compositing work for ad agencies for years, and there’s a specific category of client request that used to make me groan: “Can you add some birds to the sky?” It sounds trivial. It isn’t. Stamping the same bird shape repeatedly looks fake immediately, and sourcing stock elements, masking them individually, then varying their scale and angle manually eats up time you don’t have. A well-built scatter brush solves all of that in about thirty seconds of painting.
In this Aaron Nace (PHLEARN) tutorial, Watch the full tutorial on YouTube, Aaron walks through the complete process of pulling a single bird from a photograph and converting it into a brush that you can scatter, randomize, and paint across any image. The technique is straightforward, but there are a few spots where the details matter a lot, and I want to make sure you don’t skip past them.
What I appreciate about this approach is that it’s not really about birds. The exact same workflow works for leaves, people silhouettes, grass blades, or any repeating organic element you want to populate a scene with. Once you understand how Photoshop reads the pixel values of a brush tip, you can build a whole library of these from your own photo archives.
Step 1: Isolate Your Subject with the Marquee Tool
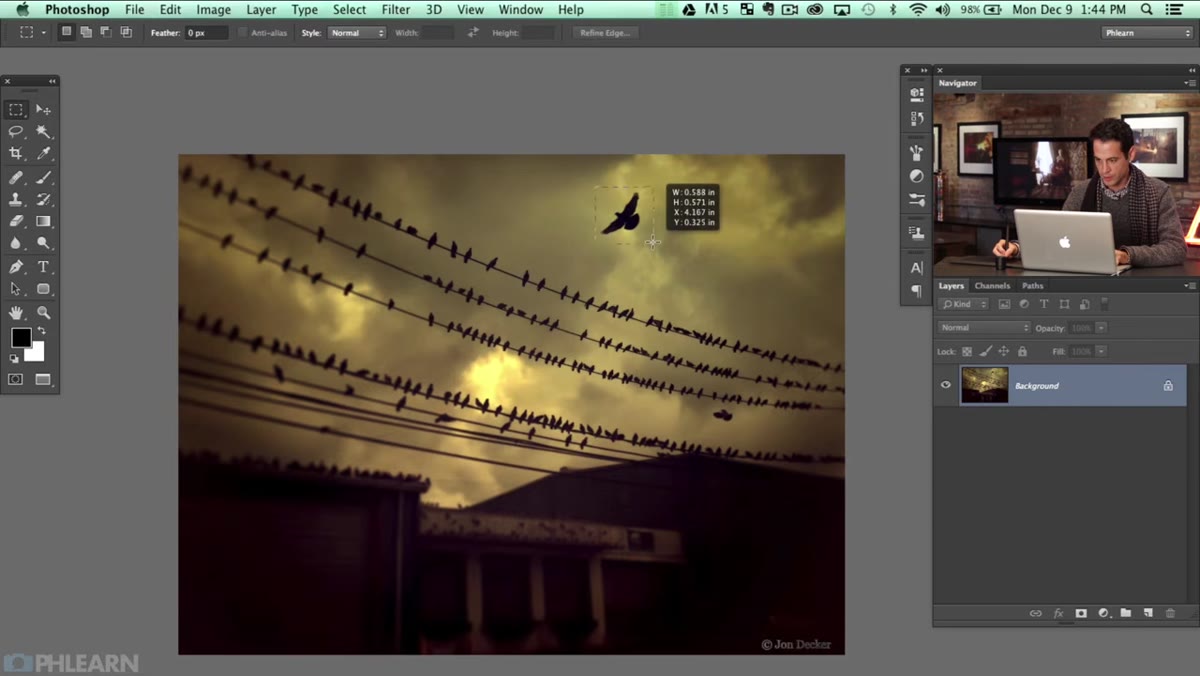 Marquee tool selection drawn loosely around a single bird
Start by opening your source photo and drawing a loose rectangular selection around the bird or subject you want to capture. You don’t need to be surgical here. The Marquee tool works fine for this first pass because you’re going to refine the tones in a later step anyway. The key requirement at this stage is contrast: you want a dark subject against a light background. Dark-on-light is the ideal condition for brush creation because Photoshop interprets dark pixels as the “painted” areas and light pixels as transparent. Aaron’s bird photo, shot by John Decker, is a perfect example of that setup.
Marquee tool selection drawn loosely around a single bird
Start by opening your source photo and drawing a loose rectangular selection around the bird or subject you want to capture. You don’t need to be surgical here. The Marquee tool works fine for this first pass because you’re going to refine the tones in a later step anyway. The key requirement at this stage is contrast: you want a dark subject against a light background. Dark-on-light is the ideal condition for brush creation because Photoshop interprets dark pixels as the “painted” areas and light pixels as transparent. Aaron’s bird photo, shot by John Decker, is a perfect example of that setup.
Once you have your selection, press Command+J (Ctrl+J on Windows) to duplicate the selected area onto its own layer. This keeps your original image intact and gives you a clean element to work with.
Step 2: Move the Isolated Bird to a New Document
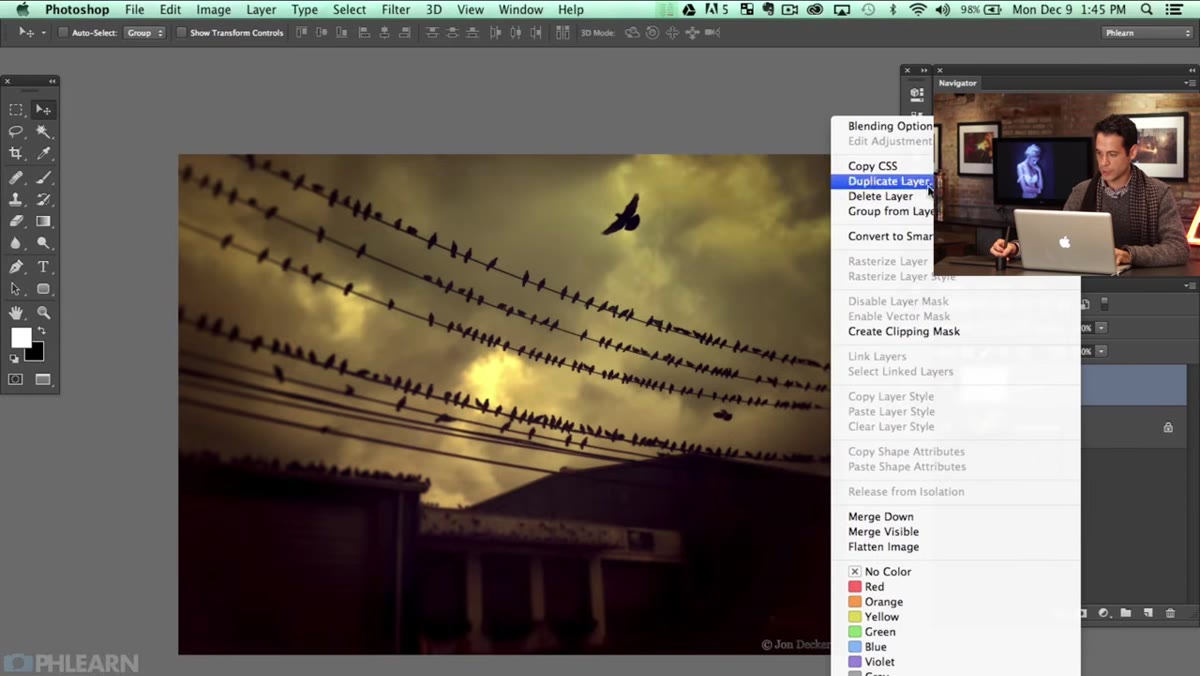 Right-click layer menu showing Duplicate Layer dialog with New destination
Right-click on the new layer in the Layers panel and choose “Duplicate Layer.” In the dialog that appears, set the Destination to “New” instead of your current document. This sends the bird to its own fresh canvas, which is exactly where you want to do your cleanup work. Keeping it separate means you’re not accidentally affecting your source image and you have a clean workspace for the next steps.
Right-click layer menu showing Duplicate Layer dialog with New destination
Right-click on the new layer in the Layers panel and choose “Duplicate Layer.” In the dialog that appears, set the Destination to “New” instead of your current document. This sends the bird to its own fresh canvas, which is exactly where you want to do your cleanup work. Keeping it separate means you’re not accidentally affecting your source image and you have a clean workspace for the next steps.
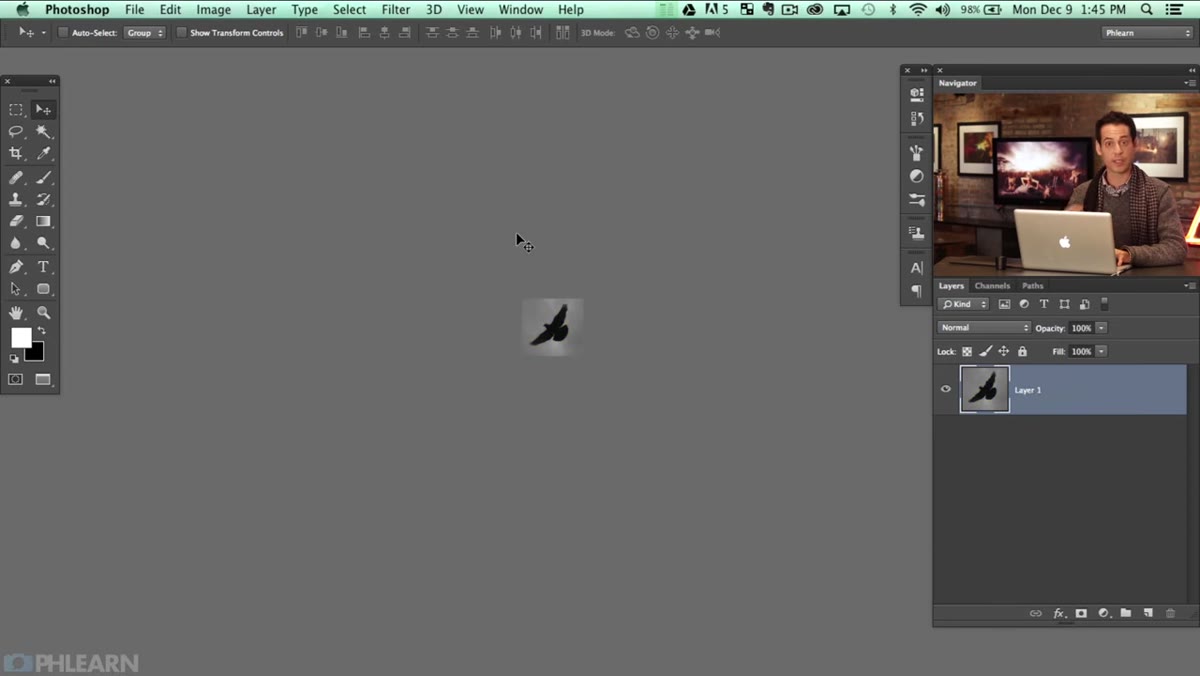
Once the new document opens, hold Command (Ctrl) and click directly on the layer thumbnail to reload the selection around your subject. Then go to Image, and choose Crop. This trims the canvas down tight to your selection. Press Command+D to deselect. You now have a compact document with just your bird, ready for tone adjustment.
Step 3: Desaturate and Set Levels for a Clean Black-and-White
 Levels dialog open with white eyedropper active over light background area
Brushes in Photoshop are grayscale by definition, so color information doesn’t help you here. Press Shift+Command+U (Shift+Ctrl+U) to desaturate the image. This strips color and leaves you with a grayscale rendering of the bird and its background.
Levels dialog open with white eyedropper active over light background area
Brushes in Photoshop are grayscale by definition, so color information doesn’t help you here. Press Shift+Command+U (Shift+Ctrl+U) to desaturate the image. This strips color and leaves you with a grayscale rendering of the bird and its background.
Now open Levels with Command+L (Ctrl+L). In the Levels dialog, grab the white point eyedropper, which is the rightmost of the three eyedroppers in the panel, and click on an area of the background that should read as pure white. This forces the background to full white, which is critical. Any gray remaining in the background will show up as a semi-transparent smudge when you paint with the brush later. Click OK once the background looks clean and the bird retains its dark values.
Step 4: Define the Brush Preset
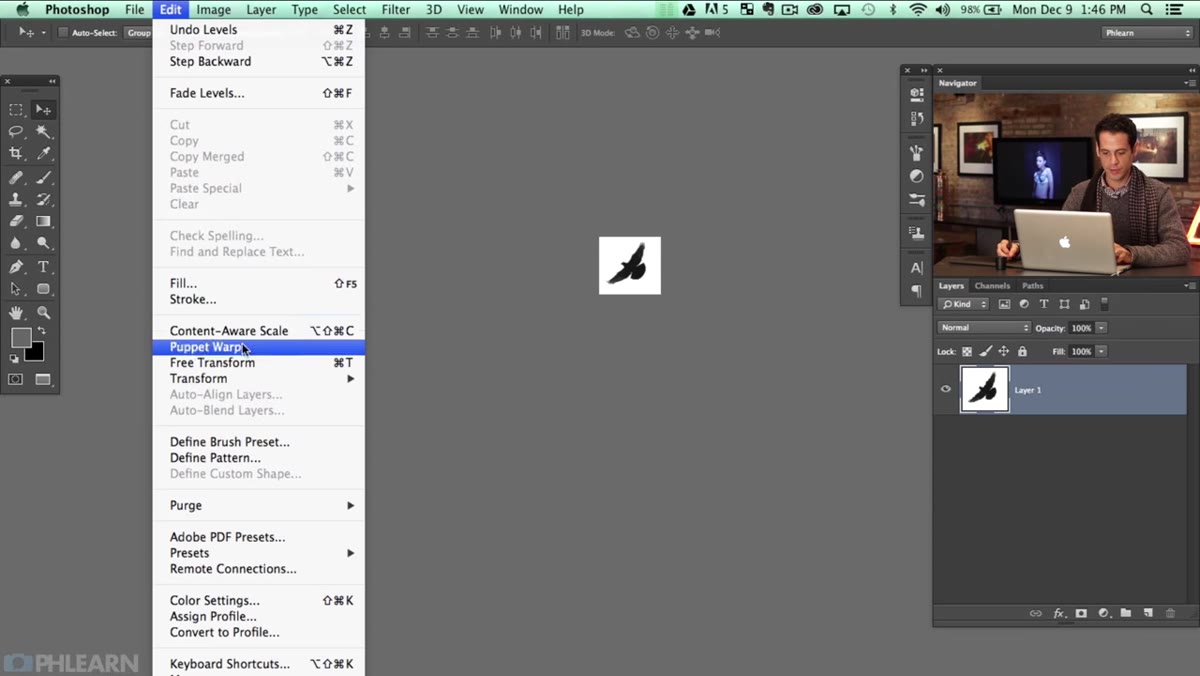 Edit menu open with Define Brush Preset highlighted
With your cleaned-up black-and-white bird on screen, go to Edit and select “Define Brush Preset.” Give the brush a name you’ll actually recognize later. Something like “Bird - Silhouette” works better than the default. Hit Enter, and Photoshop registers the entire visible canvas as a new brush tip and adds it to the bottom of your brush library.
Edit menu open with Define Brush Preset highlighted
With your cleaned-up black-and-white bird on screen, go to Edit and select “Define Brush Preset.” Give the brush a name you’ll actually recognize later. Something like “Bird - Silhouette” works better than the default. Hit Enter, and Photoshop registers the entire visible canvas as a new brush tip and adds it to the bottom of your brush library.
That’s the full creation process. Seriously, that’s it. The rest of the work happens in how you configure the brush before you paint with it.
Step 5: Paint with the Brush and Explore Scatter Settings
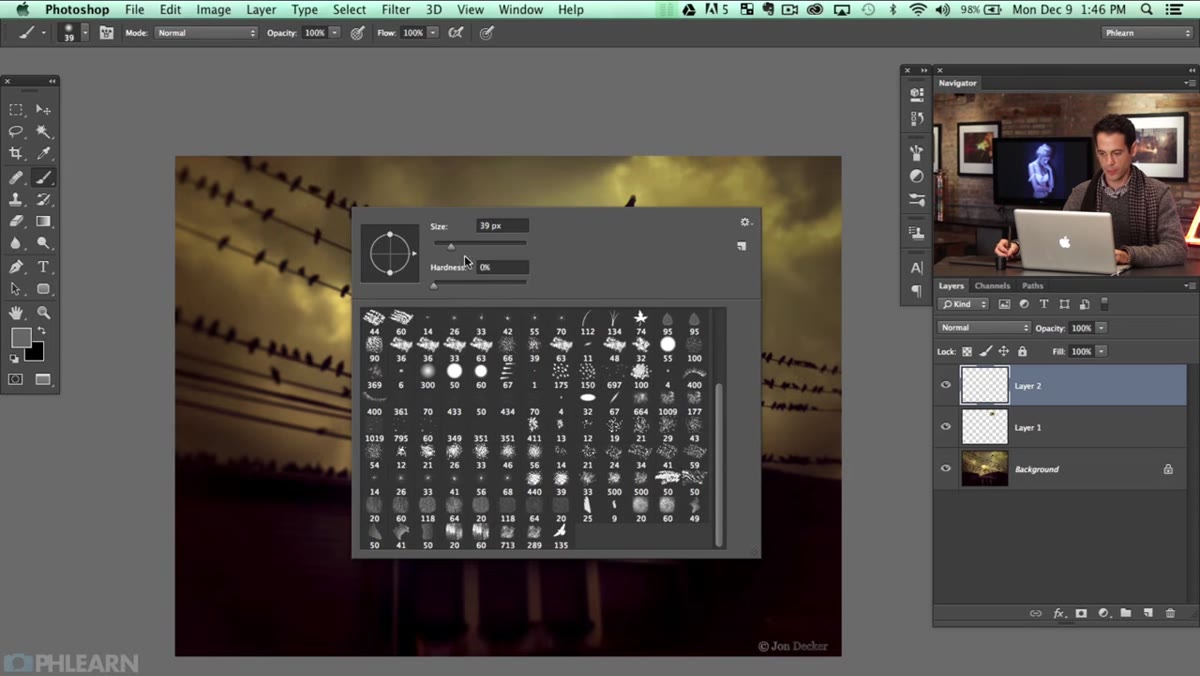 Brush tool active on scene with multiple bird stamps appearing across canvas
Switch to your target image and create a new empty layer. Press B to activate the Brush tool, then right-click anywhere on the canvas to open the brush picker. Scroll to the very bottom of the list and you’ll find your new bird brush. Set your foreground color to black and start clicking or painting. Each stroke or click drops the bird shape at whatever size you have the brush set to.
Brush tool active on scene with multiple bird stamps appearing across canvas
Switch to your target image and create a new empty layer. Press B to activate the Brush tool, then right-click anywhere on the canvas to open the brush picker. Scroll to the very bottom of the list and you’ll find your new bird brush. Set your foreground color to black and start clicking or painting. Each stroke or click drops the bird shape at whatever size you have the brush set to.
To make this actually usable as a compositing tool, you need to open the Brush Settings panel. Go to Window and select Brush Settings. Click on “Scattering” in the left-hand column. Enabling Scattering distributes multiple brush tips along your stroke path rather than stamping them in a single-file line. You’ll want to adjust the Scatter slider and the Count slider together. High scatter with a count of 2 or 3 gives you loose, naturalistic groupings. Play with these values on a test layer before committing to anything.
One Workflow Addition Worth Noting
After building a brush like this, I always save it as part of a dedicated brush preset group rather than leaving it loose at the bottom of my default library. Photoshop’s brush organization used to be chaos, but the grouped folders available in CC make this manageable. More importantly, I create a companion Photoshop action that applies the scatter settings I’ve already tested and saves them with the brush. That way, the next time I open a new file and need to drop birds into a sky, I’m not re-dialing in Scatter and Count from scratch. My documented settings for this particular brush: Scatter at 400%, Both Axes checked, Count at 2, and Count Jitter around 50%. Those numbers held up across about a dozen different sky composites before I stopped tweaking.
The single most important insight from this whole technique is the black-on-white requirement during brush creation. Everything else is adjustable after the fact. If you get the tonal cleanup wrong, your brush will have muddy halos or gaps, and no amount of Scatter settings will fix it. Nail the Levels step, and the rest of the process is genuinely fast.
Watch the full tutorial on YouTube to see Aaron walk through the visual details in real time, especially the Levels eyedropper step, which is easier to follow when you can see the before-and-after on screen.
Comments (2)
Great breakdown. The step-by-step approach really helps.
Tried this technique this morning. Game changer for real.
Leave a Comment