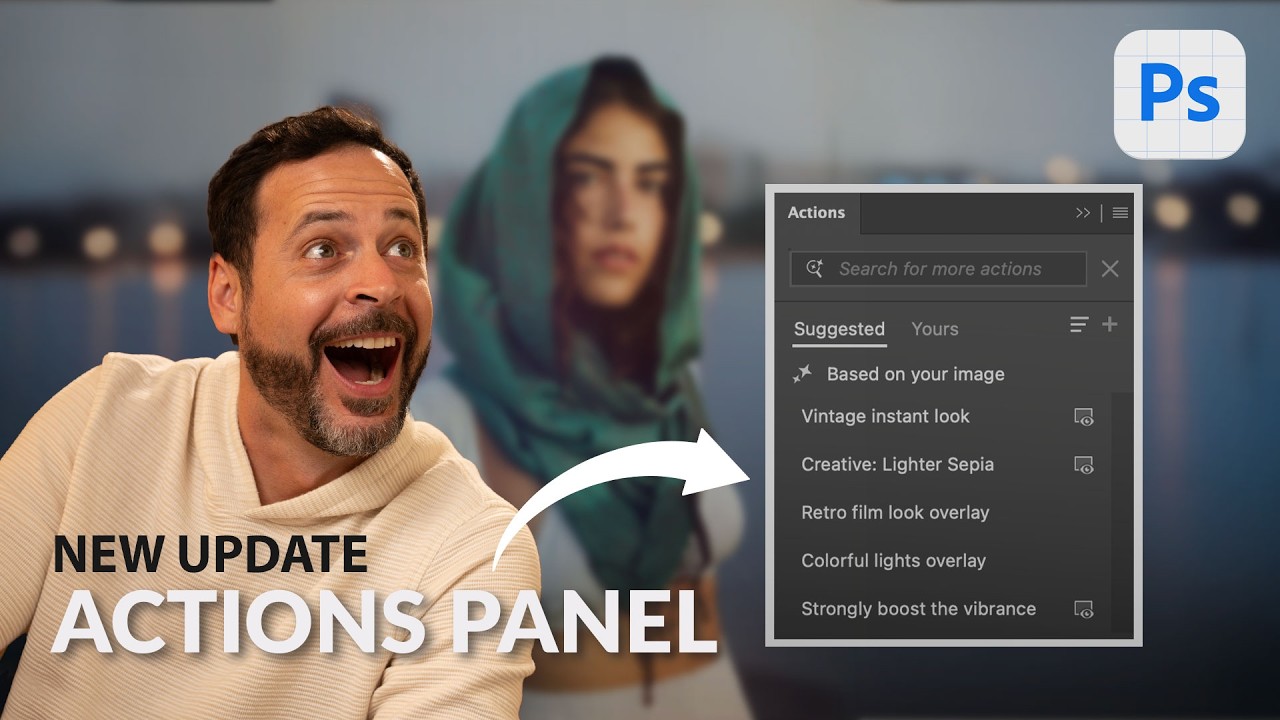
I’ve been tracking time saved by Photoshop actions in a spreadsheet since 2014. Over 2,400 hours recovered. That number only stays meaningful if I keep paying attention when something genuinely changes the game - not just tweaks, but structural shifts in how the tool works. The redesigned Actions panel in Photoshop Beta is one of those shifts. In this Aaron Nace (PHLEARN) tutorial, Watch the full tutorial on YouTube, Aaron walks through a brand new Actions interface that combines AI-driven suggestions with a searchable library of thousands of built-in actions. It is only in the Beta version right now, but anyone serious about post-production workflow should be paying close attention.
What makes this worth a close look is not just that it is new. It is that it is non-destructive and transparent. The actions Photoshop builds do not hide what they did inside a black box. Every layer, mask, smart filter, and adjustment is right there in your Layers panel, editable, removable, revisable. For commercial work - where a client calls two days later wanting to dial back the skin retouching or swap a background - that matters enormously. This is not automation replacing craft. It is automation scaffolding the craft so you can work faster without giving up control.
Step 1: Open the New Actions Panel
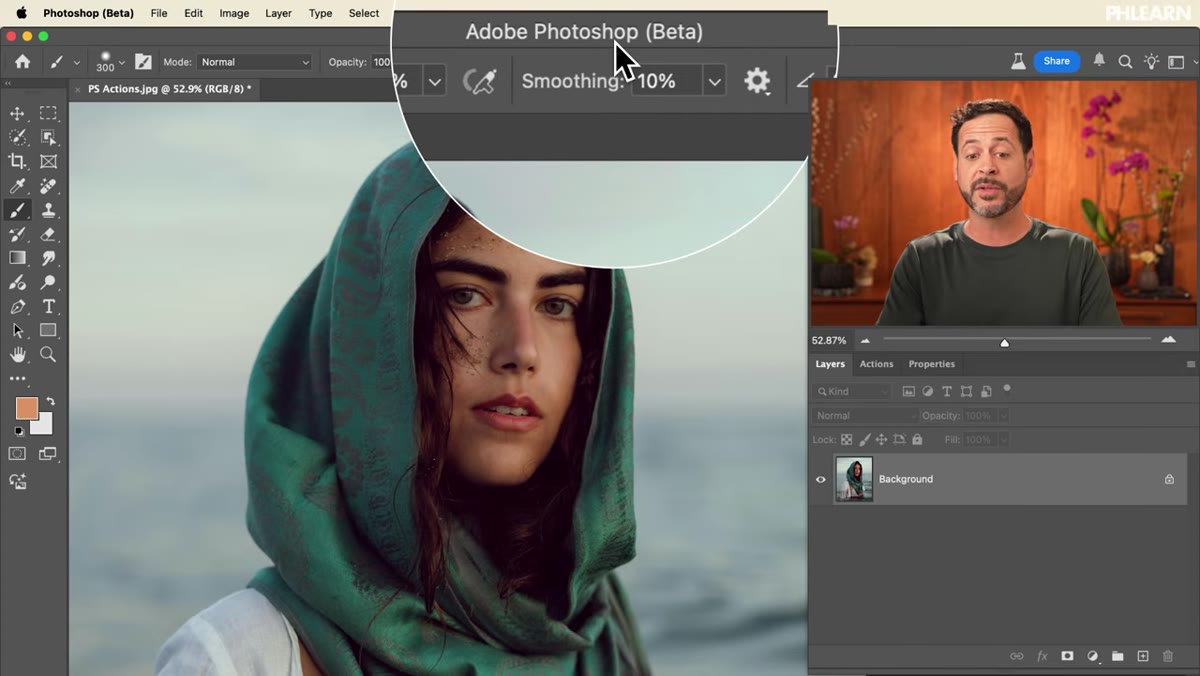 Photoshop Beta window with Actions panel docked next to Layers
Start in Photoshop Beta - this feature is not in the standard release yet. Navigate to Window in the top menu bar and select Actions. The panel that opens looks nothing like the old Actions panel most of us have memorized. Gone is the dense list of named action sets and the clunky record button. In its place is a clean search interface with a text field at the top and a section of AI-generated suggestions below. Dock it next to your Layers panel so you can watch both simultaneously as actions run.
Photoshop Beta window with Actions panel docked next to Layers
Start in Photoshop Beta - this feature is not in the standard release yet. Navigate to Window in the top menu bar and select Actions. The panel that opens looks nothing like the old Actions panel most of us have memorized. Gone is the dense list of named action sets and the clunky record button. In its place is a clean search interface with a text field at the top and a section of AI-generated suggestions below. Dock it next to your Layers panel so you can watch both simultaneously as actions run.
Step 2: Let the AI Analyze Your Image and Suggest Actions
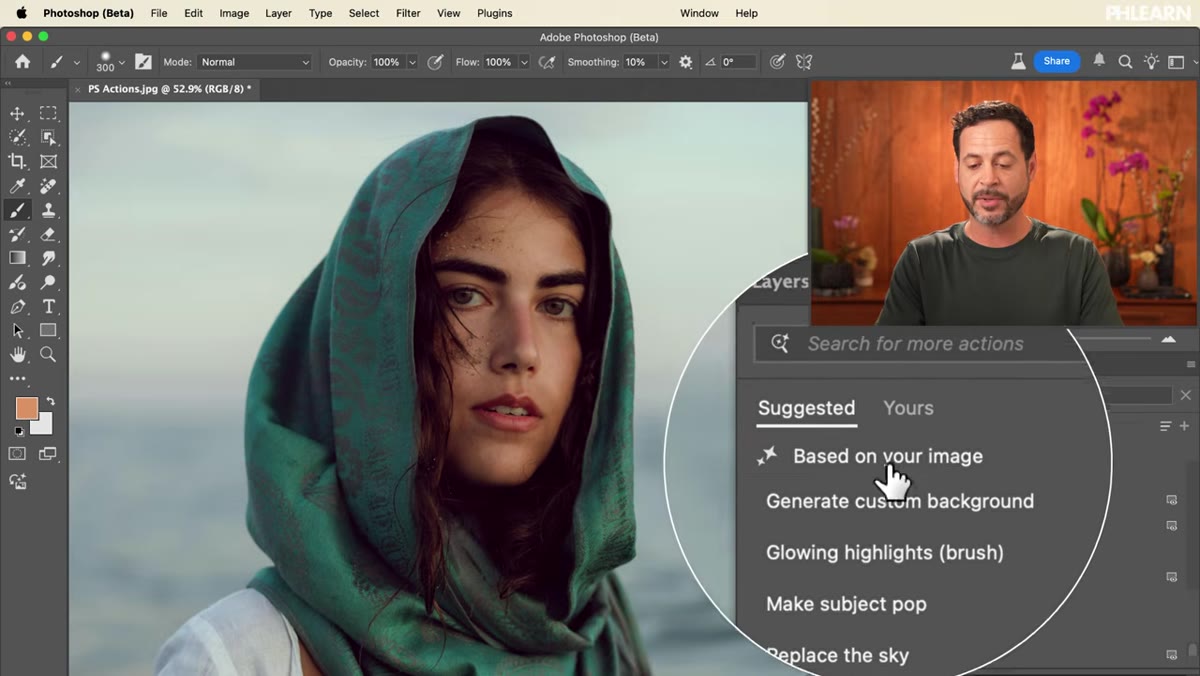 Actions panel showing AI suggestions based on image content
Before you type anything, take a look at the suggestions Photoshop generates automatically based on your open image. The AI reads the content of your file and surfaces relevant starting points. In Aaron’s example, Photoshop looks at a portrait subject in front of an ocean and immediately suggests generating a custom background. These are not generic options - the panel is reading your image. Think of it as a context-aware assistant that has already looked at your file before you’ve said a word.
Actions panel showing AI suggestions based on image content
Before you type anything, take a look at the suggestions Photoshop generates automatically based on your open image. The AI reads the content of your file and surfaces relevant starting points. In Aaron’s example, Photoshop looks at a portrait subject in front of an ocean and immediately suggests generating a custom background. These are not generic options - the panel is reading your image. Think of it as a context-aware assistant that has already looked at your file before you’ve said a word.
Step 3: Use the Search Field to Run a Generative Fill Background Swap
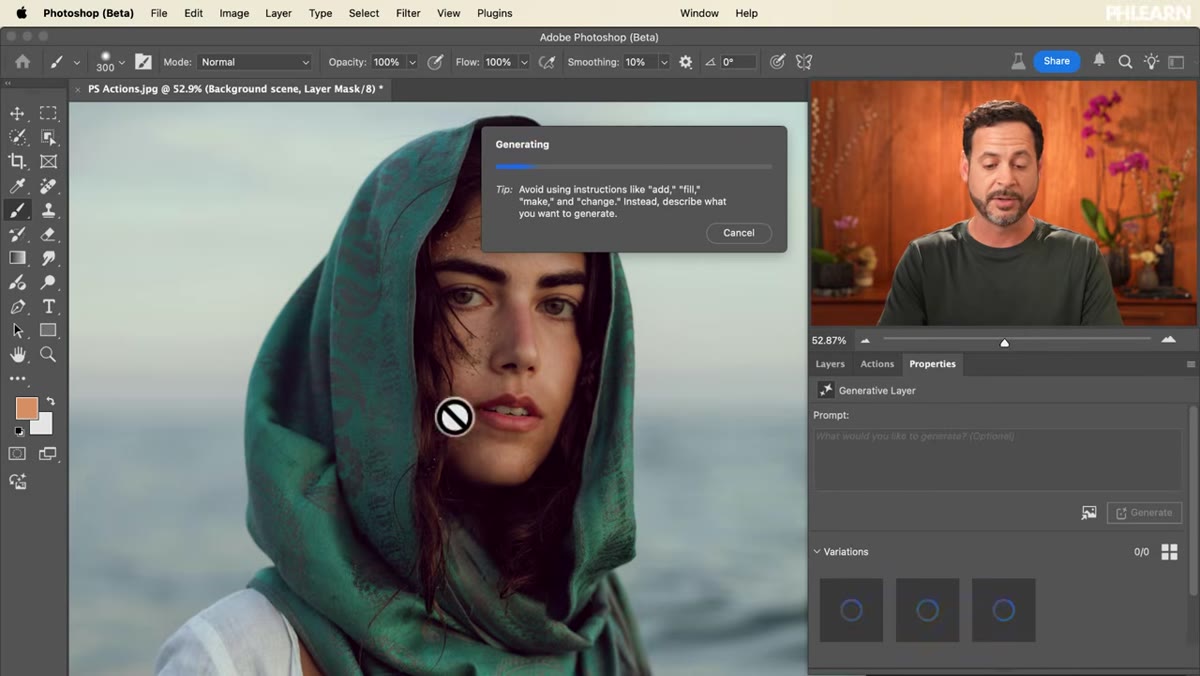 Text field with “city” typed, generative fill replacing ocean background
Click on the AI-suggested action for generating a custom background, then type a simple descriptor into the prompt field - in this case, just the word “city.” Hit enter and Photoshop runs a generative fill operation, replacing the existing background with AI-generated city environments and presenting a few variations. What makes this particularly useful is what happens in the Layers panel afterward. Photoshop does not flatten the result. It separates the subject and the new background into properly organized layers, so you still have full compositing control. The heavy lifting - masking the subject, generating the fill, building the layer structure - is done for you in seconds.
Text field with “city” typed, generative fill replacing ocean background
Click on the AI-suggested action for generating a custom background, then type a simple descriptor into the prompt field - in this case, just the word “city.” Hit enter and Photoshop runs a generative fill operation, replacing the existing background with AI-generated city environments and presenting a few variations. What makes this particularly useful is what happens in the Layers panel afterward. Photoshop does not flatten the result. It separates the subject and the new background into properly organized layers, so you still have full compositing control. The heavy lifting - masking the subject, generating the fill, building the layer structure - is done for you in seconds.
Step 4: Apply a Glowing Highlights Brush Effect
 Glowing highlights brush being painted over the subject layer
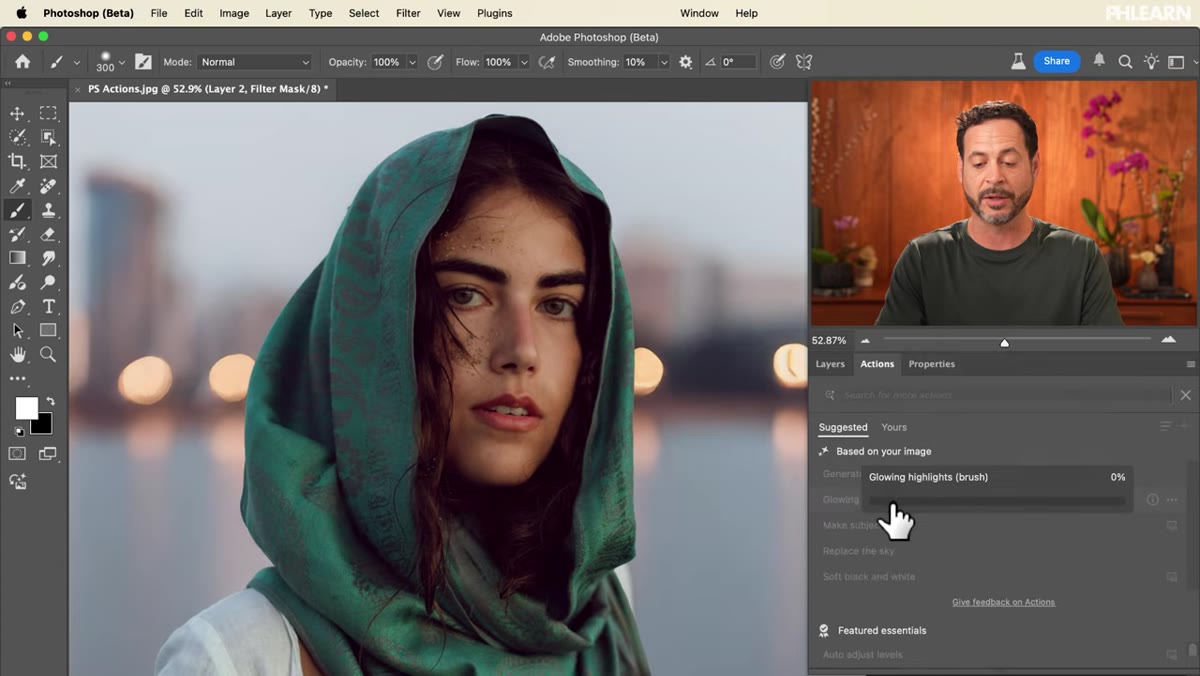
With the background handled, Aaron moves to another action: a glowing highlights brush. This is where the transparency of the system really shows its value. Rather than just painting a glow effect and leaving you with a mystery, Photoshop builds the effect using actual core tools. It duplicates the working layer using a stamp visible approach, then runs a Camera Raw smart filter with highlights and whites pushed up, and creates a selection mask so you can paint the effect exactly where you want it. You brush the glow on by hand. You can turn the layer off and on. You can open the Camera Raw filter by double-clicking and dial the highlights back if the effect is too strong. That is a real, editable, professional-grade layer stack - not a flattened trick.
Glowing highlights brush being painted over the subject layer
With the background handled, Aaron moves to another action: a glowing highlights brush. This is where the transparency of the system really shows its value. Rather than just painting a glow effect and leaving you with a mystery, Photoshop builds the effect using actual core tools. It duplicates the working layer using a stamp visible approach, then runs a Camera Raw smart filter with highlights and whites pushed up, and creates a selection mask so you can paint the effect exactly where you want it. You brush the glow on by hand. You can turn the layer off and on. You can open the Camera Raw filter by double-clicking and dial the highlights back if the effect is too strong. That is a real, editable, professional-grade layer stack - not a flattened trick.
Step 5: Use “Make Subject Pop” to Add Targeted Brightness and Glow
 Outer glow and Camera Raw filter applied to isolated subject layer
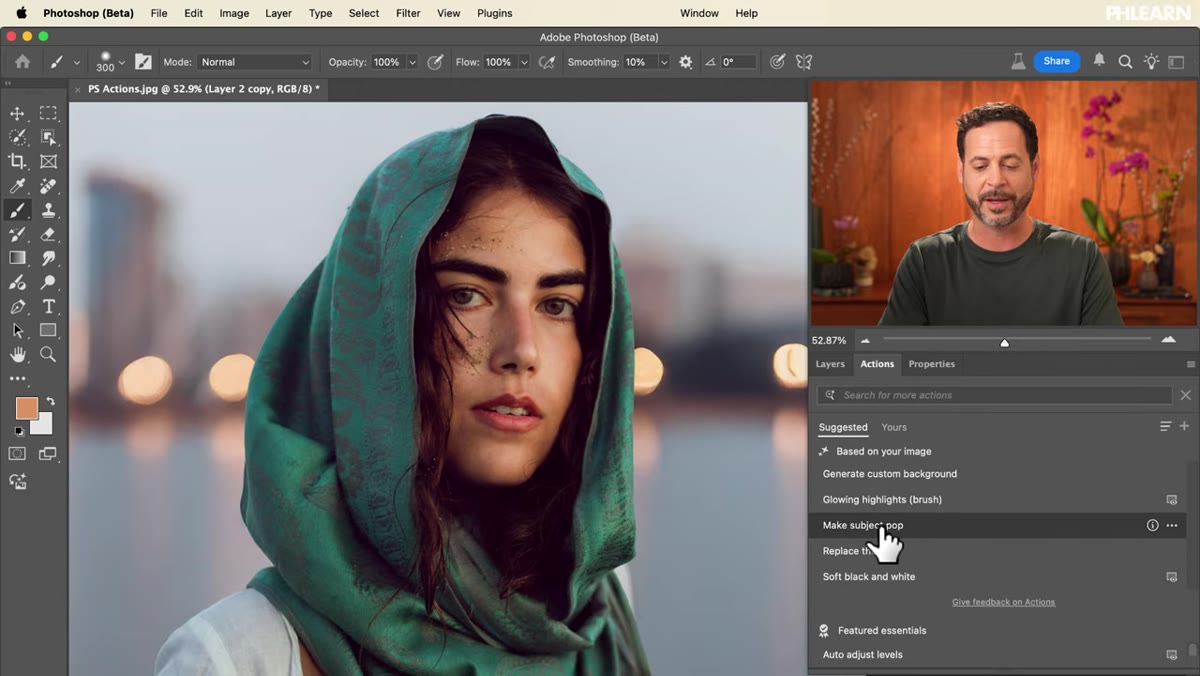
Type “make the subject pop” into the search field and Photoshop runs a multi-step action that isolates the subject, applies a Camera Raw smart filter to lift overall brightness, and adds an outer glow layer effect. What Aaron flags here is worth noting: the outer glow is the kind of technique many photographers would not think to reach for, but it works. And because it is a layer effect, you can disable it with a single click if it is not right for your image. This is a good example of the panel surfacing techniques that exist natively in Photoshop but that most users never explore. It is effectively a second opinion on your own retouching.
Outer glow and Camera Raw filter applied to isolated subject layer
Type “make the subject pop” into the search field and Photoshop runs a multi-step action that isolates the subject, applies a Camera Raw smart filter to lift overall brightness, and adds an outer glow layer effect. What Aaron flags here is worth noting: the outer glow is the kind of technique many photographers would not think to reach for, but it works. And because it is a layer effect, you can disable it with a single click if it is not right for your image. This is a good example of the panel surfacing techniques that exist natively in Photoshop but that most users never explore. It is effectively a second opinion on your own retouching.
Step 6: Browse Featured Essentials for Standard Adjustments
 Featured essentials section showing Auto Adjust Levels option
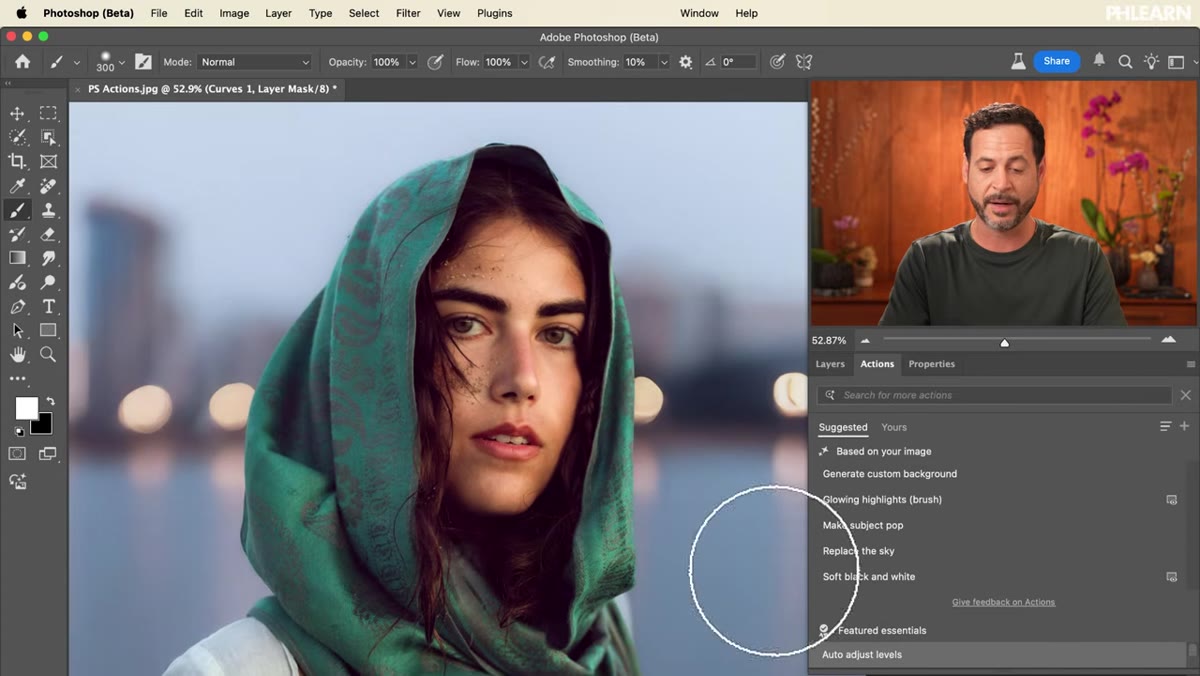
Below the search field, the panel includes a curated section called Featured Essentials - a scrollable set of common, reliable actions like Auto Adjust Levels. These are not AI-generated on the fly. They are pre-built, tested actions covering the fundamentals you reach for constantly. For anyone who has spent time building their own action sets from scratch, this library is worth exploring just to see what the defaults look like and whether any of them are worth folding into an existing workflow. Even if you end up customizing or replacing them, they give you a solid structural reference.
Featured essentials section showing Auto Adjust Levels option
Below the search field, the panel includes a curated section called Featured Essentials - a scrollable set of common, reliable actions like Auto Adjust Levels. These are not AI-generated on the fly. They are pre-built, tested actions covering the fundamentals you reach for constantly. For anyone who has spent time building their own action sets from scratch, this library is worth exploring just to see what the defaults look like and whether any of them are worth folding into an existing workflow. Even if you end up customizing or replacing them, they give you a solid structural reference.
What This Means If You Are Processing Volume Work
I run post-production for e-commerce and ad agency clients, which means I spend a lot of time thinking about repeatability and scale. Once processed 500 product shots in a single afternoon using a batch system I built over a weekend - and that only worked because every action in the sequence was based on Photoshop’s core tools rather than one-click plugins that break when the software updates. That is exactly what makes this new panel feel credible to me. Because every action it builds is using Camera Raw, layer effects, generative fill, and smart filters, anything you create here can be inspected, modified, and run as part of a larger batch workflow. It is not a shortcut that locks you out of the process. It is a starting point you can actually own.
The one caveat worth naming: this is Beta software. Generative AI results will vary by image, and not every suggestion will land perfectly on every file. The workflow discipline still falls on you - reviewing layers, checking masks, making sure the AI’s choices actually serve the image. But as a tool that handles setup and scaffolding so you can focus on judgment calls, this new Actions panel is a serious step forward.
The most important thing to take away is this: the new Actions panel is not replacing your expertise. It is giving your expertise a faster runway. Everything it produces is editable, visible, and built on tools you already know. That is a rare combination when it comes to AI features in creative software.
Watch the full tutorial on YouTube to see Aaron walk through every step in real time, including the layer inspection that shows exactly how each action is constructed under the hood.
Comments
Leave a Comment