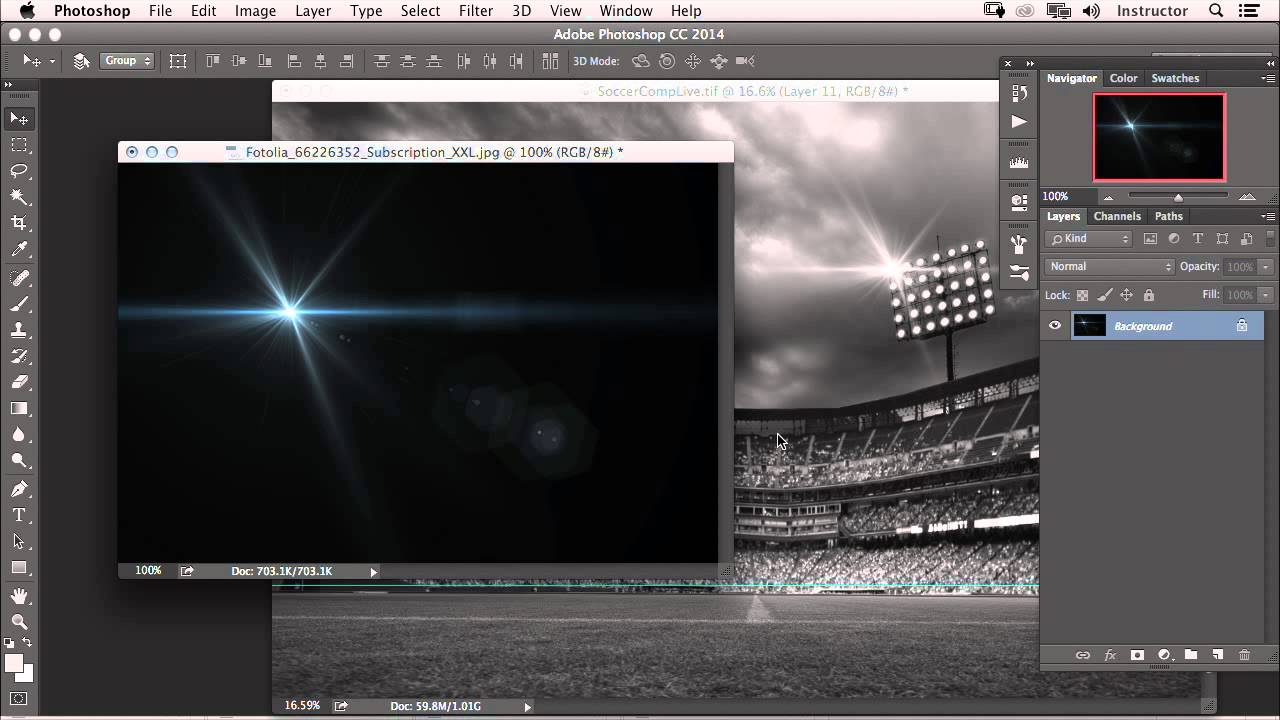
There’s a particular kind of tedium that creeps into composite work when you’re adding the same element over and over. I’ve been there with product shots, I’ve been there with sky replacements, and I’ve definitely been there with light effects. You find a nice lens flare stock image, drag it onto your canvas, set the blending mode to Screen, scale it down, position it, and then realize you need to do that exact sequence fourteen more times for every light source in the frame. By the third copy you’re already thinking there has to be a better way.
There is. In this CreativeLive tutorial, the instructor walks through a technique that converts a single lens flare stock image into a reusable custom brush. Once it’s built, you’re painting flares instead of stacking layers. That shift from “place and transform” to “paint” is exactly the kind of workflow compression I’m always hunting for. The whole setup takes maybe five minutes, and then you have a brush that lives in your panel permanently. Watch the full tutorial on YouTube if you want to see it in motion, but everything you need to follow along is below.
Step 1: Open Your Lens Flare Stock Image
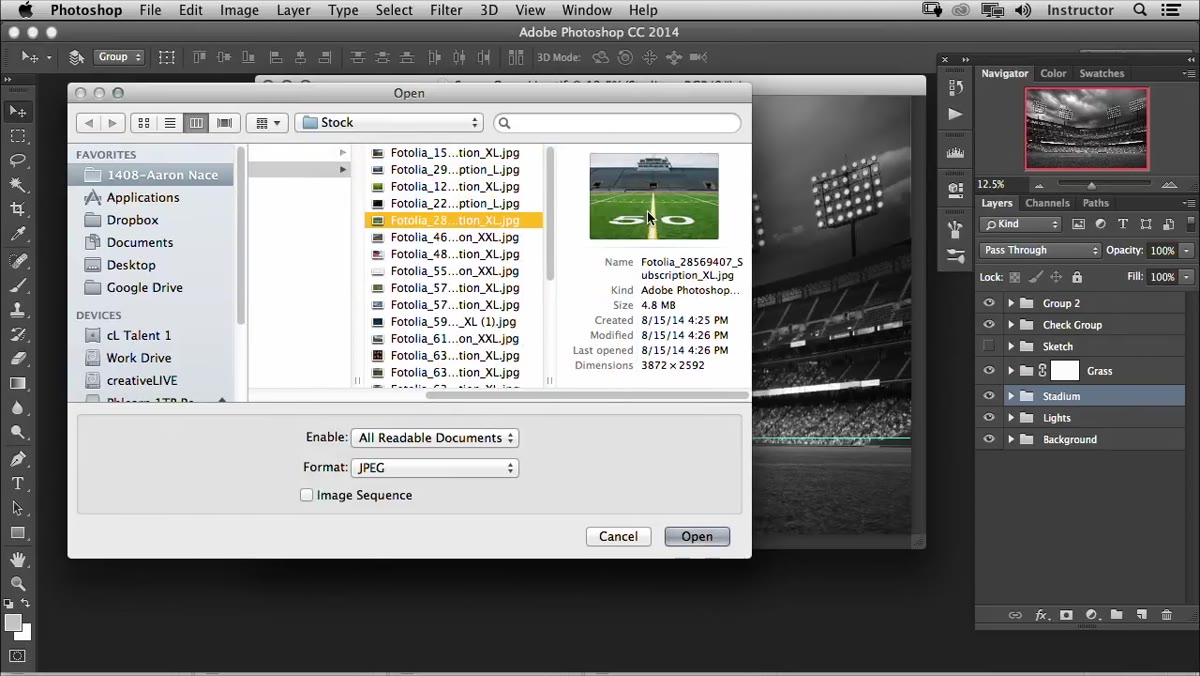 Lens flare stock image open in Photoshop workspace
Start with a lens flare on a black background. Stock sites have plenty of these. You want something with clean, high-contrast rays against a dark field. Open it with File > Open (or Command+O on Mac, Ctrl+O on Windows). At this point you could technically drag the whole image onto a composite, set it to Screen mode, and call it done. That works fine for a one-time placement, and the tutorial acknowledges this. But the brush approach is what makes the technique genuinely useful at scale.
Lens flare stock image open in Photoshop workspace
Start with a lens flare on a black background. Stock sites have plenty of these. You want something with clean, high-contrast rays against a dark field. Open it with File > Open (or Command+O on Mac, Ctrl+O on Windows). At this point you could technically drag the whole image onto a composite, set it to Screen mode, and call it done. That works fine for a one-time placement, and the tutorial acknowledges this. But the brush approach is what makes the technique genuinely useful at scale.
Step 2: Resize the Image to a Workable Dimension
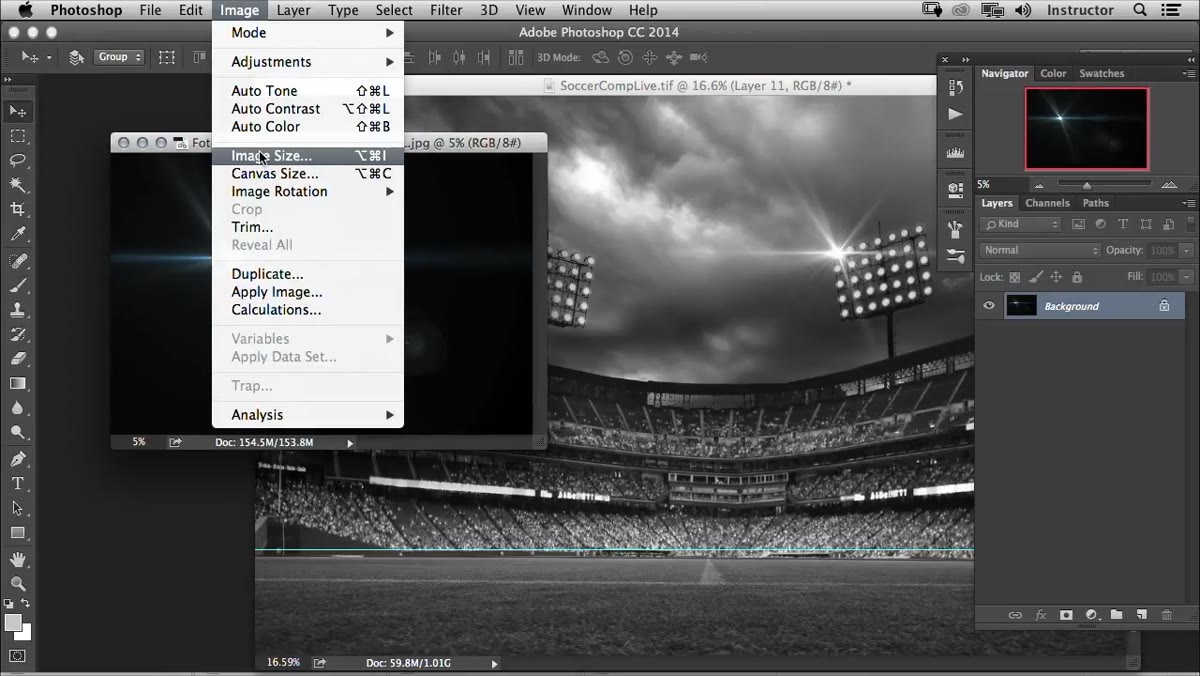 Image Size dialog showing pixel dimensions being reduced
Raw stock images are often enormous. The tutorial example is sitting at 9,000 by 6,000 pixels, which is overkill for a brush source. Go to Image > Image Size and bring the width down to around 600 pixels. Photoshop’s maximum brush size is 2,500 pixels, but for most lighting effects work, something in the 400-800 pixel range gives you enough detail without the brush becoming unwieldy. Hit OK and you’ve got a much more manageable file to work with.
Image Size dialog showing pixel dimensions being reduced
Raw stock images are often enormous. The tutorial example is sitting at 9,000 by 6,000 pixels, which is overkill for a brush source. Go to Image > Image Size and bring the width down to around 600 pixels. Photoshop’s maximum brush size is 2,500 pixels, but for most lighting effects work, something in the 400-800 pixel range gives you enough detail without the brush becoming unwieldy. Hit OK and you’ve got a much more manageable file to work with.
Step 3: Invert the Image
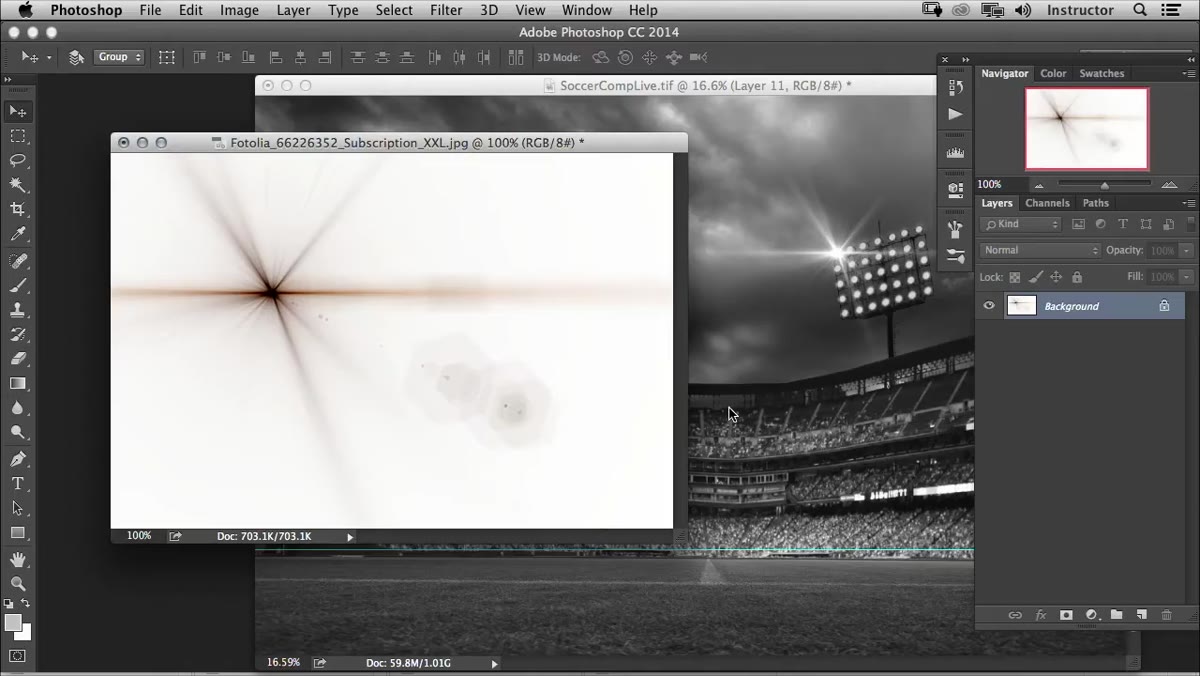 Inverted lens flare showing white flare on black background
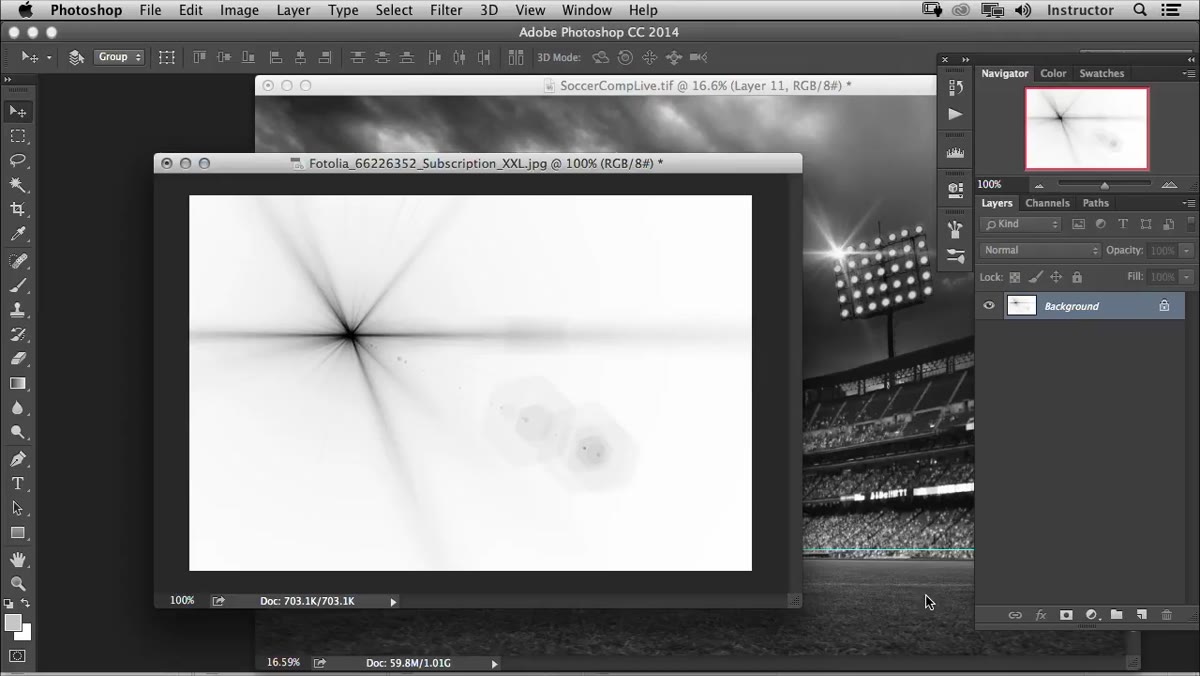
Here’s where the logic of Photoshop brush creation kicks in. When you define a custom brush, Photoshop reads dark pixels as “brush marks” and light pixels as “nothing.” Your lens flare stock image is a bright flare on a black background, which is backwards for brush creation purposes. Hit Command+I (Ctrl+I on Windows) to invert the layer. Now you’ve got a dark flare shape on a white background, which is exactly what Photoshop wants to see. It’s counterintuitive the first time, but it makes sense once you understand how the brush engine reads tone.
Inverted lens flare showing white flare on black background
Here’s where the logic of Photoshop brush creation kicks in. When you define a custom brush, Photoshop reads dark pixels as “brush marks” and light pixels as “nothing.” Your lens flare stock image is a bright flare on a black background, which is backwards for brush creation purposes. Hit Command+I (Ctrl+I on Windows) to invert the layer. Now you’ve got a dark flare shape on a white background, which is exactly what Photoshop wants to see. It’s counterintuitive the first time, but it makes sense once you understand how the brush engine reads tone.
Step 4: Desaturate and Adjust Levels
 Desaturated flare with Levels dialog open, white point adjusted
Brushes don’t carry color information in the traditional sense, so strip it out now. Hit Shift+Command+U (Shift+Ctrl+U on Windows) to desaturate. Then open Levels with Command+L (Ctrl+L). You’re looking at the output here, not the input. Pull the white output slider slightly inward to push your lightest tones toward a crisper white. This makes sure the background reads as clean white and the flare shape reads as proper dark, with no muddy gray middle ground muddying your brush edge. A small adjustment is all it takes, maybe dragging the right input slider from 255 down to around 220 or so, depending on your specific image.
Desaturated flare with Levels dialog open, white point adjusted
Brushes don’t carry color information in the traditional sense, so strip it out now. Hit Shift+Command+U (Shift+Ctrl+U on Windows) to desaturate. Then open Levels with Command+L (Ctrl+L). You’re looking at the output here, not the input. Pull the white output slider slightly inward to push your lightest tones toward a crisper white. This makes sure the background reads as clean white and the flare shape reads as proper dark, with no muddy gray middle ground muddying your brush edge. A small adjustment is all it takes, maybe dragging the right input slider from 255 down to around 220 or so, depending on your specific image.
Step 5: Define the Brush Preset
 Define Brush Preset dialog with name field visible
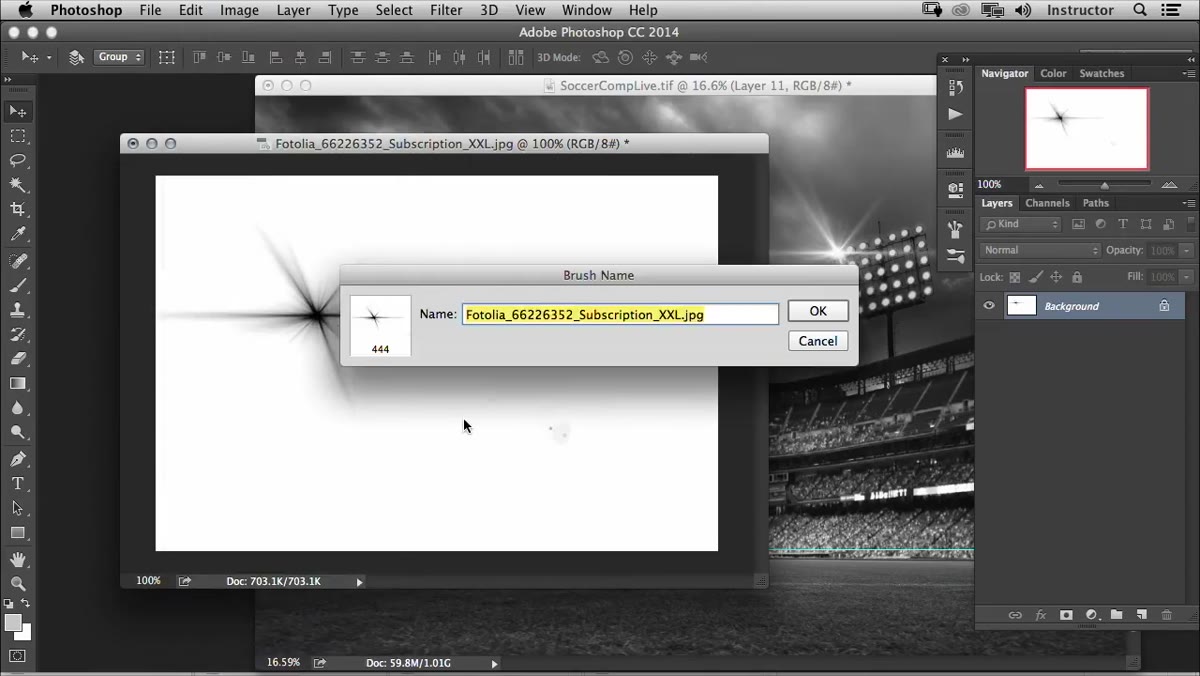
Go to Edit > Define Brush Preset. Photoshop will prompt you to name it. Call it something descriptive like “Lens Flare 01” so you can find it later without digging through a sea of unnamed brushes. Hit OK. That’s it. The brush now exists in your brush library and will persist across sessions until you reset or uninstall your presets. This is the step that transforms a one-off technique into a repeatable tool.
Define Brush Preset dialog with name field visible
Go to Edit > Define Brush Preset. Photoshop will prompt you to name it. Call it something descriptive like “Lens Flare 01” so you can find it later without digging through a sea of unnamed brushes. Hit OK. That’s it. The brush now exists in your brush library and will persist across sessions until you reset or uninstall your presets. This is the step that transforms a one-off technique into a repeatable tool.
Step 6: Use the Brush on Your Composite
 Brush picker open showing flare brush selected at bottom of list
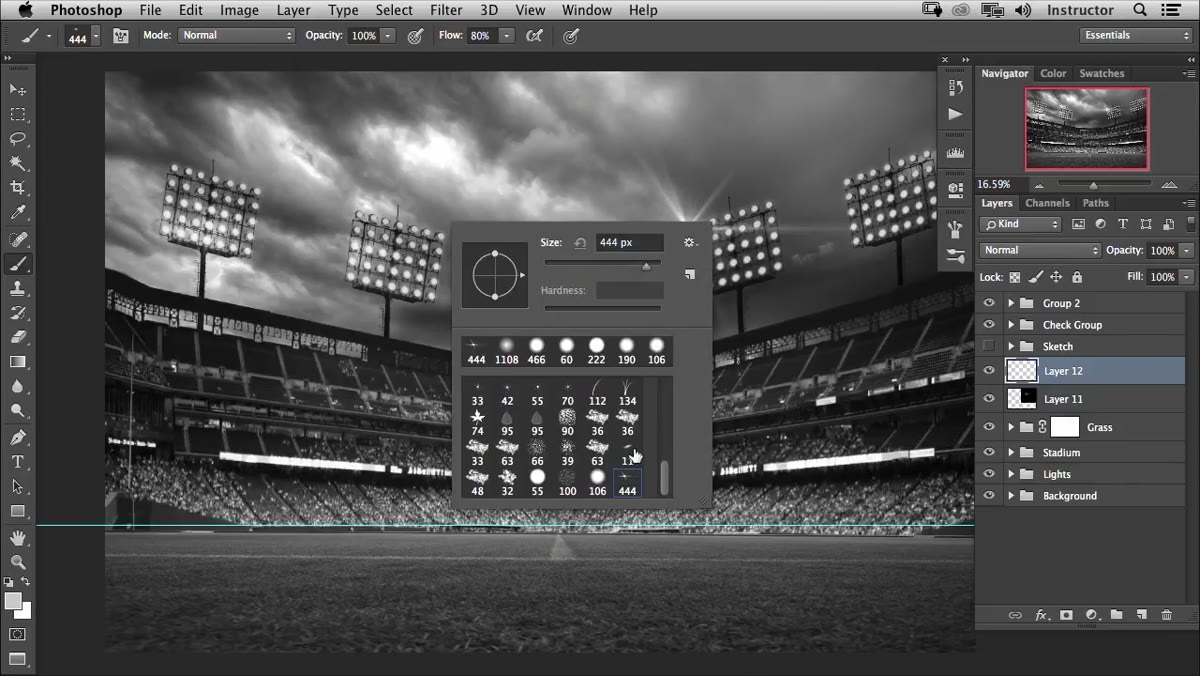
Switch back to your working document. Create a new layer above your image layers. Grab the Brush tool (B), then right-click on your canvas to open the brush picker. Scroll to the very bottom of the list and you’ll find your new flare brush sitting there. Select it, pick a white or warm foreground color, and start painting. Each click or stroke drops a flare. You can vary the size with the bracket keys, adjust opacity for subtle layering, and place flares over multiple light sources in seconds rather than minutes. For best results, position your flares over areas of existing light in the image. A flare sitting over a dark shadow reads as wrong to the eye, even if the viewer can’t articulate why.
Brush picker open showing flare brush selected at bottom of list
Switch back to your working document. Create a new layer above your image layers. Grab the Brush tool (B), then right-click on your canvas to open the brush picker. Scroll to the very bottom of the list and you’ll find your new flare brush sitting there. Select it, pick a white or warm foreground color, and start painting. Each click or stroke drops a flare. You can vary the size with the bracket keys, adjust opacity for subtle layering, and place flares over multiple light sources in seconds rather than minutes. For best results, position your flares over areas of existing light in the image. A flare sitting over a dark shadow reads as wrong to the eye, even if the viewer can’t articulate why.
How I’d Extend This in a Real Job
The tutorial gets you to a working brush fast, which I appreciate. Where I’d take it further in a commercial context is into Brush Settings (Window > Brush Settings). Once your flare brush is selected, you can open that panel and start playing with Size Jitter, Scattering, and Angle Jitter. Scattering especially gives you a way to paint a loose constellation of light hits in a single stroke, which is useful for anything with string lights, bokeh backgrounds, or product shots with reflective surfaces.
I’d also save this brush as part of a dedicated Lighting Effects brush set using the Preset Manager. If you’re working across multiple machines or handing files off to another retoucher, having a packaged .ABR file means your brush travels with the project. I keep a folder of custom brush sets organized by category, the same way I organize my action sets, and the lens flare family now has its own slot. Building that library over time is what turns a useful trick into a reliable workflow.
The single most transferable idea from this tutorial is the invert-first logic of brush creation. Once that clicks, you can turn almost any high-contrast image into a brush, textures, light leaks, grain patterns. The lens flare is just one application. Watch the full tutorial on YouTube to see the instructor’s original composite and how the finished brush behaves in context.
Comments (3)
The before and after really sells it. Incredible difference.
This is the kind of content that keeps me coming back.
This is fantastic. I've been recommending this approach to my readers too.
Leave a Comment