Every September I do a version of the same audit. I open my spreadsheet - yes, the one tracking saved hours - and I look at which tools are pulling their weight and which ones are collecting digital dust. After fifteen years running post-production for ad agencies and e-commerce clients, I’ve gotten ruthless about this. Education and tools that don’t compound in value get cut. The ones that pay for themselves ten times over? I reinvest.
That’s why when I came across this Tony & Chelsea Northrup tutorial promoting their back-to-school sale, I didn’t scroll past it. Tony and Chelsea have built one of the most practically grounded photography education libraries out there. This isn’t influencer fluff. It’s the kind of stuff that makes you faster, more consistent, and more confident behind the lens and in front of Lightroom. Watch the full tutorial on YouTube
What struck me watching their breakdown wasn’t just the discount. It was the way each product in their lineup addresses a specific gap in a photographer’s workflow. So let me walk you through what they’re offering, why each piece matters, and how I’d actually use these in a working studio context.
Step 1: Start With the Flagship Photography Book
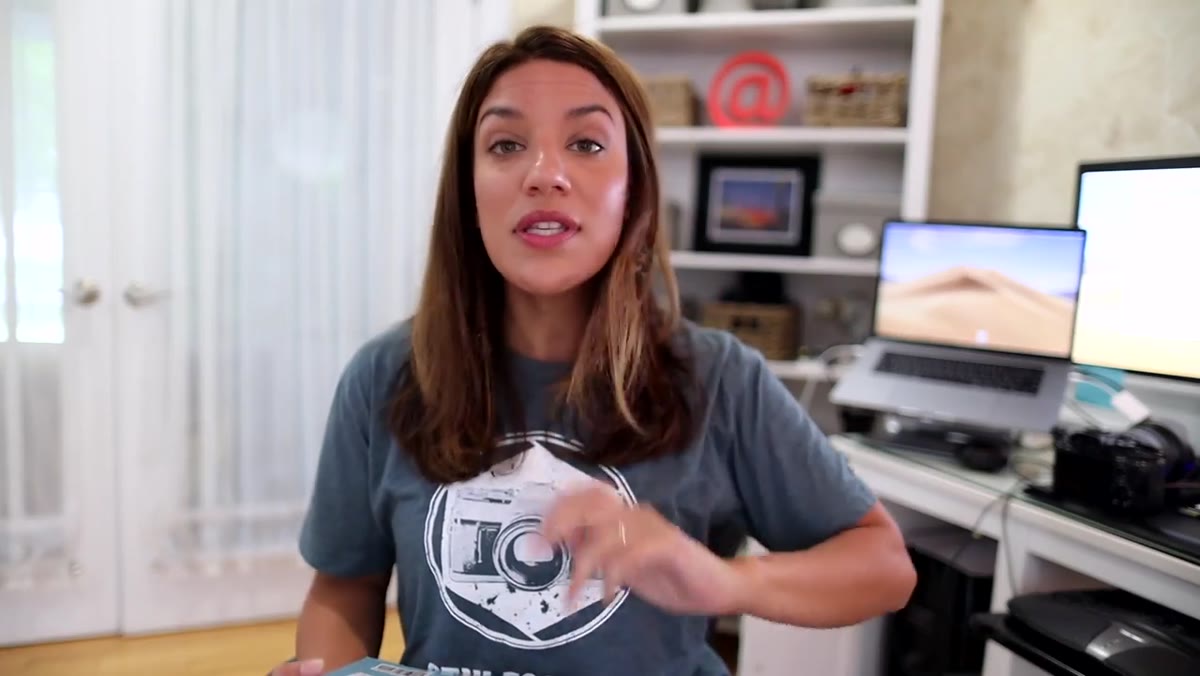 Tony and Chelsea presenting their number-one Amazon photography book
Their number one selling photography book on Amazon - over 2,000 reviews and a five-star rating - is the anchor of the whole sale. But what separates this from a standard photography manual is the 14 hours of companion video. Chelsea makes a point worth underlining: those videos weren’t thrown together as a bonus. They were built specifically to support the book’s content.
Tony and Chelsea presenting their number-one Amazon photography book
Their number one selling photography book on Amazon - over 2,000 reviews and a five-star rating - is the anchor of the whole sale. But what separates this from a standard photography manual is the 14 hours of companion video. Chelsea makes a point worth underlining: those videos weren’t thrown together as a bonus. They were built specifically to support the book’s content.
If you learn by reading, the book gives you a structured foundation. If you absorb better by watching, the video is right there. And if you want community, there’s a Facebook group included. I know group-based learning isn’t for everyone, but when I was scaling my batch workflows a few years back, being able to ask a question and get a response from someone who’d already solved the same problem was worth the price of entry by itself.
Step 2: Evaluate the Presets for Your Specific Workflow
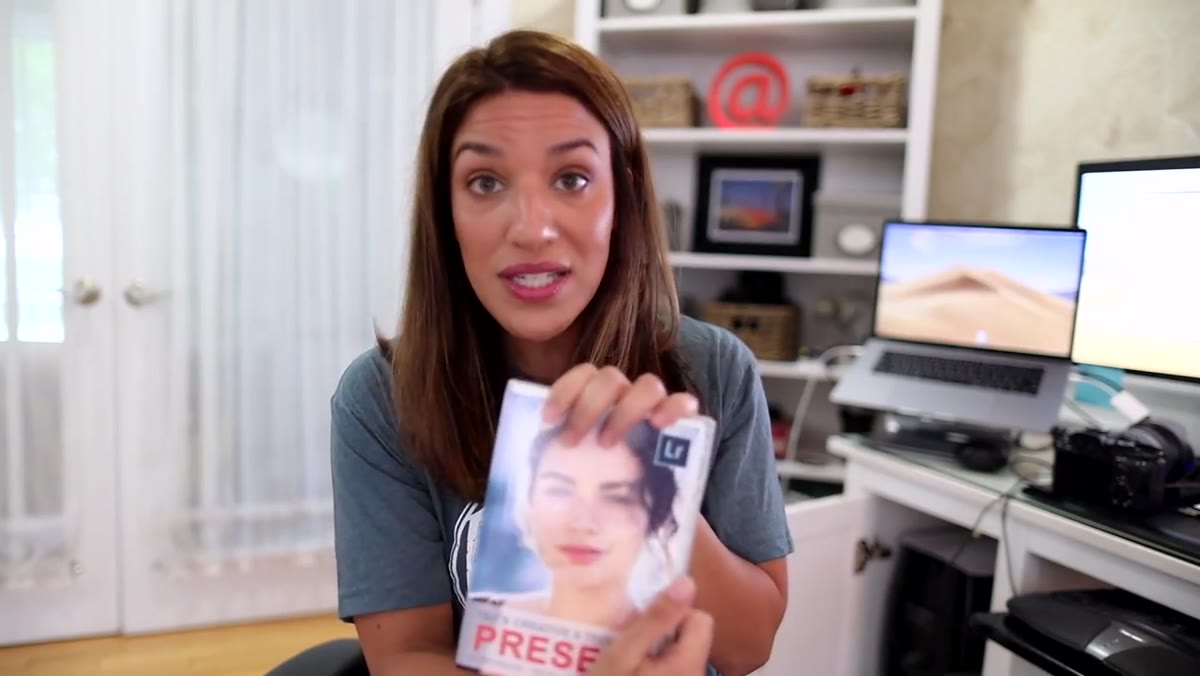 Chelsea demonstrating beautification presets and Tony’s technical sky presets
The Northrup preset library splits into two categories, and understanding that split matters before you buy. Tony’s technical presets handle corrective work - bringing an overcooked sky back to a believable exposure and color, for example. Chelsea’s lean toward beautification and stylization. These are not the same job.
Chelsea demonstrating beautification presets and Tony’s technical sky presets
The Northrup preset library splits into two categories, and understanding that split matters before you buy. Tony’s technical presets handle corrective work - bringing an overcooked sky back to a believable exposure and color, for example. Chelsea’s lean toward beautification and stylization. These are not the same job.
In commercial product photography, I live in Tony’s territory. Corrective, repeatable, consistent. But for the portrait and lifestyle work I occasionally take on, Chelsea’s presets are closer to what clients expect. The delivery format is also worth noting - you can get them as a digital download or on an SD card. The SD card option is a small thing that signals they’ve actually thought about how photographers work in the field. Pop it out when you’re done, put it in your camera. It’s a practical detail that earns a little respect.
Step 3: Use the Art and Science Video Series to Fill the Gaps You Don’t Know You Have
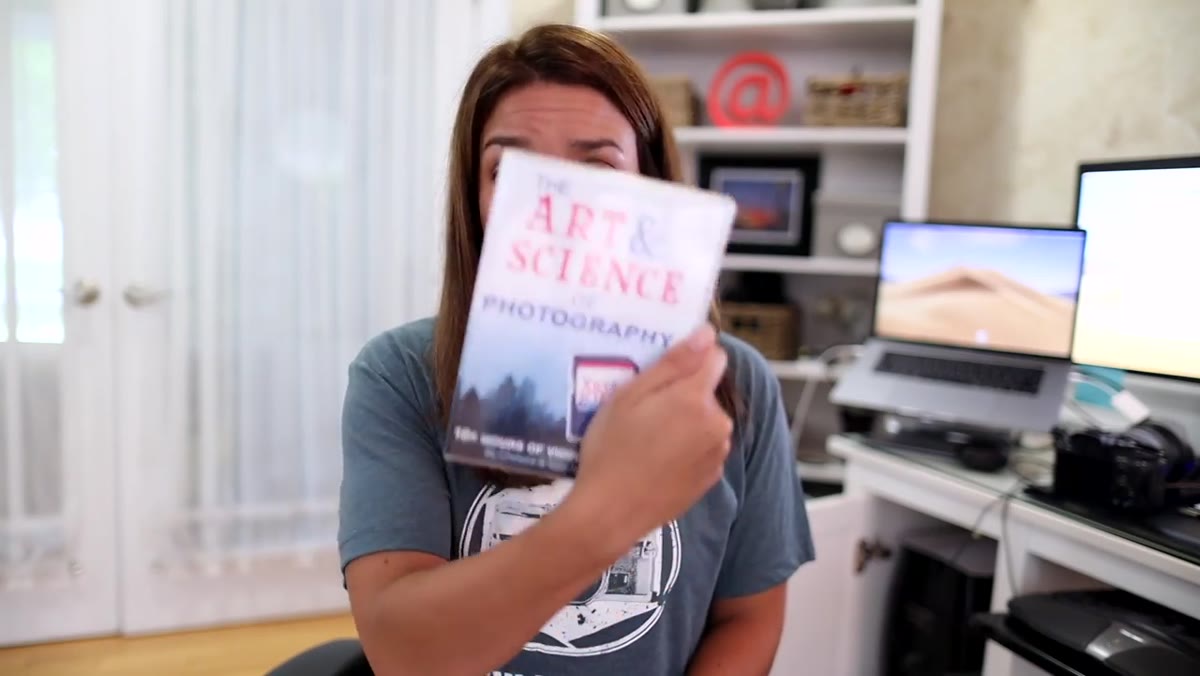 Chelsea describing the Art and Science video series topics and SD card delivery
Ten-plus hours of video covering composition, camera handling, and photo storage might sound like a beginner package. It isn’t. The storage module alone - managing large photo libraries at scale - is something working photographers routinely get wrong because no one teaches it formally. Tony handles that side. Chelsea takes composition and the artistic fundamentals.
Chelsea describing the Art and Science video series topics and SD card delivery
Ten-plus hours of video covering composition, camera handling, and photo storage might sound like a beginner package. It isn’t. The storage module alone - managing large photo libraries at scale - is something working photographers routinely get wrong because no one teaches it formally. Tony handles that side. Chelsea takes composition and the artistic fundamentals.
I built my first Photoshop action at 26 and automated myself out of the tedious work early. But I spent years after that with weak foundational knowledge around composition and lighting ratios. I had to reverse-engineer that stuff from client feedback and expensive mistakes. A structured video curriculum that pairs the technical with the artistic would have cut that learning curve significantly.
Step 4: Add the Photoshop Book If You’re Still Working Manually
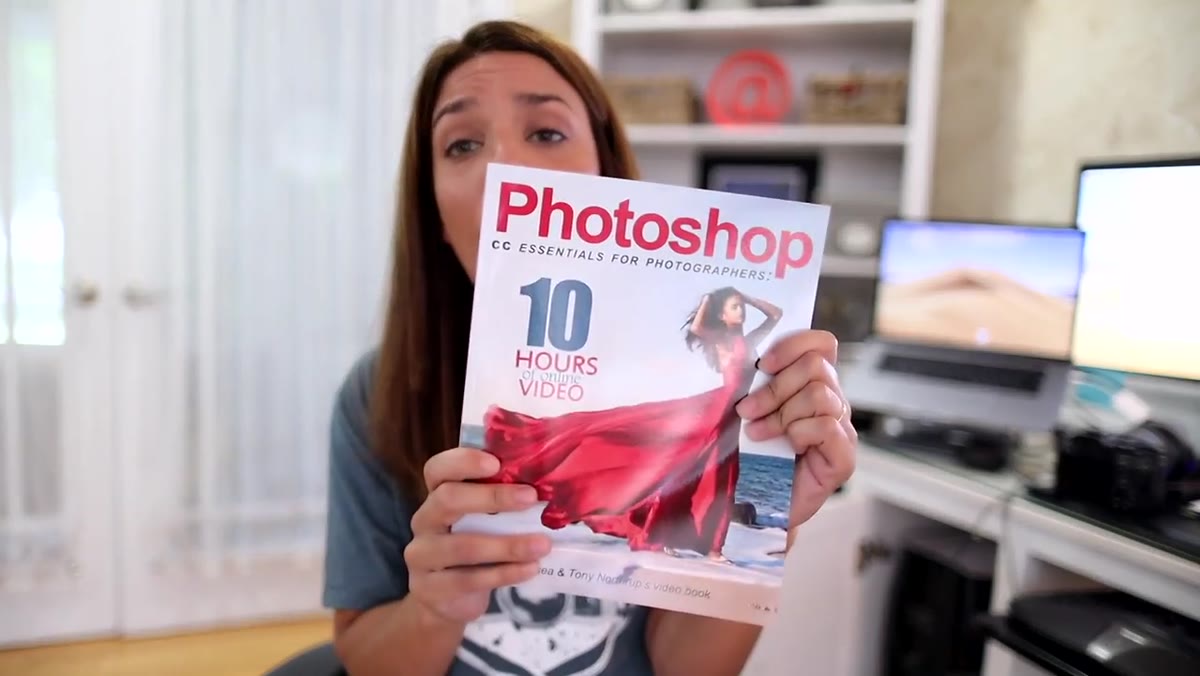 Tony’s Photoshop book displayed with mention of companion video hours
Tony wrote around 35 computer books before pivoting to photography education - that background shows in how the Photoshop book is structured. It comes with video that’s exclusive to the book, not recycled from their YouTube channel. If you’re the kind of person who needs a clear reference you can actually hold and flip back to, a physical book still has advantages over a video library. You can annotate it. You can dog-ear the page on layer masks and come back to it in ten minutes without scrubbing through footage.
Tony’s Photoshop book displayed with mention of companion video hours
Tony wrote around 35 computer books before pivoting to photography education - that background shows in how the Photoshop book is structured. It comes with video that’s exclusive to the book, not recycled from their YouTube channel. If you’re the kind of person who needs a clear reference you can actually hold and flip back to, a physical book still has advantages over a video library. You can annotate it. You can dog-ear the page on layer masks and come back to it in ten minutes without scrubbing through footage.
For anyone still doing repetitive Photoshop tasks by hand - resizing, cropping, color correction - this is where I’d start. Learning Photoshop properly is the prerequisite to building actions and automations that actually work. You can’t automate a workflow you don’t understand.
Step 5: Consider the Lightroom CC Book for a Complete Post System
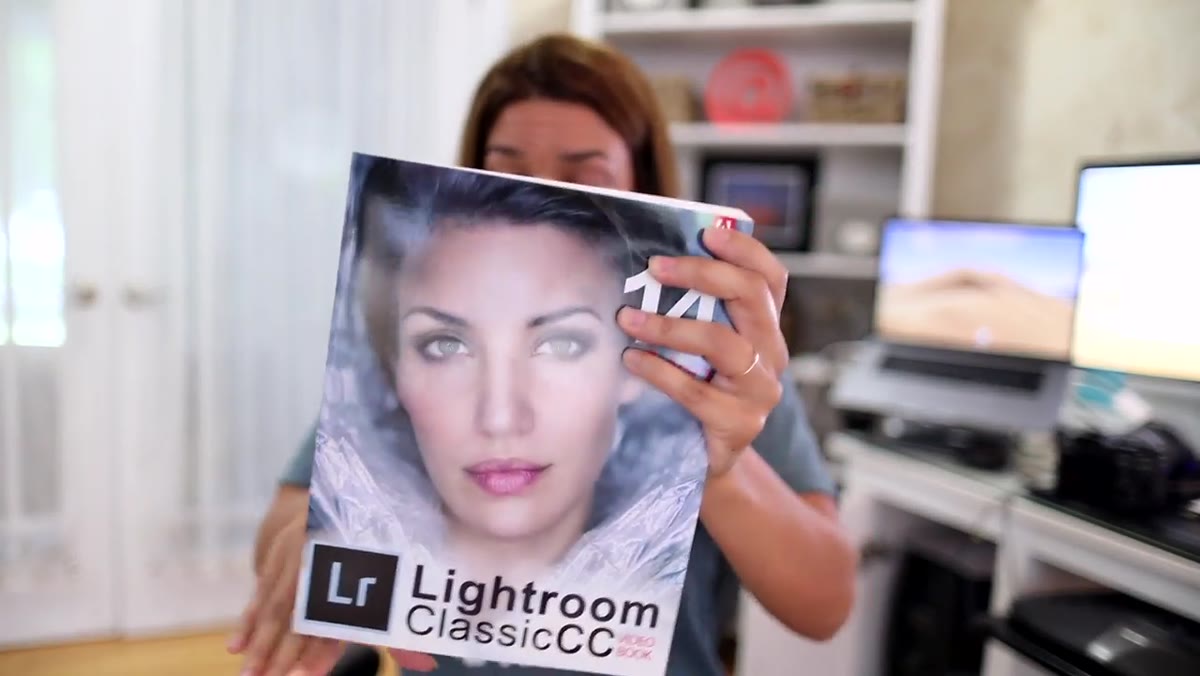 Chelsea showing the Lightroom CC book cover and companion video content
The Lightroom book comes with 14 hours of dedicated video, and Chelsea’s framing here is direct: different people learn differently, so they built both formats intentionally. This is a sensible approach. Lightroom CC, specifically, is where most photographers should be managing their catalogs and doing primary edits before anything goes to Photoshop.
Chelsea showing the Lightroom CC book cover and companion video content
The Lightroom book comes with 14 hours of dedicated video, and Chelsea’s framing here is direct: different people learn differently, so they built both formats intentionally. This is a sensible approach. Lightroom CC, specifically, is where most photographers should be managing their catalogs and doing primary edits before anything goes to Photoshop.
If you’re treating Lightroom as just a file browser and doing all your editing in Photoshop, you’re leaving efficiency on the table. The non-destructive workflow, the sync options across devices, the ability to apply presets at import - all of that is faster and more scalable than jumping straight into Photoshop for every image.
Step 6: Assess the Professional Portrait Business Series Last
 Chelsea presenting the professional portrait series covering sales and business systems
This one is positioned for photographers who want to run portrait photography as an actual business, not just a side project. The series covers in-person sales, print fulfillment, client contracts, and session planning. It includes spreadsheets and templates, and it comes with a money-back guarantee.
Chelsea presenting the professional portrait series covering sales and business systems
This one is positioned for photographers who want to run portrait photography as an actual business, not just a side project. The series covers in-person sales, print fulfillment, client contracts, and session planning. It includes spreadsheets and templates, and it comes with a money-back guarantee.
The Facebook group attached to this product is described honestly - not super active, but people are asking real questions. That kind of candor builds trust. If you’re at the stage where you’re trying to formalize your portrait business and you don’t know what a print markup should look like or how to structure a session contract, this is a more efficient path than piecing it together from free blog posts.
My Extension: Stack Education With Tools for Compounding Returns
I’ve never regretted buying quality education during a genuine sale. What I have regretted is buying tools before I had the knowledge to use them well. The Northrup library works because it sequences logically - book and video for foundation, presets for efficiency, business training for scale.
If you’re going to pick one starting point, pick the area where you’re currently losing the most time or money. For me at 26, that was Photoshop fundamentals. For a lot of photographers reading this, it’s probably Lightroom workflow or preset organization. Buy the thing that fixes the actual problem, not the most exciting-looking item in the cart.
The 30% off coupon code from the video is LEARN30, applied at their store. Discounts at this level on quality curriculum don’t come around constantly, and given that the photography book includes lifetime updates - which Chelsea notes with refreshing honesty was a much bigger commitment than they anticipated - the long-term value is real.
Watch the full tutorial on YouTube to see the full breakdown of every product in the sale before you decide.
Comments (3)
Tried this technique this morning. Game changer for real.
Never thought of approaching it this way. Really creative.
Wow, I had no idea you could do this. Mind blown.
Leave a Comment