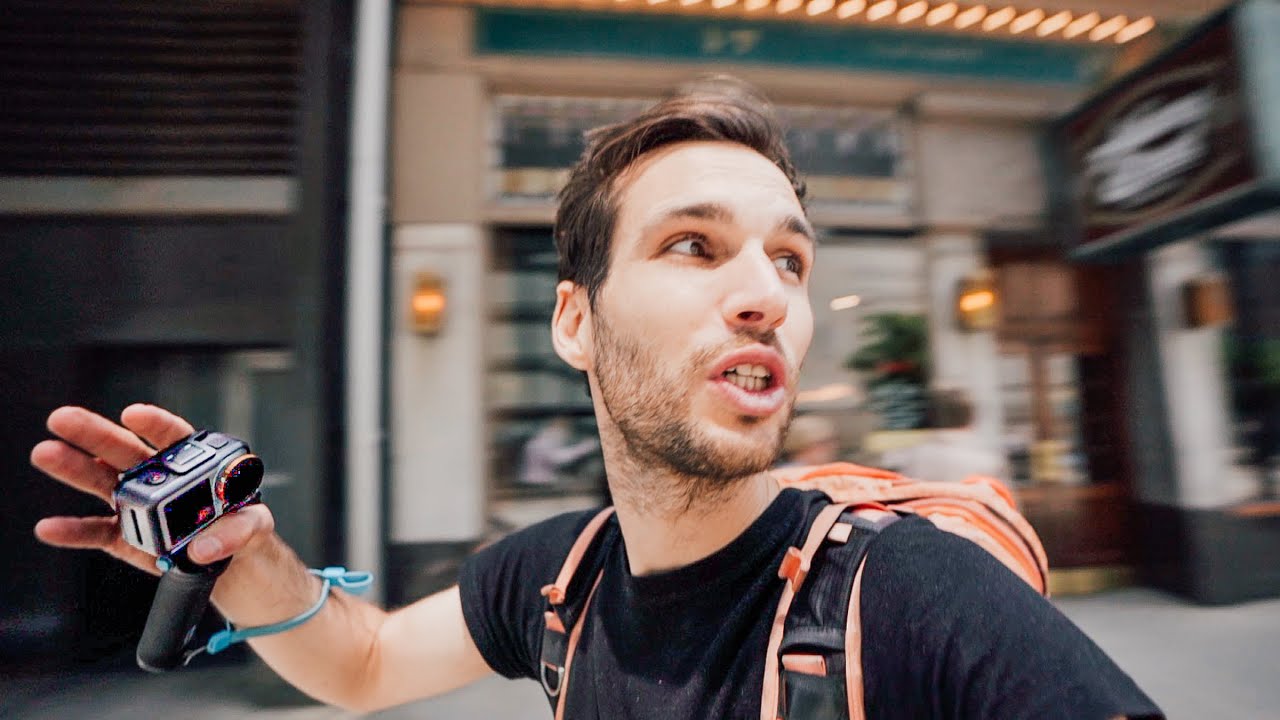
Most of my work lives inside Photoshop. I’ve built actions that compress hours of post-production into a single keystroke, and I’ll happily geek out about batch processing over a cup of coffee. But every now and then something lands in my feed that reminds me the best post-production starts before you ever open Lightroom. In this Pierre T. Lambert tutorial, he takes the DJI Osmo Action — a small, wide-angle action camera not typically associated with serious stills work — out onto city streets and challenges himself to make compelling photographs with it. Watch the full tutorial on YouTube
What caught my attention wasn’t the camera itself. It was how deliberately Lambert approached the constraints. When you strip away 90% of the manual controls photographers usually rely on, you’re forced to make smarter decisions with what’s left: filters, position, timing, and exposure compensation. Those decisions upstream mean less corrective work downstream. As someone who has spent the better part of 15 years cleaning up images that could have been cleaner at capture, that philosophy hits close to home.
Here’s a practical breakdown of what Lambert demonstrates, and how you can apply the same thinking whether you’re shooting with an action cam or your main kit.
Step 1: Shoot RAW, Even on a Small Camera
 Camera settings overview screen, RAW mode selected
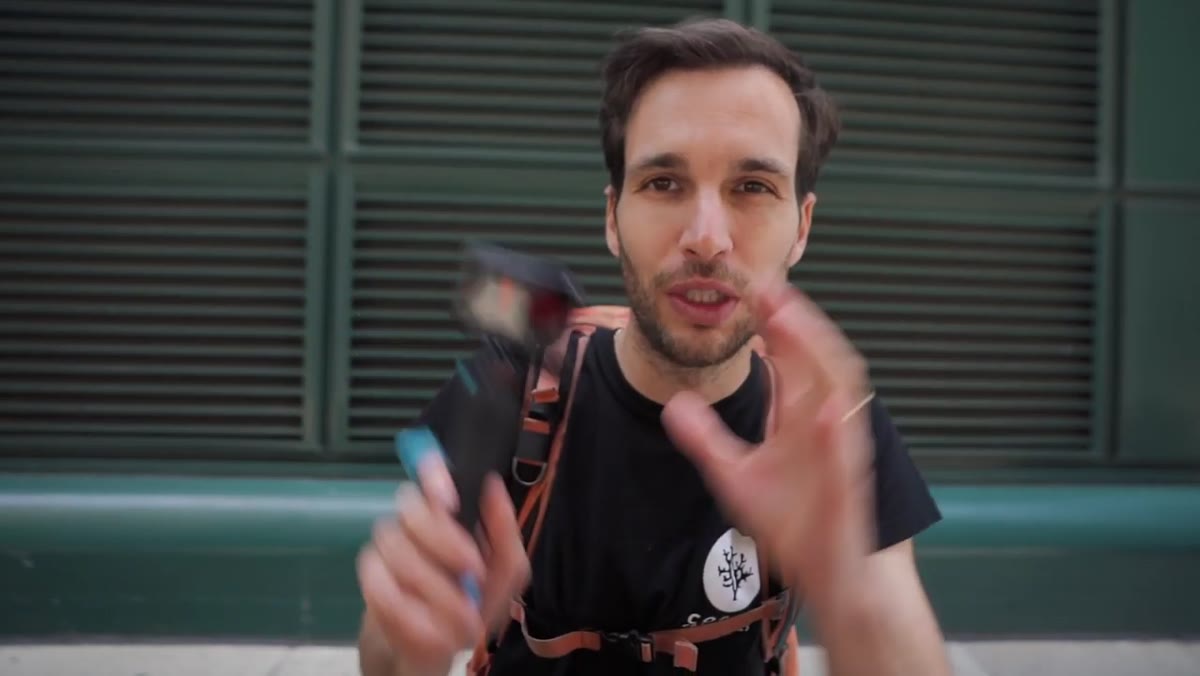
The first decision Lambert makes is simple but non-negotiable: shoot RAW. Even on a compact action camera with limited dynamic range, RAW files give you real latitude to recover highlights and push shadows in post. Lambert notes he’s leaving most settings on Auto because the camera’s manual options are limited, but RAW is the one override he commits to immediately. If you’re batch-processing street shots later, having RAW files means you can build one Photoshop or Lightroom action and apply it consistently across dozens of frames rather than fighting each JPEG individually.
Camera settings overview screen, RAW mode selected
The first decision Lambert makes is simple but non-negotiable: shoot RAW. Even on a compact action camera with limited dynamic range, RAW files give you real latitude to recover highlights and push shadows in post. Lambert notes he’s leaving most settings on Auto because the camera’s manual options are limited, but RAW is the one override he commits to immediately. If you’re batch-processing street shots later, having RAW files means you can build one Photoshop or Lightroom action and apply it consistently across dozens of frames rather than fighting each JPEG individually.
Step 2: Add a Polarizing Filter to Control Reflections
 Polarizing filter being clipped onto the DJI Osmo Action camera
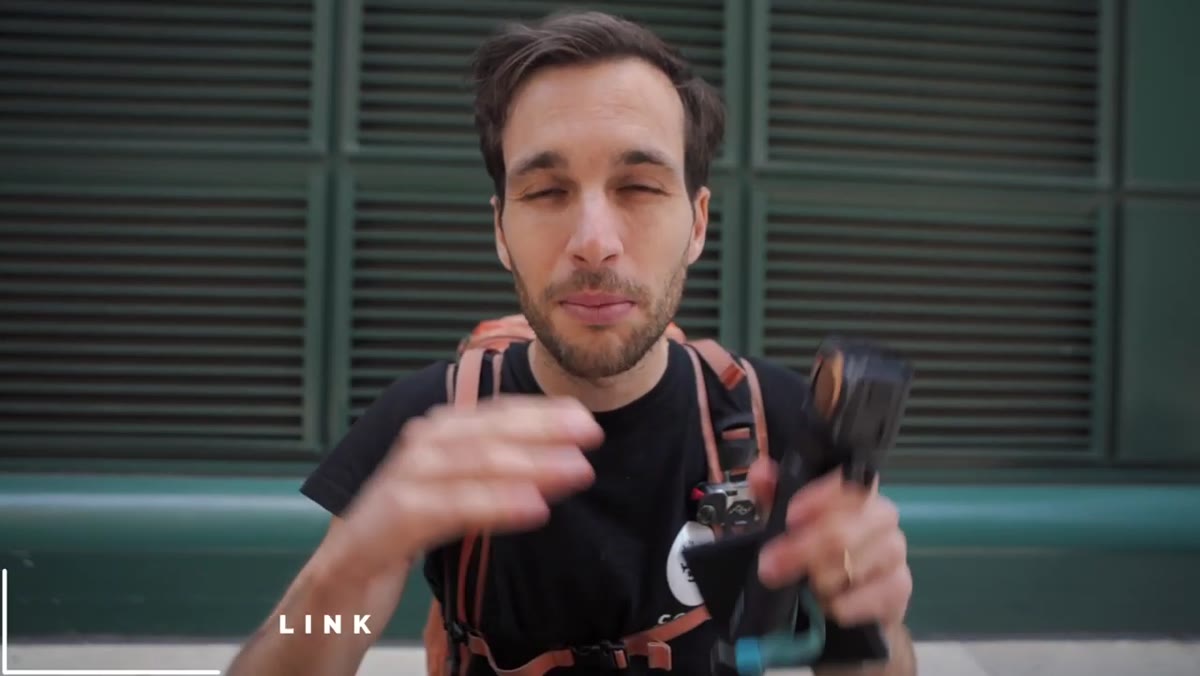
Lambert uses magnetic PolarPro filters that clip directly onto the camera housing, and the polarizer is his primary creative tool for this shoot. A polarizing filter works by rotating to cut light waves traveling in a specific direction, which reduces glare on glass, water, and wet surfaces. In practical terms, you can shoot through a storefront window without the street reflecting back at you, or pull more color and detail out of a bright sky. Lambert specifically tests it against a building with large windows to show how the same frame looks with and without the reflection removed. The effect isn’t subtle. Trying to fake this in Photoshop is possible but time-consuming, and the result never looks quite as natural as getting it right at capture.
Polarizing filter being clipped onto the DJI Osmo Action camera
Lambert uses magnetic PolarPro filters that clip directly onto the camera housing, and the polarizer is his primary creative tool for this shoot. A polarizing filter works by rotating to cut light waves traveling in a specific direction, which reduces glare on glass, water, and wet surfaces. In practical terms, you can shoot through a storefront window without the street reflecting back at you, or pull more color and detail out of a bright sky. Lambert specifically tests it against a building with large windows to show how the same frame looks with and without the reflection removed. The effect isn’t subtle. Trying to fake this in Photoshop is possible but time-consuming, and the result never looks quite as natural as getting it right at capture.
Step 3: Use an ND Filter to Control Shutter Speed in Bright Light
 ND filter being attached to camera in bright outdoor light
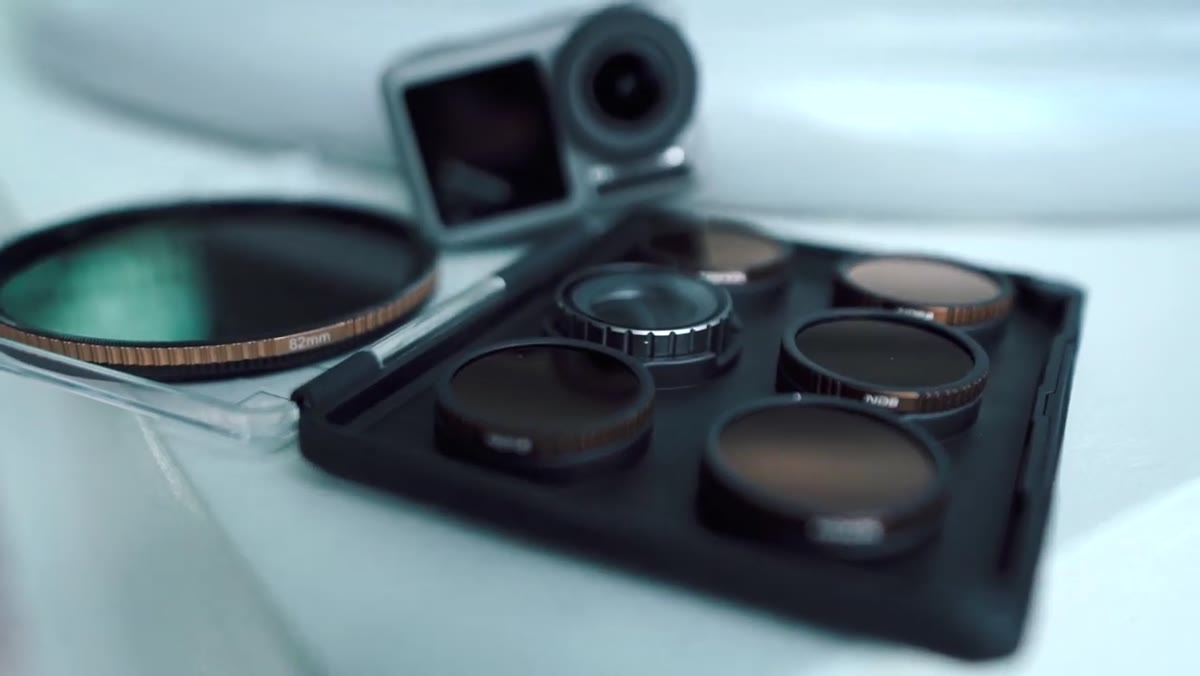
Alongside the polarizer, Lambert brings neutral density filters into the kit. An ND filter is essentially sunglasses for your lens. It reduces the amount of light hitting the sensor, which lets you drag the shutter longer even in broad daylight. For street photography, a slower shutter introduces intentional motion blur in moving subjects like pedestrians or traffic, which can add energy and a sense of life to an otherwise static frame. Lambert flags that he’ll use this selectively, defaulting to Auto for most shots where he wants a fast, sharp shutter, but pulling out the ND when a specific creative effect calls for it. Knowing when to reach for a tool versus when to leave it in the bag is half the craft.
ND filter being attached to camera in bright outdoor light
Alongside the polarizer, Lambert brings neutral density filters into the kit. An ND filter is essentially sunglasses for your lens. It reduces the amount of light hitting the sensor, which lets you drag the shutter longer even in broad daylight. For street photography, a slower shutter introduces intentional motion blur in moving subjects like pedestrians or traffic, which can add energy and a sense of life to an otherwise static frame. Lambert flags that he’ll use this selectively, defaulting to Auto for most shots where he wants a fast, sharp shutter, but pulling out the ND when a specific creative effect calls for it. Knowing when to reach for a tool versus when to leave it in the bag is half the craft.
Step 4: Apply Minus Exposure Compensation in Mixed Light
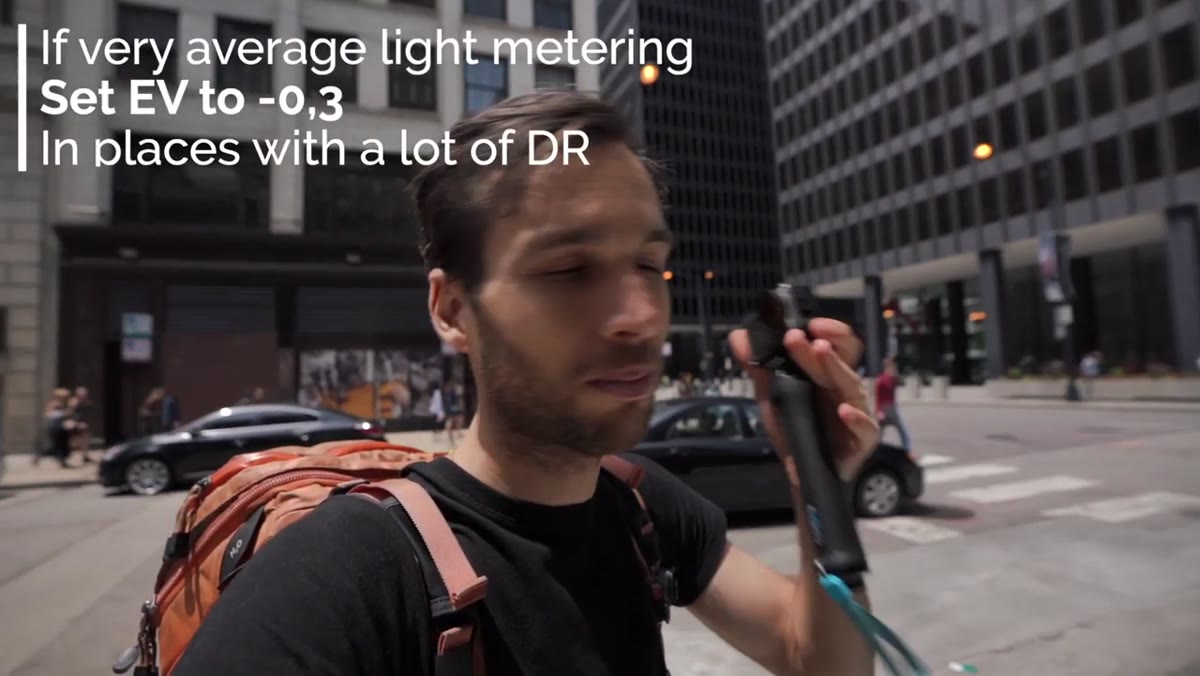 Street scene with subjects in both shade and direct sunlight
This is the tip I’d circle in red if I were marking up a shooting guide. Lambert recommends dialing in roughly minus 0.3 stops of exposure compensation when shooting in city streets with average metering. Here’s why: most cameras meter the whole frame and try to find a middle exposure. On a street in bright sun, you’ll have deep shadow areas and blown-out highlights in the same shot. The camera averages them and often overexposes the bright areas. By nudging exposure compensation toward minus, you protect the highlights and preserve the detail that’s hardest to recover in post. Shadow recovery in RAW is much cleaner than trying to pull back clipped whites. This is exactly the kind of upstream decision that cuts your editing time later.
Street scene with subjects in both shade and direct sunlight
This is the tip I’d circle in red if I were marking up a shooting guide. Lambert recommends dialing in roughly minus 0.3 stops of exposure compensation when shooting in city streets with average metering. Here’s why: most cameras meter the whole frame and try to find a middle exposure. On a street in bright sun, you’ll have deep shadow areas and blown-out highlights in the same shot. The camera averages them and often overexposes the bright areas. By nudging exposure compensation toward minus, you protect the highlights and preserve the detail that’s hardest to recover in post. Shadow recovery in RAW is much cleaner than trying to pull back clipped whites. This is exactly the kind of upstream decision that cuts your editing time later.
Step 5: Look for Graphic Backgrounds Before Waiting for a Subject
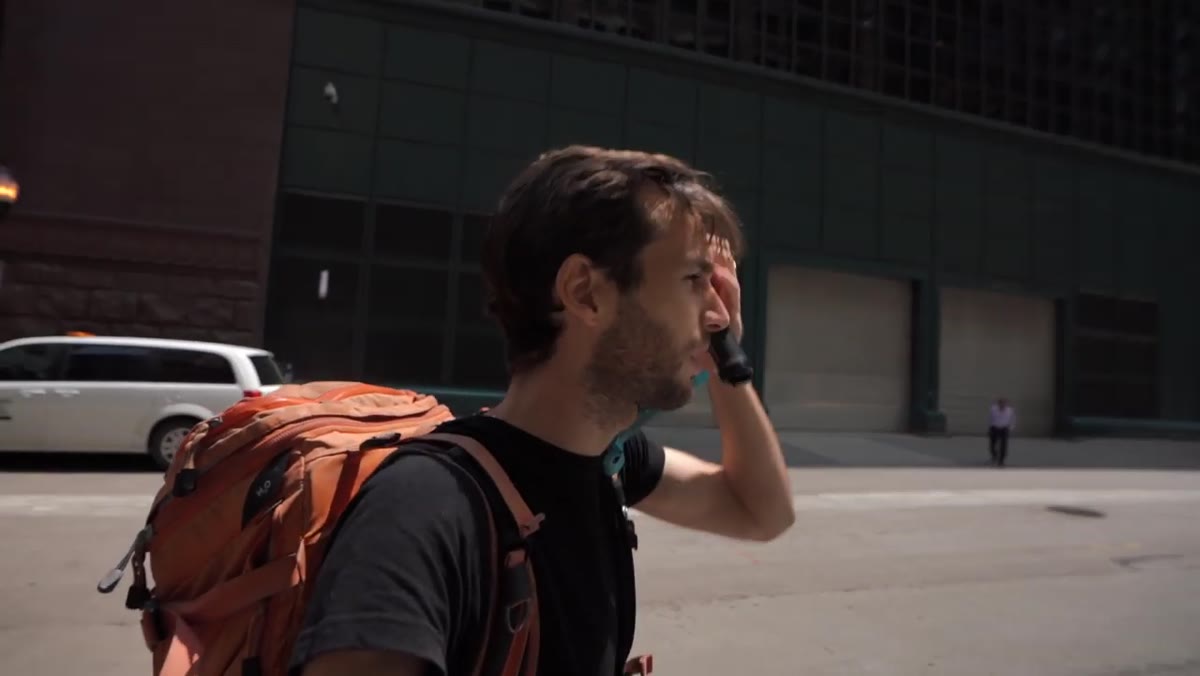 Three-door building facade used as a backdrop for street subjects
Lambert’s creative process on location is worth slowing down on. He doesn’t wander and react. He identifies a strong background first, then positions himself to wait for a subject to enter it. In one sequence, he spots a building facade with three evenly spaced doors and frames it deliberately, then waits for a pedestrian to walk into the composition. This approach turns street photography from a reactive scramble into something closer to a controlled shot. You’re essentially pre-building the composition and letting the human element come to you. For anyone trying to get consistent results from a street session, this is far more repeatable than chasing random moments.
Three-door building facade used as a backdrop for street subjects
Lambert’s creative process on location is worth slowing down on. He doesn’t wander and react. He identifies a strong background first, then positions himself to wait for a subject to enter it. In one sequence, he spots a building facade with three evenly spaced doors and frames it deliberately, then waits for a pedestrian to walk into the composition. This approach turns street photography from a reactive scramble into something closer to a controlled shot. You’re essentially pre-building the composition and letting the human element come to you. For anyone trying to get consistent results from a street session, this is far more repeatable than chasing random moments.
Step 6: Get Low or Change Your Angle to Change the Image
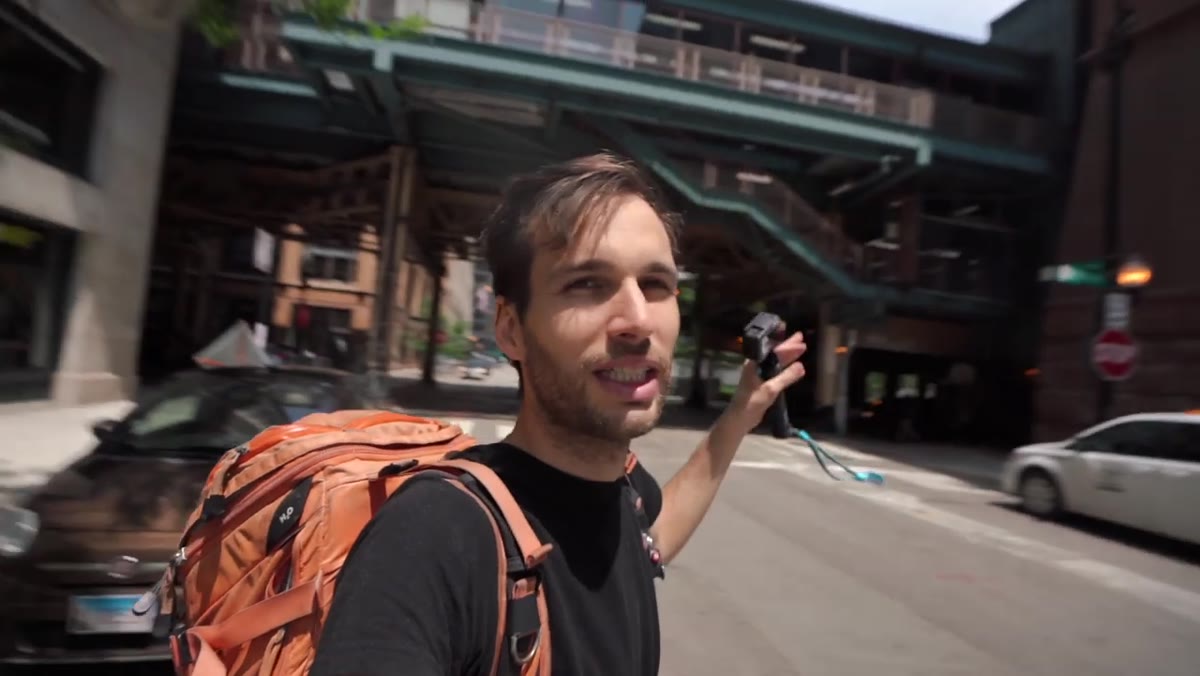 Camera positioned low, shooting from the middle of a road toward buildings
Lambert shoots from the center of the road at one point, getting low to capture a symmetrical view of the street with buildings framing either side. The wide-angle lens on the Osmo Action exaggerates perspective at unusual angles, which is actually one of the format’s strengths. Where a 24-70mm zoom on a full-frame body might feel natural and easy, the action cam forces you to commit to something weird. Placing the camera near ground level or holding it overhead at arm’s length produces frames that look genuinely different from what most people shoot. Constraints can be creative assets.
Camera positioned low, shooting from the middle of a road toward buildings
Lambert shoots from the center of the road at one point, getting low to capture a symmetrical view of the street with buildings framing either side. The wide-angle lens on the Osmo Action exaggerates perspective at unusual angles, which is actually one of the format’s strengths. Where a 24-70mm zoom on a full-frame body might feel natural and easy, the action cam forces you to commit to something weird. Placing the camera near ground level or holding it overhead at arm’s length produces frames that look genuinely different from what most people shoot. Constraints can be creative assets.
What I’d Add from My Own Workflow
If you’re going to run a street photography session like this and edit the results in Photoshop or Lightroom, build your processing action before you go out, not after. Load a test RAW from your camera, work out your baseline adjustments for the lighting conditions you expect, and save that as a starting preset. When you come back with 200 frames, you apply the preset as a first pass and make specific adjustments only where needed. I’ve done this for outdoor commercial shoots and it cuts review time dramatically. Lambert’s discipline at the capture stage, protecting highlights, using filters intentionally, choosing backgrounds deliberately, maps directly to a faster, cleaner post-production pass. The two things are connected.
The single most useful idea in this tutorial is the one that costs nothing: expose slightly to the minus side in mixed urban light and let your RAW file do the rest. It’s a small habit that pays off every single time you sit down to edit. Watch the full tutorial on YouTube to see Lambert’s actual results from the session and how the polarizer effects hold up in the final images.
Comments
Leave a Comment