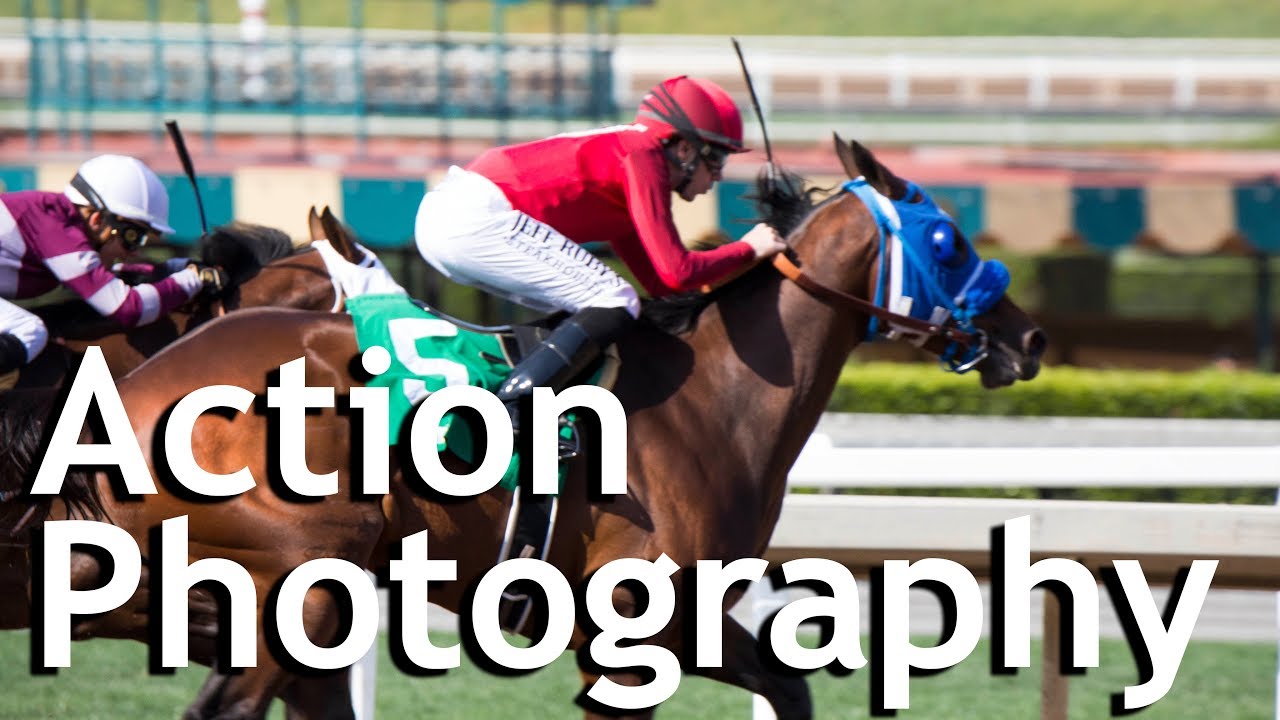
Action photography has a way of exposing every weak link in your workflow, and I say that as someone who spent fifteen years in commercial studios where the subject sat still and waited for me. The first time a client asked me to shoot behind-the-scenes action footage for a campaign, I realized how badly my habits had calcified. I was half a second slow on every critical moment because my camera setup was optimized for product shots, not moving targets.
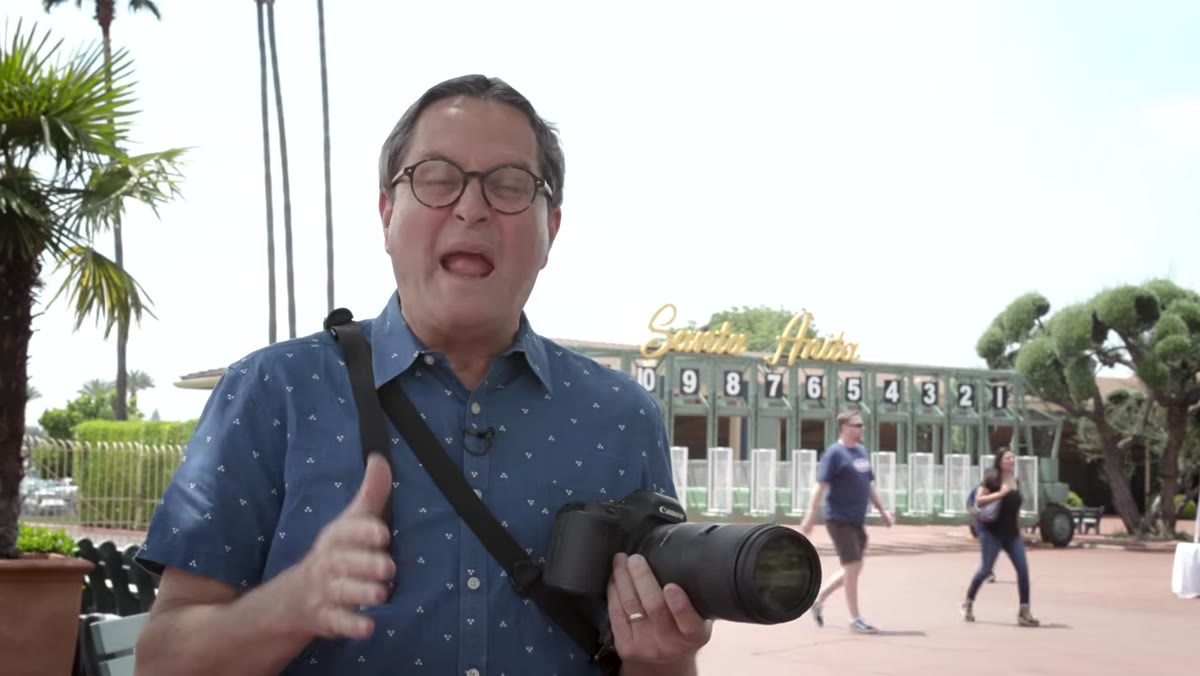
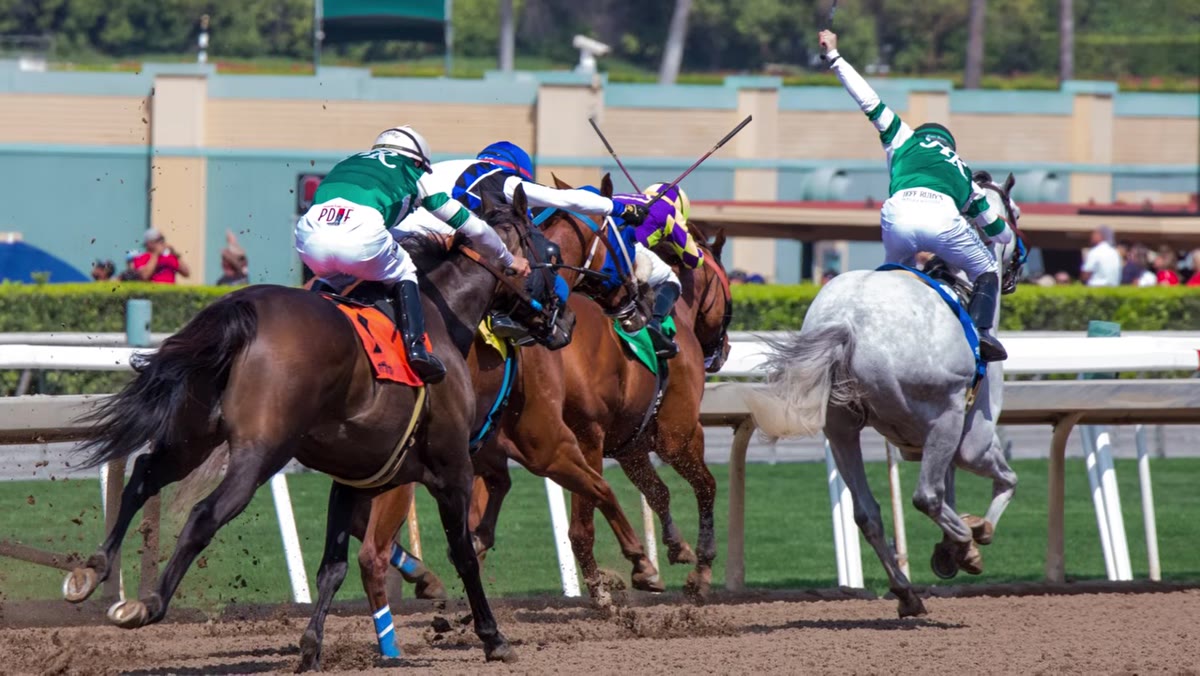
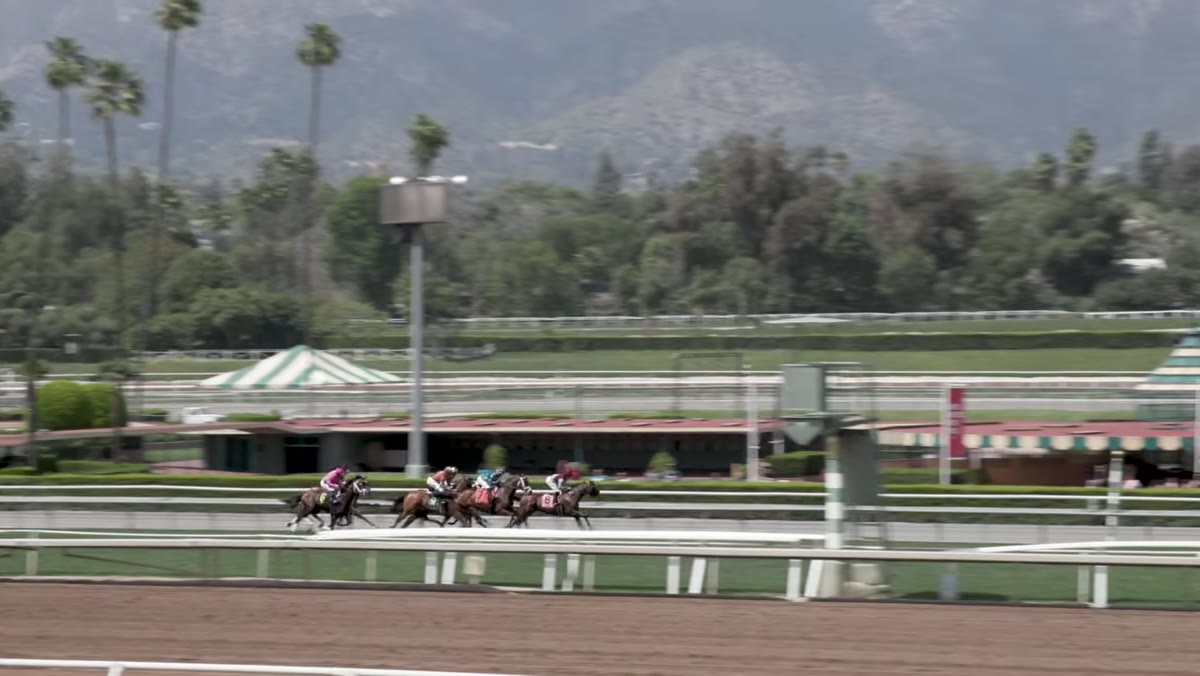
That gap between “studio shooter” and “can actually capture fast-moving subjects” is exactly what Jay P. Morgan addresses in this tutorial from The Slanted Lens, filmed at Santa Anita Race Track using the Tamron 100-400mm lens. Watch the full tutorial on YouTube if you want to see the raw footage alongside the explanation. What follows is my breakdown of the technique, pulled apart into steps you can apply before your next shoot.
The reason I keep coming back to tutorials like this one is the same reason I built my first Photoshop action at 26 and haven’t manually repeated a task since. Efficiency compounds. Getting your camera settings right before the action starts means fewer wasted frames to sort through in post, which means fewer hours in Lightroom culling near-misses. That’s the upstream fix most photographers overlook.
Step 1: Lock In Your Shutter Speed First
 Photographer setting shutter speed on camera body
Start in manual mode and set your shutter speed before you touch anything else. For horse racing, or anything moving at comparable speed, 1/1000 of a second is your floor. Jay’s preferred starting point is 1/1250, and that extra margin matters more than you’d think when hooves are leaving the ground. The principle here is that you determine the motion-stopping requirement first, then build the rest of your exposure triangle around it.
Photographer setting shutter speed on camera body
Start in manual mode and set your shutter speed before you touch anything else. For horse racing, or anything moving at comparable speed, 1/1000 of a second is your floor. Jay’s preferred starting point is 1/1250, and that extra margin matters more than you’d think when hooves are leaving the ground. The principle here is that you determine the motion-stopping requirement first, then build the rest of your exposure triangle around it.
This is opposite to how most of us learned exposure in controlled environments. In a studio, you often start with aperture because depth of field is the creative decision. In sports, motion blur is the enemy, so shutter speed earns the top spot in the priority order.
Step 2: Set Aperture to the Lens’s Consistent Maximum
 Aperture display showing f/6.3 on variable aperture zoom lens
With a variable aperture zoom like the Tamron 100-400mm (f/5-6.3), Jay recommends setting your aperture to f/6.3 and leaving it there. The reason is mechanical: zoom out toward 100mm and the lens can open wider, but zoom in toward 400mm and the maximum aperture closes down to f/6.3 automatically. If you’re shooting at f/5 and then punch in to 400mm, your exposure shifts on you mid-burst.
Aperture display showing f/6.3 on variable aperture zoom lens
With a variable aperture zoom like the Tamron 100-400mm (f/5-6.3), Jay recommends setting your aperture to f/6.3 and leaving it there. The reason is mechanical: zoom out toward 100mm and the lens can open wider, but zoom in toward 400mm and the maximum aperture closes down to f/6.3 automatically. If you’re shooting at f/5 and then punch in to 400mm, your exposure shifts on you mid-burst.
Locking to f/6.3 from the start means the aperture never changes regardless of where you are in the zoom range. You sacrifice a stop of light at the wide end, but you gain exposure consistency across the entire focal length range. For sports shooters running bursts at changing distances, that consistency is worth more than the extra stop.
Step 3: Use Auto ISO as Your Safety Valve
 Camera menu with ISO set to Auto mode
Once shutter speed and aperture are fixed, set ISO to Auto. I know that sentence makes some photographers physically uncomfortable. There is a version of this workflow where you manually dial ISO, but it requires your full attention on a dial when your attention should be on tracking a moving subject.
Camera menu with ISO set to Auto mode
Once shutter speed and aperture are fixed, set ISO to Auto. I know that sentence makes some photographers physically uncomfortable. There is a version of this workflow where you manually dial ISO, but it requires your full attention on a dial when your attention should be on tracking a moving subject.
The logic is sound: you’ve already made the two creative decisions that define your image. Shutter speed controls motion. Aperture controls depth of field and exposure ceiling. ISO is just a sensitivity setting filling in whatever gap remains. Letting the camera handle it means your ISO might climb to 2500 or even 4000 in shade, but you’ll have a sharp, correctly exposed frame instead of a blurry, dark one. In post, high ISO noise is fixable. Motion blur is not.
Step 4: Reassign Focus to the Back Button
 Camera controls showing shutter release focus disabled
This is the single biggest technical upgrade in the tutorial, and it applies to every sports or action situation you’ll ever shoot. Go into your camera’s custom controls and disable autofocus from the shutter release button. Then assign continuous autofocus (AF-C or AI Servo, depending on your system) to a button on the back of the camera, usually the AF-ON button or a customizable thumb button.
Camera controls showing shutter release focus disabled
This is the single biggest technical upgrade in the tutorial, and it applies to every sports or action situation you’ll ever shoot. Go into your camera’s custom controls and disable autofocus from the shutter release button. Then assign continuous autofocus (AF-C or AI Servo, depending on your system) to a button on the back of the camera, usually the AF-ON button or a customizable thumb button.
The practical result is separation of concerns. Your shutter button handles metering and firing. Your back button handles all focusing. You can shoot continuous bursts without the camera hunting for focus on every frame. When you need to reacquire focus on a subject, you press the back button. When you want to hold a focus lock, you release it. Jay’s approach at the track was to hold the back button down continuously while tracking, letting the camera update focus constantly as the horses moved. That’s the correct call for subjects at unpredictable distances.
Step 5: Choose Evaluative Metering for Moving Subjects
 Metering mode menu showing evaluative metering selected
For the metering pattern, evaluative metering (also called matrix metering on Nikon bodies) is the default recommendation here. It reads light across the whole frame and balances the exposure rather than biasing toward any single point. Spot metering gives you a precise center-weighted reading, which sounds appealing, but when your subject is constantly repositioning in the frame, the spot can land on sky or shadow behind them and blow the exposure entirely.
Metering mode menu showing evaluative metering selected
For the metering pattern, evaluative metering (also called matrix metering on Nikon bodies) is the default recommendation here. It reads light across the whole frame and balances the exposure rather than biasing toward any single point. Spot metering gives you a precise center-weighted reading, which sounds appealing, but when your subject is constantly repositioning in the frame, the spot can land on sky or shadow behind them and blow the exposure entirely.
Evaluative metering makes more forgiving decisions more consistently when the frame contents are changing at speed. It’s not glamorous advice, but it’s the kind of setting that prevents you from losing twenty frames in a burst to a metering spike.
Step 6: Understand What You’re Getting From a Consumer Telephoto Zoom
 Tamron 100-400mm lens mounted on camera body
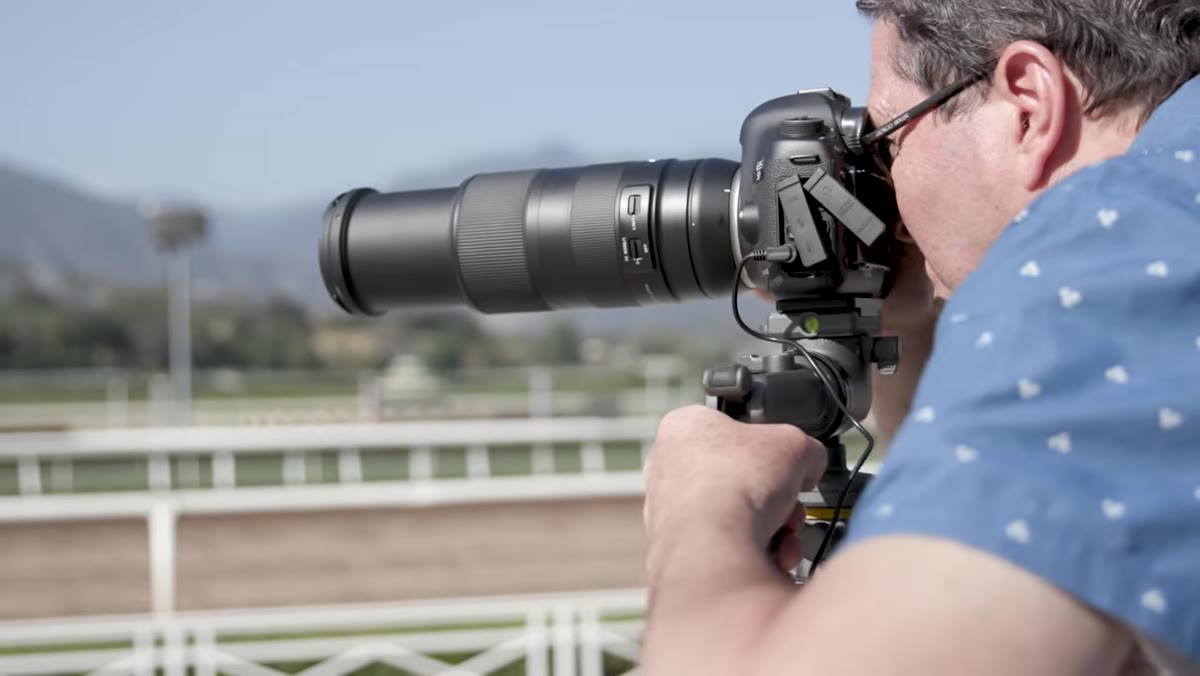
The Tamron 100-400mm sits in a practical middle tier: not a professional f/2.8 supertelephoto costing ten thousand dollars or more, but a capable, stabilized zoom at a fraction of the price. On a full-frame body it covers a useful range for track shooting. On an APS-C sensor, the crop factor pushes the effective range to roughly 150-600mm equivalent, which is genuinely impressive reach for the price point.
Tamron 100-400mm lens mounted on camera body
The Tamron 100-400mm sits in a practical middle tier: not a professional f/2.8 supertelephoto costing ten thousand dollars or more, but a capable, stabilized zoom at a fraction of the price. On a full-frame body it covers a useful range for track shooting. On an APS-C sensor, the crop factor pushes the effective range to roughly 150-600mm equivalent, which is genuinely impressive reach for the price point.
The lens includes Tamron’s Vibration Compensation (VC) system for image stabilization. VC won’t help you freeze motion, but it does reduce camera shake during tracking and gives you cleaner frames when light drops and you’re relying heavily on that auto ISO.
What I’d Add From My Own Experience
The settings framework Jay lays out here maps almost perfectly onto any high-motion shoot, not just track sports. I’ve used the same shutter-first, fixed aperture, auto ISO logic for shooting kids at events for ad clients, and it’s the only approach that gets me a usable hit rate without burning an hour in culling.
The one thing I’d layer on top of this tutorial is burst rate discipline. Shooting at maximum burst in continuous mode generates hundreds of near-identical frames and creates a post-processing problem. Once your settings are dialed and your back button focus is tracking cleanly, try timing your bursts to the peak of action rather than holding the shutter open for five seconds straight. Your culling time drops dramatically, and the frames you do keep are more intentional.
If you’re heading into any situation with fast-moving subjects, getting these five decisions right before you lift the camera is worth more than any preset or action you apply afterward. Garbage in, garbage out, as they say, and no amount of Lightroom work rescues a blurry frame.
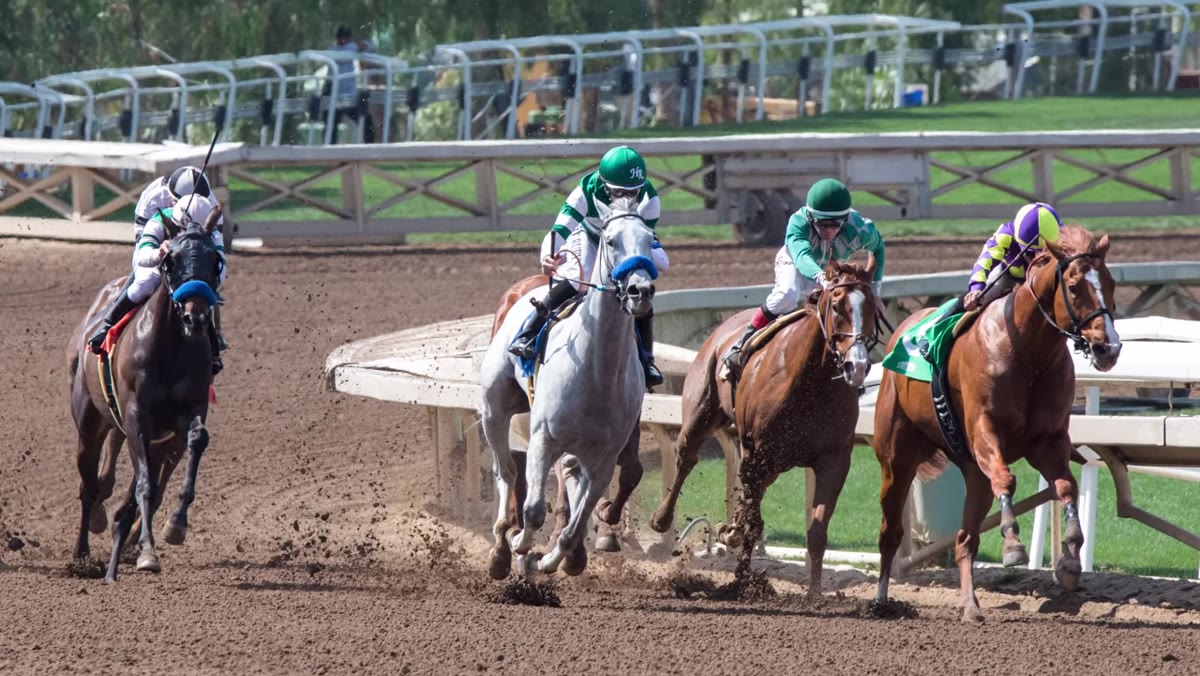
Watch the full tutorial on YouTube to see Jay work through these settings in real time at the track, with actual race footage showing what the Tamron produces when everything is configured correctly.
Comments (2)
Just subscribed. If the rest of your content is this good, I'm in.
Quality content like this is rare. Keep it up.
Leave a Comment