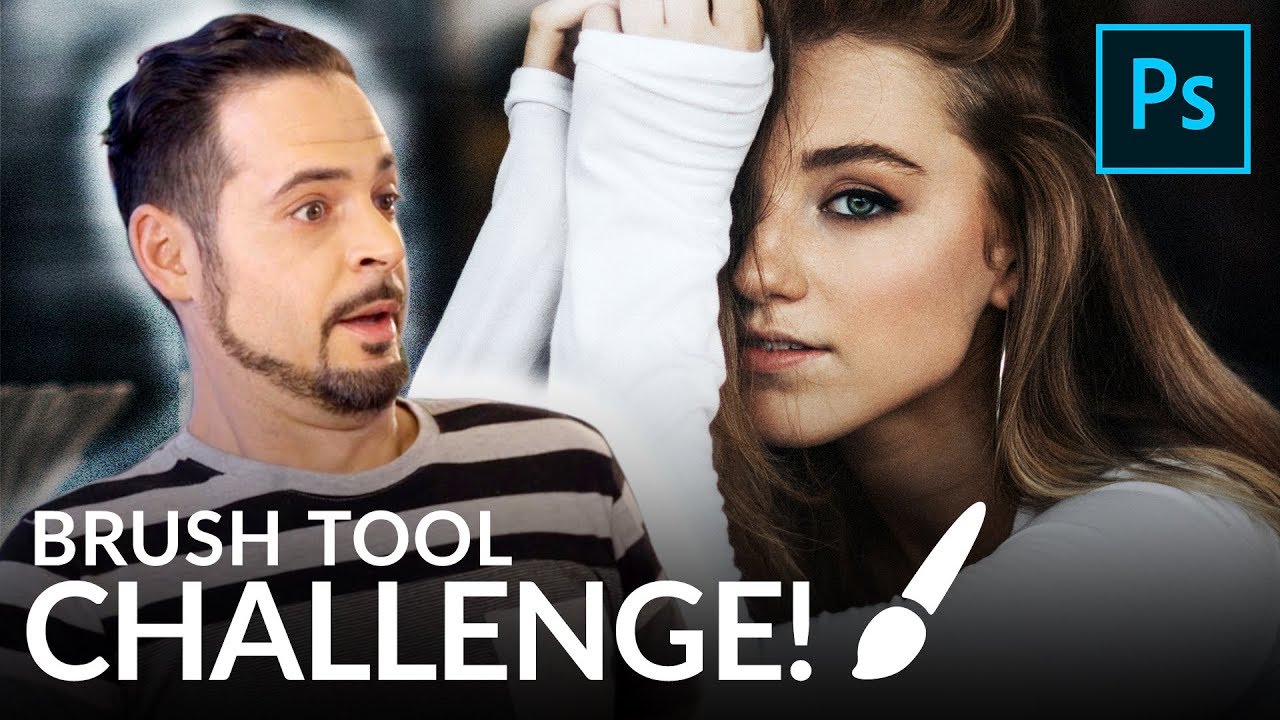
I’ve spent fifteen years watching junior retouchers freeze up the moment they open a portrait file. They scroll through the tool panel, reach for the Healing Brush, then the Clone Stamp, then some plugin, and before long they’ve got eight tools running and no clear mental model of what they’re actually doing to the image. The irony is that most of the fundamental operations in portrait retouching — blemish removal, dodging, burning, color correction — can be reduced to one core skill: painting with intention. Which is exactly what Aaron Nace proves in this PHLEARN tutorial.
In this Aaron Nace (PHLEARN) tutorial, the challenge is simple and slightly brutal. Edit a portrait from start to finish using only the brush tool. No Healing Brush, no Clone Stamp, no Spot Healing, no adjustment layers. Just a brush, a sampled color, and enough patience to work zoomed in. It sounds like a party trick, but what it actually teaches is something I wish someone had shown me at 26: every retouching tool you lean on is just automating something the brush can already do manually. Understanding that changes how you think about the whole workflow.
What I want to do here is pull out the actual technique from the video, step by step, so you can follow along whether you’re watching or not. I’ll add a few notes from my own experience along the way.
Step 1: Set Up a New Layer Before You Touch Anything
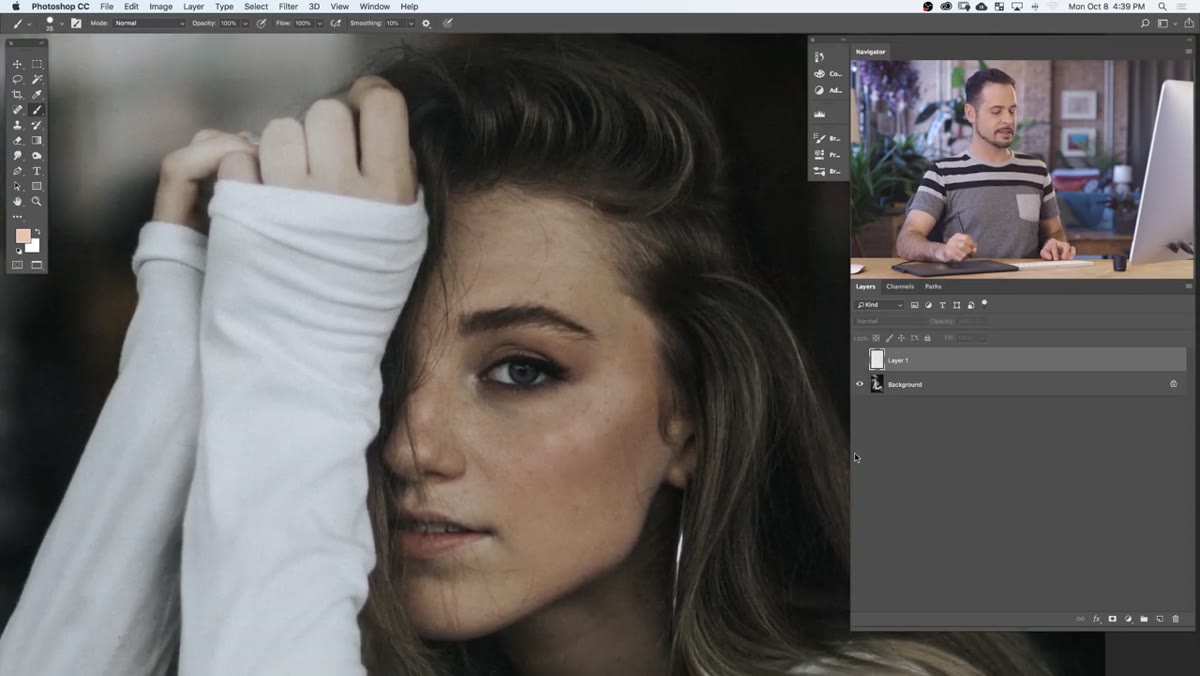
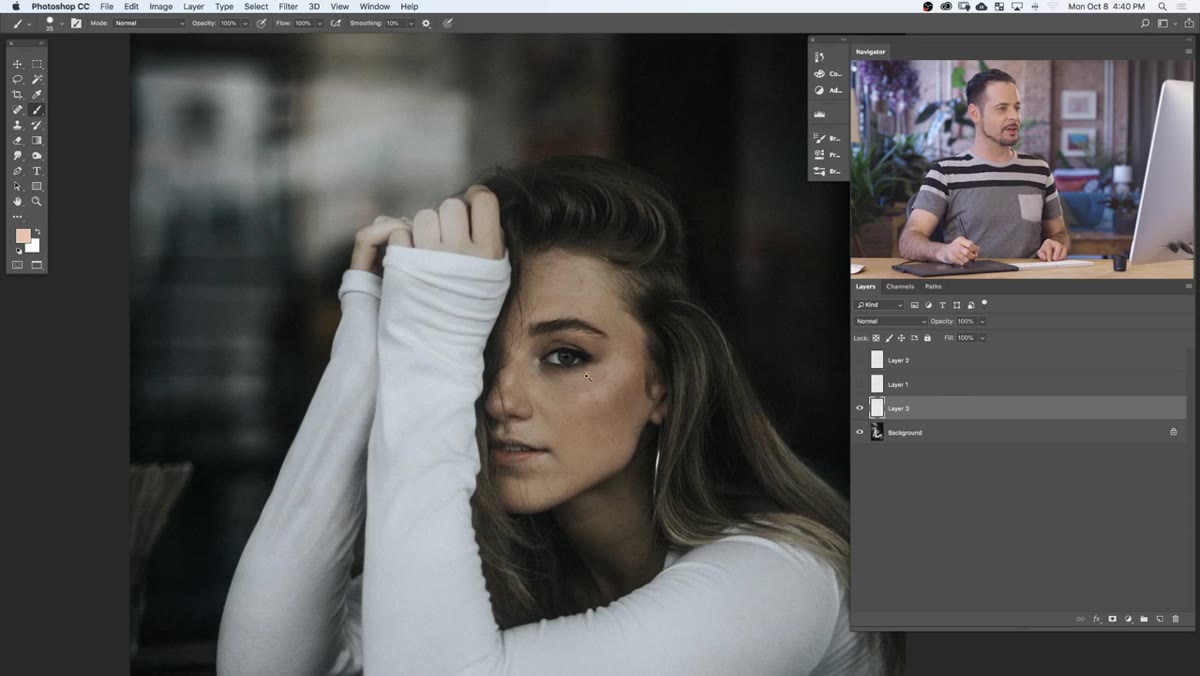 Creating a new blank layer above the portrait
The very first move is to create a new blank layer above the original image. This is non-negotiable. Working non-destructively means your original pixel data stays untouched, and you can dial back opacity or delete the layer entirely if something goes wrong. In commercial work I never let a retoucher paint directly on a background layer. That’s a habit worth building from day one, and Aaron establishes it immediately before a single brush stroke lands.
Creating a new blank layer above the portrait
The very first move is to create a new blank layer above the original image. This is non-negotiable. Working non-destructively means your original pixel data stays untouched, and you can dial back opacity or delete the layer entirely if something goes wrong. In commercial work I never let a retoucher paint directly on a background layer. That’s a habit worth building from day one, and Aaron establishes it immediately before a single brush stroke lands.
With the new layer active, press B to activate the Brush tool. Right-click on the canvas to open the brush picker and select a soft-edged round brush. You’ll adjust hardness as you go, but starting soft gives you more blending control.
Step 2: Sample Skin Color and Paint Blemishes Manually
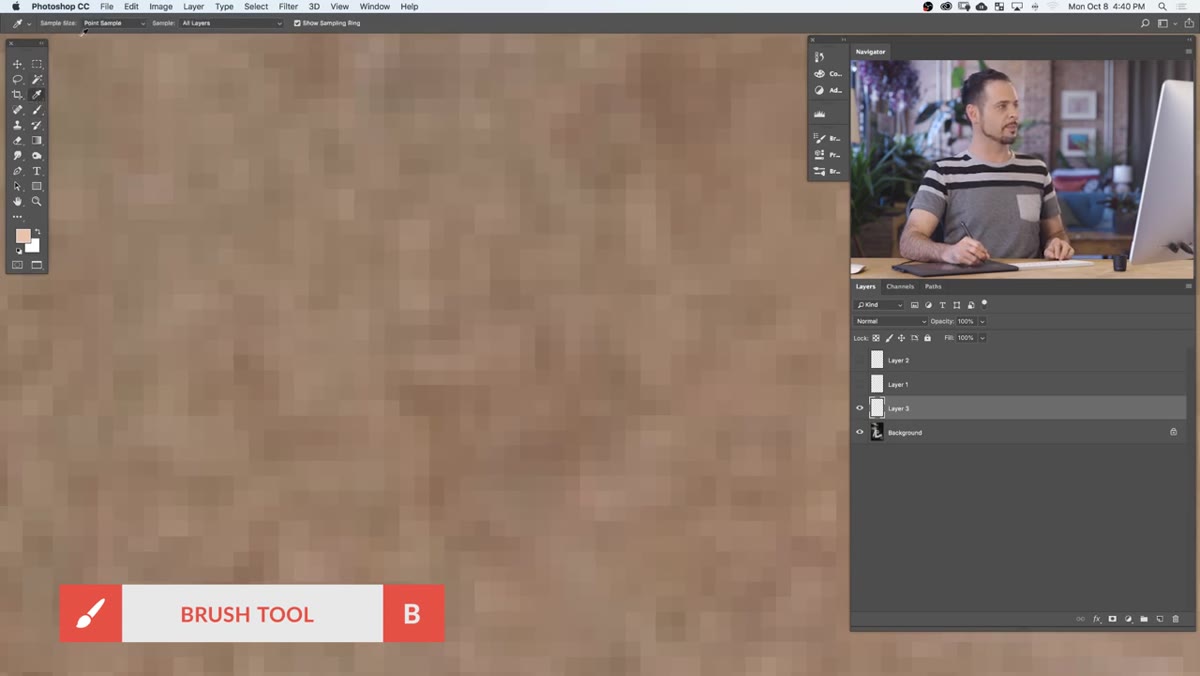 Zoomed-in view of skin, Alt-sampling a color near a blemish
Zoom in tightly on a blemish. Hold Alt (Option on Mac) to temporarily switch the brush into an eyedropper, then click a nearby area of clean skin to sample that color. The key detail here is using Point Sample mode, not an averaged sample, so you’re picking up the exact tone from one pixel rather than a blended average. Then, with Flow set around 60%, paint gently over the blemish.
Zoomed-in view of skin, Alt-sampling a color near a blemish
Zoom in tightly on a blemish. Hold Alt (Option on Mac) to temporarily switch the brush into an eyedropper, then click a nearby area of clean skin to sample that color. The key detail here is using Point Sample mode, not an averaged sample, so you’re picking up the exact tone from one pixel rather than a blended average. Then, with Flow set around 60%, paint gently over the blemish.
The low flow setting is doing real work here. It prevents you from laying down a flat opaque patch that reads as fake skin. You’re building up coverage gradually, which lets the underlying texture breathe through. As you paint, keep re-sampling neighboring tones rather than reusing the same sampled color repeatedly. Skin has natural variation, and if you paint a single flat hue over a large area, it will look like a patch even at normal zoom. Constant re-sampling keeps it looking organic.
Step 3: Work the Highlights to Even Out Skin Tone
 Uneven highlight visible on subject’s forehead before correction
After blemishes, the next target is uneven luminosity across the skin. In the tutorial, the subject’s forehead has a highlight area that reads as irregular, brighter in some spots than the surrounding zones. The fix follows the same logic: sample a tone from a well-exposed area nearby, then paint at low flow into the over-bright patch to bring it down toward the surrounding value.
Uneven highlight visible on subject’s forehead before correction
After blemishes, the next target is uneven luminosity across the skin. In the tutorial, the subject’s forehead has a highlight area that reads as irregular, brighter in some spots than the surrounding zones. The fix follows the same logic: sample a tone from a well-exposed area nearby, then paint at low flow into the over-bright patch to bring it down toward the surrounding value.
This is essentially manual dodging and burning using only the brush and sampled color. It requires you to read the image carefully and think in terms of light direction, not just “dark spot here, paint lighter.” Before you paint, squint at the face to identify where the light source is coming from, and make sure your corrections respect that logic. Painting a shadow into a highlight zone that should be lit will always look wrong.
Step 4: Address Color Cast on the Neck and Face
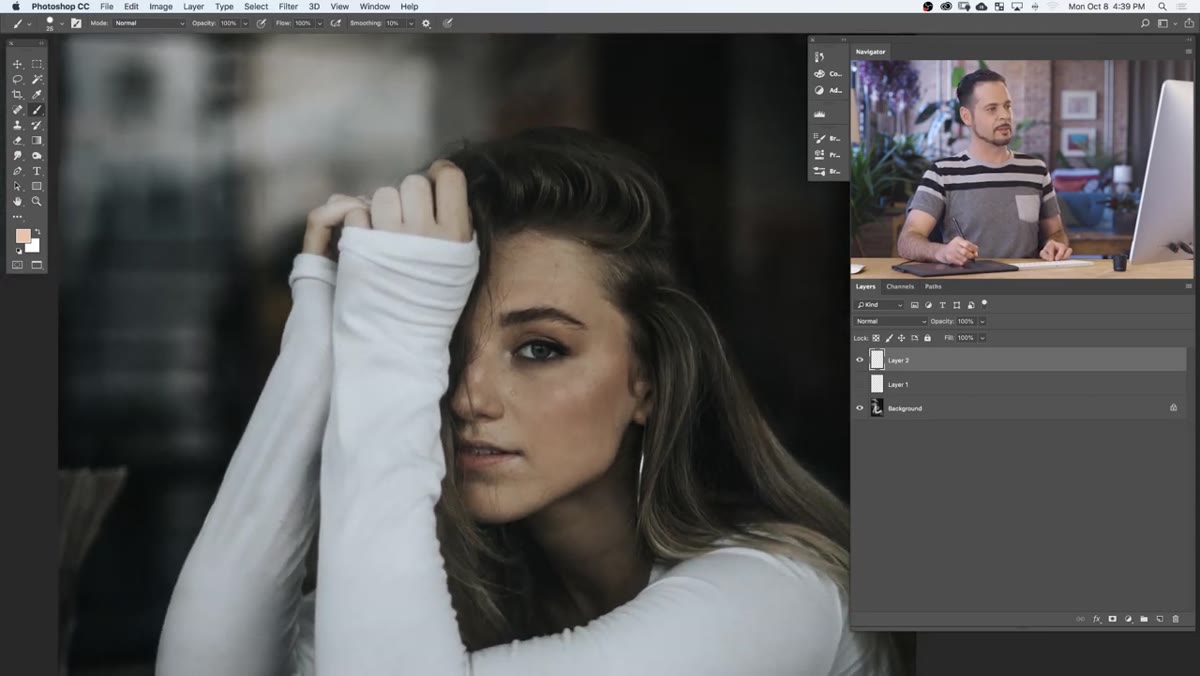 Greenish color cast visible on subject’s neck area
There’s a visible green color cast on the subject’s neck, and the area reads as slightly desaturated compared to the face. The correction here is elegant in its simplicity. Sample a warmer, more saturated skin tone from the face, then paint it over the neck area at a very low flow on a layer set to Color blend mode.
Greenish color cast visible on subject’s neck area
There’s a visible green color cast on the subject’s neck, and the area reads as slightly desaturated compared to the face. The correction here is elegant in its simplicity. Sample a warmer, more saturated skin tone from the face, then paint it over the neck area at a very low flow on a layer set to Color blend mode.
Switching the layer blend mode to Color is the move that makes this work cleanly. Color mode applies only the hue and saturation of your painted stroke, leaving the underlying luminosity values untouched. You’re correcting the color without flattening the tonal detail in the neck. This is the same logic that sits behind a lot of color grading work, just executed manually rather than through a Hue/Saturation layer.
Step 5: Retouch the Eyebrows Using Targeted Brush Strokes
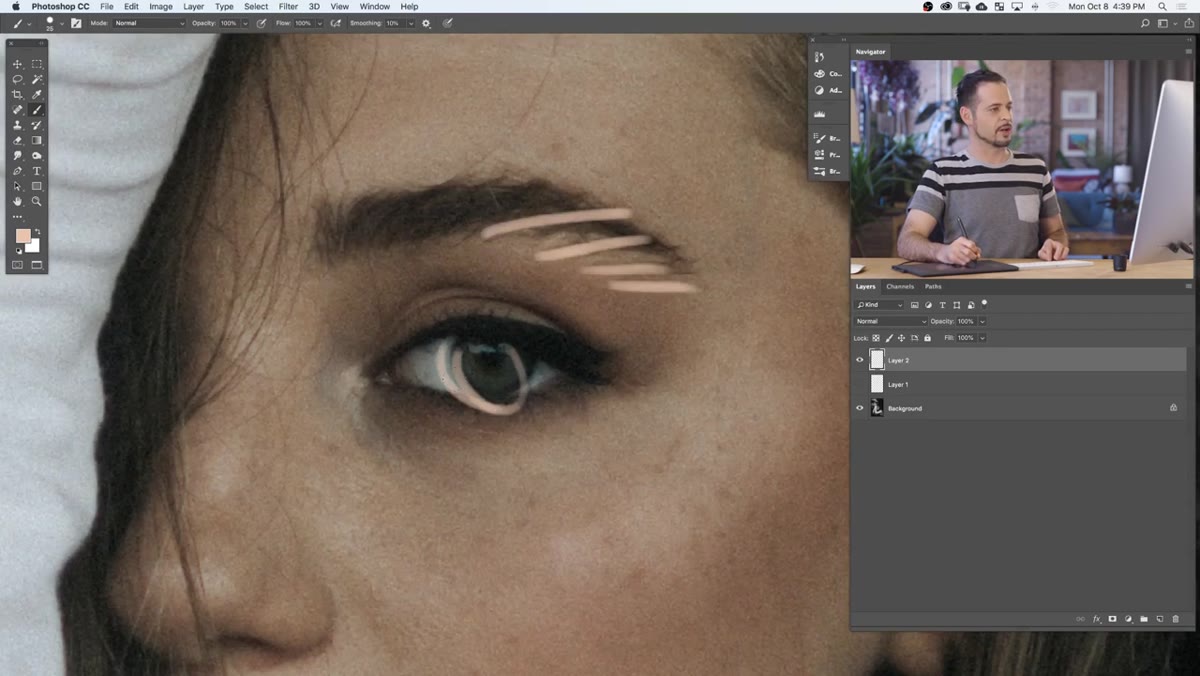 Close-up on eyebrow area showing retouching target zones
Eyebrow retouching with just a brush comes down to two operations: darkening sparse or light areas to add density, and softening any harsh edges that make the brows look heavy. Sample a dark tone from the densest part of the brow, then use a very small brush at low flow to add hair-like strokes into thin areas. For softening, sample a mid-tone skin color from just outside the brow edge and paint inward slightly to blur the boundary.
Close-up on eyebrow area showing retouching target zones
Eyebrow retouching with just a brush comes down to two operations: darkening sparse or light areas to add density, and softening any harsh edges that make the brows look heavy. Sample a dark tone from the densest part of the brow, then use a very small brush at low flow to add hair-like strokes into thin areas. For softening, sample a mid-tone skin color from just outside the brow edge and paint inward slightly to blur the boundary.
The brush size matters here more than anywhere else in the workflow. Too large and your strokes look smeared. Keep the brush small enough that individual strokes read as fine hairs rather than paint. Zoom in further than feels comfortable.
Step 6: Add Hair Highlights to Finish the Image
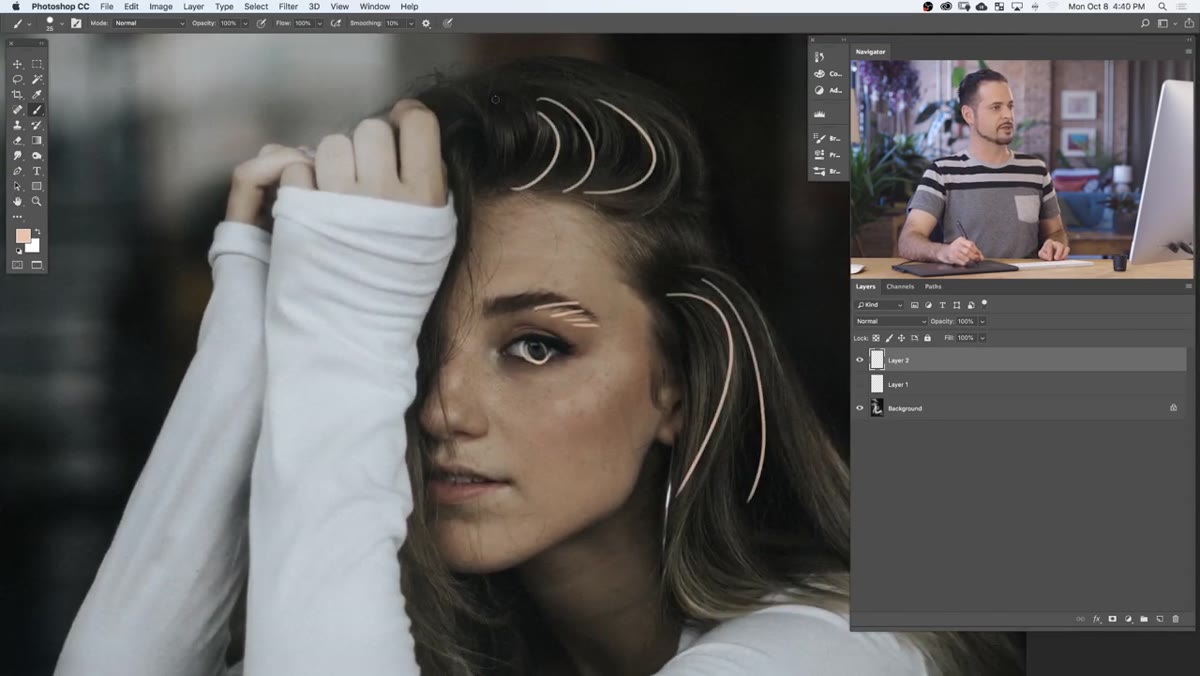 Subject’s hair shown before highlight enhancement
The final pass is adding shimmer and dimension to the hair by painting subtle highlights with a soft brush set to a warm light tone, sampled from the brightest existing highlight in the hair. Working on a new layer in the Screen or Soft Light blend mode, use a large soft brush at very low flow to trace the natural highlight path across the hair. Build slowly. Multiple thin passes beat one heavy stroke every time.
Subject’s hair shown before highlight enhancement
The final pass is adding shimmer and dimension to the hair by painting subtle highlights with a soft brush set to a warm light tone, sampled from the brightest existing highlight in the hair. Working on a new layer in the Screen or Soft Light blend mode, use a large soft brush at very low flow to trace the natural highlight path across the hair. Build slowly. Multiple thin passes beat one heavy stroke every time.
What I’d Add From My Own Workflow
The technique in this tutorial is intentionally manual, which is the point. But if you’re running this kind of retouching at volume, the sampling-and-painting approach is where you’d record an action to pre-configure your layer stack, blend modes, and flow settings before you start each file. I’ve built actions that do nothing except set up the layer structure and name each layer correctly. It sounds trivial, but across a 200-image portrait session it saves meaningful time and keeps the file architecture consistent. The brush work itself stays manual. The scaffolding around it doesn’t have to.
The real lesson from this video isn’t that you should always retouch portraits with only a brush. It’s that if you understand what the brush can do on its own, every other retouching tool becomes something you choose deliberately rather than reach for out of habit. That’s a different relationship with your software, and a more confident one.
Watch the full tutorial on YouTube to see Aaron work through the complete retouch in real time, including the speed-through sections that show just how much ground you can cover with this approach.
Comments (2)
This is going in my reference folder. Incredibly useful.
Wow, I had no idea you could do this. Mind blown.
Leave a Comment