Work Smarter With Lightroom's Adjustment Brush: The Auto Mask Shortcut That Changes Everything

Work Smarter With Lightroom's Adjustment Brush: The Auto Mask Shortcut That Changes Everything

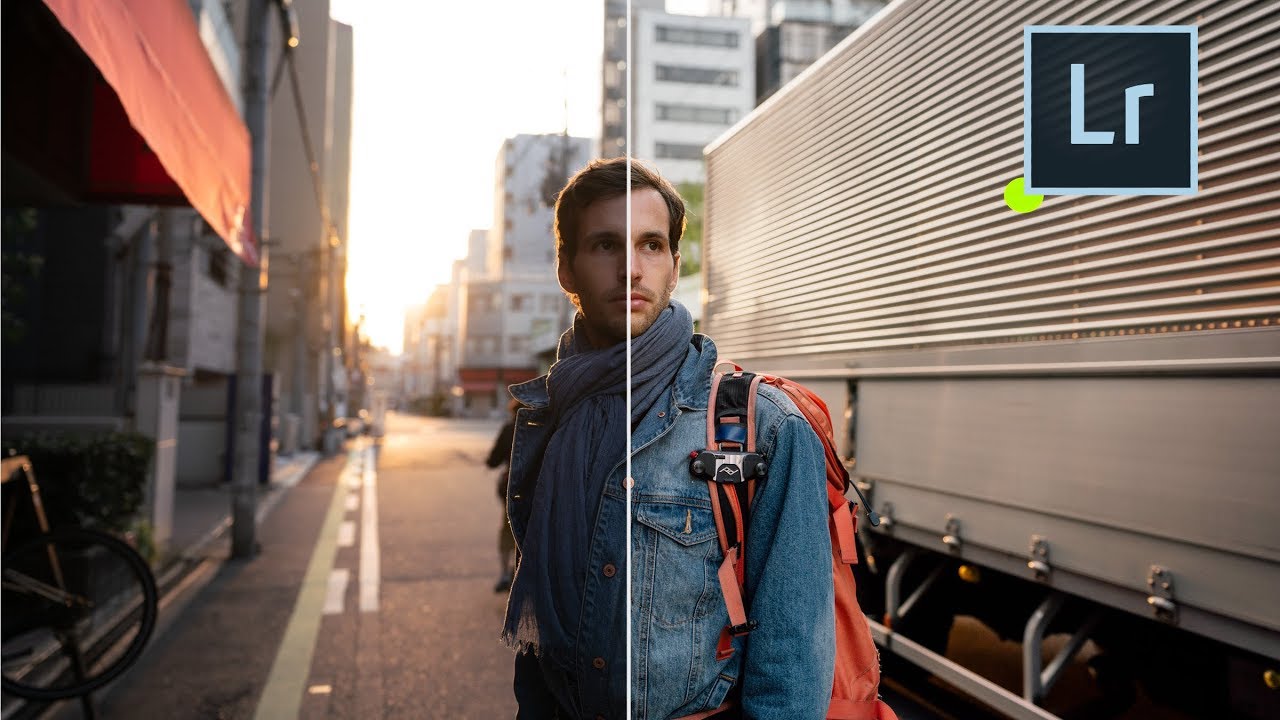
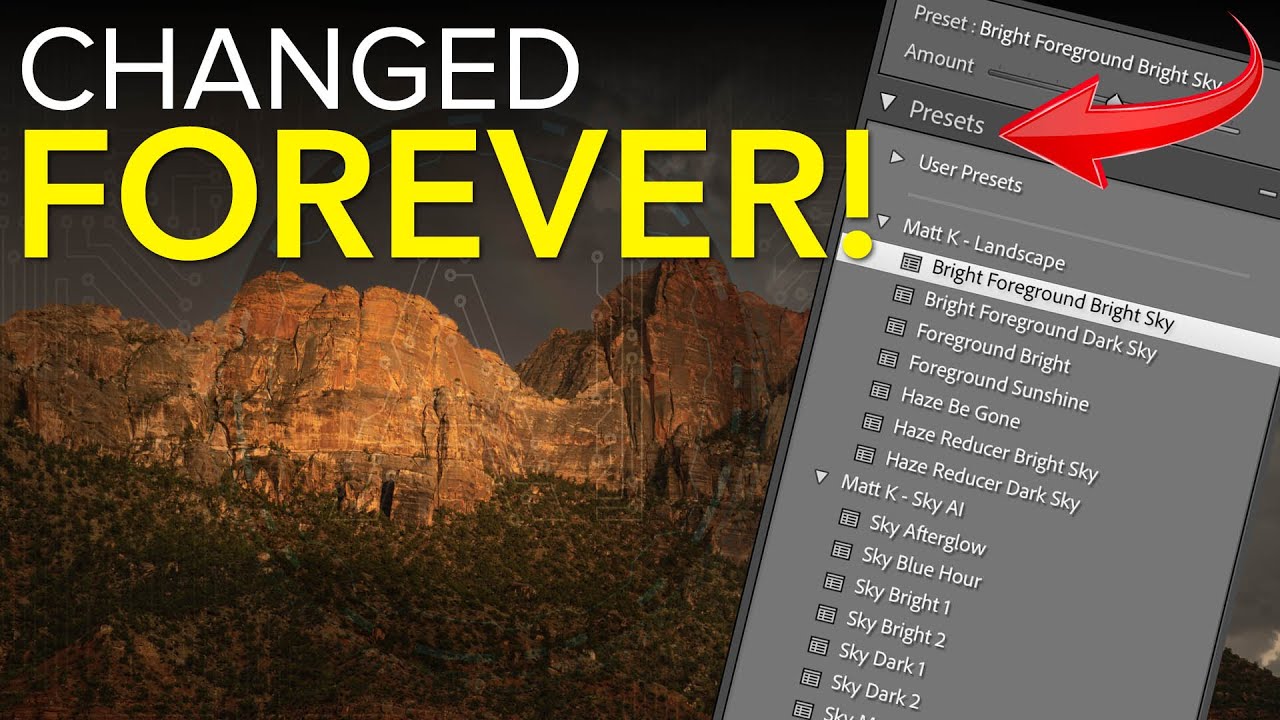
If you shoot anything that requires selective exposure adjustments — portraits, architecture, product work, anything with a foreground subject you want to separate from a background — you already know the adjustment brush is one of the most powerful tools in Lightroom and Camera Raw. You probably also know the frustration of painting too far, blowing past an edge, and having to redo a mask you spent five minutes building. That specific pain is what pulled me into Watch the full tutorial on YouTube from Matt Kloskowski, a photographer and educator whose approach to Lightroom workflow I’ve respected for years.

What Peter McKinnon's Workflow Update Video Actually Teaches You About Sustainable Creative Systems

What Peter McKinnon's Workflow Update Video Actually Teaches You About Sustainable Creative Systems

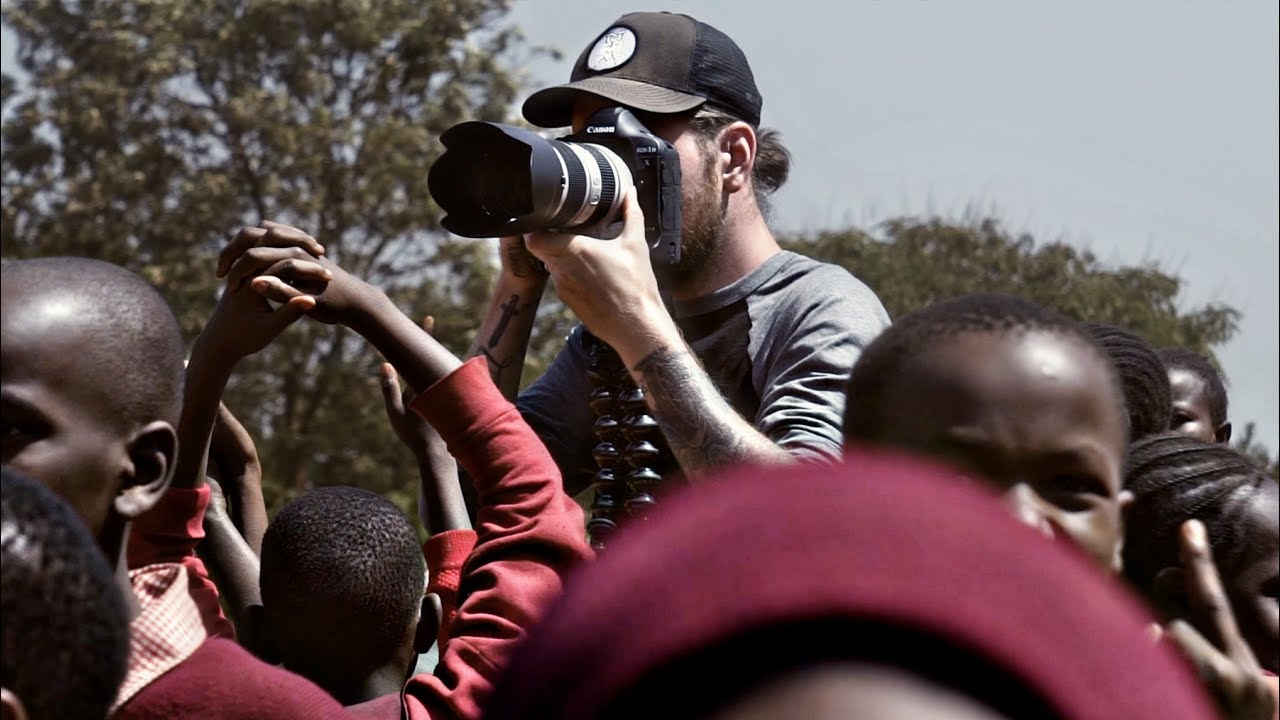
There’s a category of video that looks like a vlog but functions like a masterclass. Peter McKinnon’s update video, Watch the full tutorial on YouTube, falls squarely into that category. On the surface it’s a catch-up: drone giveaway results, fan mail, life updates after a two-week trip to Kenya with World Vision. Underneath, it’s a working demonstration of how a high-output creative keeps multiple project threads alive simultaneously without letting any of them collapse.

Browse, Comp, and Buy Stock Photos Without Leaving Photoshop: The iStock Plugin Workflow

Browse, Comp, and Buy Stock Photos Without Leaving Photoshop: The iStock Plugin Workflow

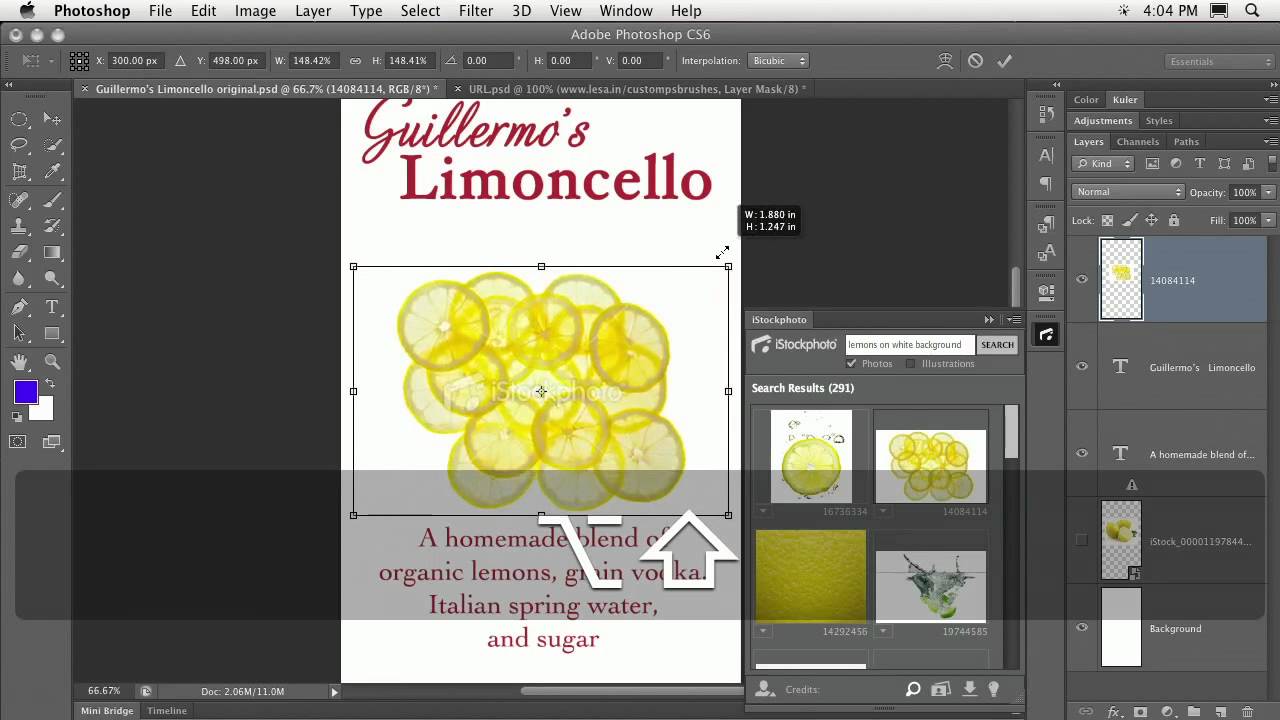
Stock photo hunting has always been one of those invisible time thieves in my workflow. You’re deep in a comp, you need a hero image, and suddenly you’ve got six browser tabs open, three watermarked downloads cluttering your desktop, and you’ve completely lost your train of thought on the actual design work. Over the years I’ve built systems to compress almost every repetitive task in Photoshop down to keystrokes and actions, but the stock image sourcing step always seemed immune to optimization.

Lightroom Profiles Are the Non-Destructive Edit Layer I Didn't Know I Needed

Lightroom Profiles Are the Non-Destructive Edit Layer I Didn't Know I Needed

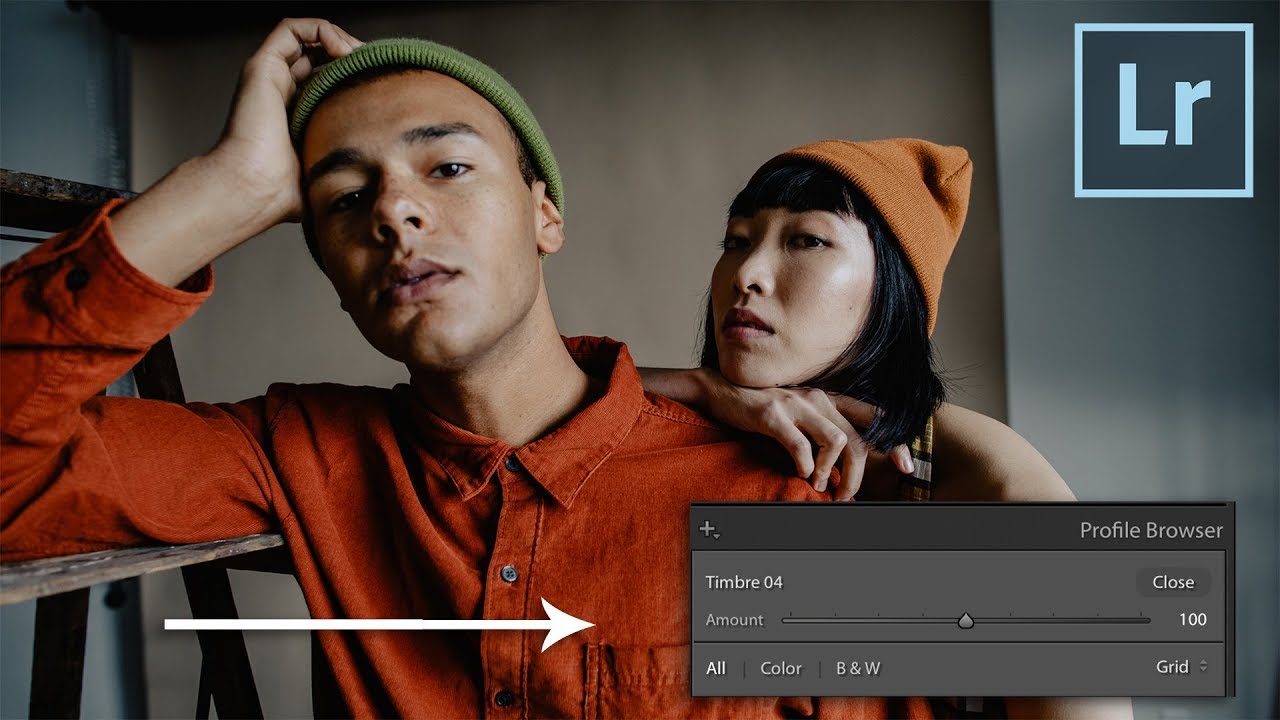
I’ve spent fifteen years building systems that save time in post-production. My entire consultancy runs on the idea that repetitive manual steps are the enemy of good work. So when a feature ships inside a tool I use every single day and I completely miss it, that stings a little. That’s what happened with Lightroom Profiles. I’d been clicking past them for weeks before I actually stopped and paid attention.

How to Get Your Lightroom Classic Presets onto Your Phone in Three Steps

How to Get Your Lightroom Classic Presets onto Your Phone in Three Steps

I spend a lot of time building systems so I don’t have to think twice on a deadline. Presets are a big part of that. Over the years I’ve developed a library of custom Lightroom adjustments tuned specifically for the kind of work I do – product photography, e-commerce, the occasional ad campaign. They live in Lightroom Classic, which is where I do all my serious editing. But more and more, clients want quick turnaround on selects reviewed from a phone, or they want me to make a light pass on tethered shots while I’m still on location.

From Rope Photo to Pattern Brush: A Cross-App Workflow That Actually Holds Up

From Rope Photo to Pattern Brush: A Cross-App Workflow That Actually Holds Up

Most of my work lives inside repeatable systems. Actions, batch exports, preset pipelines built to survive a Monday morning with 300 product shots due by noon. But every so often a client brief lands that needs something handcrafted-looking, something with texture and physicality that a gradient overlay just cannot fake. That’s when brush work and pattern techniques become genuinely useful, not decorative exercises. This particular workflow came across my radar through Watch the full tutorial on YouTube from Kelvin Designs, where Kelvin walks through creating a seamless rope pattern in Photoshop and then applying it along a vector path in Illustrator.

LUTs in Lightroom Are More Powerful Than You Think (Especially With a Profile Intensity Slider)

LUTs in Lightroom Are More Powerful Than You Think (Especially With a Profile Intensity Slider)

If you do any volume of editing, you have probably felt the friction of applying a LUT-based look to still photos. LUTs live comfortably in Premiere and DaVinci, but getting them to behave inside Lightroom has historically required workarounds that feel more like duct tape than a real system. That problem gets worse when you work with clients who want their product photography and video content to feel like they came from the same shoot.

Building a Timeless Lightroom Preset from Scratch: A Step-by-Step Breakdown

Building a Timeless Lightroom Preset from Scratch: A Step-by-Step Breakdown

There’s a specific kind of frustration I know well: you’ve shot a great set of portraits, the lighting is solid, the composition is clean, and then you spend 45 minutes in Lightroom pushing the same six sliders around until something feels almost right. Multiply that by a client gallery of 200 images and you’ve just lost half a day to guesswork. What I’ve always wanted is a preset built on principles, not trends – something I can actually understand, modify, and trust across different lighting conditions and subject types.

How to Create Custom Adjustment Layer Presets in Photoshop (February 2024 Update)

How to Create Custom Adjustment Layer Presets in Photoshop (February 2024 Update)

If you’ve been building Photoshop workflows for any length of time, you already know that adjustment layers are the backbone of non-destructive editing. Brightness, contrast, curves, hue and saturation - these are the tools that do the heavy lifting on nearly every image I process, whether it’s a single hero shot for an ad campaign or a batch of 300 e-commerce frames. The problem, until very recently, was that the preset system inside the Adjustments panel was a one-way street.

Four Photoshop Tools That Cut My Portrait Cleanup Time in Half

Four Photoshop Tools That Cut My Portrait Cleanup Time in Half

There’s a category of retouching work that never makes it into anyone’s portfolio but eats up a surprising chunk of billable hours. Background clutter. Stray wires. A parking cone that somehow wandered into the corner of a lifestyle shoot. For most of my career I handled these the same way everyone else did: Clone Stamp, Patch tool, Content-Aware Fill, rinse and repeat. It worked, but on a heavy e-commerce day it could chew through an hour before I’d even started the actual color work.

Blending Photos and Graphics in Photoshop: What Aaron Nace's Workflow Taught Me About Working Smarter

Blending Photos and Graphics in Photoshop: What Aaron Nace's Workflow Taught Me About Working Smarter

Client work has a way of pushing you into techniques you’d never have explored on your own. Ad agencies started asking me for portraits with a graphic, illustrated feel about two years ago, and I spent an embarrassing amount of time cobbling together workflows from scattered forum posts. So when PHLEARN released their Graphic Portrait Pro tutorial, hosted by Aaron Nace, I watched the whole thing twice before breakfast. Not because the concepts were brand new to me, but because seeing six complete workflows in one place, with all the source files included, is the kind of resource that would have saved me weeks of trial and error.

Photoshop's Updated Remove Tool Is the Closest Thing to Magic I've Added to My Workflow

Photoshop's Updated Remove Tool Is the Closest Thing to Magic I've Added to My Workflow

I track time obsessively. Not in a vague, “I should be more productive” way, but in a literal spreadsheet-with-color-coded-columns way. So when a tool promises to save hours on a task I repeat constantly across client work, I pay attention immediately. The Remove Tool in Photoshop has always been solid, but the latest update pushes it into genuinely different territory. Instead of painting over distractions manually one by one, Photoshop can now scan your entire image, identify what doesn’t belong, and remove it all in a single operation.