Lightroom's Advanced Healing Brush: The Freeform Retouching Tool That Changes How You Work

Lightroom's Advanced Healing Brush: The Freeform Retouching Tool That Changes How You Work

Real estate, product, and portrait work all share one common post-production headache: removing things that shouldn’t be there. Power lines. Lawn debris. Shadows under eyes. For years, my go-to move was to handle all of that in Photoshop, which meant breaking my Lightroom-first workflow every time a client needed a clean sky or a smoother complexion. I kept that exit ramp open because I didn’t trust Lightroom’s healing tools to handle anything more complex than a dust spot.

Build a Lightroom Preset From Scratch: The Mango Street Workflow Decoded

Build a Lightroom Preset From Scratch: The Mango Street Workflow Decoded

Most Lightroom presets are black boxes. You click apply, something happens, and you have no idea whether it’s going to hold up across your next shoot or fall apart the moment your lighting changes. That’s a real problem in production work. I’ve spent years building systems for clients who need consistent color across hundreds of images, and the fastest way to waste time is to rely on a preset you don’t actually understand.

Lightroom's AI Masks Just Made Presets Actually Worth Using

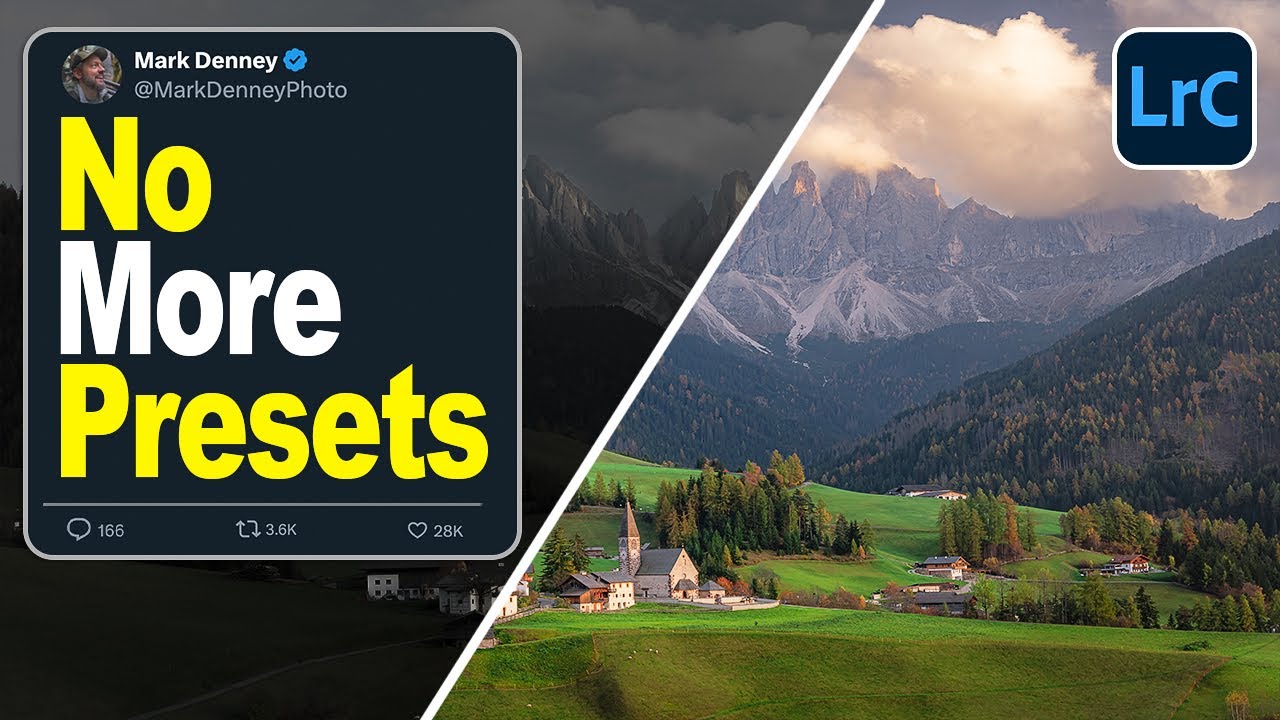
Lightroom's AI Masks Just Made Presets Actually Worth Using

I’ve been skeptical of presets for most of my career. Not because they don’t work, but because they work until they don’t. You build a beautiful sky treatment, save it as a preset, apply it to the next landscape, and then spend five minutes dragging gradients around to make it fit a completely different horizon line. At that point you’ve burned half the time you were trying to save. For high-volume work, that friction adds up fast.

Before the Camera Comes Out: What a New Zealand Wilderness Shoot Teaches Us About Photographic Workflow

Before the Camera Comes Out: What a New Zealand Wilderness Shoot Teaches Us About Photographic Workflow

There’s a version of photography workflow that lives entirely inside a computer. Batch actions, export presets, color grading pipelines. That’s most of what I think about in my day job. But every so often I watch something that reminds me that the most important part of the workflow happens before you ever open Photoshop. In this William Patino tutorial filmed in Fiordland National Park, New Zealand, William walks through the complete end-to-end process of a serious landscape shoot: the map research, the multi-hour hike through boggy rainforest, the scouting decisions made on the fly when the terrain doesn’t match the map.

Lightroom's Density Slider Is Not What You Think (And That's the Point)

Lightroom's Density Slider Is Not What You Think (And That's the Point)

There’s a specific kind of frustration that comes from knowing exactly what you want a tool to do and feeling like it’s fighting you. I ran into this with Lightroom’s Adjustment Brush embarrassingly late in my career. I’d spent years in Photoshop building actions, dialing in brush opacity and flow to get precise, repeatable results on skin, product surfaces, backgrounds. Then I’d jump into Lightroom for a raw edit and the Adjustment Brush would just feel… blunt.

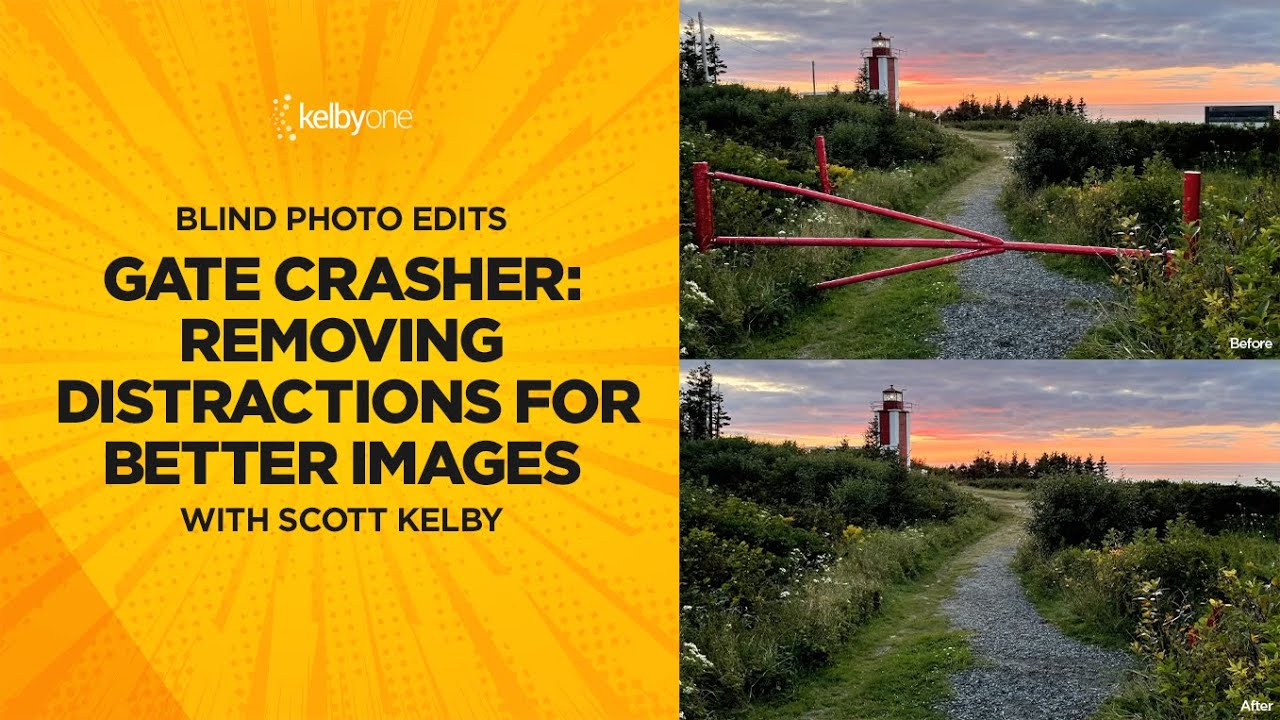
Generative Fill vs. Content-Aware Fill: A Working Photographer's Guide to Removing Distractions in Photoshop

Generative Fill vs. Content-Aware Fill: A Working Photographer's Guide to Removing Distractions in Photoshop

Distraction removal is one of those tasks that sounds simple until you’re staring at a client’s hero shot with a rogue piece of equipment cutting through an otherwise clean frame. I’ve been in that position more times than I can count, and the solution has changed dramatically over the last few years. What used to require careful cloning, patch work, and a lot of crossed fingers has become something closer to a creative decision than a technical grind.

Presets Aren't Shortcuts — They're a Thinking Tool (Here's How to Use Them That Way)

Presets Aren't Shortcuts — They're a Thinking Tool (Here's How to Use Them That Way)

I’ll be honest with you. Early in my commercial work, I treated presets the way a lot of people do: click, hope, move on. I bought packs, applied them wholesale to client images, and wondered why the results felt borrowed rather than intentional. It took a few years of production pressure, and eventually watching people who actually knew what they were doing, to understand that presets are a diagnostic tool first and a finishing tool second.

Work Smarter With Lightroom's Adjustment Brush: The Auto Mask Shortcut That Changes Everything

Work Smarter With Lightroom's Adjustment Brush: The Auto Mask Shortcut That Changes Everything

If you shoot anything that requires selective exposure adjustments — portraits, architecture, product work, anything with a foreground subject you want to separate from a background — you already know the adjustment brush is one of the most powerful tools in Lightroom and Camera Raw. You probably also know the frustration of painting too far, blowing past an edge, and having to redo a mask you spent five minutes building. That specific pain is what pulled me into Watch the full tutorial on YouTube from Matt Kloskowski, a photographer and educator whose approach to Lightroom workflow I’ve respected for years.

How to Install and Organize Lightroom Presets Without Losing Your Mind

How to Install and Organize Lightroom Presets Without Losing Your Mind

There’s a specific kind of frustration that hits when you’ve just bought a preset pack, you’re excited to try it, and you cannot for the life of you figure out why nothing is showing up in Lightroom. I’ve watched junior retouchers in my studio spend 20 minutes trying to drag a zip file directly into the presets panel before giving up and asking for help. It’s one of those deceptively small friction points that, left unsolved, quietly discourages people from building the preset libraries that could save them hours every week.

What Peter McKinnon's Workflow Update Video Actually Teaches You About Sustainable Creative Systems

What Peter McKinnon's Workflow Update Video Actually Teaches You About Sustainable Creative Systems

There’s a category of video that looks like a vlog but functions like a masterclass. Peter McKinnon’s update video, Watch the full tutorial on YouTube, falls squarely into that category. On the surface it’s a catch-up: drone giveaway results, fan mail, life updates after a two-week trip to Kenya with World Vision. Underneath, it’s a working demonstration of how a high-output creative keeps multiple project threads alive simultaneously without letting any of them collapse.

Browse, Comp, and Buy Stock Photos Without Leaving Photoshop: The iStock Plugin Workflow

Browse, Comp, and Buy Stock Photos Without Leaving Photoshop: The iStock Plugin Workflow

Stock photo hunting has always been one of those invisible time thieves in my workflow. You’re deep in a comp, you need a hero image, and suddenly you’ve got six browser tabs open, three watermarked downloads cluttering your desktop, and you’ve completely lost your train of thought on the actual design work. Over the years I’ve built systems to compress almost every repetitive task in Photoshop down to keystrokes and actions, but the stock image sourcing step always seemed immune to optimization.

Lightroom Profiles Are the Non-Destructive Edit Layer I Didn't Know I Needed

Lightroom Profiles Are the Non-Destructive Edit Layer I Didn't Know I Needed

I’ve spent fifteen years building systems that save time in post-production. My entire consultancy runs on the idea that repetitive manual steps are the enemy of good work. So when a feature ships inside a tool I use every single day and I completely miss it, that stings a little. That’s what happened with Lightroom Profiles. I’d been clicking past them for weeks before I actually stopped and paid attention.