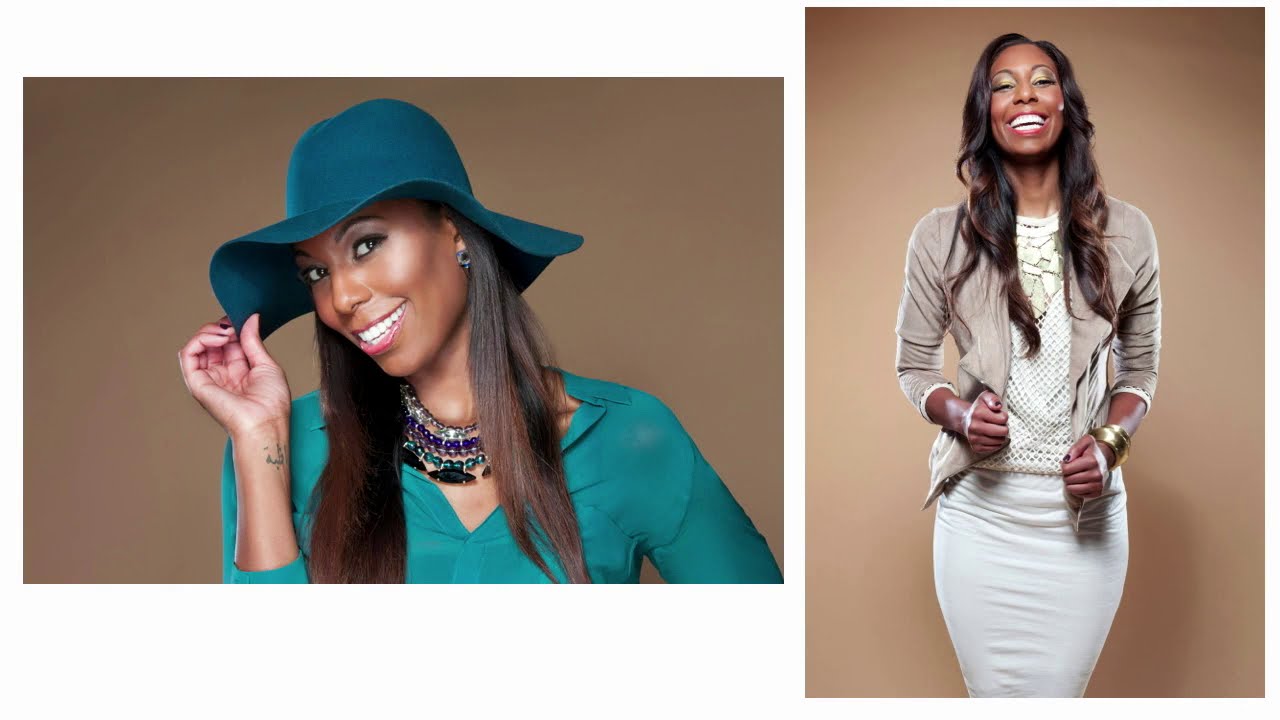
Fifteen years in commercial studios trained me to be precise. Margins, masks, batch queues - everything measured and repeatable. But the work that actually moves clients, the shots that get shared and printed and hung on walls, those almost never come from a technically perfect setup. They come from a moment. And if you’re so locked into correct posing that you miss the moment, you’ve already lost the shot that matters.
That tension between technical control and human spontaneity is exactly what this tutorial addresses. In this CreativeLive tutorial on expression and interaction posing, the instructor makes a point that I wish someone had said to me earlier in my career: a portrait without a great expression is, at best, average. It can be sharp, well-lit, compositionally sound, and still feel like nothing. Expression is the thing. Everything else is in service of it. Watch the full tutorial on YouTube
The walkthrough below pulls out the core techniques in sequence so you can apply them in your next shoot without needing to pause and rewind.
Step 1: Reframe What Your Client Actually Means by “Natural”
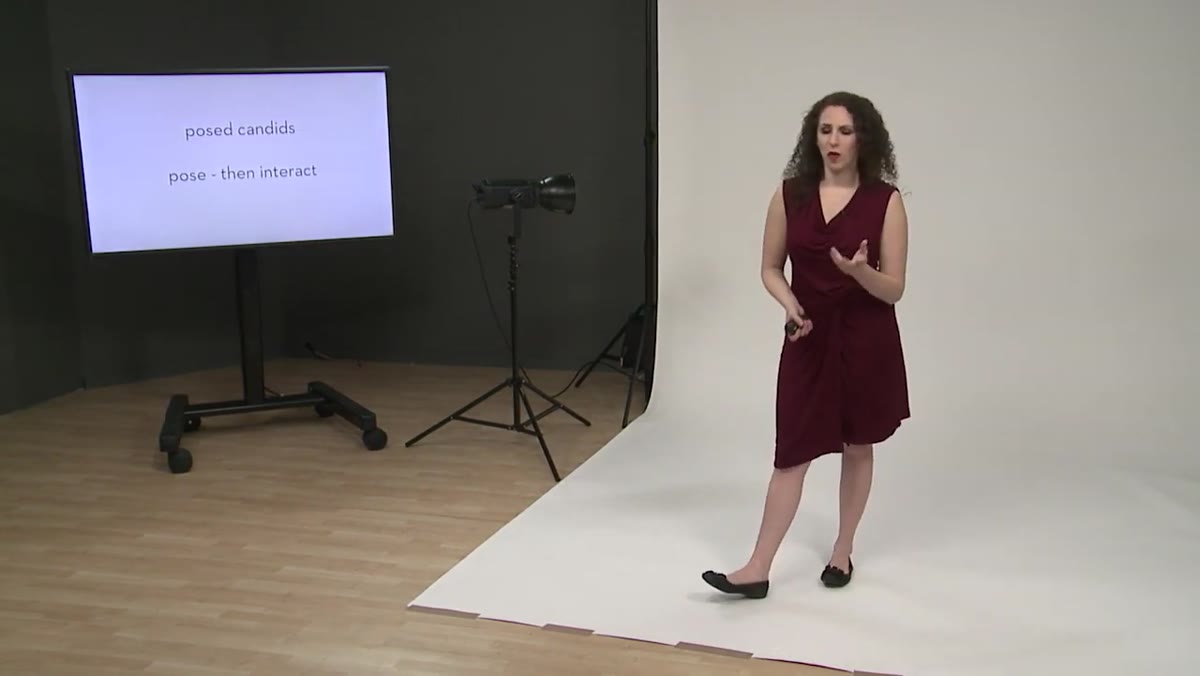 Instructor explaining what clients mean by photojournalistic
When a client says they want “photojournalistic” or “natural” photos, they are not asking you to put the camera down and follow them around hoping something happens. What they’re describing is an emotional result, not a shooting style. They want to look like themselves. They don’t want to look stiff or uncomfortable or like they’re performing for the camera.
Instructor explaining what clients mean by photojournalistic
When a client says they want “photojournalistic” or “natural” photos, they are not asking you to put the camera down and follow them around hoping something happens. What they’re describing is an emotional result, not a shooting style. They want to look like themselves. They don’t want to look stiff or uncomfortable or like they’re performing for the camera.
Practically, this means you need to translate their request before you even pick up your camera. “Natural” for a family session might mean directing the kids toward an activity they actually enjoy, then stepping in to capture real reactions as they unfold. It is directed, not documentary. Your job is to engineer the conditions for genuine feeling, not to wait passively and hope it arrives.
Step 2: Accept That Your Personality Is Part of Your Gear
 Instructor discussing the chameleon quality of portrait photographers
The instructor uses the word “chameleon,” and it’s the right word. The ability to read a subject and shift your energy to match them, or to deliberately contrast it when that gets a better response, matters more to the final image than most technical decisions. What makes one person laugh will make another person clam up. You’re running a quick diagnostic every time you meet a new subject.
Instructor discussing the chameleon quality of portrait photographers
The instructor uses the word “chameleon,” and it’s the right word. The ability to read a subject and shift your energy to match them, or to deliberately contrast it when that gets a better response, matters more to the final image than most technical decisions. What makes one person laugh will make another person clam up. You’re running a quick diagnostic every time you meet a new subject.
Tactics vary. Some photographers joke around until the subject forgets the camera exists. Others use a quick redirection, like telling a kid not to laugh, which works almost every time. The specific method matters less than your willingness to keep experimenting. If your first two approaches aren’t working, try something else. The subject can feel when you’re rigid, and that tension shows up in their face.
Step 3: Pose First, Then Pursue the Candid Moment
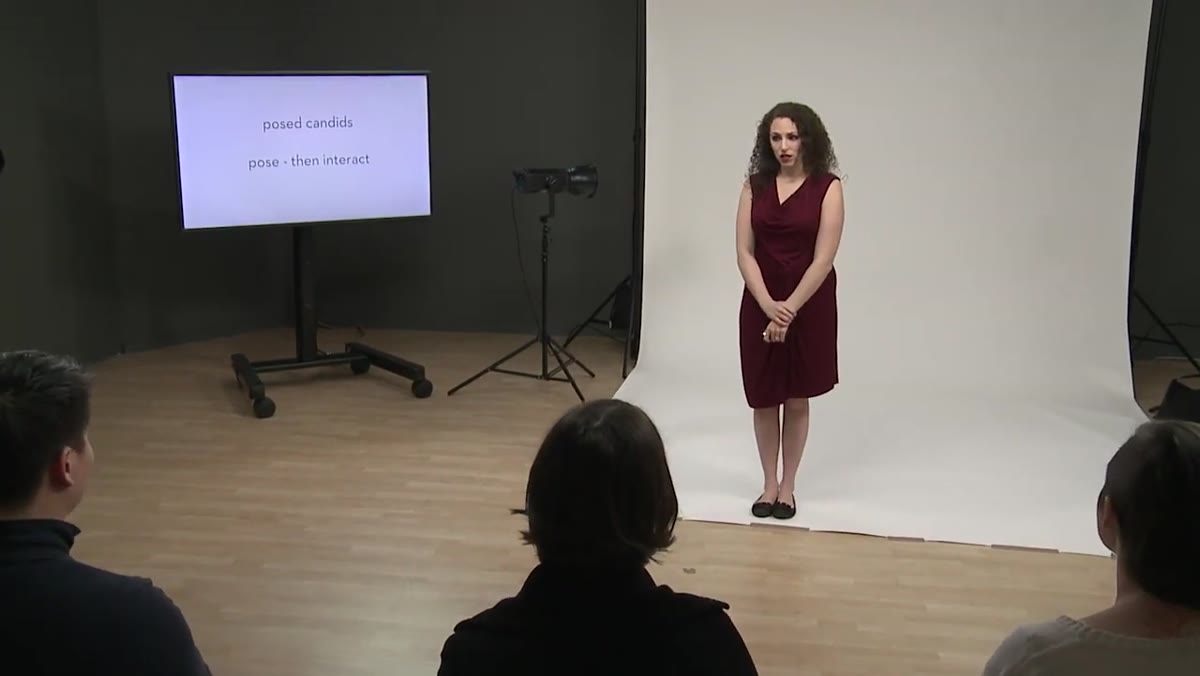 Instructor describing the posed-but-candid approach
Here’s the actual workflow the instructor recommends, and it’s something I’ve come back to repeatedly in client work: start with a pose, then create the conditions for something real to happen inside that pose. You’re not choosing between posed and candid. You’re using the pose as a container and then filling it with genuine interaction.
Instructor describing the posed-but-candid approach
Here’s the actual workflow the instructor recommends, and it’s something I’ve come back to repeatedly in client work: start with a pose, then create the conditions for something real to happen inside that pose. You’re not choosing between posed and candid. You’re using the pose as a container and then filling it with genuine interaction.
This might look like positioning a couple for a frame you like, giving them a direction (look at each other, say something to each other, move closer), and then shooting through what comes next. The resulting frames have good bones technically and real feeling on top. It’s not deceptive, it’s directing.
Step 4: Never Let a Posing Issue Kill a Real Moment
 Instructor cautioning against stopping a moment to fix a pose
This one I had to learn from experience. If something genuine is happening and the pose isn’t perfect, you shoot through it anyway. You do not stop a couple mid-kiss because one person’s elbow is angled wrong. You get the frame, and then you reposition for the next one.
Instructor cautioning against stopping a moment to fix a pose
This one I had to learn from experience. If something genuine is happening and the pose isn’t perfect, you shoot through it anyway. You do not stop a couple mid-kiss because one person’s elbow is angled wrong. You get the frame, and then you reposition for the next one.
The instructor is direct about this: the clients will always favor the shot where they look truly happy over the shot where everything is technically correct. Out of focus, slight double chin, palm facing the wrong way - none of that registers to the client when the expression is right. The technically perfect shot with a flat expression is the one they skip past. Shoot the moment, fix the posing on the next pass.
Step 5: Diagnose Imperfect Poses Without Stopping the Shoot
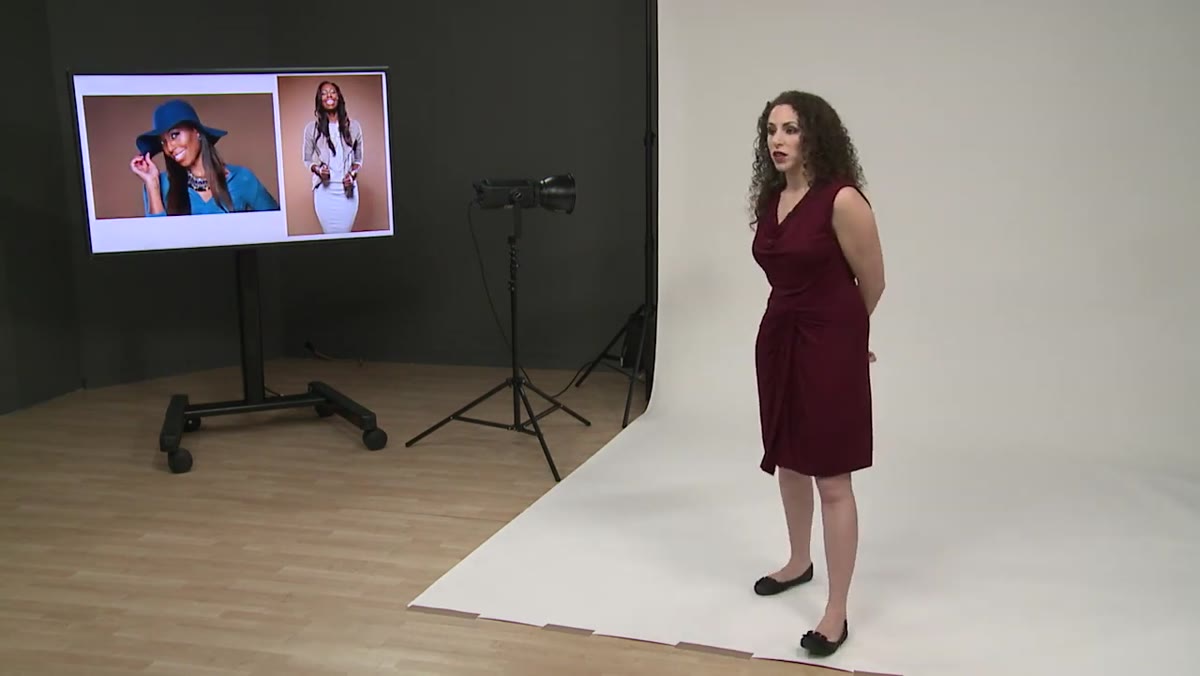 Instructor reviewing images that have genuine expression but minor posing issues
After you’ve captured a real moment, you can review and adjust. The instructor walks through a couple of frames that have minor issues - palm showing too much, hands forming a shape that reads as awkward toward the camera - and notes what she would correct next time. But the key word is “next time.” She didn’t interrupt the shoot to fix them.
Instructor reviewing images that have genuine expression but minor posing issues
After you’ve captured a real moment, you can review and adjust. The instructor walks through a couple of frames that have minor issues - palm showing too much, hands forming a shape that reads as awkward toward the camera - and notes what she would correct next time. But the key word is “next time.” She didn’t interrupt the shoot to fix them.
Build this into your rhythm. Shoot a sequence, take a quick look, note one or two things to adjust, and then apply those adjustments on the next sequence. You’re not stopping to perfect each frame in real time. You’re iterating. Over the course of a session, your posing gets tighter and your subjects stay loose. That’s the goal.
Step 6: Prioritize the Expression, Then Work Backward to the Pose
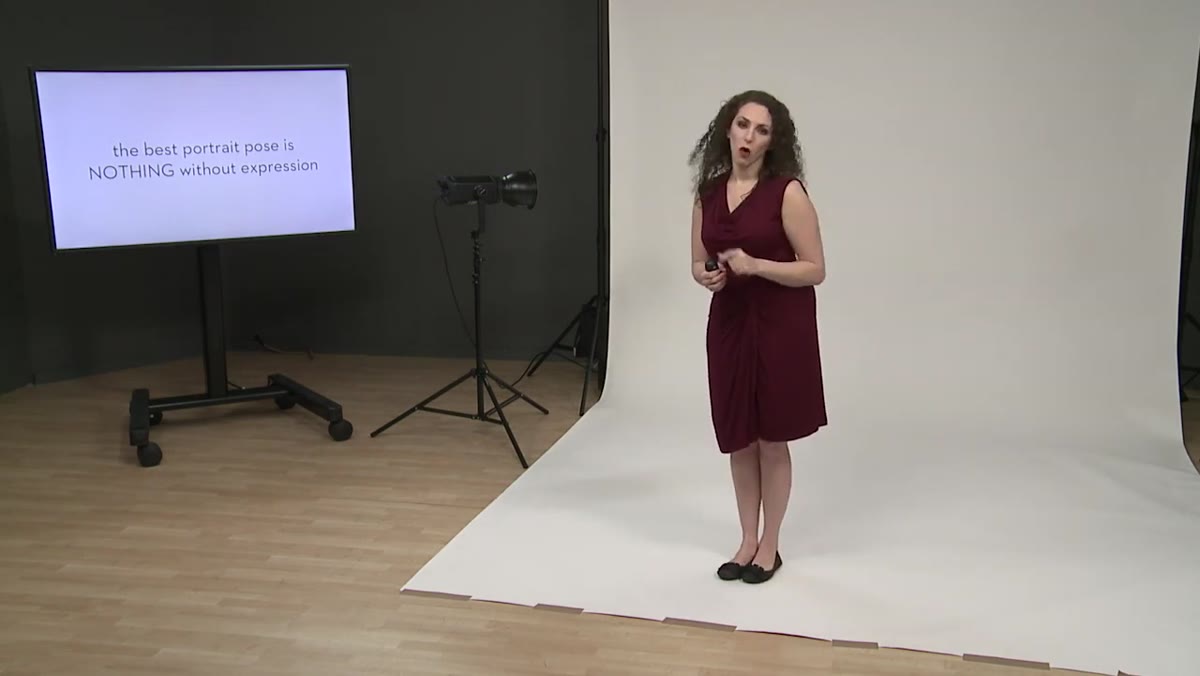 Instructor explaining that expression elevates an otherwise average portrait
The final principle is really the organizing principle of the whole tutorial: expression is the ceiling of your portrait. A good pose with a flat expression is still a flat portrait. A slightly imperfect pose with a real, warm, alive expression is the shot the client frames and puts on their wall.
Instructor explaining that expression elevates an otherwise average portrait
The final principle is really the organizing principle of the whole tutorial: expression is the ceiling of your portrait. A good pose with a flat expression is still a flat portrait. A slightly imperfect pose with a real, warm, alive expression is the shot the client frames and puts on their wall.
Use posing to reduce the odds of anything unflattering appearing in the frame. Use expression work to guarantee that what appears in the frame actually connects with whoever looks at the photo. The posing is defensive. The expression work is what wins.
How This Translates to Post-Production Workflow
Something I’ve noticed working with ad agencies and e-commerce clients is that this principle extends into retouching. We spend a lot of time in the edit correcting technically imperfect frames because the expression in those frames is irreplaceable. A slightly off-white balance can be fixed. A slight motion blur can sometimes be sharpened. But if the only smiling frame from a product lifestyle shoot has the model’s hand turned awkwardly toward camera, we’re retouching that hand rather than going back to re-shoot. Expression locks in during the session. Posing corrections happen later.
This is worth keeping in mind when you’re culling. Don’t discard a frame purely on posing grounds without first asking whether the expression in that frame exists anywhere else in the set. Often it doesn’t.
The single most important thing this tutorial communicates is something deceptively simple: clients choose emotion over perfection, every time. If you understand that, you stop optimizing for the technically flawless shot and start optimizing for the one that makes someone feel something. Build your posing skills so they become fast and intuitive, and then point your real attention at the expression - because that’s where the photo either works or it doesn’t.
Watch the full tutorial on YouTube for the complete breakdown, including live examples of the posed-candid technique in action.
Comments
Leave a Comment