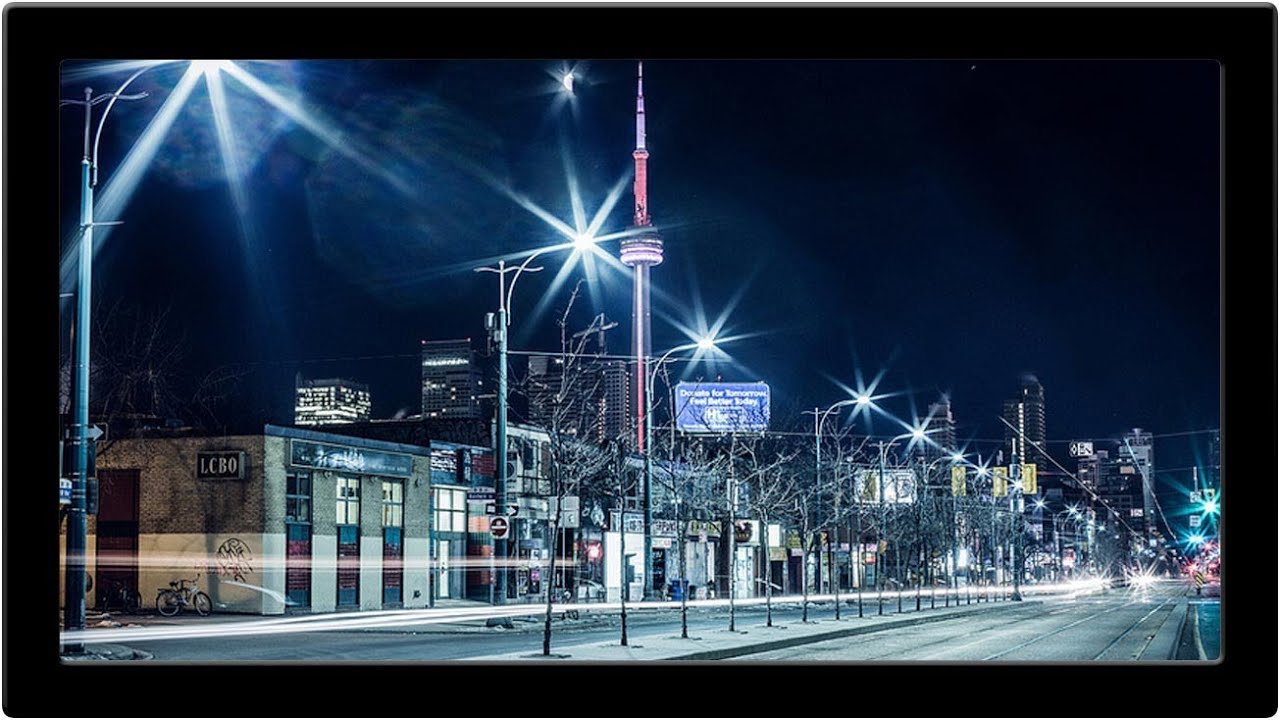
Anyone who has delivered location photography to an ad agency knows the sinking feeling: you get back to your desk, open the raw files, and there’s a power line cutting straight through the hero shot. Or a parking sign. Or a stray person in the background of what was supposed to be a clean architectural image. These aren’t artistic problems. They’re time problems. Every minute spent cloning and healing manually is a minute you’re not billing for, and the cumulative drag on a busy retouching day is real.
In this Aaron Nace (PHLEARN) tutorial, the focus is the Content-Aware Patch Tool - a Photoshop feature that most people know exists but far fewer use correctly. Watch the full tutorial on YouTube and follow along below. What separates this tool from the standard Healing Brush or Clone Stamp isn’t just its intelligence - it’s that you can run it on a separate, blank layer. That single detail changes the entire retouching workflow from destructive guesswork to something you can iterate, mask, and throw away if needed. For anyone building repeatable processes around their post-production, that non-destructive flexibility is the whole ballgame.
I want to walk through exactly how Aaron sets this up, because the tool options matter more than most tutorials admit. Get them wrong and you’ll spend ten minutes wondering why the patch keeps failing on a blank layer.
Step 1: Locate the Patch Tool in the Toolbar
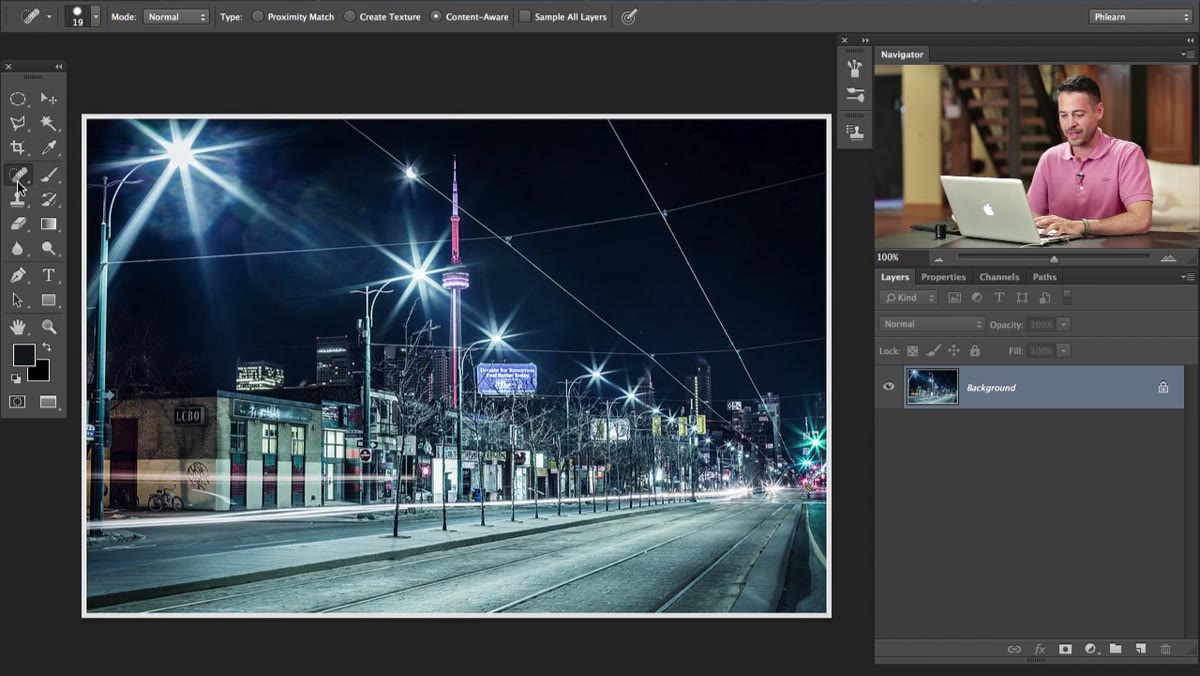 Photoshop toolbar with patch tool highlighted in panel
The Patch Tool lives in the same toolbar group as the Spot Healing Brush - look for the bandage icon. If you’re seeing the Spot Healing Brush by default, click and hold on that icon to reveal the flyout menu, then select the Patch Tool from the list. This is a small thing, but new users waste time hunting for it because the toolbar only shows one icon from each group at a time.
Photoshop toolbar with patch tool highlighted in panel
The Patch Tool lives in the same toolbar group as the Spot Healing Brush - look for the bandage icon. If you’re seeing the Spot Healing Brush by default, click and hold on that icon to reveal the flyout menu, then select the Patch Tool from the list. This is a small thing, but new users waste time hunting for it because the toolbar only shows one icon from each group at a time.
Note that this is only relevant for Photoshop CS6 and later. If you’re on an older version, the Content-Aware mode simply won’t appear as an option, and you’ll need to rely on the standard Patch Tool behavior instead.
Step 2: Switch the Patch Mode to Content-Aware
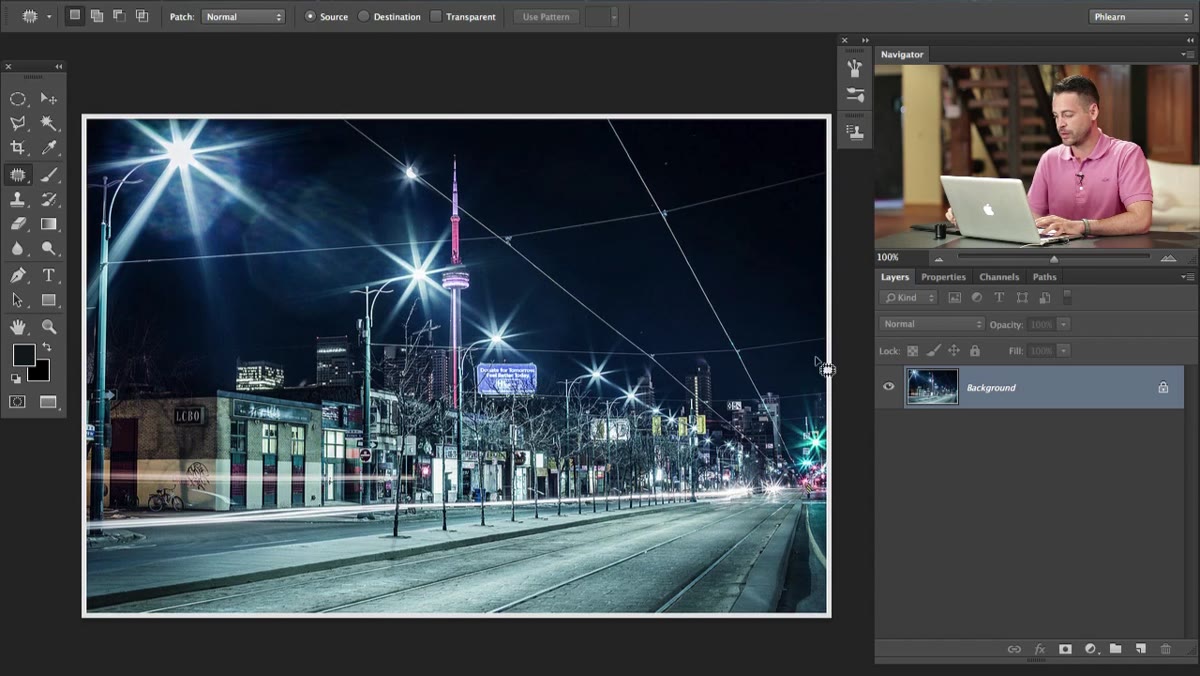 Options bar showing patch mode dropdown set to Content-Aware
With the Patch Tool active, look at the options bar across the top of the screen. There’s a dropdown that likely reads “Normal” by default. Change this to “Content-Aware.” This is the step most people miss, and it’s the reason the tool behaves completely differently from the version you may have tried and given up on before.
Options bar showing patch mode dropdown set to Content-Aware
With the Patch Tool active, look at the options bar across the top of the screen. There’s a dropdown that likely reads “Normal” by default. Change this to “Content-Aware.” This is the step most people miss, and it’s the reason the tool behaves completely differently from the version you may have tried and given up on before.
In Normal mode, the Patch Tool cannot sample from other layers - it only works on pixels that exist on the layer you’re editing. Content-Aware mode unlocks the “Sample All Layers” checkbox, which is what makes the non-destructive workflow possible.
Step 3: Enable “Sample All Layers” and Create a Blank Layer
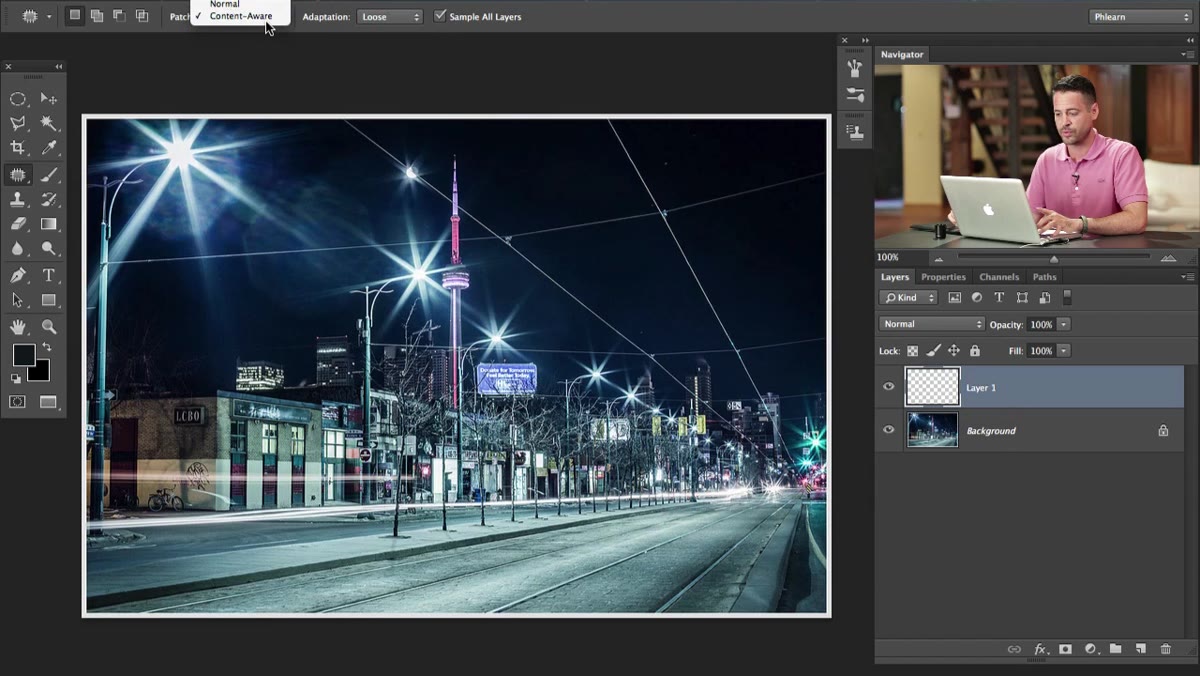 Options bar with Sample All Layers checkbox checked
Once you’re in Content-Aware mode, check the “Sample All Layers” box in the options bar. Now create a new, empty layer above your image layer. This is the layer you’ll be patching onto. The tool will read pixel data from every layer below - including your original photo - but it will write its output only to the blank layer you’ve created.
Options bar with Sample All Layers checkbox checked
Once you’re in Content-Aware mode, check the “Sample All Layers” box in the options bar. Now create a new, empty layer above your image layer. This is the layer you’ll be patching onto. The tool will read pixel data from every layer below - including your original photo - but it will write its output only to the blank layer you’ve created.
The practical upside here is significant. If the patch looks off, you delete the layer and try again. You never touch the original. If a client calls back three weeks later wanting a different crop that reveals the power line you removed, your source file is untouched. For anyone running a studio or consultancy, this kind of file hygiene isn’t optional - it’s professional practice.
Step 4: Set the Adaptation Level to Medium
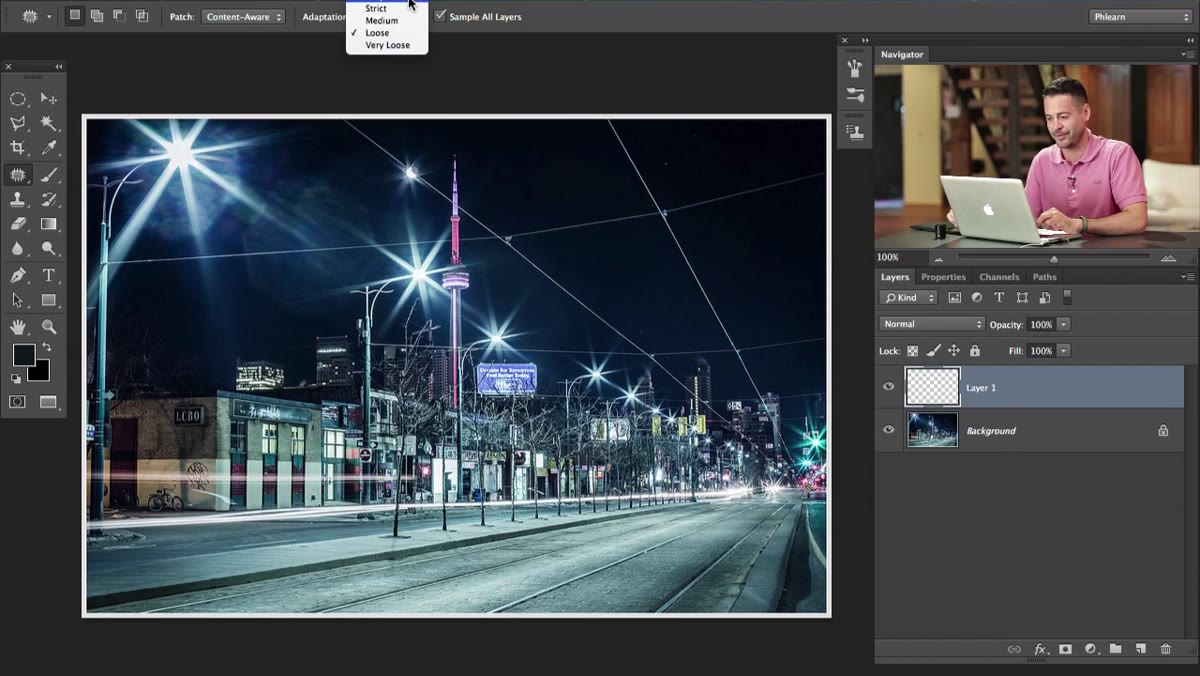 Options bar showing Adaptation dropdown set to Medium
The Adaptation dropdown controls how aggressively Photoshop tries to blend the patched area with the surrounding pixels. The range runs from Very Loose to Very Strict. Loose settings allow more variation, which can produce smearing or inconsistency. Strict settings force a tighter match, which can cause visible seams if the textures aren’t uniform.
Options bar showing Adaptation dropdown set to Medium
The Adaptation dropdown controls how aggressively Photoshop tries to blend the patched area with the surrounding pixels. The range runs from Very Loose to Very Strict. Loose settings allow more variation, which can produce smearing or inconsistency. Strict settings force a tighter match, which can cause visible seams if the textures aren’t uniform.
Medium is the right default for most real-world situations - complex skies, textured walls, foliage, or any surface that isn’t perfectly flat. You can experiment up or down from there once you understand how the tool responds, but Medium keeps you out of trouble on a first pass.
Step 5: Draw a Selection Around the Distraction
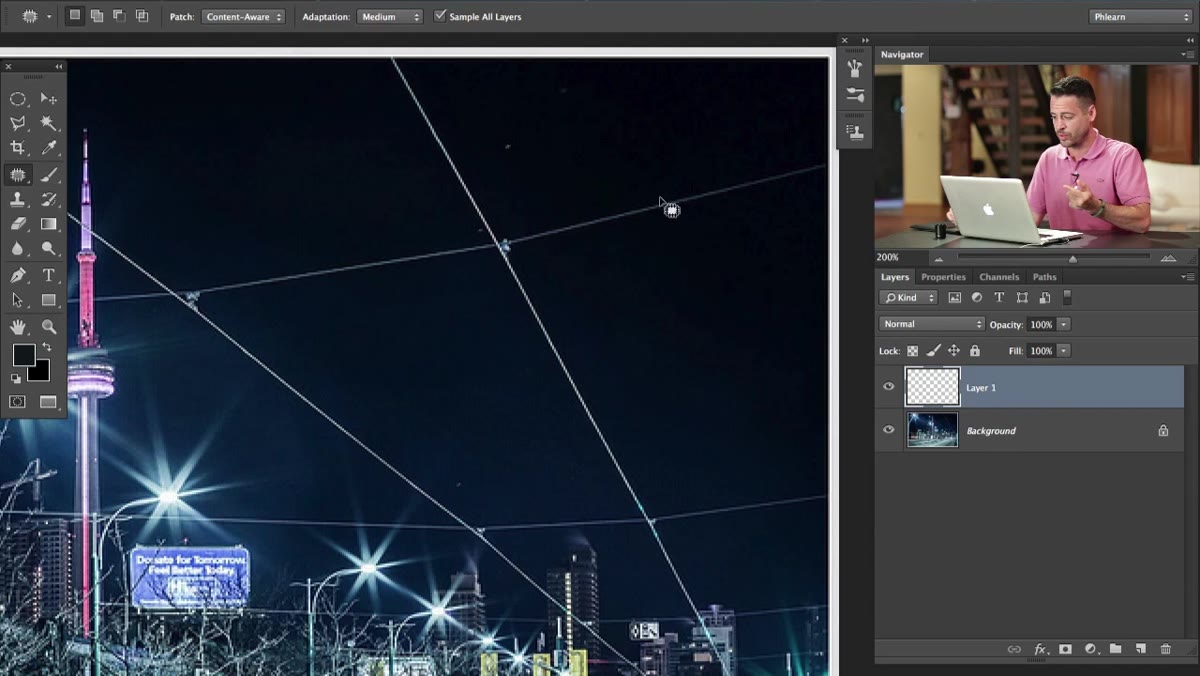 Lasso-style selection drawn around a horizontal power line
With your blank layer selected in the Layers panel, draw a freehand selection around the element you want to remove. The Patch Tool uses a lasso-style selection - just click and drag around the problem area. Keep the selection reasonably tight to the object, but don’t try to trace it exactly. A little breathing room on all sides gives the algorithm enough context to rebuild the texture properly.
Lasso-style selection drawn around a horizontal power line
With your blank layer selected in the Layers panel, draw a freehand selection around the element you want to remove. The Patch Tool uses a lasso-style selection - just click and drag around the problem area. Keep the selection reasonably tight to the object, but don’t try to trace it exactly. A little breathing room on all sides gives the algorithm enough context to rebuild the texture properly.
One important note from Aaron’s workflow: don’t try to remove a long power line or cable in one giant selection. Break it into segments. Smaller selections give the tool a more manageable sampling area, and the results are consistently cleaner than trying to do the whole line in one drag.
Step 6: Drag the Selection to a Clean Sample Area
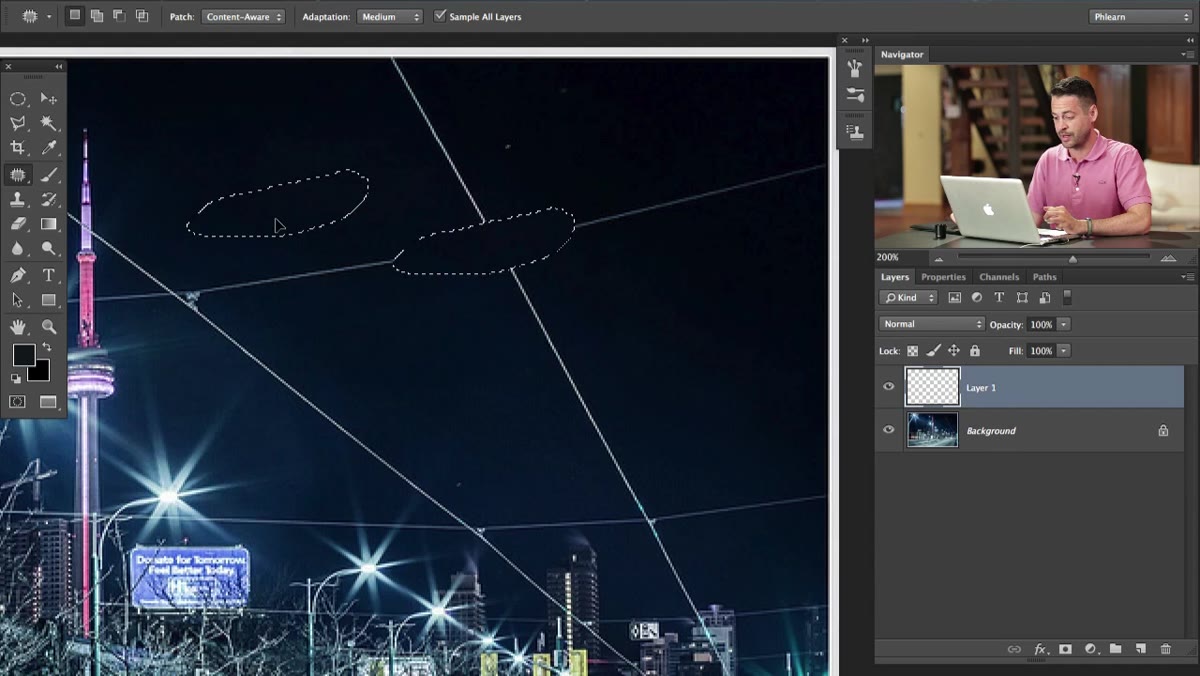 Selection being dragged from power line toward clean sky area
Once your selection is drawn, click inside it and drag it toward a part of the image that represents what you want to replace the distraction with. For a power line against sky, drag toward clean, uninterrupted sky. Release the mouse and Photoshop rebuilds the selected area using that sampled region as a reference.
Selection being dragged from power line toward clean sky area
Once your selection is drawn, click inside it and drag it toward a part of the image that represents what you want to replace the distraction with. For a power line against sky, drag toward clean, uninterrupted sky. Release the mouse and Photoshop rebuilds the selected area using that sampled region as a reference.
The result isn’t always perfect on the first attempt. Sometimes you’ll get a slight tonal shift or a subtle smear at the edge. When that happens, press Command+Z (Control+Z on PC) to undo, then redraw the selection slightly differently and try again. The tool is fast enough that two or three attempts per segment is still far quicker than any manual cloning approach.
A Note on Stacking This Into a Real Workflow
After 15 years of running shoots through post-production pipelines, my honest take is that the Content-Aware Patch Tool earns its place as a first-pass distraction removal tool - not a final one. For product photography with perfectly controlled backgrounds, it handles 80% of cleanup work without any follow-up. For complex location shots with busy backgrounds or subjects that overlap the distraction, plan to finish with a Healing Brush or Clone Stamp on a second correction layer after the patch is done.
The non-destructive layer approach Aaron demonstrates is the key habit to build here. Keeping patches on their own layers means you can group them, label them, mask individual ones, or wipe the slate clean without consequence. I’d go one step further and name each correction layer by what it removed - “power line left,” “sign top right” - so that six months later, when you reopen the file, the layer stack tells the story of every decision you made.
The single most important thing this tutorial demonstrates isn’t the algorithm - it’s the setup. Content-Aware mode plus Sample All Layers plus a blank target layer is the combination that makes this tool genuinely usable in a professional context. Get those three settings right before you draw a single selection.
Watch the full tutorial on YouTube to see Aaron walk through a real image with multiple power lines and demonstrate how the tool preserves intersecting details that you’d expect it to destroy.
Comments
Leave a Comment