Lightroom Preset Tips You Probably Haven't Thought About (But Should)

Lightroom Preset Tips You Probably Haven't Thought About (But Should)

I keep a spreadsheet of the hours my automated workflows have saved me. Over 2,400 hours at last count. That number didn’t happen by accident. It happened because I’ve spent years paying attention to the small details that most people skip past, the kind of thing you notice when you’re processing hundreds of images for an e-commerce client and one weird behavior in your software costs you twenty minutes of confused clicking.

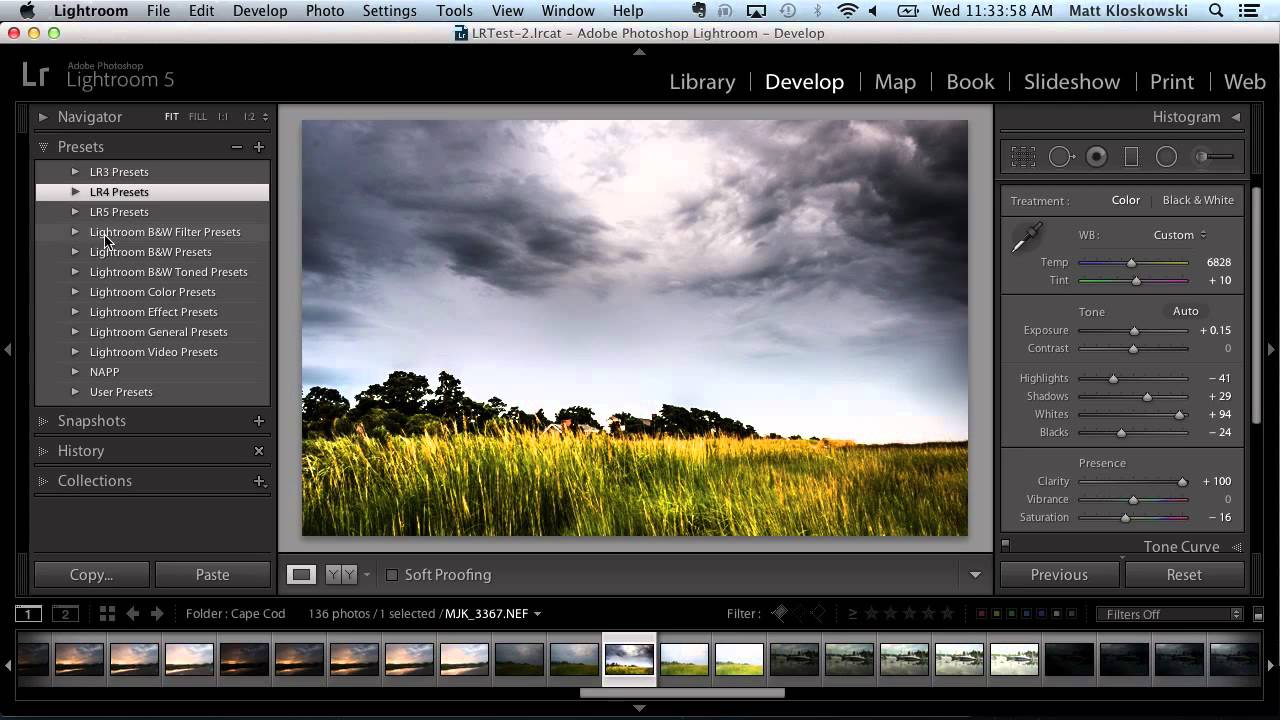
How to Install and Organize Lightroom Presets Without Losing Your Mind

How to Install and Organize Lightroom Presets Without Losing Your Mind

If you’ve ever handed a client a gallery and thought “I wish every shot had that look baked in from the start,” presets are the answer. The problem isn’t finding presets. The problem is that the installation process trips people up every single time, usually at the worst moment, right before a deadline. I’ve watched junior retouchers in my studio waste twenty minutes trying to drag a zip file directly into Lightroom and wondering why nothing happened.

Clean Skies, No Excuses: Removing Distractions in ON1 Photo RAW the Right Way

Clean Skies, No Excuses: Removing Distractions in ON1 Photo RAW the Right Way

I have a bad habit of not cleaning my sensor often enough. Fifteen years of commercial work and I still catch myself delivering a first round of selects to an ad agency only to get an email back with a screenshot circled in red: “What’s that blob in the sky?” Every photographer I know has a version of that story. The frustrating part is that most of those dust spots are invisible at shooting apertures and only reveal themselves when you shoot at f/11 or tighter for a landscape.

How to Build a Signature Lightroom Preset That Actually Holds Up Across Your Entire Shoot

How to Build a Signature Lightroom Preset That Actually Holds Up Across Your Entire Shoot

Most photographers build presets the wrong way. They chase a look on one hero image, save it, and then discover it turns every other photo into a color disaster. I spent years doing exactly that before I got disciplined about the order of operations. When I came across Watch the full tutorial on YouTube from Mango Street, what struck me wasn’t the specific look they were going for. It was the sequence.

Clean Up Your Lightroom Develop Module in 5 Moves (Scott Kelby's Workflow Tips, Expanded)

Clean Up Your Lightroom Develop Module in 5 Moves (Scott Kelby's Workflow Tips, Expanded)

Every hour I spend scrolling through panels I don’t use is an hour I’m not billing. After 15 years running post-production for ad agencies and e-commerce brands, I still run into photographers who are white-knuckling it through a default Lightroom interface that was never configured for the way they actually work. The software ships with everything turned on, which sounds generous until you realize you’re hunting through six modules you’ve never opened and scrolling past panels you’ll never touch.

Lightroom's Advanced Healing Brush: The Freeform Retouching Tool That Changes How You Work

Lightroom's Advanced Healing Brush: The Freeform Retouching Tool That Changes How You Work

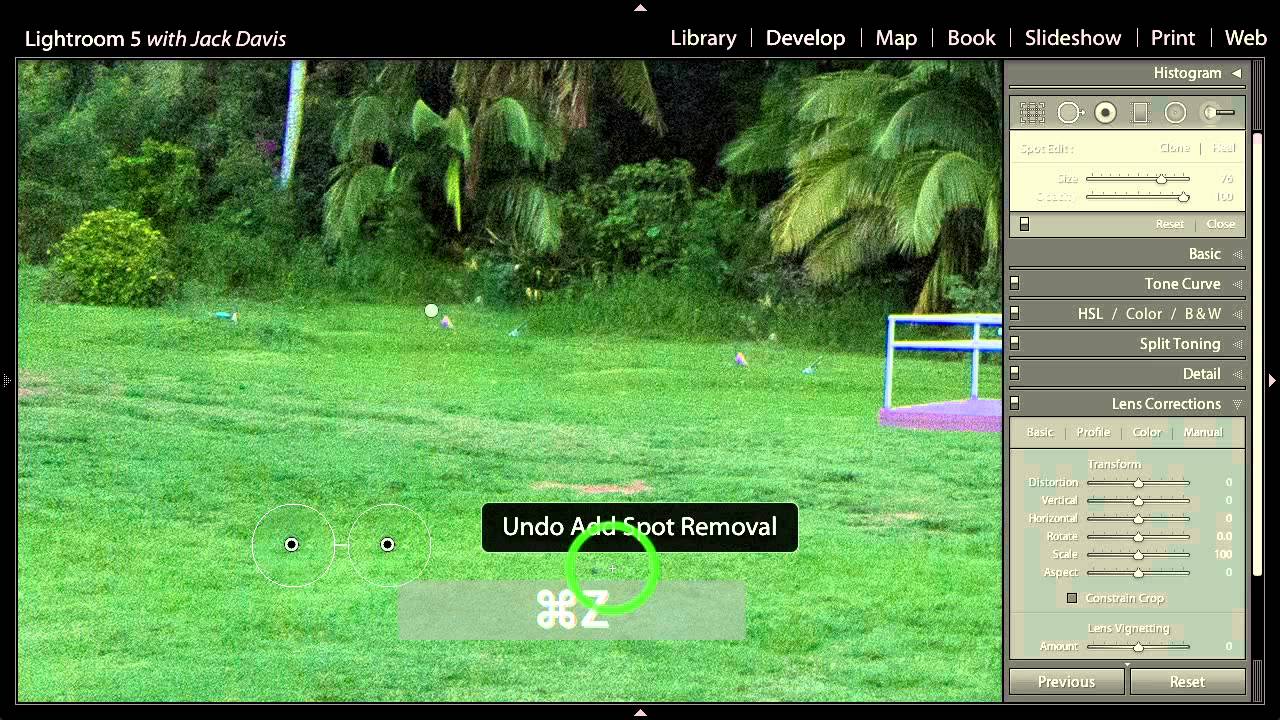
Real estate, product, and portrait work all share one common post-production headache: removing things that shouldn’t be there. Power lines. Lawn debris. Shadows under eyes. For years, my go-to move was to handle all of that in Photoshop, which meant breaking my Lightroom-first workflow every time a client needed a clean sky or a smoother complexion. I kept that exit ramp open because I didn’t trust Lightroom’s healing tools to handle anything more complex than a dust spot.

Build a Lightroom Preset From Scratch: The Mango Street Workflow Decoded

Build a Lightroom Preset From Scratch: The Mango Street Workflow Decoded

Most Lightroom presets are black boxes. You click apply, something happens, and you have no idea whether it’s going to hold up across your next shoot or fall apart the moment your lighting changes. That’s a real problem in production work. I’ve spent years building systems for clients who need consistent color across hundreds of images, and the fastest way to waste time is to rely on a preset you don’t actually understand.

Lightroom's AI Masks Just Made Presets Actually Worth Using

Lightroom's AI Masks Just Made Presets Actually Worth Using

I’ve been skeptical of presets for most of my career. Not because they don’t work, but because they work until they don’t. You build a beautiful sky treatment, save it as a preset, apply it to the next landscape, and then spend five minutes dragging gradients around to make it fit a completely different horizon line. At that point you’ve burned half the time you were trying to save. For high-volume work, that friction adds up fast.

Before the Camera Comes Out: What a New Zealand Wilderness Shoot Teaches Us About Photographic Workflow

Before the Camera Comes Out: What a New Zealand Wilderness Shoot Teaches Us About Photographic Workflow

There’s a version of photography workflow that lives entirely inside a computer. Batch actions, export presets, color grading pipelines. That’s most of what I think about in my day job. But every so often I watch something that reminds me that the most important part of the workflow happens before you ever open Photoshop. In this William Patino tutorial filmed in Fiordland National Park, New Zealand, William walks through the complete end-to-end process of a serious landscape shoot: the map research, the multi-hour hike through boggy rainforest, the scouting decisions made on the fly when the terrain doesn’t match the map.

Lightroom's Density Slider Is Not What You Think (And That's the Point)

Lightroom's Density Slider Is Not What You Think (And That's the Point)

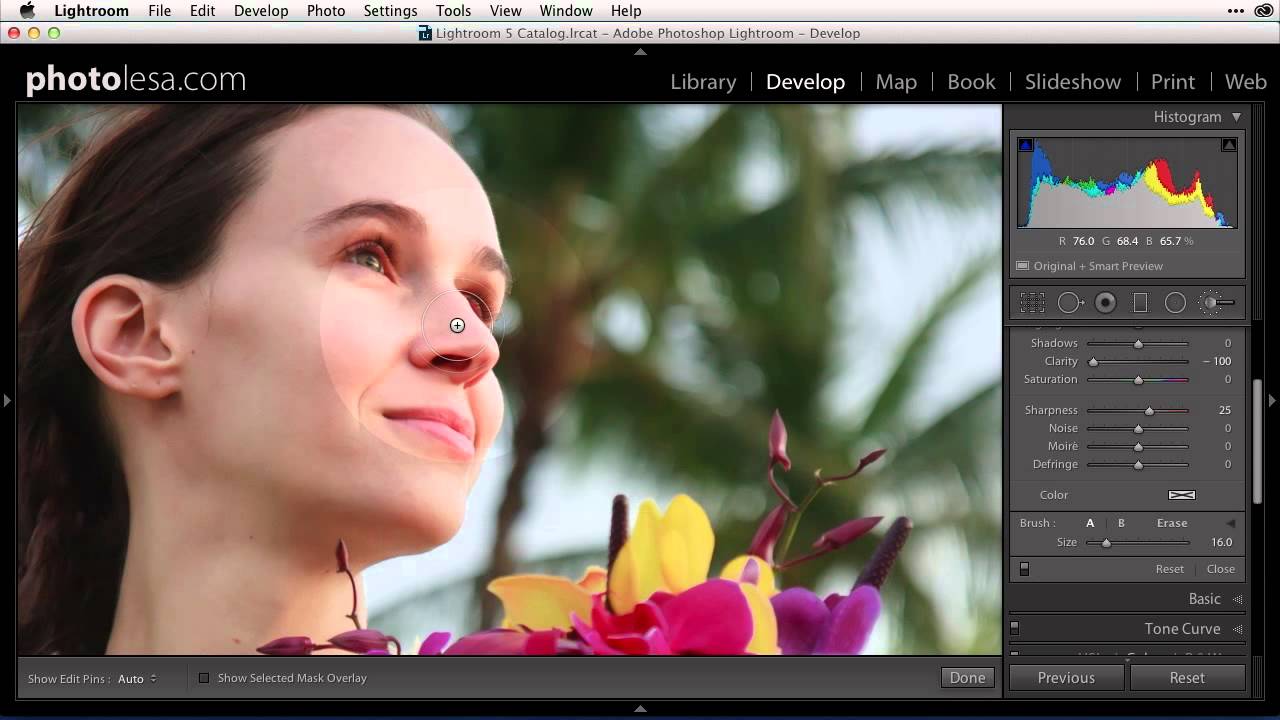
There’s a specific kind of frustration that comes from knowing exactly what you want a tool to do and feeling like it’s fighting you. I ran into this with Lightroom’s Adjustment Brush embarrassingly late in my career. I’d spent years in Photoshop building actions, dialing in brush opacity and flow to get precise, repeatable results on skin, product surfaces, backgrounds. Then I’d jump into Lightroom for a raw edit and the Adjustment Brush would just feel… blunt.

Generative Fill vs. Content-Aware Fill: A Working Photographer's Guide to Removing Distractions in Photoshop

Generative Fill vs. Content-Aware Fill: A Working Photographer's Guide to Removing Distractions in Photoshop

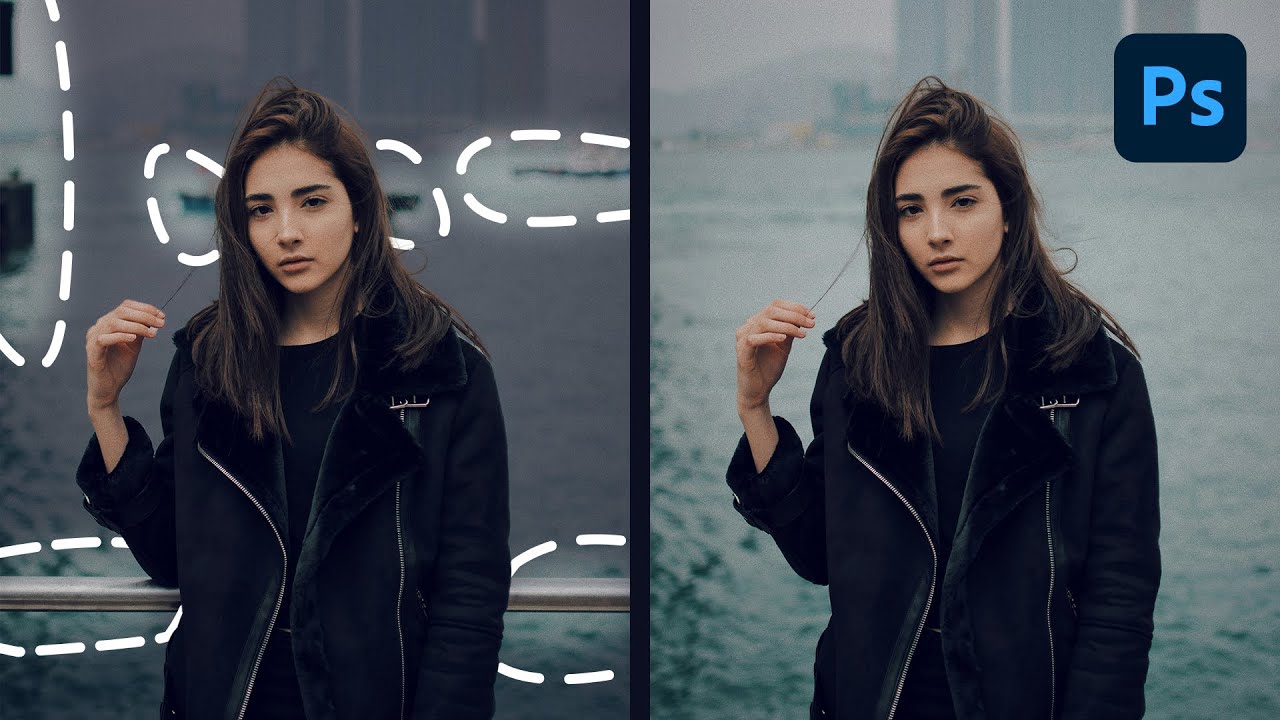
Distraction removal is one of those tasks that sounds simple until you’re staring at a client’s hero shot with a rogue piece of equipment cutting through an otherwise clean frame. I’ve been in that position more times than I can count, and the solution has changed dramatically over the last few years. What used to require careful cloning, patch work, and a lot of crossed fingers has become something closer to a creative decision than a technical grind.

Presets Aren't Shortcuts — They're a Thinking Tool (Here's How to Use Them That Way)

Presets Aren't Shortcuts — They're a Thinking Tool (Here's How to Use Them That Way)

I’ll be honest with you. Early in my commercial work, I treated presets the way a lot of people do: click, hope, move on. I bought packs, applied them wholesale to client images, and wondered why the results felt borrowed rather than intentional. It took a few years of production pressure, and eventually watching people who actually knew what they were doing, to understand that presets are a diagnostic tool first and a finishing tool second.