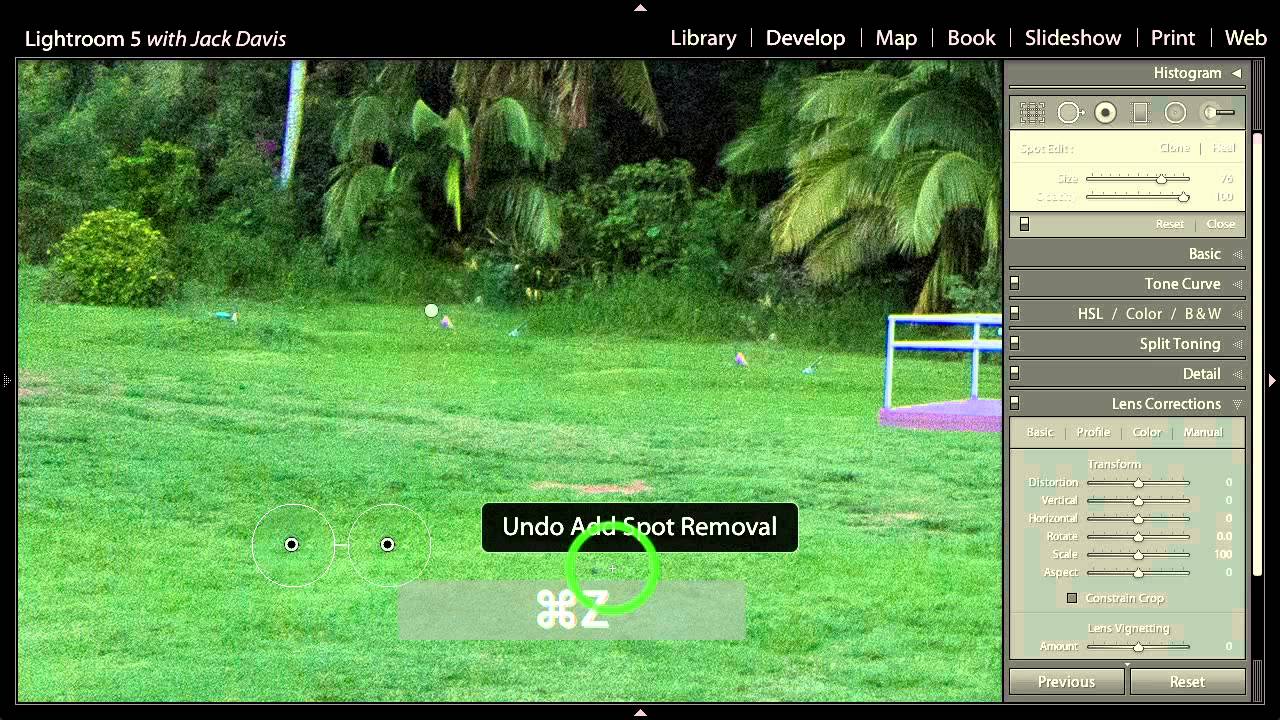
Real estate, product, and portrait work all share one common post-production headache: removing things that shouldn’t be there. Power lines. Lawn debris. Shadows under eyes. For years, my go-to move was to handle all of that in Photoshop, which meant breaking my Lightroom-first workflow every time a client needed a clean sky or a smoother complexion. I kept that exit ramp open because I didn’t trust Lightroom’s healing tools to handle anything more complex than a dust spot. That changed when I sat down with this CreativeLive tutorial on the Advanced Healing Brush in Lightroom 5. Watch the full tutorial on YouTube
What the tutorial’s instructor demonstrates is that the Advanced Healing Brush isn’t just an upgraded spot tool. It’s a freeform retouching instrument with enough control to handle irregular shapes, straight-line repairs, and blending nuance. For anyone who processes a high volume of images and wants to stay inside one application as long as possible, this is worth learning properly.
Step 1: Understand What the Basic Click Still Does
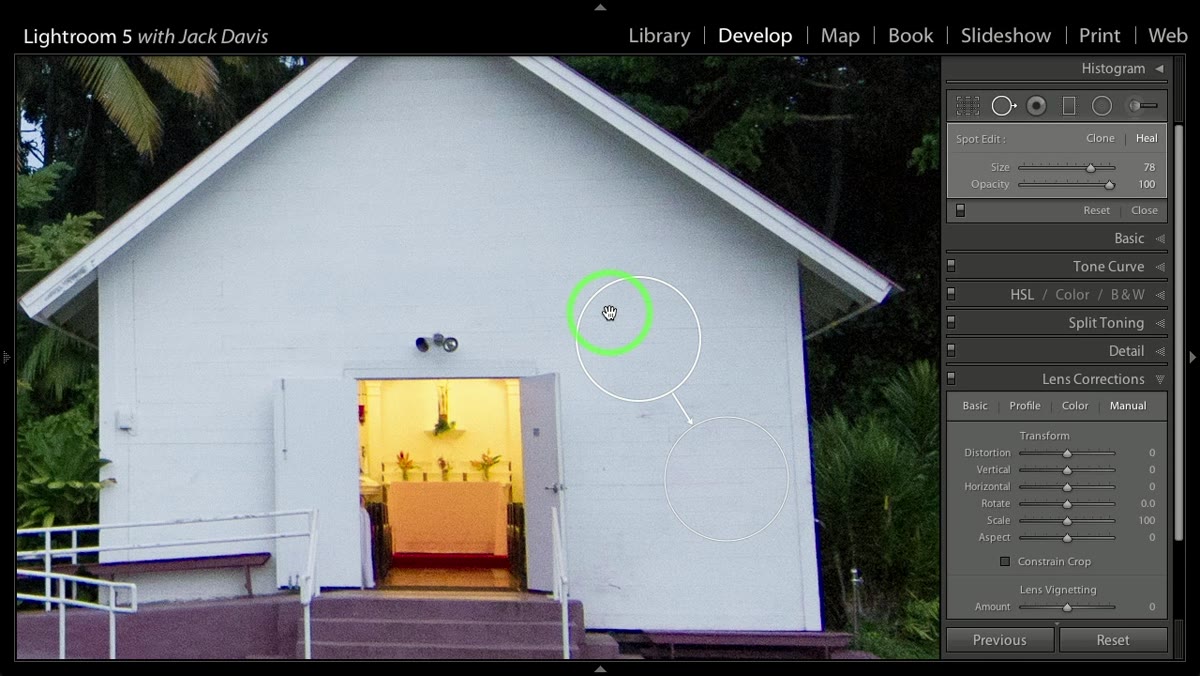 Single click spot heal with source repositioning shown
Before getting into the advanced features, it helps to confirm what the brush has always been able to do. A single click places a heal point, and Lightroom automatically selects a nearby source area to sample from. If the automatic selection is wrong, you can click and drag that source pin to a better location manually. This is still useful for simple dust spots or isolated blemishes, and it’s the foundation everything else builds on. Get comfortable with dragging the source pin before moving forward.
Single click spot heal with source repositioning shown
Before getting into the advanced features, it helps to confirm what the brush has always been able to do. A single click places a heal point, and Lightroom automatically selects a nearby source area to sample from. If the automatic selection is wrong, you can click and drag that source pin to a better location manually. This is still useful for simple dust spots or isolated blemishes, and it’s the foundation everything else builds on. Get comfortable with dragging the source pin before moving forward.
Step 2: Paint Freeform Selections for Irregular Areas
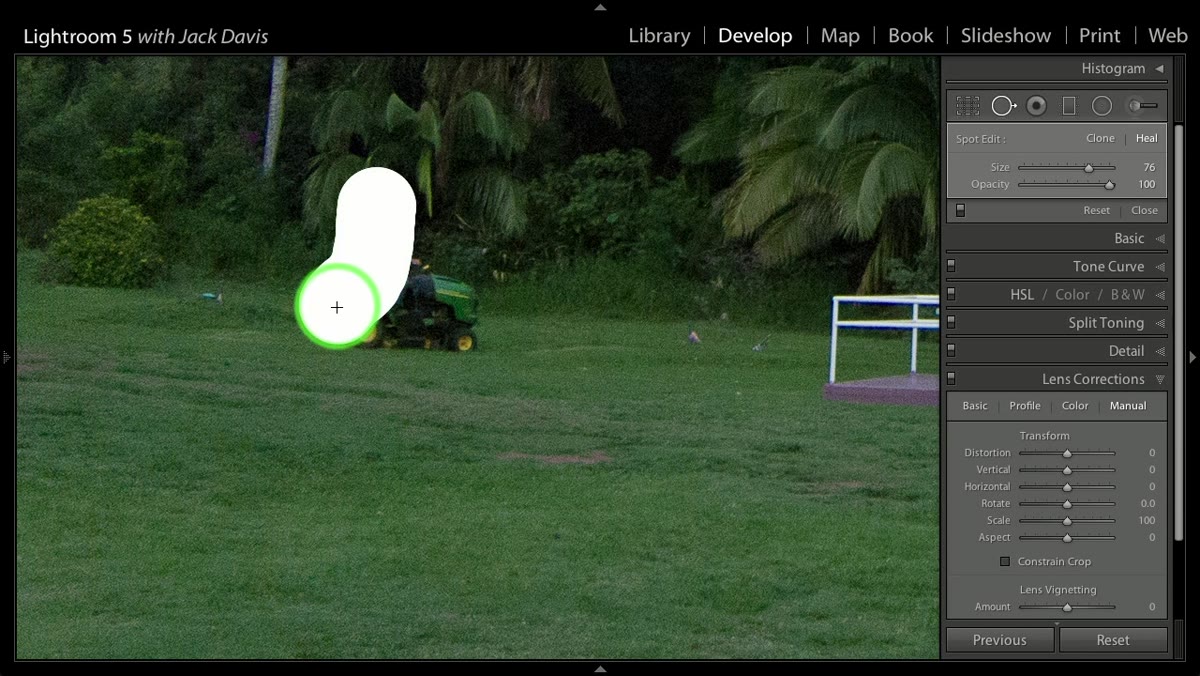 Freeform brush stroke drawn over irregular area
This is where the Advanced Healing Brush earns its name. Instead of clicking a single point, you click and drag to paint a freeform selection over any shape you need to remove. This matters enormously for anything that isn’t a perfect circle. Think of a stray branch cutting across a clean background, or an uneven patch of shadow on a lawn. You paint the shape you need, and Lightroom generates a matching source region automatically. The instructor demonstrates this on a wood-slat surface, where getting the texture to align is non-negotiable. The freeform approach lets you trace the exact problem area rather than approximating it with a circle.
Freeform brush stroke drawn over irregular area
This is where the Advanced Healing Brush earns its name. Instead of clicking a single point, you click and drag to paint a freeform selection over any shape you need to remove. This matters enormously for anything that isn’t a perfect circle. Think of a stray branch cutting across a clean background, or an uneven patch of shadow on a lawn. You paint the shape you need, and Lightroom generates a matching source region automatically. The instructor demonstrates this on a wood-slat surface, where getting the texture to align is non-negotiable. The freeform approach lets you trace the exact problem area rather than approximating it with a circle.
Step 3: Use the Forward Slash Key to Cycle Through Source Options
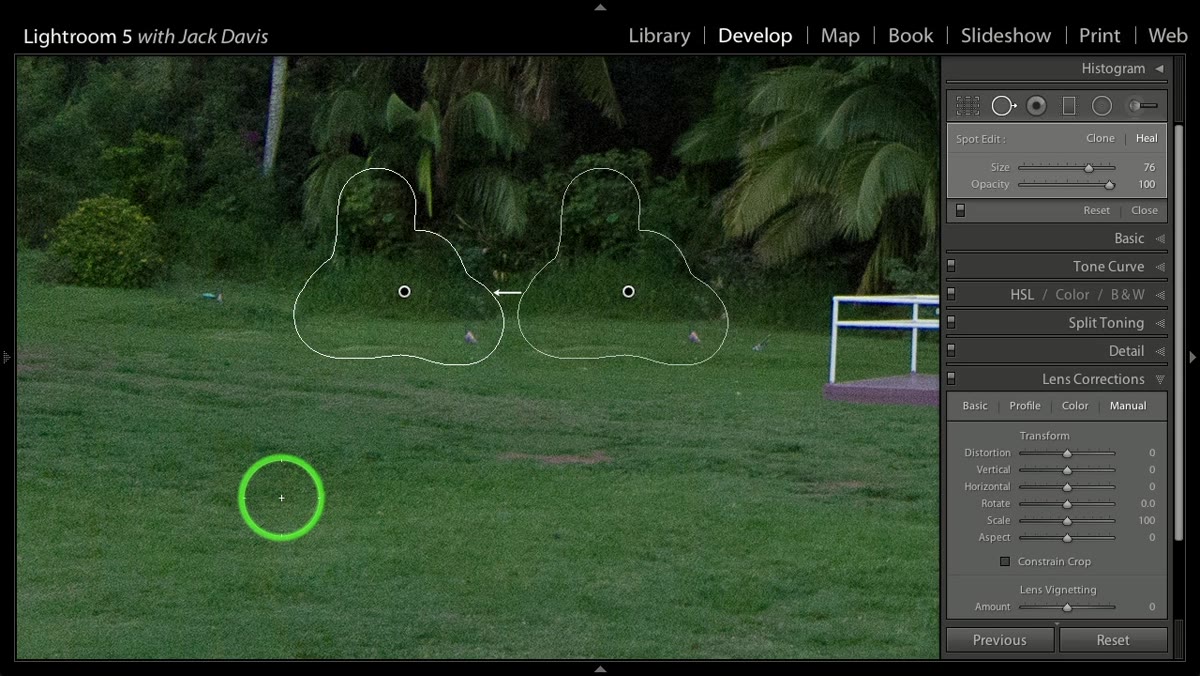 Forward slash key cycling source region selection
Once you’ve painted your selection, Lightroom picks a source area. If it picks badly, you don’t have to manually drag the pin. The forward slash key tells Lightroom to guess again, pulling a different source region from elsewhere in the image. You can tap it repeatedly until you get a result that works. On textured surfaces especially, this is faster than hunting for the right spot manually. The instructor is honest that results vary, which matches my experience. Sometimes Lightroom nails it on the second guess. Sometimes you’ll tap six times and then drag the pin yourself anyway. But starting with the slash key almost always saves time.
Forward slash key cycling source region selection
Once you’ve painted your selection, Lightroom picks a source area. If it picks badly, you don’t have to manually drag the pin. The forward slash key tells Lightroom to guess again, pulling a different source region from elsewhere in the image. You can tap it repeatedly until you get a result that works. On textured surfaces especially, this is faster than hunting for the right spot manually. The instructor is honest that results vary, which matches my experience. Sometimes Lightroom nails it on the second guess. Sometimes you’ll tap six times and then drag the pin yourself anyway. But starting with the slash key almost always saves time.
Step 4: Manually Reposition the Source Pin for Precision
 Source pin dragged manually to specific area
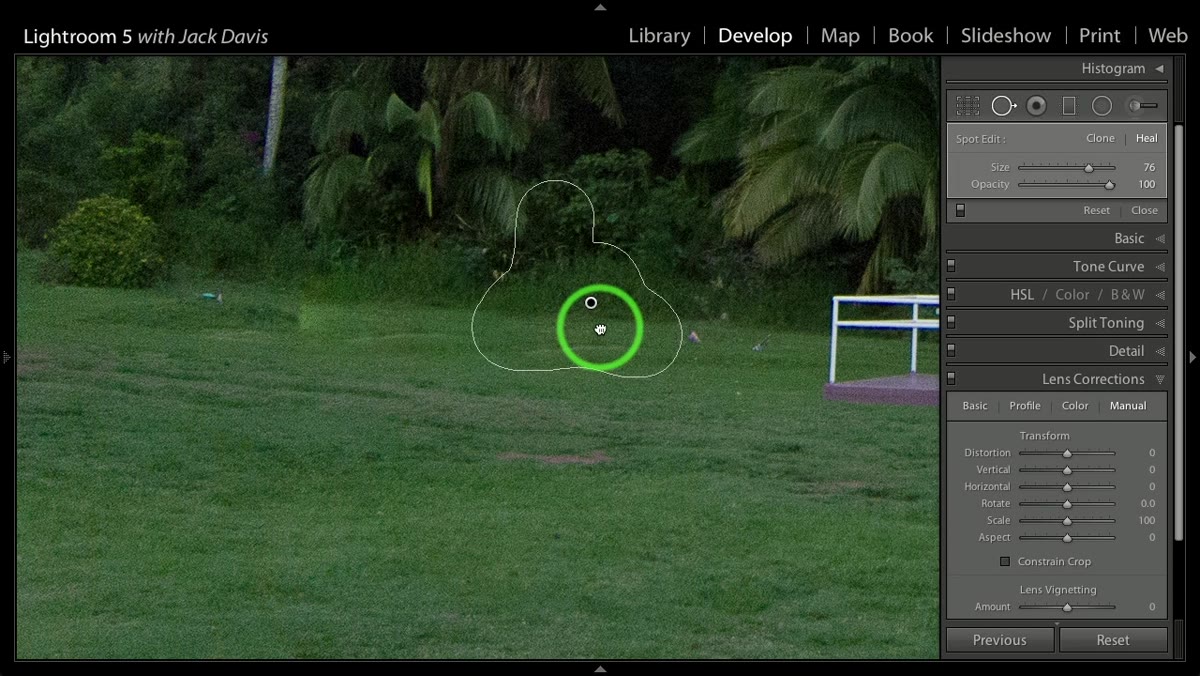
When automatic guessing isn’t cutting it, drag the source pin directly to the area you want Lightroom to sample. This gives you full control over what texture or tone is used to fill the selected region. On the lawn example in the tutorial, this means you can pull from a clean patch of grass that matches the lighting direction and blade density of the area you’re fixing. Manual repositioning is the move when the subject matter has strong directional pattern, like wood grain, brick, or fabric. Don’t skip this option just because the slash key is faster. Precision beats speed when a client is going to zoom in.
Source pin dragged manually to specific area
When automatic guessing isn’t cutting it, drag the source pin directly to the area you want Lightroom to sample. This gives you full control over what texture or tone is used to fill the selected region. On the lawn example in the tutorial, this means you can pull from a clean patch of grass that matches the lighting direction and blade density of the area you’re fixing. Manual repositioning is the move when the subject matter has strong directional pattern, like wood grain, brick, or fabric. Don’t skip this option just because the slash key is faster. Precision beats speed when a client is going to zoom in.
Step 5: Draw Straight Lines with a Shift-Click
 Straight line heal drawn between two click points
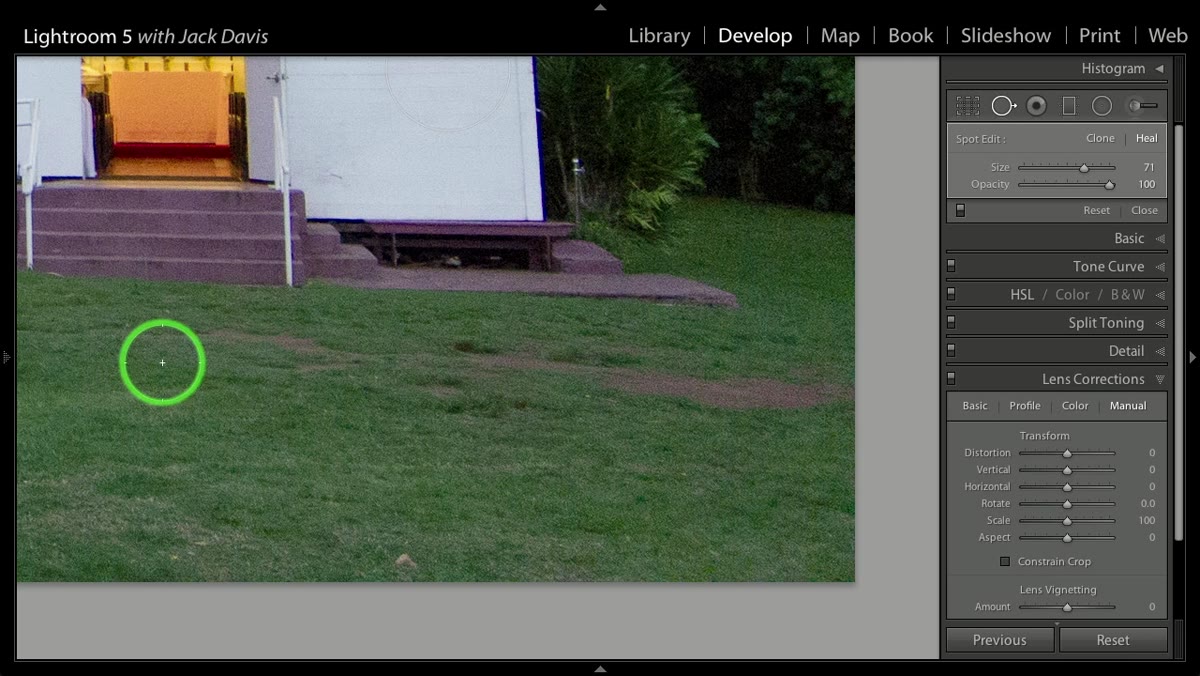
For power lines, fence edges, horizon scratches, or any linear defect, the brush has a straight-line mode. Click once to set your starting point, reposition the source pin to where you want Lightroom to sample from, then hold Shift and click your endpoint. Lightroom draws a clean straight selection between the two points and applies the heal. This is the feature I wish I’d known about years ago. I used to round-trip images with telephone wires to Photoshop and use the Clone Stamp with a constrained stroke. Doing it inside Lightroom, non-destructively, with the ability to move the source pin after the fact, is a completely different experience.
Straight line heal drawn between two click points
For power lines, fence edges, horizon scratches, or any linear defect, the brush has a straight-line mode. Click once to set your starting point, reposition the source pin to where you want Lightroom to sample from, then hold Shift and click your endpoint. Lightroom draws a clean straight selection between the two points and applies the heal. This is the feature I wish I’d known about years ago. I used to round-trip images with telephone wires to Photoshop and use the Clone Stamp with a constrained stroke. Doing it inside Lightroom, non-destructively, with the ability to move the source pin after the fact, is a completely different experience.
Step 6: Switch Between Heal, Clone, and Opacity Settings
 Heal, clone, and opacity controls in the brush panel
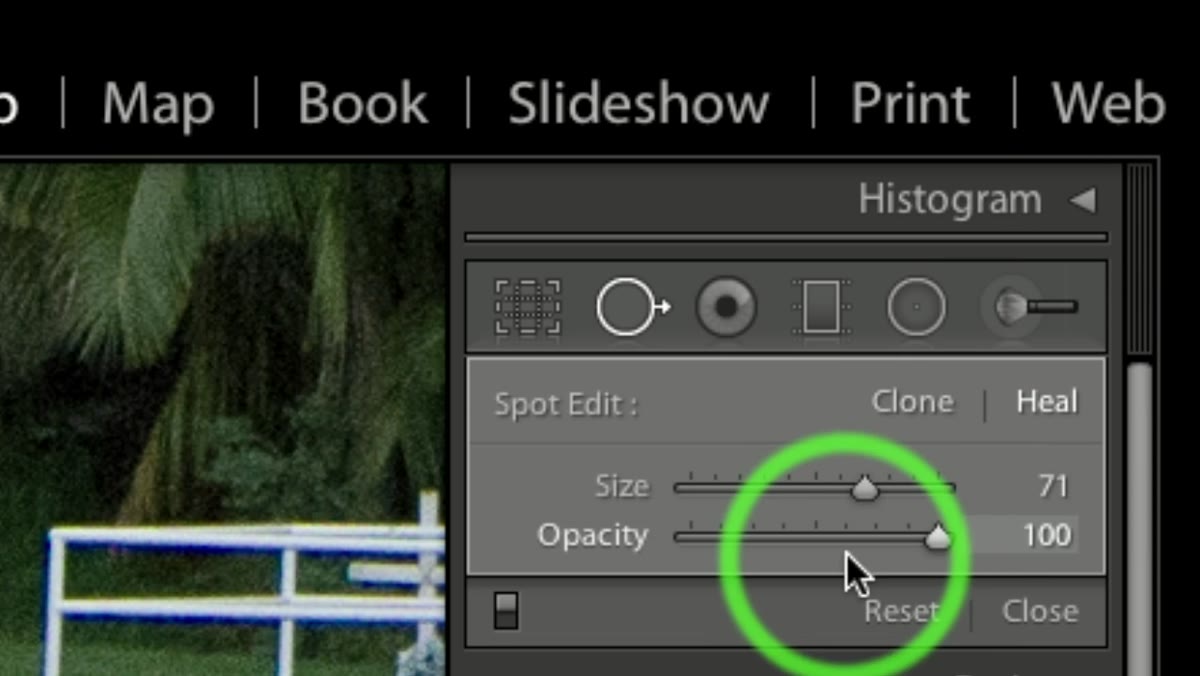
At the bottom of the healing brush panel, you have three controls that dramatically change how the tool behaves. Heal mode blends the texture of the source region with the tone and color of the surrounding area, which is what you want for most natural surface repairs. Clone mode copies the source exactly, which is better when you need to preserve a specific edge or pattern without blending. Opacity lets you dial back the strength of the correction, which is critical for portrait retouching. If you’re softening under-eye circles, a full-strength heal looks artificial. Pulling opacity down to 60 or 70 percent lets the correction sit in the image without announcing itself. The instructor flags this as the key to the difference between removing something and reducing it, which is a distinction every retoucher needs to internalize.
Heal, clone, and opacity controls in the brush panel
At the bottom of the healing brush panel, you have three controls that dramatically change how the tool behaves. Heal mode blends the texture of the source region with the tone and color of the surrounding area, which is what you want for most natural surface repairs. Clone mode copies the source exactly, which is better when you need to preserve a specific edge or pattern without blending. Opacity lets you dial back the strength of the correction, which is critical for portrait retouching. If you’re softening under-eye circles, a full-strength heal looks artificial. Pulling opacity down to 60 or 70 percent lets the correction sit in the image without announcing itself. The instructor flags this as the key to the difference between removing something and reducing it, which is a distinction every retoucher needs to internalize.
How I Apply This in High-Volume Commercial Work
The straight-line heal and freeform selection have become part of my standard culling and delivery workflow for e-commerce clients. I run my exposure and color corrections first, then do a healing pass before I ever open Photoshop. If I can clear 80 percent of the retouching inside Lightroom, the remaining 20 percent that needs Photoshop gets handled faster because the image is already cleaner. I’ve also built the opacity setting into how I brief my retouching assistants. “Start at 65 percent opacity on skin corrections” is now a standing instruction, because it prevents the over-processed look that clients push back on. One thing the tutorial doesn’t address: on very large files, the freeform healing brush can get sluggish. If you’re working with 50-megapixel files, lower your preview quality while painting, then let it render fully before evaluating. It’s not a Lightroom bug, just a processing reality.
The single most important idea in this tutorial is that freeform, non-destructive healing inside Lightroom is genuinely capable work, not a compromise. The more repairs you can complete before leaving Lightroom, the less time you spend managing round-trips and maintaining separate file versions. For anyone who has been defaulting to Photoshop for anything beyond basic spots, this tutorial is worth your time in full. Watch the full tutorial on YouTube
Comments
Leave a Comment